

Sharper Image TV WIRELESS HEADPHONES User Manual
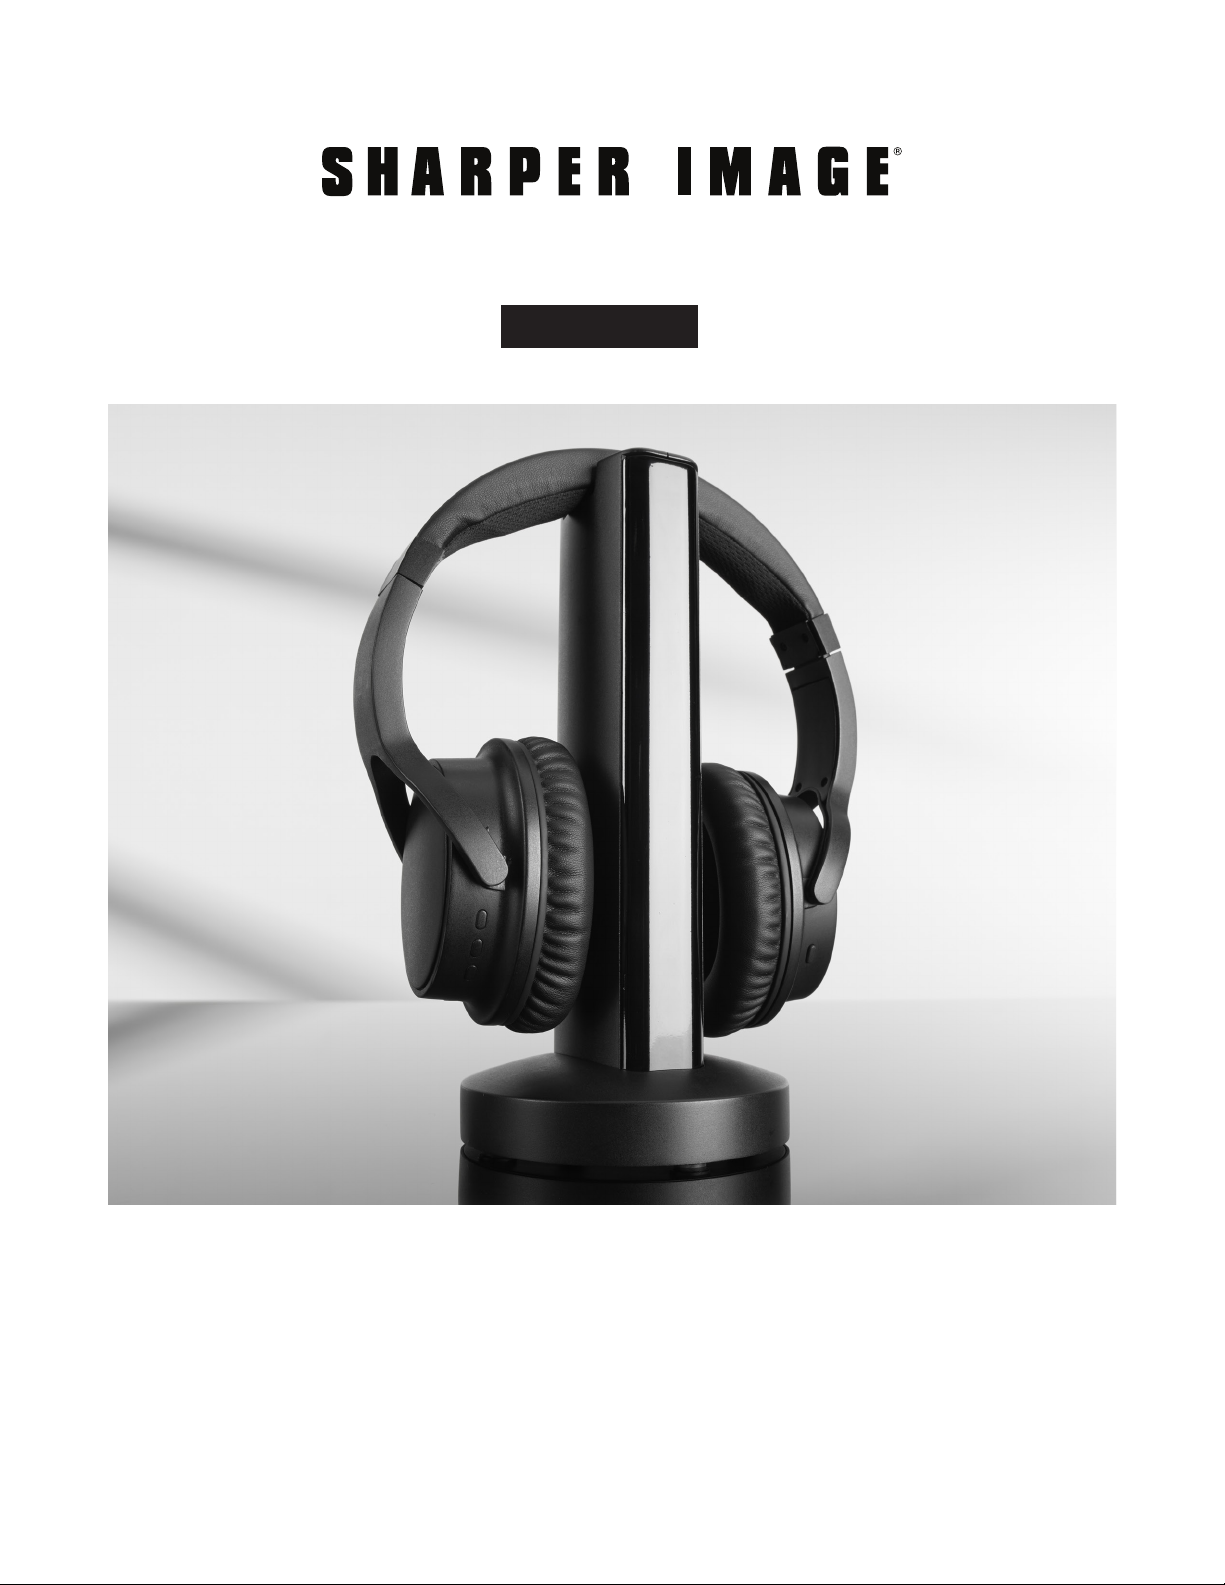
TV WIRELESS HEADPHONES
Item No. 206077
User Guide
Thank you for purchasing the Sharper Image TV Wireless Headphones. This updated version
has a new design with new features, including a digital audio connection for Smart TVs.
Please take a moment to read this guide and store it for future reference.
- 1 -

FEATURES
• Works with all TV sets, including the latest
Smart TVs
• Watch TV without disturbing others
• Easy to set up, charge and use
• Charge lasts up to 5 hours
• Wireless range: 160 ft.
• Adjustable volume
• Can also be used as wired headphones
• All cables included
PARTS IDENTIFICATION: TRANSMITTER BASE
B
C
D
E
A
F
G
H
A. Transmitter base
I
B. Audio signal switch
C. Audio in jack
D. 5V DC power jack
E. Optical audio jack
F. Scan button
G. Audio indicator light
H. Power light
I. Charging dock
PARTS IDENTIFICATION: TV WIRELESS HEADPHONES
E
D
C
F
B
A
G
A. Charging point
B. Power button
C. Signal indicator light
D. Volume +
E. Scan button
F. Volume –
G. Audio in jack
- 2 -

SET-UP
1. Plug the included AC adapter into the DC 5V jack in the back of transmitter base. Then, plug the
other end into an AC outlet.
2. Slide the Audio Signal switch on the back of the transmitter base to the ON position.
3. If the blue power lower light illuminates, the unit is receiving power.
NOTE: This device must be used with the AC adapter supplied in the package. If your AC adapter is lost
or damaged, please contact Sharper Image Customer Service. Do not use any other AC adapters or
power cords.
CHARGING YOUR HEADPHONES
For optimum performance, the TV Wireless Headphones must be fully charged before the first use.
This can take 5 hours.
1. Make sure the transmitter base is plugged in as described above.
2. Slide the Audio Signal switch on the back of the transmitter base to the OFF position.
3. Turn off the power on the TV Wireless Headphones, and place them on the transmitter base.
4. The power light on the transmitter base will turn RED while the headphones are charging. The power
light on the transmitter base will turn BLUE when the headphones are fully charged or in use.
5. Store your TV Wireless Headphones on the base when not in use.
NOTE: There are two LED lights on the front of the transmitter base: Audio Indicator Light (upper)
and Power Light (lower).
CONNECTING YOUR TV
1. The TV Wireless Headphones can be connected to the TV three different ways:
Headphone Jack — Use the included 3.5mm audio cable. Plug one end into the TV headphone
jack. Plug the other end into the Audio In jack on the back of the transmitter base.
Audio Out — Check to see if your TV has red and white Audio Out jacks (also called RCA jacks). If so,
connect the included RCA to 3.5mm adapter cable to the Audio Out jacks on your TV. Then connect
the included 3.5mm cable to the adapter, and plug the other end of the 3.5mm cable into the Audio
In jack on the back of the transmitter base.
Digital Optical Cable — Many new TVs do not have a headphone jack or Audio Out jacks. If this
is the case, you must use the optical output on your TV. This jack is also called “optical audio,”
“TOSLINK” or “Digital Audio Out (Optical).” Plug the included fiber optic cable into this jack on
your TV. Then plug the other end into the Optical input on the back of the transmitter base. NOTE:
Please be sure to check the shape of the Digital Optical Cable before you plug it in. The shape of
the cable must align with the shape of the jack.
2. When the transmitter base is connected to the TV, turn on the power on both the transmitter base
and your TV. Now turn on the TV. The Audio light on the transmitter base will turn BLUE. NOTE: Make
sure your TV is not on mute.
- 3 -
 Loading...