

Page 1
Bedside
CD/AM/FM Stereo
& Dual Alarm Clocks
with Remote Control
and Powered Subwoofer
GT800 Instructions
Read and save these instructions.
Page 2

Page 3

Dear Sharper Image Customer,
Thank you for your purchase of a Sharper Image product.
We appreciate your business very much.
Please accept my personal assurance of your complete satisfaction
with this product’s quality and performance. We offer generous
return privileges and excellent warranties on all our products.
For more than 25 years, The Sharper Image has shared the fun
of discovering innovative products that make life better and more
enjoyable. We’ve been in business a long time because we are an
exciting place to shop and — just as importantly — we strive to
deliver great customer service that exceeds your expectations.
Enjoy your purchase!
Respectfully,
Richard Thalheimer
Founder, Chairman and Chief Executive Officer
Call 1-800-344-4444 for 24-7 ordering and customer service,
or go to , our complete online store.
Page 4
Please read this instruction manual and familiarize yourself with the unit before
using it for the first time. Please retain this manual for future reference.
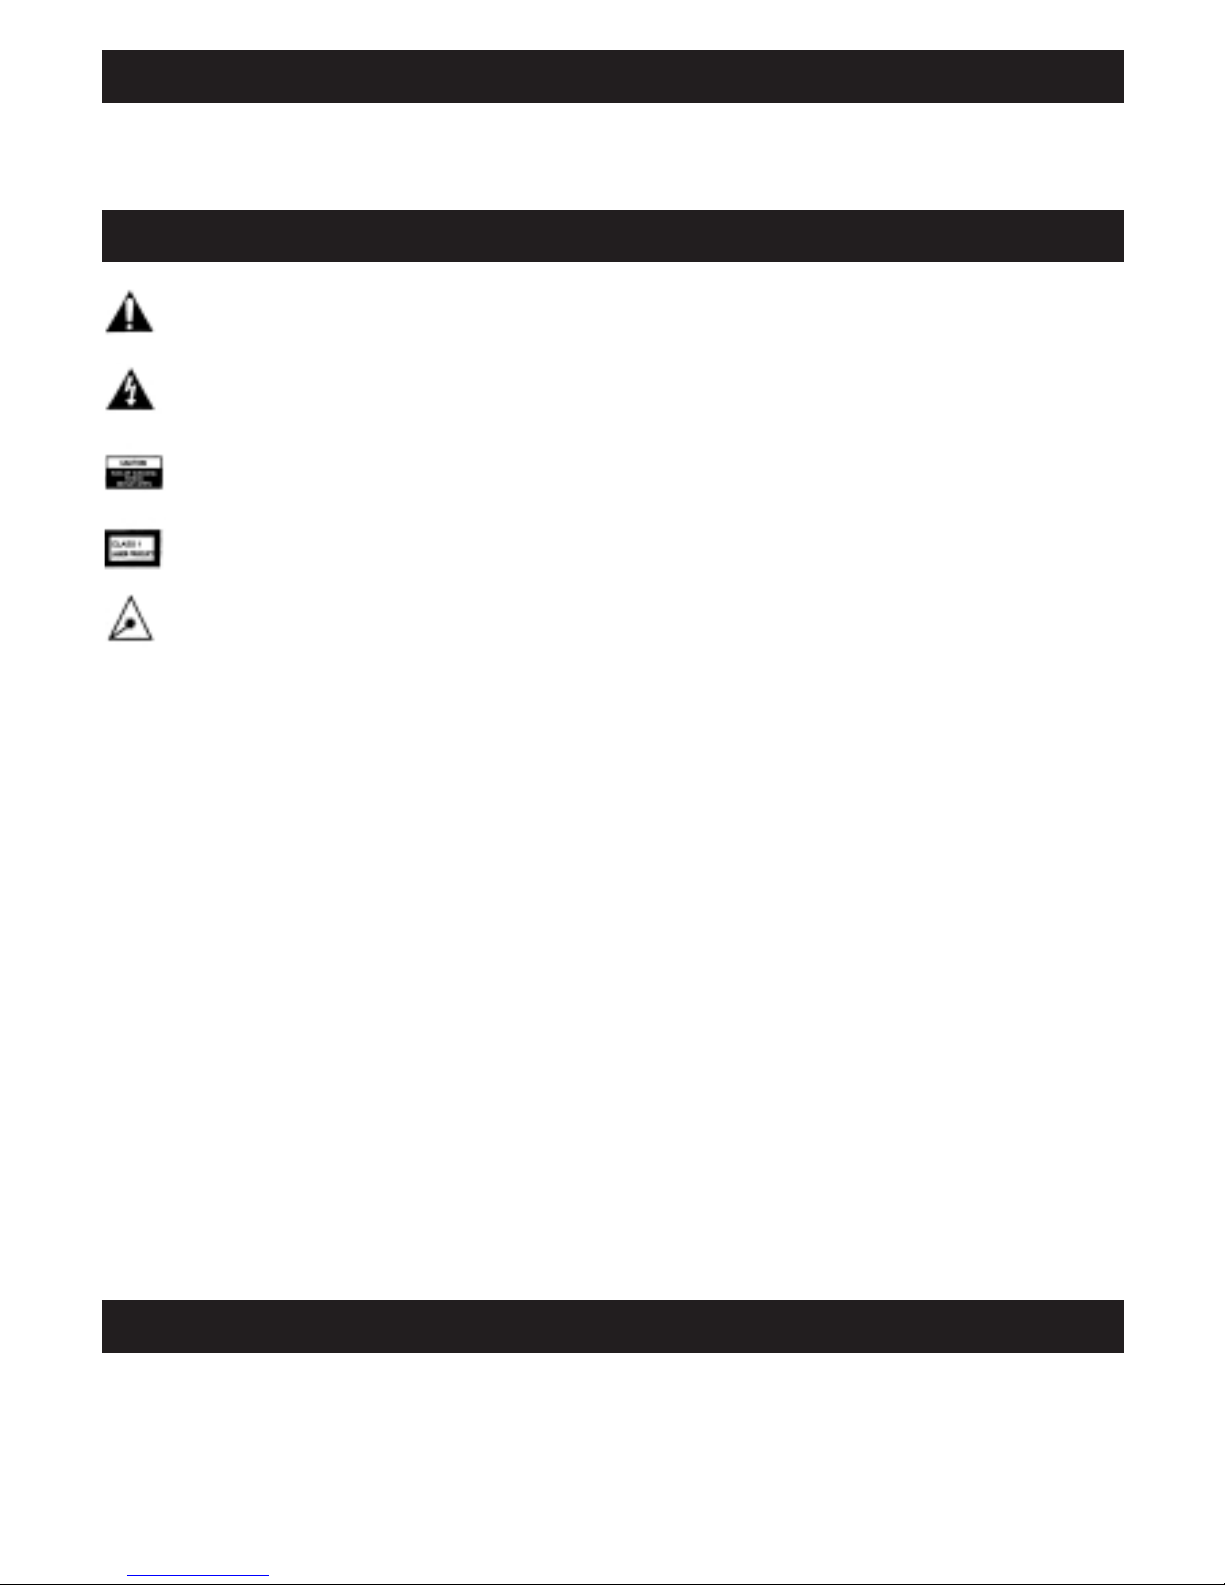
Caution
The exclamation point within the triangle is a warning sign alerting the user
to important instructions accompanying the product.
The lightning bolt within the triangle is a warning sign alerting the user to
“dangerous voltage’’ inside the unit.
To reduce the risk of electric shock, do not remove the cover. No user-serviceable parts are inside the unit. Refer all servicing to qualified personnel.
This unit employs a laser. Only a qualified service person should remove
the cover or attempt to service the device.
Invisible laser radiation is present when the unit is opened or interlocks
are defeated. Avoid exposure to laser beam. Use of controls, adjustments
or procedures other than those specified may result in hazardous radiation
exposure.
This unit operates on DC12V 1600mA. If the unit will not be used for a long period
of time, unplug it from outlet.
Unit must not be exposed to moisture or rain.
The power switch in this unit is mounted on the secondary circuit and does not
disconnect the whole unit from the power supply when in the OFF position.
Ensure all connections are properly made before operating the unit.
This unit should be positioned so that it is properly ventilated. Avoid placing it
close to curtains, on the carpet or in a built-in installation such as a bookcase.
Do not expose this unit to direct sunlight or heat-radiation sources.
Do not put anything except a compact disc into the disc compartment. Foreign
objects can damage the mechanism.
To prevent dirt and dust from entering the mechanism, keep the disc compartment closed when it is not in use.
Never place more than one disc into the disc compartment at any time.
Battery Precautions
•Use only the size and type of batteries specified.
•When installing the batteries, be sure to follow the correct polarity as indicated
in the battery compartment. Improperly inserted batteries may cause damage to
the device.
Warnings
Page 5

•Do not mix different types of batteries together (e.g. alkaline and carbon-zinc)
or old batteries with fresh ones.
•If the device will not be used for a long period of time, remove the batteries to
prevent damage or injury from possible battery leakage.
•Nonrechargeable batteries should not be recharged; they can overheat and
rupture. (Follow battery manufacturer’s directions.)
•Read all instructions carefully before use.
Quick Start
Stereo Setup
1. Unpack the stereo and all included cords.
Note: First determine where the units will be located, then connect all cables.
Cables
Battery Precautions
AB
C
D
E
Page 6

Stereo Setup
2. Plug the SYSTEM CONTROL cord (D) from the main unit into the SYSTEM
CONTROL cord (E) from the satellite unit.
3. Plug one end of the audio cable (C) into the AUDIO jack on the back cabinet
of the main unit and the other end into the AUDIO jack on the satellite unit.
4. Plug the FM wire antenna (A) into the FM ANT jack on the back cabinet of the
main unit. For best results, fully extend the wire antenna and hang the circular
end from a nail in the wall.
5. Plug the single cord (B) from the subwoofer unit into the SUBWOOFER OUT
jack on the back cabinet of the satellite unit.
6. To select either 12- or 24-hour clock mode, slide the 12H/24H TIME switch
on the back cabinet of the main unit to the desired mode.
Note: To reset the unit to the alternate clock mode at a future time, you must first
unplug the unit from the wall outlet, slide the 12H/24H TIME switch on the back
cabinet to the alternate setting and then plug the unit back into the wall outlet.
7. For use in the USA or Canada, slide the AM FREQ SETUP switch to 10 kHz.
For use in other areas, slide the AM FREQ SETUP switch to 9 kHz.
8. Plug the small end of the DC power cord into the DC IN jack on the back
cabinet of the satellite unit and the large end into a wall outlet.
Important: Remove the protective sheet of paper from the CD tray in the main
unit. To open the CD lid, press the OPEN button
Battery Installation
Remove the battery compartment cover from the back of the remote and insert 2
AAA batteries, observing proper +/- polarities as indicated inside the compartment.
Replace cover.
Power and Function Selection
1. To turn the unit on, press the POWER button on the main unit or remote.
The unit turns on in the function last used.
2. To change the function, press the POWER/FUNCTION button on the main
unit or the FUNCTION button on the remote.
3. To turn the unit off, press and hold the POWER button on the main unit or
press the POWER button on the remote. The clock appears on the LCD.
Quick Start
Page 7

Clock Setting
1. To open the CD lid and access the control buttons, press the OPEN button
on the top of the main unit. The CD lid automatically powers open.
2. To enter the clock setting mode, press the CLOCK SET button. The hour flashes.
3. To set the hour, press the TUNE UP or TUNE DOWN button to increase or
decrease the hour.
4. To confirm the hour setting, press the CLOCK SET button. The minutes flash.
5. To set the minutes, press the TUNE UP or TUNE DOWN button to increase or
decrease the minutes.
6. To confirm the minute setting, press the CLOCK SET button. The day of the
week flashes along the top of the LCD.
7. To set the day of the week, press the TUNE UP or TUNE DOWN button to
move forward or back through the days of the week.
8. To confirm all settings and return to normal timekeeping mode, press the
CLOCK SET button.
9. To close the CD lid, press the CLOSE button.
Note: Do not push or forcibly close the CD lid on the main unit by hand. Press
the CLOSE button.
CD Playback
1. To open the CD lid, press the OPEN button on the top of the main unit.
The CD lid automatically powers open.
2. Insert a CD into the CD tray.
3. To close the CD lid, press the CLOSE button on the control panel. The CD
lid automatically powers closed.
4. To turn the unit on in the CD mode, press the POWER/FUNCTION button
until a appears on the LCD.
5. To start playback at the beginning of the CD, press the PLAY/PAUSE/STOP
"
#/$button on the main unit.
6. To select a specific track during playback, press SKIP + or - until the desired
track number appears. In stop mode, press the PLAY/PAUSE/STOP
"
#/$button
after you select a track.
7. To fast forward or rewind within a track during playback, press and hold the
SKIP + or - button.
Quick Start
Page 8

CD Playback
8. To pause playback, press the PLAY/PAUSE/STOP"#/$button. To resume playback, press the PLAY/PAUSE/STOP
"
#/$button again.
9. To stop playback, press and hold the PLAY/PAUSE/STOP"#/$button for two
seconds.
Tuner
1. To select the tuner function, press the POWER/FUNCTION button on the
main unit until a radio frequency appears on the LCD.
2. To select the desired band, press the AM/FM button. The FM band appears in
MHz and the AM band appears in kHz.
3. To tune in a specific station, open the CD lid and press the TUNE UP or TUNE
DOWN button to move up or down the band.
4. To automatically scan for stations with strong signals, press and hold the TUNE
UP or TUNE DOWN button until the tuner begins to scan, then release the
button. The tuner automatically stops at the next station with a strong signal.
Quick Start
Page 9

Diagram of Parts
Main Unit
Satellite Unit
DN
DISPLAY
CLOSE
MEMORY
UP
DN
AM/FM
TUNE.
CLOCK
DN
TUNE.
CLOCK
DN
SNOOZE
CLOCK SET
ALARM SET
FUNCTION
1
2
VOLUME
PRESET EQ
UP
POWER/FUNCTION
SKIP/MEMORY
VOLUME
Instructions
Tune/Clock Up/Dn
AM/FM
Memory
Up/Dn
Function
Alarm
Set 1/2
Clock Set
Preset Eq
Close
Volume
Up/Dn
Display
AM/FM
Skip/
Memory
+/-
Power/
Function
Play/
Pause/
Stop
"
#/
$
Volume
+/-
Open
Snooze
Snooze
Page 10

Cables
Display
Stereo Setup
CD Icon
CD Repeat
Icon
Day of the Week
Alarm 1 On
CD/Radio
Alarm
Indicator
AM/PM Indicator Clock Equalizer Mode
Alarm 2 On
Buzzer Alarm
Indicator
AB
C
D
E
Page 11

Remote
Stereo Setup
1. Unpack the stereo and all included cords.
Note: First determine where the units will be located, then connect all cables.
2. Plug the SYSTEM CONTROL cord (D) from the main unit into the SYSTEM CON-
TROL cord (E) from the satellite unit.
3. Plug one end of the audio cable (C) into the AUDIO jack on the back cabinet
of the main unit and the other end into the AUDIO jack on the satellite unit.
4. Plug the FM wire antenna (A) into the FM ANT jack on the back cabinet of the
main unit. For best results, fully extend the wire antenna and hang the circular
end from a nail in the wall.
5. Plug the single cord (B) from the subwoofer unit into the SUBWOOFER OUT
jack on the back cabinet of the satellite unit.
6. To select either 12- or 24-hour clock mode, slide the 12H/24H TIME switch
on the back cabinet of the main unit to the desired mode.
Note: To reset the unit to the alternate clock mode at a future time, you must first
unplug the unit from the wall outlet, slide the 12H/24H TIME switch on the back
cabinet to the alternate setting and then plug the unit back into the wall outlet.
7. For use in the USA or Canada, slide the AM FREQ SETUP switch to 10 kHz.
For use in other areas, slide the AM FREQ SETUP switch to 9 kHz.
8. Plug the small end of the DC power cord into the DC IN jack on the back
cabinet of the satellite unit and the large end into a wall outlet.
M
U
T
E
F
W
D
/
M
-
U
P
R
E
V
/
M
-
D
N
P
L
A
Y
REPEAT MEMORY
TUNE
UP
TUNE
EQ
FUNCTION
VOLUME
S
T
O
P
/
D
I
S
P
L
A
Y
P
A
U
S
E
P
O
W
E
R
DN
Stereo Setup
Page 12

Important: Remove the protective sheet of paper from the CD tray in the main
unit. To open the CD lid, press the OPEN button
Battery Installation
Remove the battery compartment cover from the back of the remote and insert
2 AAA batteries, observing proper +/- polarities as indicated inside the compartment.
Replace cover.
Power and Function Selection
1. To turn the unit on, press the POWER button on the main unit or remote. The
unit turns on in the function last used.
2. To change the function, press the POWER/FUNCTION button on the main
unit or the FUNCTION button on the remote.
Note: A CD icon appears on the LCD for the CD function. The tuner band
and station appears on the LCD for the radio. “AUX” appears on the LCD for the
auxiliary function.
3. To turn the unit off, press and hold the POWER button on the main unit or
press the POWER button on the remote. The clock appears on the LCD.
Clock Setting
1. To open the CD lid and access the control buttons, press the OPEN button
on the top of the main unit. The CD lid automatically powers open.
2. To enter the clock setting mode, press the CLOCK SET button. The hour flashes.
3. To set the hour, press the TUNE UP or TUNE DOWN button to increase or
decrease the hour.
Note: If the clock is in 12-hour mode, AM or PM is indicated on the left side of
the LCD. (See Stereo Setup above.)
4. To confirm the hour setting, press the CLOCK SET button. The minutes flash.
5. To set the minutes, press the TUNE UP or TUNE DOWN button to increase
or decrease the minutes.
6. To confirm the minute setting, press the CLOCK SET button. The day of the
week flashes along the top of the LCD.
7. To set the day of the week, press the TUNE UP or TUNE DOWN button to
move forward or back through the days of the week.
8. To confirm all settings and return to normal timekeeping mode, press the
CLOCK SET button.
Clock Setting
Page 13

9. To close the CD lid, press the CLOSE button.
Note: Do not push or forcibly close the CD lid on the main unit by hand. Press
the CLOSE button.
Alarm Functions
This unit allows you to individually program two different alarms, Alarm 1 and
Alarm 2, to sound at different times. You may choose to wake to the CD track
of your choice, the radio or a buzzer for each alarm. You may also choose from
three different alarm modes that control on which days the alarm will sound:
Seven-Day Alarm mode (Sunday - Saturday); Six-Day Alarm mode (Monday Saturday); or Weekday Alarm mode (Monday - Friday).
Setting Alarm 1
1. To open the CD lid and access the control panel, press the OPEN button
on the top of the main unit. The CD lid automatically powers open.
2. To enter the alarm setting mode for Alarm 1, press and hold the ALARM 1 button. The hour flashes.
3. To set the alarm hour, press the TUNE UP or TUNE DOWN button to increase
or decrease the hour.
Note: If the clock is in 12-hour mode, AM or PM is indicated on the left side of
the LCD. (See Stereo Setup above.)
4. To confirm the alarm hour setting, press the CLOCK SET button. The alarm
minutes flash.
5. To set the alarm minutes, press the TUNE UP or TUNE DOWN button to
increase or decrease the alarm minutes.
6. To confirm the minute setting, press the CLOCK SET button. The alarm mode
flashes along the top of the LCD.
7. To select the alarm mode, press the TUNE UP or TUNE DOWN button until
the desired mode flashes. For the Seven-Day Alarm mode, “SUN MON TUE
WED THU FRI SAT” flashes on the LCD; for the Six-Day Alarm mode, “MON
TUE WED THU FRI SAT” flashes on the LCD; for the Weekday Alarm mode,
“MON TUE WED THU FRI” flashes on the LCD.
8. To confirm the alarm mode, press the CLOCK SET button. The alarm type flashes.
9. To select the alarm type, press the TUNE UP or TUNE DOWN button until the
desired alarm type flashes. “BUZZER” flashes to wake to a beeping alarm;
“CD” flashes to wake to the CD track of your choice; and “TUNER” flashes to
wake to the currently tuned radio station.
Clock Setting
Page 14

10.To confirm the alarm type, press the CLOCK SET button. If “Buzzer” or
“Radio” is selected, “VOL” flashes. (Skip to Step 13.) If “CD” is selected,
“TRACK” flashes.
11.To select the CD track you wish to wake to, press the TUNE UP or TUNE
DOWN button.
12.To confirm the track number, press the CLOCK SET button. “VOL” flashes.
13.To select the volume level of the alarm, press the TUNE UP or TUNE DOWN
button to increase or decrease the volume level.
14.To confirm all settings, press the CLOCK SET button.
15.To activate Alarm 1, press the ALARM 1 button. “ALM 1” and either a (CD
or tuner alarm) or a (buzzer alarm) appears on the LCD. When the current
time matches the alarm time, the alarm sounds.
Note: All alarm modes are equipped with a ramp-up volume feature. The volume of
the alarm gradually increases to the set level so as not to startle you upon activation.
16.To close the CD lid, press the CLOSE button on the control panel. The door
automatically closes.
17.To activate the snooze function after the alarm sounds, press the SNOOZE
button on either bedside unit. The alarm temporarily turns off for 9 minutes,
then sounds again.
18.To turn off the alarm, press and hold the SNOOZE buttons for 2 seconds.
Setting Alarm 2
To set Alarm 2, follow the steps above for setting Alarm 1, except press the
ALARM 2 button whenever instructed to press the ALARM 1 button.
Display Function
To view the current time and alarm settings, repeatedly press the DISPLAY button
on the control panel under the lid. The current time, the Alarm 1 setting and the
Alarm 2 setting appear on the LCD in order.
CD Functions
CD Playback
1. To open the CD lid, press the OPEN button on the top of the main unit.
The CD lid automatically powers open.
2. Insert a CD into the CD tray.
3. To close the CD lid, press the CLOSE button on the control panel. The CD lid
automatically powers closed.
Alarm Functions
Page 15

Note: If the CD lid is left open for more than one minute, it automatically powers
closed.
4. To turn the unit on in the CD mode, press the POWER/FUNCTION button
until a appears on the LCD.
5. To start playback at the beginning of the CD, press the PLAY/PAUSE/STOP
"
#/$button on the main unit.
6. To select a specific track during playback, press SKIP + or - until the desired
track number appears. In stop mode, press the PLAY/PAUSE/STOP
"
#/$button
after you select a track.
7. To fast forward or rewind within a track during playback, press and hold the
SKIP + or - button.
8. To pause playback, press the PLAY/PAUSE/STOP
"
#/$button. To resume play-
back, press the PLAY/PAUSE/STOP
"
#/$button again.
9. To stop playback, press and hold the PLAY/PAUSE/STOP"#/$button for two
seconds.
Programmed Playback
The CD player has a programmable memory that allows you to program up to 60
tracks on any disc for playback in any desired order. You may program 60 different
tracks or program certain tracks to play more than once.
1. To program up to 60 tracks for playback, insert the desired CD and press the
CD function button. Wait for the CD player to read the table of contents and
display the total number of tracks and playing time of the disc.
2. To enter programming mode, press the MEMORY button on the remote. “00
P-01” appears and “MEMORY” flashes on the display. The first two digits represent the track number, and the digits after the “P” represent the program
position.
3. To select the first track you wish to program, press the REV/M-DN or FWD/M-UP
button on the remote until the desired track number appears on the display.
4. To confirm track number, press the MEMORY button. “00 P-02” appears on
the display.
5. To select the next track you wish to program, press the REV/M-DN or FWD/M-UP
button on the remote until the desired track number appears on the display.
6. To confirm track number, press the MEMORY button. “00 P-03” appears on
the display.
7. To program up to 60 tracks, repeat steps 5 and 6 until the memory is full or
you have finished programming. The display returns to the disc information
if no button is pushed for 5 seconds.
CD Functions
Page 16

8. To begin programmed playback, press the MEMORY button and then the
PLAY/PAUSE button. “MEMORY” appears in the display and playback will
begin on the first track that you programmed. The player continues to play
all of the tracks you have programmed in the order in which they were programmed. Once the last programmed track has played, the player will stop
and the display will show the disc information.
9. To play the program again, press the MEMORY button and then press the
PLAY/PAUSE button.
10.To exit the programmed playback mode, press the STOP button.
Repeat Play
To set the unit to continuously repeat the CD after playback has finished, press the
REPEAT button on the remote once during playback. A appears on the LCD.
To set the unit to repeat playback of a specific track, press the REPEAT button on
the remote twice during playback of the desired track. A appears on the LCD.
Tuner
1. To select the tuner function, press the POWER/FUNCTION button on the
main unit until a radio frequency appears on the LCD.
2. To select the desired band, press the AM/FM button. The FM band appears in
MHz and the AM band appears in kHz.
3. To tune in a specific station, open the CD lid and press the TUNE UP or TUNE
DOWN button to move up or down the band.
4. To automatically scan for stations with strong signals press and hold the TUNE
UP or TUNE DOWN button until the tuner begins to scan, then release the
button. The tuner automatically stops at the next station with a strong signal.
Note: If a station broadcasts its signal in stereo, a stereo icon appears on
the LCD.
Station Memory Presets
The digital PLL tuner allows you to store a total of 40 stations in the preset memory
for one-touch tuning. You may store any combination of AM and FM stations.
1. Tune to the desired AM or FM station as described above.
2. To enter a station in the preset memory, press the MEMORY button on the
remote twice. “00” flashes on the LCD.
3. To select the preset number position, press the MEMORY UP or MEMORY
DOWN button on the remote or on the main unit until the desired preset
position appears on the LCD.
O
N
E
Station Memory Presets
Page 17

4. To confirm the preset number position, press the MEMORY button on the
remote.
5. To enter up to 40 AM or FM stations into the preset memory, repeat steps
1 through 4 above.
6. To tune in a preset station, ensure that the unit is in tuner mode, and press
the MEMORY UP or MEMORY DOWN button on the remote or the main
unit until the desired preset number appears.
Auxiliary Function
To connect an auxiliary audio device into this unit, plug right (red) and left (white)
audio cables (not included) from the auxiliary device into the AUX INPUT jack on
the back cabinet of the main unit.
To select the auxiliary function, press the FUNCTION button until “AUX” appears
on the LCD. This allows you to operate the auxiliary device while controlling the
volume and sound functions through the main unit. (See Volume & Sound.)
Volume & Sound
Volume Adjustment
To increase or decrease the volume level, press the VOLUME + or - button. The
volume level appears on the LCD during adjustment.
To mute the sound, press the MUTE button on the remote control. “MUTE” appears
on the LCD.
Electronic Equalizer
The sound quality can be adjusted to suit the type of music playing.
To set the equalizer to match the type of music playing, press EQ on the
remote control until the desired icon appears on the display. Flat = no icon;
Classic = ; Rock = ; Pop =
;
Jazz =
.
Backlight Functions
Color Display Modes
The backlight on both the main and satellite unit can be individually set to fade in
and out through seven different colors or locked on one of the colors. For best
results, slide the HI/LOW switch to the HI setting. The seven colors are: white,
red, lavender, orange, green, aqua and blue. When the unit is plugged in for the
first time, it is set to the color change mode.
Station Memory Presets
Page 18

Single Color Mode: To lock the color display on one color, press and hold the
COLOR MODE button on the back cabinet of the desired unit until the display
turns white, then release. To select the desired display color, either press and
release the COLOR MODE button until the desired color appears or wait for
the unit to automatically rotate in 2-second intervals through all the colors, then
press the COLOR MODE button again when the desired color appears.
Color Change Mode: To return to the color-change mode, press and hold the
COLOR MODE button again for three seconds. The display returns to orange,
then fades in and out through all seven colors.
Note: To change the intensity of the illuminated LCD, slide the HI/LOW switch to
the desired setting.
Specifications
Radio Frequency
FM: 87.5 - 108 MHz at 100 kHz Step
AM: 520 - 1710 kHz at 10 kHz Step
CD Player
Pickup: RLD-78 MYY1; 3-beam, semiconductor laser
Encoding: 16-bit, linear, 2 x oversampling
Frequency Response: 20 Hz - 20 kHz
Note: This unit can play normal Audio CD and CD-R discs.
Speakers
Main: 4 ohm 5 W
Tweeter: N/A
General
Amplifier: 2.5 watts
Subwoofer Output: 10 watts
AUX: 400 - 700 MV; left & right RCA jack
Headphone: N/A
FM Antenna: RCA jack with wire antenna
AM Antenna: Built-in ferrite bar antenna
AC Power Supply: 120 V
Power Consumption: 25 watts
Backlight Functions
Page 19

WARNING:
Changes or modifications to this unit not expressly approved by the party responsible for compliance could void the user’s authority to operate the equipment.
NOTE:
This product complies with DHHS Rule 21 subchapter J at date of manufacture.
This equipment has been tested and found to comply with the limits for a Class B
digital device, pursuant to Part 15 of the FCC Rules. These limits are designed to
provide reasonable protection against harmful interference in a residential installation. This equipment generates, uses, and can radiate radio frequency energy and,
if not installed and used in accordance with the instructions, may cause harmful
interference to radio communications. However, there is no guarantee that interference will not occur in a particular installation.
If this equipment does cause harmful interference to radio or television reception,
which can be determined by turning the equipment off and on, the user is
encouraged to try to correct the interference by one or more of the following
measures:
•Reorient or relocate the receiving antenna.
•Increase the separation between the equipment and receiver.
•Connect the equipment into an outlet on a circuit different from that to which
the receiver is connected.
•Consult the dealer or an experienced radio/TV technician for assistance.
FCC Label Compliance Statement
This device complies with Part 15 of the FCC Rules. Operation is subject to the
following two conditions: (1) This device may not cause harmful interference, and
(2) this device must accept any interference received, including interference that
may cause undesired operation.
Statement of FCC/DHHS Compliance
Page 20

This warranty covers any defects in materials or workmanship, with the exceptions stated below.
How Long Coverage Lasts
This warranty runs for 90 days from the date of original purchase.
What Is Not Covered
This warranty does not cover damage caused by misuse or use other than as intended and described
in the product instruction manual, or loss or damage to batteries or removable parts.
What The Sharper Image Will Do
The Sharper Image will repair any defects in materials or workmanship. In the event repair is not
possible, The Sharper Image will either replace this product with one of similar features and price,
or refund the full purchase price of the product, whichever you prefer.
How to Obtain Service
Return the product and receipt, along with a brief explanation of the problem, to:
T.S.I. - Returns Department
2901-A West 60th Street
Little Rock, AR 72209
If you have questions, please feel free to contact our customer service representatives at
1-800-344-5555 or by email at care@sharperimage.com.
This warranty gives you specific legal rights, and you may have other legal rights that vary from state
to state.
Copyright 2003
Sharper Image Corporation
650 Davis St., San Francisco, CA 94111
(415) 445-6000
Shop online:
www.
WARRANTY
Due to continuing improvements, actual product may differ slightly from the product described
herein.
V1 5/03
 Loading...