

Page 1
GOURMET HOT OR COLD WHIPPER
Item No. 207556
User Guide
Thank you for purchasing the Sharper Image Gourmet Hot or
Cold Whipper. We are confident you will be pleased with your
purchase. Please take a moment to read this guide and store it
for future reference.
INTRODUCTION
Your Gourmet Hot or Cold Whipper is a versatile kitchen tool that
can be used for hot and cold cuisine. When used hot, it can make
rich and creamy espuma (foam) for gourmet-style side dishes
such as whipped potatoes and corn foam. When used cold, it
is ideal for whipped cream, whipped chocolate, yogurt espuma,
frosting, pastry crème, fruit foam and other dessert toppings.
- 1 -
3. Assemble the Head [FIG. 2]
Locate the large gasket that sits between the head and the canister.
Place the gasket inside the head and screw head onto canister evenly
and firmly. The head is in place correctly when no thread is visible.
Do not cross-thread. If you cannot find the threading, remove the
head and try again.
4. Insert a Charger [FIG. 3]
Insert one 8-gram Nitrous Oxide (N2O) charger into the charger
holder. Use only a new, high-quality whipped cream charger. (Do not
use a CO2 charger meant for a soda machine.)
5. Charge the Canister [FIG. 4]
Screw the charger holder onto the inlet valve until the charger content
is fully released with a hissing sound. Use 1 charger for each recipe
unless otherwise specified. Never use more than 2 chargers at one
time in this device.
6. Shake the Canister
Shake the Whipper briskly 4 to 5 times in a vertical direction. (When
using well cooled light cream or other mixture, shake up to 10 times.)
Then unscrew the charger holder. The light hissing sound while
unscrewing is normal. Remove and recycle the empty steel charger
according to local regulations.
5. The Gourmet Hot or Cold Whipper is designed for easy assembly
and use. Never use force to assemble or use this device.
6. Charge the canister as shown in FIG. 4. Use only new, 8-gram
Nitrous Oxide (N2O) chargers from a reputable source. Do not use
Carbon Dioxide (CO2) chargers meant for soda machines.
7. Do not use more than 2 chargers in this device at one time.
8. If contents do not dispense, the device may be clogged. DO NOT
ATTEMPT TO UNSCREW THE HEAD WHILE IT IS PRESSURIZED. Place
the Gourmet Hot or Cold Whipper on the countertop and wait until
the contents have settled on the bottom. Then, cover the head
with a thick cloth and press the lever several times until all of the
pressure escapes completely. After the gas has escaped, carefully
unscrew the head.
9. Do not attempt to modify or repair this device. There are no
user-serviceable parts. Do not use parts from other whippers
with this device.
10. This device is for adult use only. Keep this device and the Nitrous
Oxide (N2O) chargers out of the reach of children at all times.
- 4 -
- 7 - - 8 - - 9 -
FEATURES
• Lightweight and durable aluminum construction
• Professional-grade finish
• Large 1-Pint (500ml) capacity
• Includes 3 stainless steel decorator nozzles
• Includes nozzle cleaning brush
• Makes hot or cold whipped cream, foam and espuma
• Compatible with all standard 8-gram Nitrous Oxide (N2O)
chargers (chargers not included)
IDENTIFICATION OF PARTS
A. Canister
B. Gasket
C. Head
D. Nozzle adapter
E. Stainless steel tulip decorating nozzle
F. Stainless steel straight decorating nozzle
G. Inlet Valve
H. Stainless steel narrow decorating nozzle
I. Charger Holder
J. Lever
Nozzle cleaning brush (not shown)
- 2 -
NOTE: Do not “over shake” the canister, as this may actually harden
the cream too much. Too much agitation can create butter. However, if
the whipped cream is not firm enough, shake once more. When using
later, do not shake again.
7. Dispensing the Whipped Cream [FIG. 5]
Attach a decorating nozzle to the nozzle adapter achieve your
desired effect. To dispense, hold the Whipper vertically (with the
decorating nozzle pointed downward) about 1 inch above the surface.
To decorate, depress the lever. This will open the valve and allow the
cream to exit. Serve immediately after dispensing.
8. Storing the Whipped Cream
If you do not use the entire contents of the canister, you can save it
for future use. The whipped cream will stay fresh in the refrigerator for
several days. However, we recommend that you remove the decorating
nozzle from the nozzle adapter, rinse it thoroughly and then put it
back on. This way, the decorating nozzle will be clean and ready for the
next use. IMPORTANT: Always keep your Gourmet Hot or Cold Whipper
in the refrigerator (never in the freezer).
CLEANING INSTRUCTIONS
IMPORTANT: Before removing the head, allow the remaining pressure
to escape by depressing the lever.
11. Do not use this device for anything other than its intended
purpose.
12. Do not use this device if it appears to be damaged. If it is received
in damaged condition, contact Sharper Image Customer Service
immediately for a replacement.
13. Keep this User’s Guide for future reference.
WARRANTY / CUSTOMER SERVICE
Sharper Image branded items purchased from SharperImage.
com include a 1-year limited replacement warranty. If you have any
questions not covered in this guide, please call our Customer Service
department at 1 (877) 210-3449. Customer Service agents are
available Monday through Friday, 9:00 a.m. to 6:00 p.m. ET.
- 5 -
F
E
H
G
I
D
C
J
B
A
NOTE: This device requires
the use of standard
8-gram Nitrous Oxide
(N2O) chargers. These can
be purchased from most
large supermarkets and
restaurant supply stores.
BEFORE FIRST USE
Unscrew and thoroughly clean all parts of your Gourmet Hot or Cold
Whipper with warm water and dish soap. We do not recommend
cleaning this device in a dishwasher, as this may damage the canister
or the head. Use the included nozzle brush to clean the decorating
nozzles. Allow all parts to air dry before use.
USING THE GOURMET HOT OR COLD WHIPPER
1. Raise or Lower the Canister Temperature
For best results, you must heat or chill the canister. To do this, fill the
canister with hot or cold water and let it sit for a few minutes. Empty
the water before adding your ingredients.
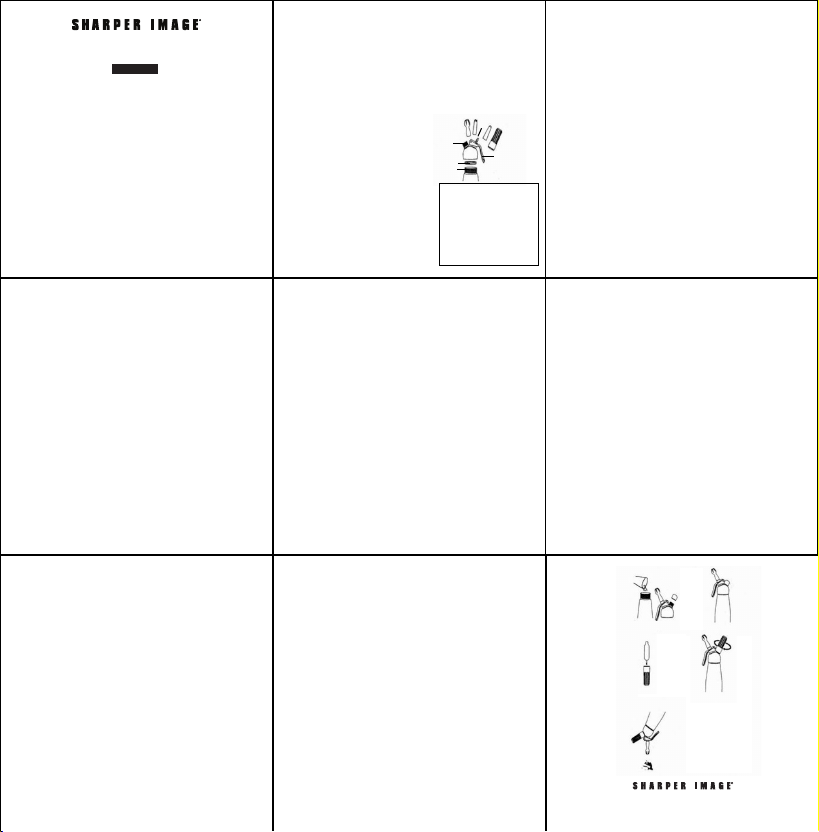
2. Add Mixture to Canister [FIG. 1]
Add well-chilled fresh whipping cream and/or other ingredients
depending on the recipe. Fill the canister to about 2/3 capacity, as
the contents will expand under pressure. Do not overfill canister.
When preparing recipes, granulated salt or sugar or other powdered
ingredients must be fully dissolved in milk, cream or water before
filling in order to avoid clogging the device. For sweetening, it is best
to use powdered sugar or liquid sweeteners. Any solid ingredients such
as fruits, vegetables and coarse spices must be pureed and passed
through a fine sieve before being poured into the canister.
- 3 -
1. After you are certain all the pressure has escaped, unscrew the
head and remove the gasket and decorating nozzle. Hold the end
of the valve inside the head while unscrewing the nozzle adapter
with the other hand.
2. Thoroughly clean each individual component with mild dish
detergent and a brush. Do not wash any components in a
dishwasher, as this may damage the components. Do not use sharp
objects or abrasive materials to clean this device.
3. Allow all parts to air dry thoroughly. Store the device disassembled.
SAFETY WARNINGS
1. Do not store the Gourmet Hot or Cold Whipper in the freezer.
2. Do not expose the Gourmet Hot or Cold Whipper to extreme heat
(stove, direct sunlight, microwave, etc.).
3. Do not unscrew the head of the Gourmet Hot or Cold Whipper until
all of the pressure has been released. To do this, press the lever
until all of the hissing noise stops.
4. Clean the Gourmet Hot or Cold Whipper after every use according
to these instructions.
FIG. 1
FIG. 3
- 6 -
FIG. 2
FIG. 4
FIG. 5
The SHARPER IMAGE® name and logo are registered trademarks.
©Sharper Image. All Rights Reserved.
 Loading...