

Page 1
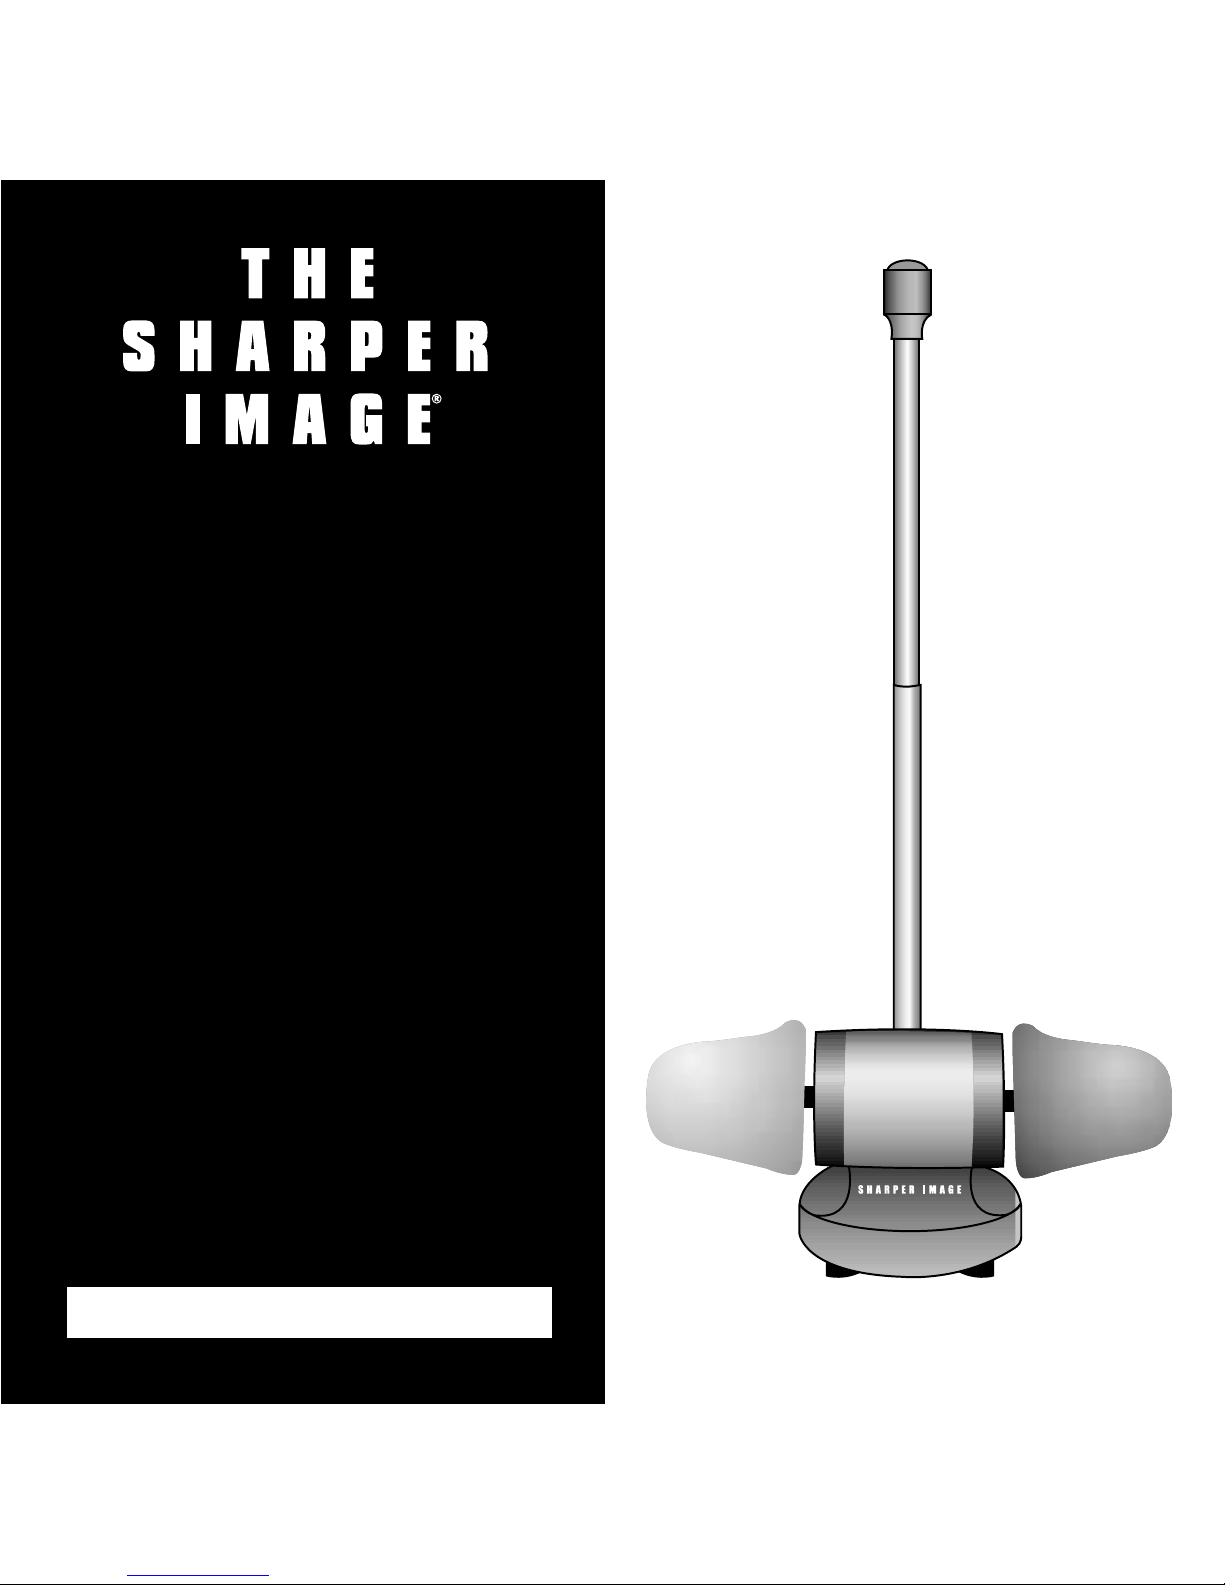
Electric
Shoe Buffer
CA825 Instructions
Read and save these instructions.
Page 2

2
Page 3

Dear Sharper Image Customer,
Thank you for your purchase of a Sharper Image product. We appreciate
your business very much.
Please accept my personal assurance of your complete satisfaction with
this product’s quality and performance. We offer generous return
privileges and excellent warranties on all our products.
For more than 25 years, The Sharper Image has shared the fun of
discovering innovative products that make life better and more enjoyable. We’ve been in business a long time because we are an exciting
place to shop and — just as importantly — we strive to deliver great
customer service that exceeds your expectations.
Enjoy your purchase!
Respectfully,
Richard Thalheimer
Founder, Chairman and Chief Executive Officer
Call 1-800-344-4444 for 24-7 ordering and customer service,
or go to , our complete online store.
Page 4

Important Safety Instructions ......................................................5
Parts Diagram.............................................................................7
Assembly....................................................................................8
Buff Installation ........................................................................10
Operating Instructions ..............................................................11
Warranty ....................................................................Back Cover
Table of Contents
4
Page 5

5
IMPORTANT SAFETY
INSTRUCTIONS
THIS PRODUCT IS INTENDED FOR HOUSEHOLD USE.
WHEN USING ELECTRICAL APPLIANCES, BASIC SAFETY
PRECAUTIONS SHOULD ALWAYS BE FOLLOWED.
WARNING
:
•Make sure outlet is 120V.
•To reduce the risk of electric shock, buffer has a polarized plug
(one blade is wider than the other). Plug will only fit in a polarized
outlet. Do not attempt to defeat this safety feature.
•Do not attempt to repair buffer.
•Do not place buffer near or over a radiator or other heat source.
•Do not allow anything to rest on power cord. Do not place
where someone may walk on the cord.
•Do not use near water or in the bathroom. Avoid splashing
liquids on buffer.
•Keep hands, hair, clothing and other loose articles away from buffer.
Page 6

6
•Do not operate with a damaged power cord or plug, or if
buffer has malfunctioned or has been damaged in any manner.
•Unplug when not in use, or before cleaning or moving.
•Do not disconnect plug by pulling cord.
•Keep out of reach of children.
CAUTION: Do not operate continuously for more than 10 minutes. Do not apply too much force to the rotating buff; otherwise, it will stop automatically to protect the precision motor and
your shoes. If the motor stops, release the button at once and
wait for several minutes.
SAVE THESE INSTRUCTIONS
IMPORTANT SAFETY
INSTRUCTIONS
Page 7

7
Parts Diagram
Main Body
Buff
Holder
Upper Tube with
On-Off Switch
Lower Tube
Buff (Black)
Buff (Red)
Small Screw
Large Screw
Page 8

8
Assembly
Ensure that the rear side of the Upper
Tube is facing the same direction as the
rear side of the Main Body.
Insert narrow end of Upper Tube (with
button) into Lower Tube, matching
screw holes. Fasten tubes together
with the included small screw.
(See Fig. 1 on pg. 9.)
Insert assembled tube in the back of the
Main Body. Ensure the back of the Upper
Tube (with screw holes and flat section)
faces away from Main Body. Fasten tube
with the included large screw.
(See Fig. 2 on pg. 9.)
Rear Side of the
Upper Tube
Front Side of the
Upper Tube
Page 9

Assembly
9
(Fig. 1)
(Fig. 2)
Page 10

10
1. Unplug the unit.
2. Detach the Buff Holder from the Main Body of the unit.
(See Fig. 3.)
3. Place the buff on the buff holder with the ribbon as indicated.
Ensure that the ribbon is around the edge of the Buff Holder
and not through the center. (See Fig. 4.)
4. Connect the Buff Unit to the Main Body. (See Fig. 5.)
Buff Installation
(Fig. 3)
(Fig. 4) (Fig. 5)
Page 11

1. Plug in the unit.
2. Press and hold the button slightly. The polisher starts.
(See Fig. 6.)
3. Move your shoe under the rotating buff. Use the black buff
when wearing black or dark shoes. Use the red buff for
light colored shoes. (See Fig. 7.)
4. When finished polishing, just release the button. The unit
stops automatically.
11
(Fig. 6)
(Fig. 7)
Operating Instructions
Page 12

What Is Covered
This warranty covers any defects in materials or workmanship, with the exceptions stated below.
How Long Coverage Lasts
This warranty runs for 90 days from the date of original purchase.
What Is Not Covered
This warranty does not cover damage caused by misuse or use other than as intended and described in the
product instruction manual, or loss or damage to batteries or removable parts.
What The Sharper Image Will Do
The Sharper Image will repair any defects in materials or workmanship. In the event repair is not possible,
The Sharper Image will either replace this product with one of similar features and price, or refund the full
purchase price of the product, whichever you prefer.
How to Obtain Service
Return the product and receipt, along with a brief explanation of the problem, to:
T.S.I. - Returns Department
2901-A West 60th Street
Little Rock, AR 72209
If you have questions please feel free to contact our customer service representatives at 1-800-344-5555 or
by email at care@sharperimage.com.
This warranty gives you specific legal rights, and you may have other legal rights that vary from state to state.
Copyright 2003
Sharper Image Corporation
650 Davis St., San Francisco, CA 94111
(415) 445-6000
Shop online:
Due to continuing improvements, actual product may differ slightly from the product described herein.
V3 10/03
Warranty
 Loading...