

Page 1
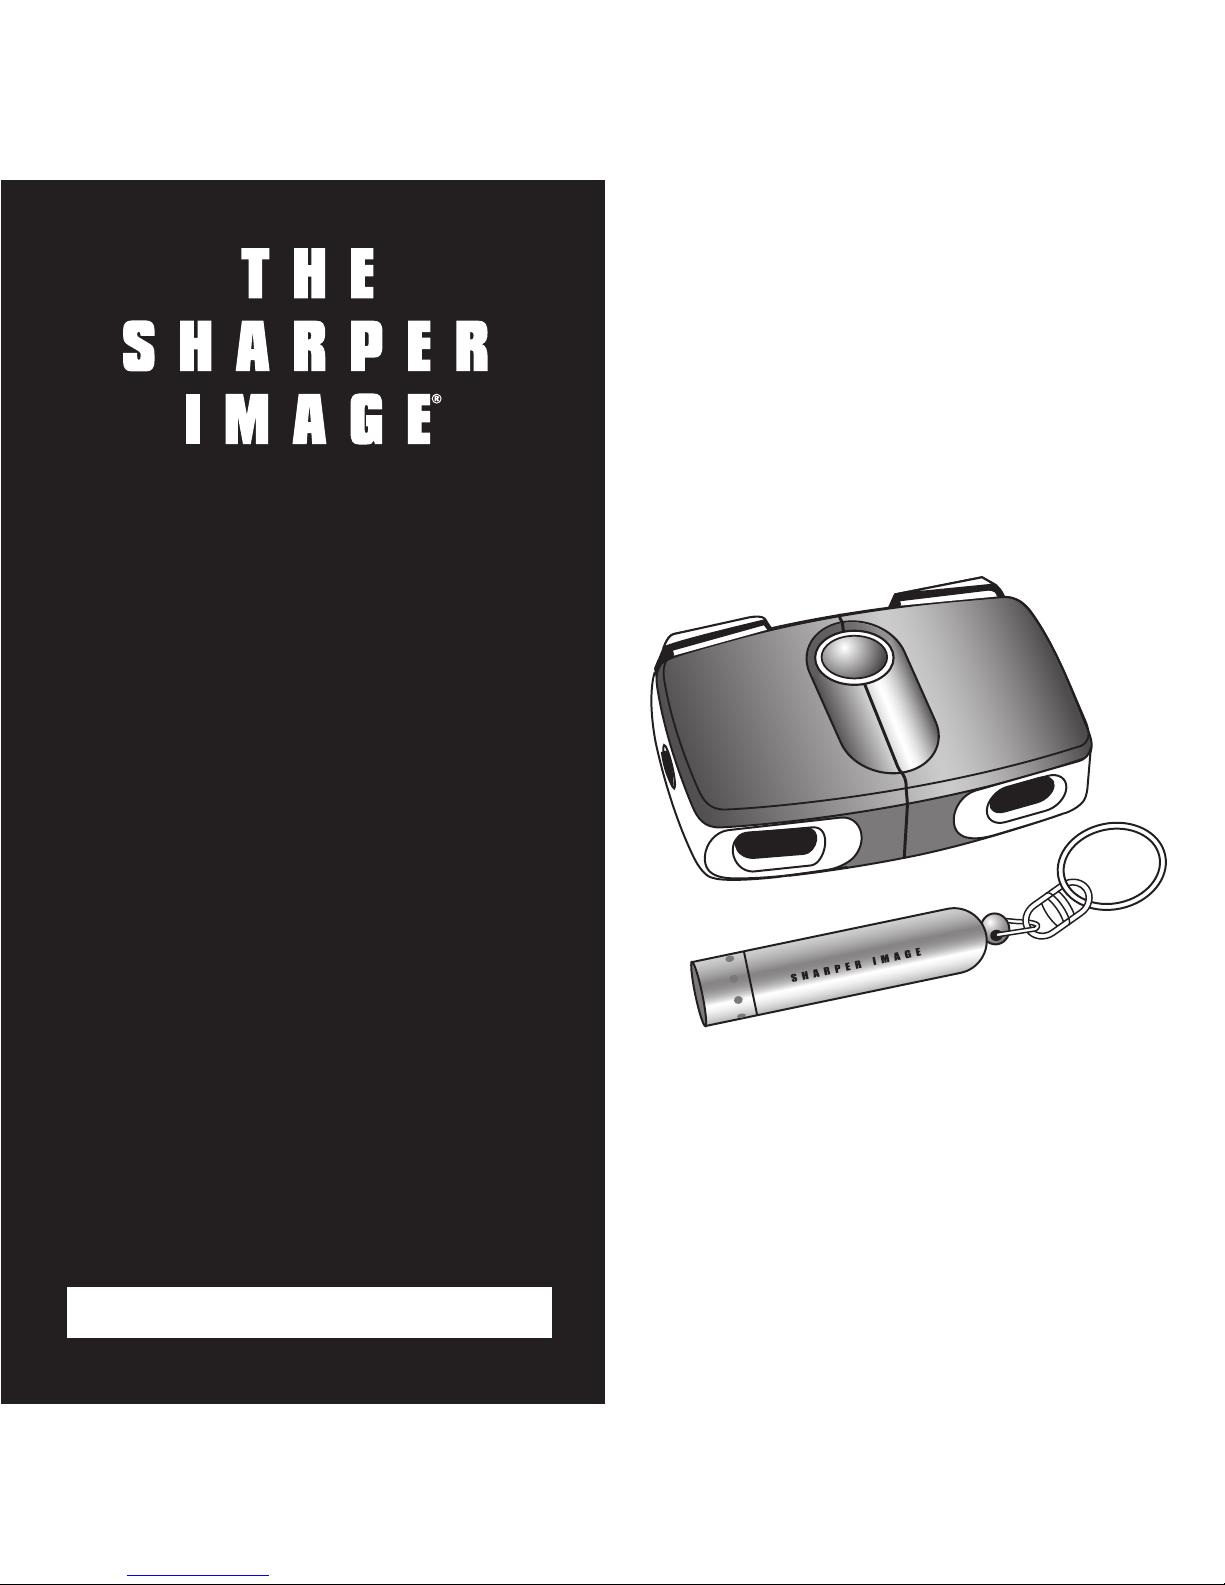
Sliding
8x18 Pocket
Binocular
AK308 Instructions
Read and save these instructions.
SHARPER IMAGE
Page 2

Dear Sharper Image Customer,
Thank you for your purchase of a Sharper Image product. We appreciate
your business very much.
Please accept my personal assurance of your complete satisfaction with
this product’s quality and performance. We offer generous return
privileges and excellent warranties on all our products.
For more than 25 years, The Sharper Image has shared the fun of
discovering innovative products that make life better and more enjoyable. We’ve been in business a long time because we are an exciting
place to shop and — just as importantly — we strive to deliver great
customer service that exceeds your expectations.
Enjoy your purchase!
Respectfully,
Richard Thalheimer
Founder, Chairman and Chief Executive Officer
Call 1-800-344-4444 for 24-7 ordering and customer service,
or go to , our complete online store.
Page 3
•Do not view any object while facing the sun. This will cause
damage to your eyes.
•Do not view the sun directly through binocular.
•Do not attempt to take binocular apart or clean internally.
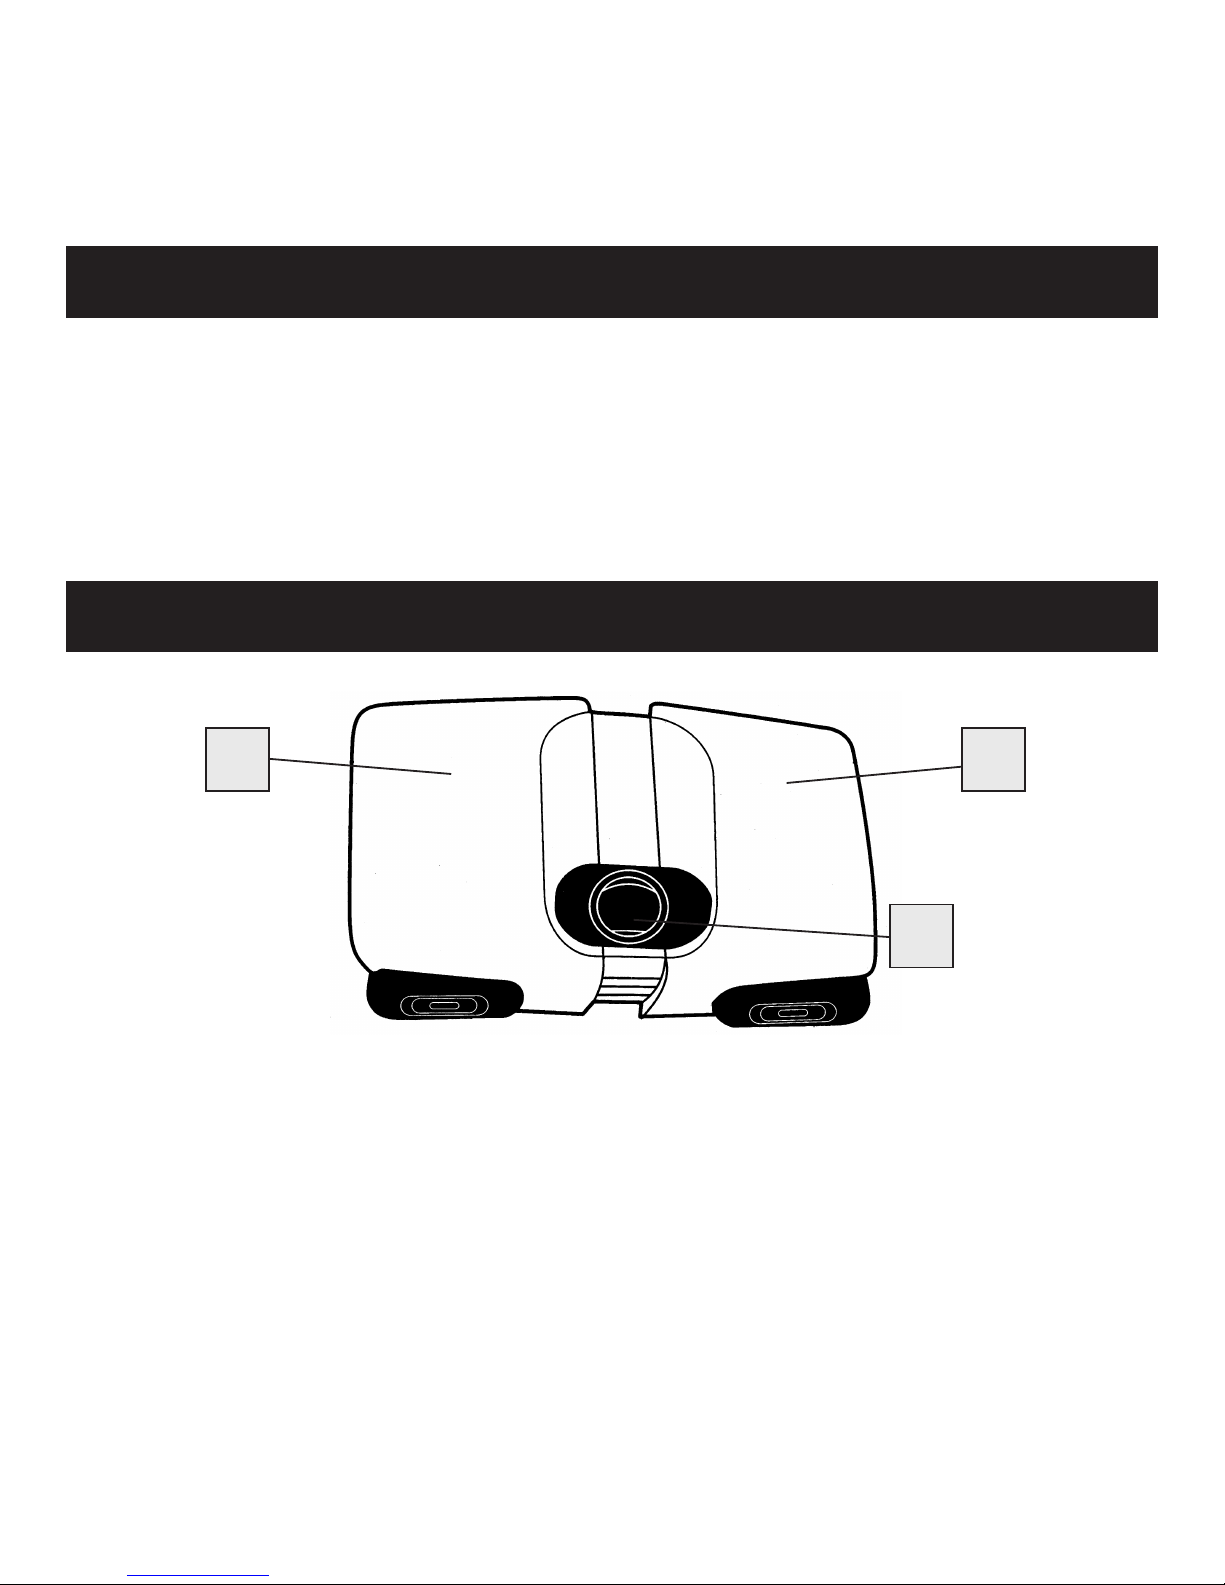
Adjusting For Distance Between Your Eyes
The distance between the eyes is called interpupillary distance. To
obtain perfect alignment between lens and eye, follow these steps:
1. Hold the binocular in the normal viewing position.
2. Slide the left and right shells (A) together or farther apart until
you see one circular view. Before use, always reset the binocular to this position.
Caution
A A
B
Page 4

1. Rotate wheel (C) to set right eyepiece to zero, then look at a
distant object.
2. Cover right objective (front) lens with your hand, then rotate
central focusing wheel (B) until the image in the left eyepiece
is sharp. Keep both eyes open when making this adjustment.
3. Cover left objective (front) lens with your hand, then rotate
wheel (C) until the image in the right eyepiece is sharp.
4. The image is now focused to your eye strength. Note the
diopter setting for future reference.
Diopter Setting and Central Focusing
C
Page 5

Rubber-tipped Button
1. To switch on Momentary Light mode, gently press the rubber-
tipped button. Hold down as long as light is required.
2. To switch on Constant Light mode, firmly press the rubber-tipped
button. To switch off Constant Light mode, press the button again.
Battery Precautions
• Use only the size and type of batteries specified.
• When installing batteries, observe proper +/- polarities.
• Do not mix old and new batteries.
• If the unit is not going to be used for a long period of time,
remove batteries to prevent damage or injury due to possible
battery leakage.
• If light becomes dim, replace the batteries.
LED Flashlight Operation
End Cap
Page 6

1. To open the battery compartment, grip the flashlight body and
turn the end cap counterclockwise.
2. Remove old batteries and dispose of properly.
3. Insert four new AG13 button cell batteries. Ensure the positive
(+) side is face out, contacting the end cap spring.
4. Replace the end cap and turn clockwise until secure.
Care
•Handle binocular carefully.
•Binocular is water-resistant. However, store in a dry, ventilated
place and do not immerse in water.
•Keep away from corrosive substances.
•Before wiping with the included lens cloth, blow away any dust
or dirt that may exist on the lens.
•To remove any remaining dirt or smudges, add one or two
drops of alcohol to lens cloth before wiping. Do not use
a coarse cloth because it could scratch the lens surface and
eventually cause permanent damage.
Battery Replacement
The product herewith complies with the requirements of the EMC
Directive 89/336/EEC and carries the “CE” mark accordingly.
Page 7

What Is Covered
This warranty covers any defects in materials or workmanship, with the exceptions stated below.
How Long Coverage Lasts
This warranty runs for 90 days from the date of original purchase.
What Is Not Covered
This warranty does not cover damage caused by misuse or use other than as intended and described in the
product instruction manual, or loss or damage to batteries or removable parts.
What The Sharper Image Will Do
The Sharper Image will repair any defects in materials or workmanship. In the event repair is not possible,
The Sharper Image will either replace this product with one of similar features and price, or refund the full
purchase price of the product, whichever you prefer.
How to Obtain Service
Return the product and receipt, along with a brief explanation of the problem, to:
T.S.I. - Returns Department
2901-A West 60th Street
Little Rock, AR 72209
If you have questions please feel free to contact our customer service representatives at 1-800-344-5555 or
by email at care@sharperimage.com.
This warranty gives you specific legal rights, and you may have other legal rights that vary from state to state.
Copyright 2003
Sharper Image Corporation
650 Davis St., San Francisco, CA 94111
(415) 445-6000
Shop online:
Due to continuing improvements, actual product may differ slightly from the product described herein.
V1 08/03
WARRANTY
 Loading...