

Page 1
Customer Service: 1-800-423-4248
Printed in China
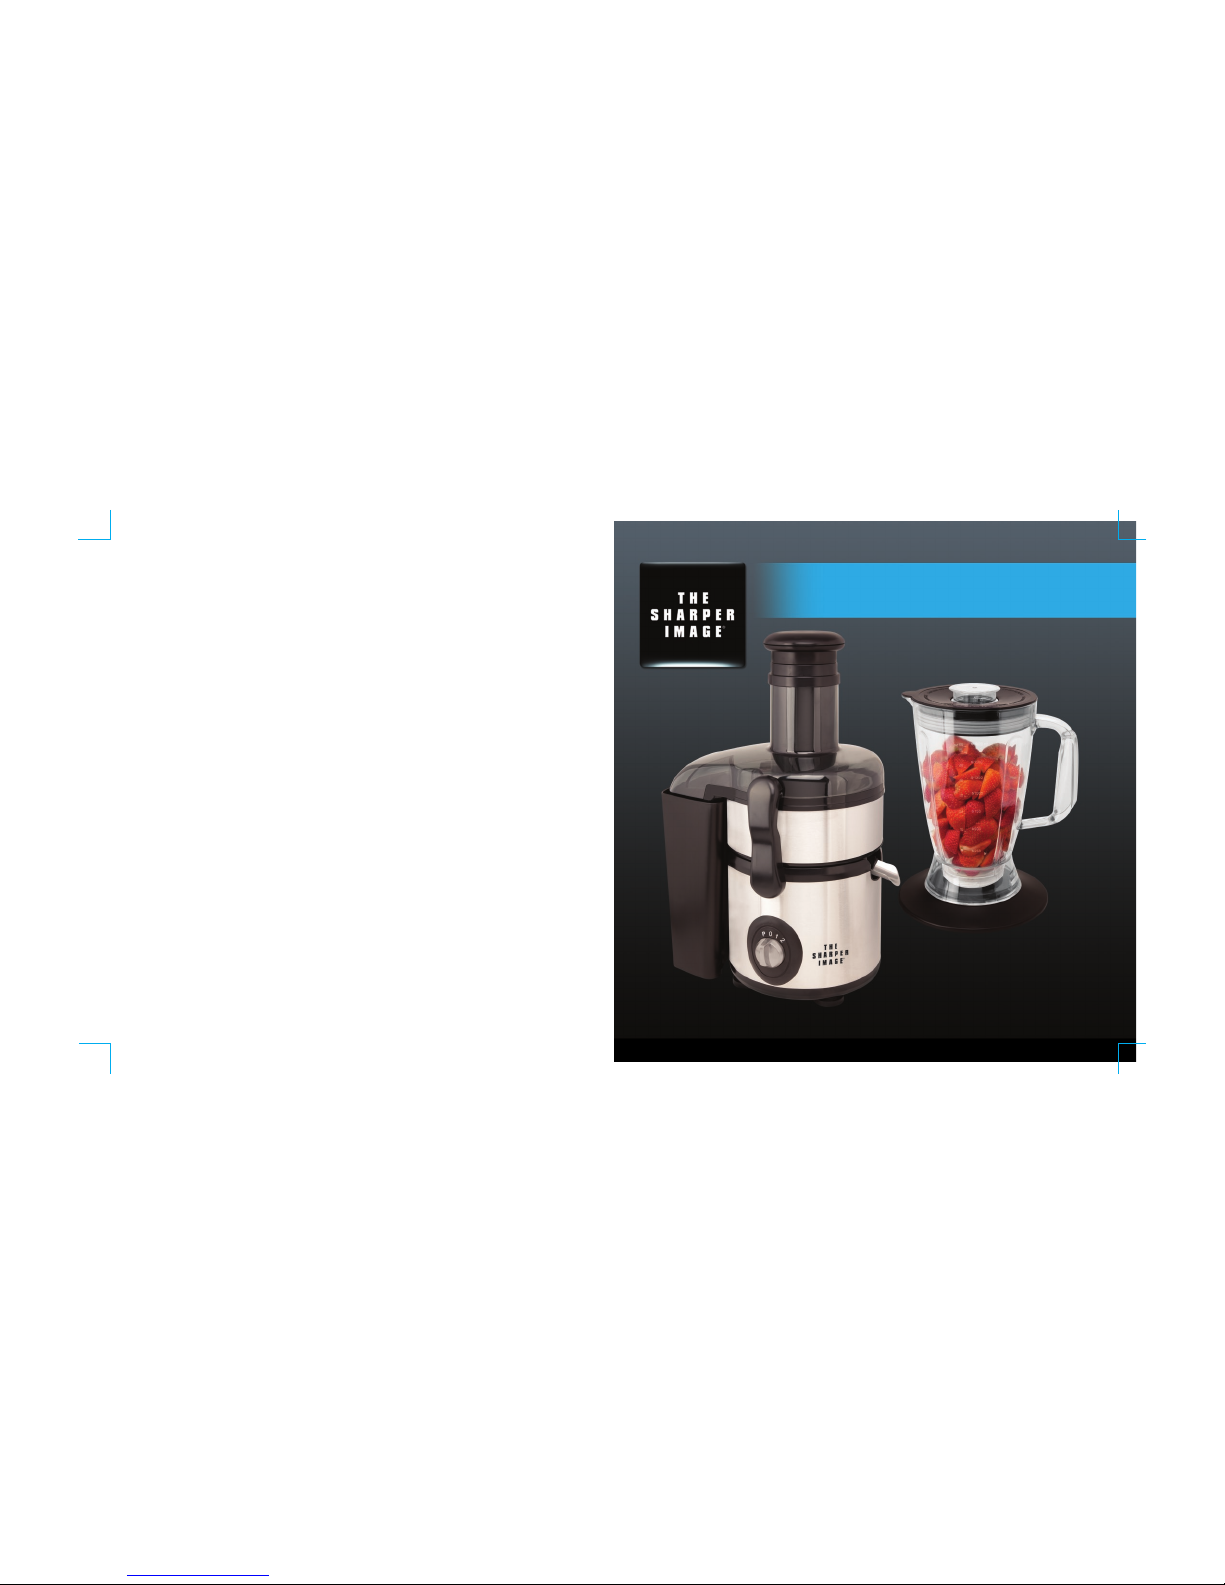
Stainless Steel Juicer-Blender Combo ITEM NO.8290 SI
The Sharper Image® name and logo are registered trademarks.
Manufactured and Marketed by EMSON®. New York, NY 10001, USA
under license.
© The Sharper Image. All Rights Reserved.
INSTRUCTION MANUAL
STAINLESS STEEL
600 Watt / 2 Speed & Pulse
JUICER -BLENDER COMBO
Page 2

CONTENTS
INTRODUCTION............................................................................................................................... 3
IMPORTANT SAFEGUARDS............................................................................................................. 4
UNPACKING..................................................................................................................................... 5
PARTS AND FEATURES ............................................................................................................. ...... 6
USAGE-JUICER ................................................................................................................................ 7
USAGE-BLENDER ............................................................................................................................ 8
CLEANING....................................................................................................................................... 9
2
Page 3

3
Before using the electrical appliance, the following basic precautions should always be followed including the
following:
1. Read all instructions.
2. Close supervision is necessary when the appliance is operated near children. Do not allow children to use this appliance.
3. Before use, check that the voltage of wall outlet corresponds to the one shown on the rating plate.
4. Do not operate any appliance with a damaged cord or plug or after the appliance malfunctions, or is dropped or damaged
in any manner. Return appliance to the nearest authorized service facility for examination, repair or electrical or mechanical
adjustment.
5. If the supply cord is damaged it must be replaced by the manufacturer or an authorized
service agent or a qualified
technician in order to avoid a hazard.
6. Do not let cord hang over edge of table or hot surface.
7. Do not immerse plug, cord or housing into water due to the risk of electric shock.
8. Close supervision is necessary when your appliance is being used near children.
9. This appliance is not intended for use by persons (including children) with reduced physical, sensory or mental capabilities,
or lack of experience and knowledge, unless they have been given supervision or instruction concerning use of the appliance
by a person responsible for their safety. Children should be supervised to ensure that they do not play with the appliance.
10. The use of accessories not recommended by the manufacturer may cause injuries to persons.
11. Do not operate the appliance for other than its intended use.
12. When not in use, before putting on or taking off parts and before cleaning - unplug the appliance from the outlet.
13. Avoid contact with moving parts while in use to prevent injury and/or damage to the appliance.
14. Do not push fruit down the feeder with your fingers or other utensils or implements. Always use the pusher supplied.
15. Do not operate the juicer or blender for more than 1 minute continuously per use and allow the unit to cool between use,
otherwise unit will overheat and burn out its fuse, damaging the unit permanently.
16. Do not operate the blender without its vented lid, always make sure vented lid completely seal the canister before turning
on the unit to prevent splashing or injury.
17. This appliance is suitable for juicing and blending fruits and vegetables. Blender can be used for crushing ice, mixed food
etc. Do not use to cut, chop or process hard fruit.
18. Do not use outdoors.
19. Do not touch any moving parts.
20. Do not move the appliance when in use.
21. Unplug from main power socket when not in use.
22. Servicing and repair should only be conducted by a qualified technician.
IMPORTANT SAFEGUARDS
4
INTRODUCTION
Blender Features
Powerful 17,000 RPM Motor
Heavy-Duty 60 oz. Container
Durable Steel Blade
2 Speeds with Pulse Option
Juicer Features
Sturdy 600-Watt Motor
Quick and Easy Cleanup
Dishwasher Safe
Stainless Steel Micro Filter
Get Fresh, All-Natural Juice in Seconds
Without the Mess. Makes Fruit Juices,
Sorbets, Vegetable Juices, Baby Food,
Sauces, Almond Butter, Soups, and More...
With the Added Blender Attachment,
Prepare Healthy Drinks, Smoothies, Batters,
and Cocktails Quickly and Easily!
The Sharper Image® Juicer - Blender Combo
acts as 2 machines in 1: combining the versatility
and power of both a juicer and a blender, all in
one sleek package!
Page 4

5
PARTS AND FEATURES
6
IMPORTANT SAFEGUARDS-UNPACKING
SAVE THESE INSTRUCTIONS
FOR HOUSEHOLD USE ONLY.
POLARIZED PLUG
This appliance has a polarized plug (one blade is wider than the other). To reduce the risk of electric shock, this plug will fit
in a polarized outlet only one way. If the plug
does not fit fully into the outlet, reverse the plug. If it still does not fit, contact a
qualified
electrician. Do not attempt to modify the plug in any way.
Do not attempt to repair the appliance, contact a qualified service technician.
A short power supply cord is provided to reduce the hazards resulting from entanglement or tripping over long cord.
Do not use extension cord as it can be pulled on by children causing the unit to tip over.
MAIN UNIT (POWER BASE)
JUICER ATTACHMENT
BLENDER ATTACHMENT
PACKAGE CONTENTS:
Unpack the unit and remove all packaging materials.
Before using the unit for the first time, wipe the surface of the
power base with damp cloth. Rinse all parts (not the Power Base) in warm soapy water prior to use. Dry all parts
thoroughly. Refer to full cleaning instructions on p.9 if needed.
Blender Base and Jar are packed separately and need to be assembled
prior to use.
1. Align the bottom of the blender Jar with the base as shown in the
Diagram on right.
2. Place Jar onto Base. Rotate the Base clockwise while holding the Jar
with one hand, lock tight and secure.
WARNING: Do not immerse the unit, cord or plug in water or any other liquid.
Do not use abrasive cleansers.
UNPACKING - BEFORE FIRST USE
1. Pusher-moves whole fruits and
vegetables down the Extra Large Feeder
2. Extra Large 3 inch Feeder-allows for easy processing without cutting
or peeling
3. Lid-equipped with locking tabs for secure unit operation
4. Stainless Steel Blade/Filter-grinds fruit and filters through the super
fine mesh for ultra clear juice
5. Large Capacity Bowl-collects freshly squeezed juice
6. Safety Locking Bar (2)-securely locks parts into place while juicer is in action
7. Mega Size Removable Pulp Container-safely collects pulp to be used
for soups, salsas, cakes & more
8. Power-features 2 speeds and pulse
9. Vent Cover-allows to add small ingredients or liquid; also serves as measuring
cup (50 ml)
10. Silicone Gasket-forms a tight seal to prevent leakage
11. Polycarbonate Canister (60 oz.)-is durable and dishwasher safe.
Locks securely onto the power base
12. Stainless Steel Blade-blends easily with 17,000 RPM’s of power
6
5
1
2
3
7
4
8
10
11
12
9
Page 5

7
USING BLENDER:
Assembly:
This appliance is equipped with a safety system. It will not work unless all
the parts have been mounted correctly. Place the Blender assembly over the
Main Power Base.
Usage:
IMPORTANT: Do not operate the juicer or blender for more than
1 minute continuously per use and allow the unit to cool between
use, otherwise unit will overheat and burn out its fuse, damaging
unit permanently.
1. If previously used Juicer, bring both Safety Locking Bars down. Remove
the Pusher, Lid, Blade/Filter and Bowl assembly.
2. See Diagrams on right. Keep front Lock Bar UP while placing blender
Base onto Main Power Unit. Make sure Blender Base is secured before
lowering the Locking Bar. Lower front Locking Bar to interlock with small
protrusion on Blender Base (should go inside Locking Bar).
3. Place already cut up fruits or vegetables, add desired amount of liquid. Make sure overall amount
within
minimum 8 oz/250 ml and maximum 60 oz/1800ml capacity, marked on the Blender container.
Add ice, if using.
4. Insert the plug into the power outlet. Move the Power Dial to P (Pulse) the first 3-4 times to mix the
ingredients. Then turn to 1 (Low Speed) or 2 (High Speed) depending on your preference. If only crushing
ice, use P (pulse) setting.
5. Vented lid can be removed to add extra ingredients or liquid. IMPORTANT: Always make sure the unit is completely
turned off before removing lid, and the lid completely seals the canister before turning on the unit.
6. Vented cover can be removed to add small ingredients or liquid and used as a measuring cup. Just turn it counterclockwise
and pull up to remove from lid. Align the small protrusion on cover with groove inside the lid, then push down and turn clockwise
to secure back onto lid. IMPORTANT: Always make sure unit is off when removing and securing vent cover.
USING JUICER:
Assembly:
Assemble Juicer, use previous page as a guide. This appliance is equipped with a safety system. It will not work unless
all the parts have been mounted correctly.
1. Place the Large Capacity Bowl on the Main Power Base.
2. Place the Removable Pulp Container into the appliance by tilting it slightly forward and pushing into position.
For easier clean-up, you may place a plastic bag inside the Removable Pulp Container.
3. Put the Stainless Steel Blade/Filter in the appliance, ensure it locks into place.
4. Lower the Lid into position.
5. Bring both Safety Locking Bars UP to secure the assembly, they will click when correctly placed.
6. Slide the Pusher into the Feeder by aligning the groove in the pusher with the small protrusion on the inside of the Feeder.
Usage:
IMPORTANT: Do not operate the juicer or blender for more than 1 minute continuously per use and allow the unit to
cool between use, otherwise unit will overheat and burn out its fuse, damaging unit permanently.
CAUTION: NEVER INSERT YOUR FINGERS OR ANY OTHER OBJECT INTO THE FEEDING TUBE.
1. Wash the fruit or vegetables and cut them into pieces small enough to fit it through the feeding tube.
CAUTION: To prevent damage to the appliance, when using large carrots or any other large hard fruit or
vegetable, always cut lengthwise in half to reduce the thickness of the vegetable/fruit.
2. Once all the parts are assembled, insert the plug into the power outlet. Make sure to place a container under the
spout of the Juicer to collect the juice.
3. Move the power dial and the motor will start running. Push the precut food pieces in the feeding tube and gently push them down
towards the rotating filter using the pusher supplied. NOTE: To achieve the best juicing results, do not press Pusher down too fast.
ATTENTION: While the juicer is in operation, DO NOT place hands or any other foreign object into the Feeder.
4. When the juice flow has stopped, switch the appliance off and wait until the filter has stopped rotating.
5. After each juicing session, always rinse out the Lid and clean the Stainless Steel Blade/Filter so the food particles do
not dry on its surface and the filter doesn’t get clogged. Empty out the Removable Pulp Container.
USAGE-BLENDER / CLEANINGUSAGE-JUICER
(Refer to p. 6 for Parts Identification)
8
Page 6

CLEANING:
WARNING: Do not immerse the Main Power Unit, cord or plug in water or any other liquid. Do not use abrasive cleansers.
Always make sure that the unit is unplugged from the outlet prior to cleaning.
Pusher, Lid, Stainless Steel Blade/Filter, Large Capacity Bowl, Removable Pulp Container, Blender Lid, Polycarbonate Canister,
and Stainless Steel Blender Blade are washable.
To disassemble the Blender, turn it upside down. While holding the Canister in one hand, grasp the base of the Blender with the other.
Turn the base with blade counterclockwise to remove the blade for cleaning. To assemble it back, insert the Blade into the Canister
and turn blade clockwise.
Wash in warm water using mild detergent. Do not use harsh cleaners or scoring pads. Exercise caution when washing and handling
the Blender Blade as it is very sharp. Dry with cloth and assemble back on the unit. When using as a Juicer, always clean the Stainless
Steel Blade/Filter after each juicing session to prevent clogging.
DO NOT SUBMERGE THE MAIN POWER UNIT, CORD OR PLUG IN WATER OR ANY OTHER LIQUID.
Use wet cloth to wipe the Main Power Unit.
CLEANING
9
 Loading...