

Page 1
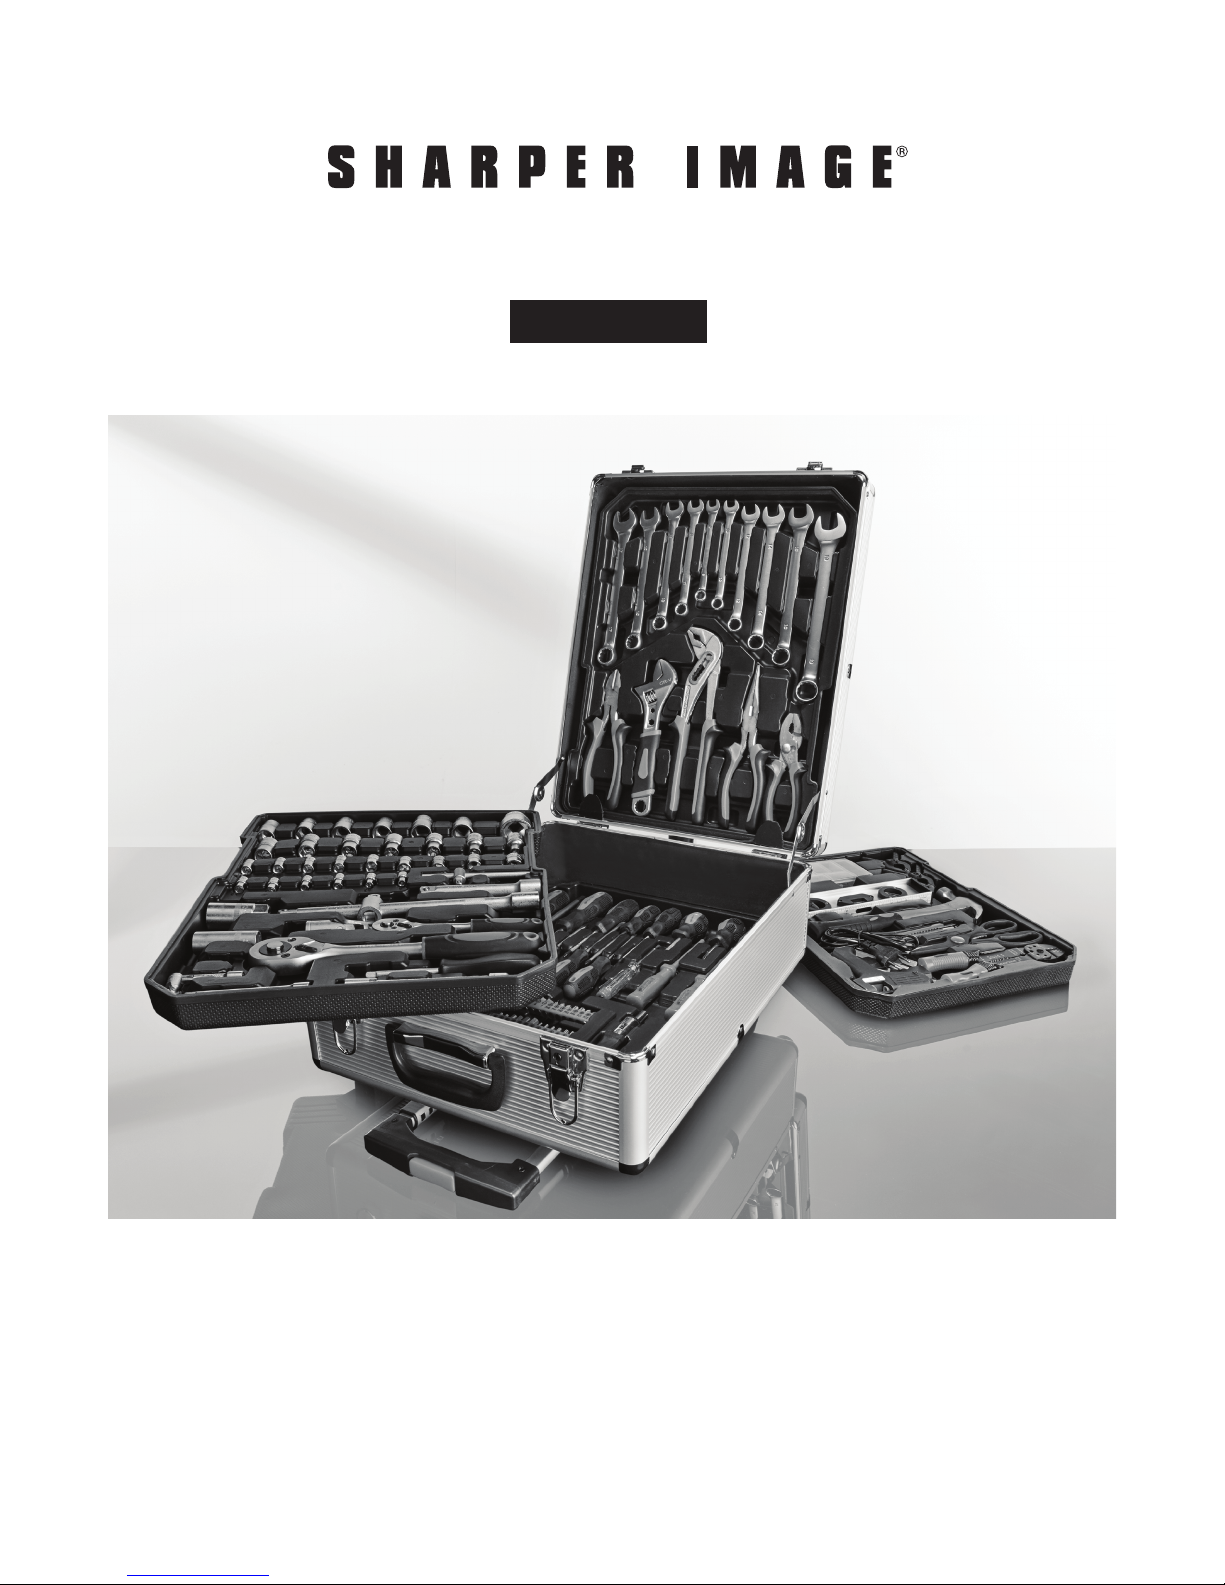
186-PIECE VANADIUM TOOL SET
Item No. 205397
User Guide
Thank you for purchasing the Sharper Image 186-Piece Vanadium Tool Set. This collection is ideal
for beginners and experts, whether you already have tools or need an extra set.
Please note: All tools are metric size, unless otherwise specified.
- 1 -
Page 2

CONTENTS
Tray 1:
• 1X 6” longnose plier
• 1X 6” diagonal plier
• 1X 6” slip joint plier
• 1X 9” water pump plier
• 1X 8” adjustable wrench
• 9X combination wrenches
(6, 8, 10, 11, 12, 13, 14, 15,
17mm)
Tray 2:
• 11X screwdrivers
(PH3*150,
• PH1*75, PH2*100,
PH2*38, PH0*75,
PH1*100mm,
• SL6*100mm, SL5*75mm,
• SL3*75mm, SL6*38mm,
• SL4*100mm)
• 3X insulation screwdrivers
• 1X electrical tester
(100V-500V)
• 1X ratchet bit holder
(160mm)
• 1X pressure tester
(140mm)
• 24X 25mm bits
• 9X hex keys (1.5, 2, 2.5, 3,
• 4, 5, 6, 8, 10mm)
• 1X 58mm extension bar
• 6X precision screwdrivers
• (SL1.4-1.8-2.3-3.0,PH0-PH1)
Tray 3:
• 2X nylon spring clamps (3”)
• 1X 10” aluminum level (with
three water bubbles)
• 1X knife (155mm)
• 1X 12 oz. claw hammer
• 1X 8” kitchen scissor
• 1X electric hot glue gun
10W/110V-240V 50/60Hz
• 2X glue sticks (100m)
• 1X measuring tape (5m)
• 1X 8” wire stripping plier
• 1X roll of insulation tape
(6m) 60X fasteners (various
nails, screws etc. in plastic
case)
Tray 4:
• 15X ¼” sockets (4, 4.5, 5, 5.5,
6, 6.5, 7, 7.5, 8, 9, 10, 11, 12,
13, 14mm)
• 1X ¼” extension bar (4”)
• 1X ¼” extension bar
• 1X ¼” extension bar (2”)
• 1X ¼” ratchet wrench
(165mm)
• 14X ½” sockets (8, 9, 10, 11,
12, 13, 14, 15, 16, 17, 18, 19,
20, 30mm)
• 1X ½” extension bar (5”)
• 2X ½” spark plug sockets
• (16mm & 21mm)
• 2X universal joints (1/2” &
1/4”)
• 1X ½” extension bar
• 1X ½” ratchet wrench (10”)
• 1X socket holder (155mm)
• 1X flexible pipe (145mm)
Also Included:
• 1X wheeled aluminum
carrying case
OPERATING THE ELECTRIC GLUE GUN
1. Attach the wire stand to tool. Snap open ends of stand into holes near nose of tool. Use this stand when
setting down the hot tool. This allows for good ventilation. Do not lay the hot tool down on its side.
2. Plug the power cord into a standard AC outlet. Use an extension cord if needed.
3. Insert glue stick into rear opening of tool.
4. Allow tool to heat 3-5 minutes before using.
5. Squeeze trigger to apply glue. Note: The amount of glue released depends on how far you squeeze the
trigger.
6. Unplug the tool when you are finished, or
if you will not use it within two hours.
7. Do not remove the glue stick from the tool.
This may damage the tool. The melted glue inside
the tool will cool, and can be stored this way.
The glue will melt again the next time you
plug in the tool.
8. Allow tool to cool for at least 15 minutes before
storing. WARNING: Do not touch melted glue or
the hot tool nozzle. The temperature of the nozzle
reaches 350°F (193°C). Severe burns will occur.
HOT GLUE TIP
GLUE STICK
OPENING
WIRE
STAND
TRIGGER
- 2 -
Page 3

SAFETY CAUTIONS
WARNING: Follow all safety precautions outlined in these instructions. Improper use of this tool can cause
severe injury from fire, electrical shock or burns.
Read and understand all instructions before using
this tool.
• This tool is not a toy. Keep out of reach of children
at all times.
• Do not touch the hot nozzle. Severe burns will
occur.
• Do not touch the melted glue. Severe burns will
occur.
• Do not operate the tool…
1. Where highly flammable liquids or gases are
present.
2. If tool is exposed to rain or in damp or wet
areas.
3. If the tool is damaged.
• Do not glue things above your head. The hot glue
may drip on you.
• Wear safety glasses whenever using this tool.
• Stay alert. Use common sense when using this
tool.
• Unplug the tool when not in use.
• Use the wire stand when setting down the hot tool.
Do not lay the hot tool on its side.
• Do not apply petroleum based wood stains to glue
joints. The bonding power of the glue can break
down.
• Do not glue items that will be exposed to
temperatures of over 140°F.
• Do not alter this tool in any way.
• Maintain this tool with care.
• Keep the tool clean, dry and free of oil and grease.
• Inspect the power cord often.
• Never carry this tool by the power cord.
• Never yank the power cord to unplug the tool.
• Keep power cord away from heat, oil and sharp
edges.
• Never oil or grease any part of this tool.
• Always store tool and glue sticks out of children’s
reach.
• Always store tool and glue sticks in a high, locked
location that is dry.
• This glue is not intended for heavy objects or as a
replacement for structural fasteners.
• Hot glue is not resistant to flammable liquids.
• Do not use this glue to repair fuel tanks.
• Do not attempt to repair this tool. There are no
user-serviceable parts.
WARRANTY / CUSTOMER SERVICE
Sharper Image branded items purchased from SharperImage.com include a 1-year limited
replacement warranty. If you have any questions not covered in this guide, please call our
Customer Service department at 1 (877) 210-3449. Customer Service agents are available
Monday through Friday, 9:00 a.m. to 6:00 p.m. ET.
The SHARPER IMAGE® name and logo are registered trademarks.
©Sharper Image. All Rights Reserved.
- 3 -
 Loading...