

Page 1
STEADY CAM DRONE
Item No. 205097
Quick Start Guide
STEP 2: INSTALL TRANSMITTER BATTERIES
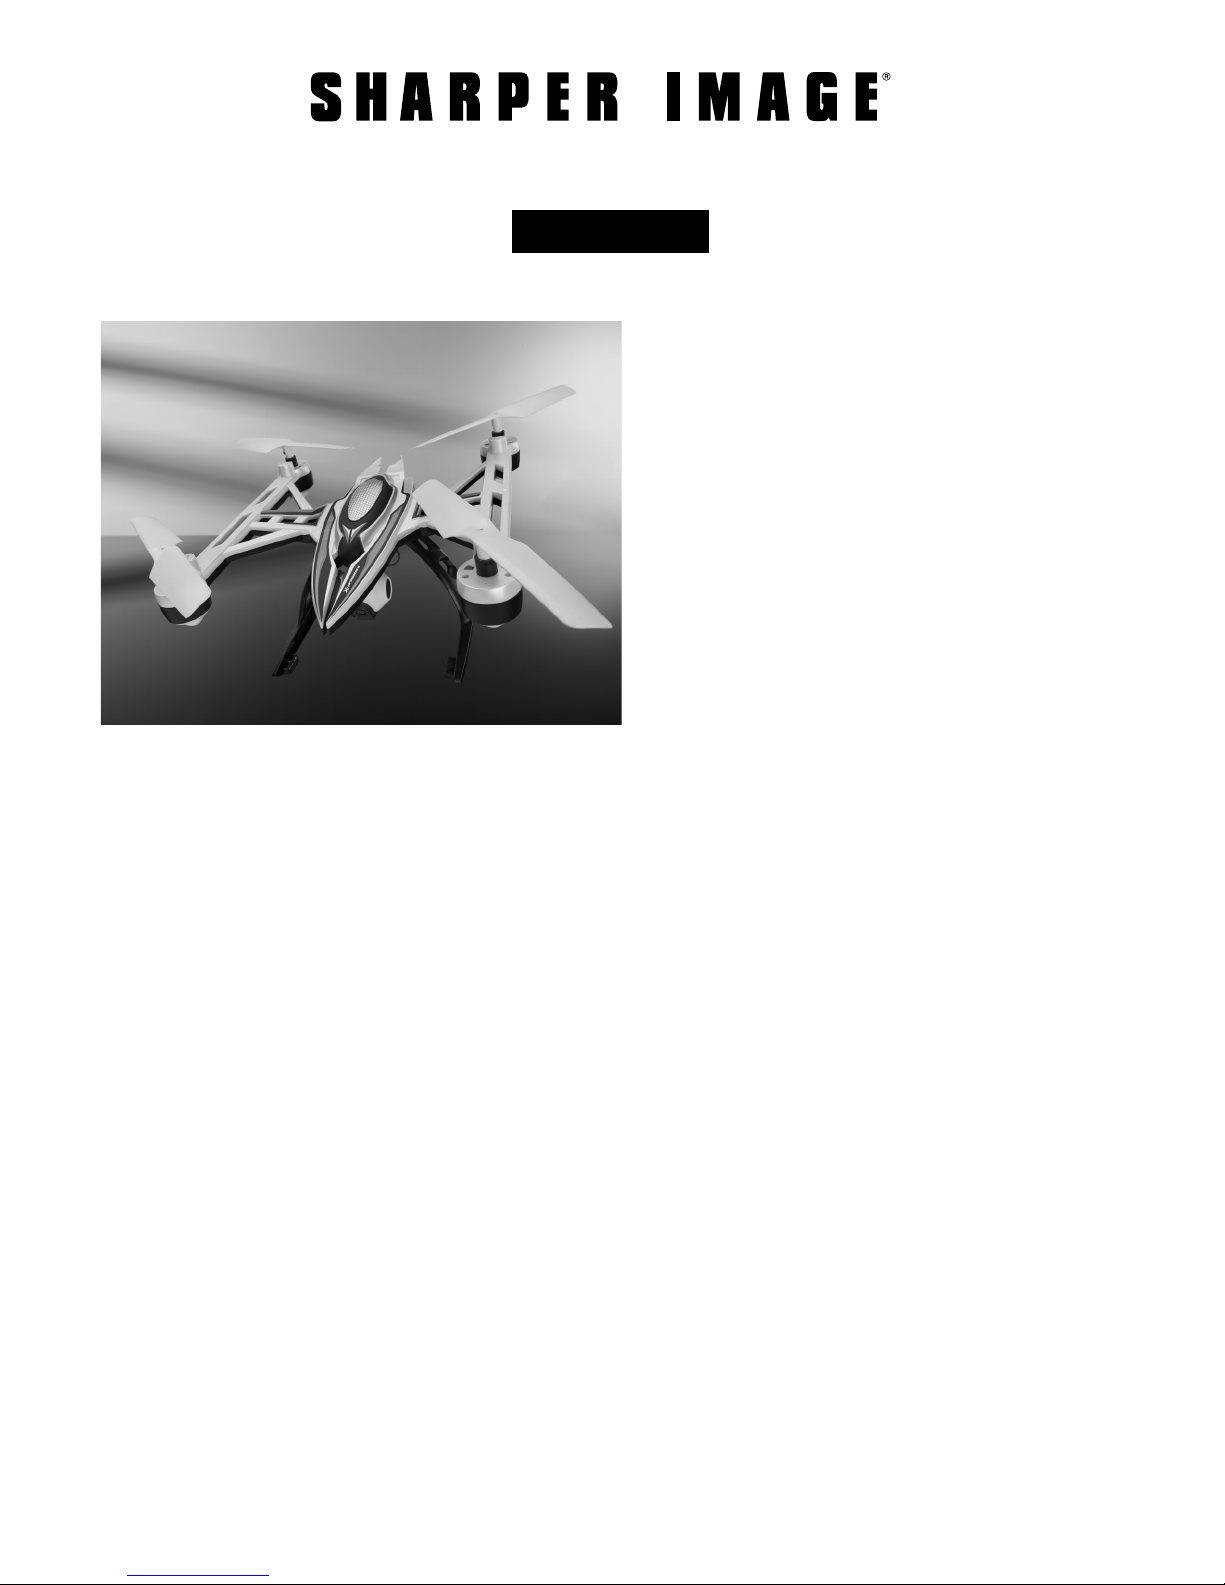
Congratulations on your purchase of the
Sharper Image Steady Cam Drone. This Quick
Start Guide will give you a basic idea of what
is involved to get started with your drone.
If you are new to flying drones, we strongly
recommend you start by reading the full User’s
Guide included in this package. Your safety and
satisfaction are our prime concerns.
1. Unscrew the battery compartment on
the transmitter and open the battery door.
2. Install 4 AA batteries (not included)
according to the correct polarity (“+” or “-”).
CAUTION: Do not mix old and new batteries, and
do not mix disposable/rechargeable batteries
as this may damage the transmitter.
STEP 3: INSTALL THE CAMERA
1. The camera is held in place by two fixed
hooks. Press the camera against the body
of the drone to attach hook #1.
2. Then, slide the camera toward the front of
the drone to attach hook #2.
3. Connect the camera cable to the camera
power port on the drone.
4. Gently insert the included memory card
into the camera.
TIP: See Page 5 of your User’s Guide for
diagrams.
STEP 1: CHARGE THE DRONE BATTERY
1. Remove the rechargeable battery from
the battery compartment of the drone.
2. Connect the battery to the included USB
charging cable.
3. Plug the other end into a computer or
laptop USB port. You may also charge via
AC outlet if you have a USB to AC adapter.
(Adapter not included.)
4. The LED on the cable will turn ON while
it is charging and turn OFF when it is fully
charged.
TIP: Charge time is about 70 minutes.
STEP 4: PAIRING THE TRANSMITTER AND
DRONE
1. Make sure the transmitter and drone have
full battery power.
2. Inspect the flying area to make sure you are
away from crowds, trees, airports, etc.
3. Load the battery into the battery
compartment and connect the battery cable.
4. Place the drone on the ground, tail end
toward you.
5. Turn the On/Off switch on the drone to the
ON position. The LEDs will begin to flash.
6. Switch ON the transmitter. You will hear two
beeps from the transmitter.
-1-
Page 2

STEP 4: PAIRING THE TRANSMITTER
AND DRONE [CONT.
7. Push the throttle lever to the highest position.
The LED light on the drone will flash slowly.
8. Pull the throttle all the way down to the lowest
position. You will hear a beep from
the transmitter.
9. The power light on the transmitter and the
power light on the drone will glow steadily,
indicating that pairing is successful.
]
STEP 5: TAKING OFF AND LANDING
CUSTOMER SERVICE / WARRANTY
Sharper Image branded drones and RC
quadcopters purchased from SharperImage.com
include a 90-day limited replacement warranty.
If you have any questions, please call Customer
Service at 1 (877) 210-3449.
The Sharper Image® name and logo are registered trademarks.
Manufactured and marketed by Camelot SI, LLC under license.
©Sharper Image All Rights Reserved.
1. Press Start/Stop to start the drone. The
motor will run slowly. Push the throttle
upward to take off.
2. To land the drone, press Start/Stop during
flight to slow down the motor. The drone will
descend and the drone will stop flying.
IMPORTANT: To make an EMERGENCY STOP, pull
the throttle lever down and to the left. At the
same time, pull the direction lever down and to
the right. This simultaneous action — pulling
both levers down and away from the center —
is the EMERGENCY STOP function.
NOTE: Your Steady Cam Drone has many
advanced features, including video and still
photography, one-button 360° flips and onebutton return mode. Please read the full User’s
Guide to get the most fun and enjoyment from
your drone.
WARNING: Please exercise caution and common
sense when you operate this drone. Improper
use of this product can result in serious injury,
property damage or damage to the product. It is
your responsibility to comply with all applicable
laws pertaining to remote controlled and
unmanned aerial vehicle flight regulations.
-2-
 Loading...