

Sharper Image 204971 Owner's Manual
USB DISCREET VOICE RECORDER
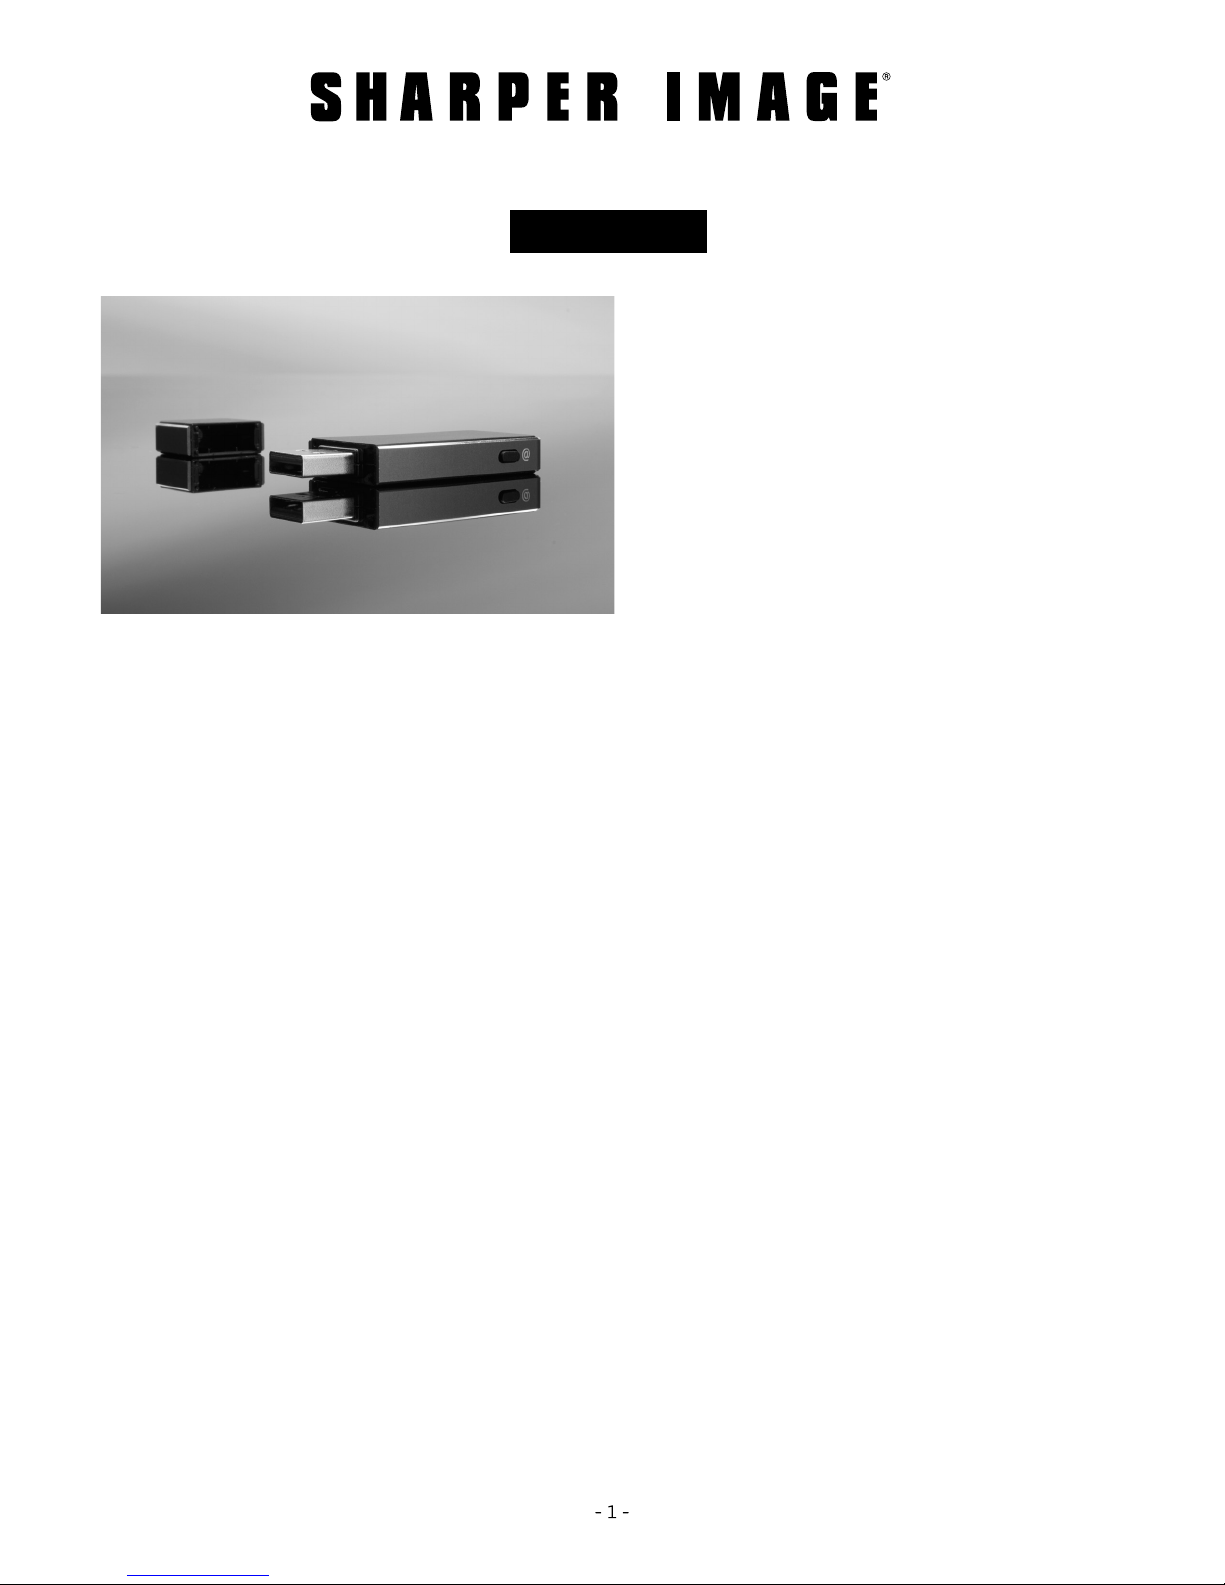
Item No. 204971
Owner’s Guide
Thank you for purchasing the USB Discreet Voice
Recorder. Please take a moment to read this
manual and save it for future reference.
FEATURES
Battery life: 13 hours
Storage capacity: Approx. 36 hours of audio
Battery: Built-in rechargeable 110mAH
rechargeable lithium battery
Charging time: Approx. 2-3 hours
Sampling rate: 16KHz
Bit rate: 512Kbps
Recording format: WAV
Size: 66.5mm x 24.3mm x 8.5mm
Weight: 16g
Extra function: This device can be used as
a standard USB flash drive
(when turned OFF).
OPERATING THE USB DISCREET
VOICE RECORDER
has begun. Note: The red LEDs will turn off
or secrecy, however the device will
continue to record.
2. Slide the switch to “OFF.” Blue and red
lights will illuminate, and then turn off.
This indicates that the recording has
stopped, and your file has been saved.
Note: The recording starts about 5 seconds
after you switch to ON and stops recording
about 5 seconds after you switch to OFF. This
is because the internal firmware needs time
to initialize properly.
TRANSFERING FILES TO A COMPUTER
1. While the device is OFF, plug it into a
USB port.
2. The disc icon will appear on your desktop.
Double click it to open the disc. Then
double click the folder named RECORD.
You will see all of your recorded files.
3. At this point, you can listen to the files,
delete files or drag them to your computer
hard drive for storage.
CHECKING THE BATTERY LEVEL
While the switch is ON, press the @ button
for 1 second. The red lights will illuminate
to show you the remaining battery power.
Each red light = 25% of the battery life, as
follows:
This device is very simple to use: “ON” means
the device is recording. “OFF” means the device
is NOT recording (and is in Flash Drive mode).
1. Slide the switch to “ON.” Blue and red lights
will illuminate. Then the red lights will flash
several times, indicating that recording
4 red lights = 100% charged
3 red lights = 75% charged
2 red lights = 50% charged
1 red light = 25% charged
Note: If your battery runs out while you are
recording, the red light will flash 20 times
and the device will shut down.

CHECKING THE STORAGE CAPACITY
While the switch is ON, press the @ button for
3-4 seconds. The blue lights will illuminate to
show you the remaining disk space. Each blue
light is approximately 25% capacity. Since
the total capacity is 8GB, the capacity will be
displayed as follows:
4 red lights = 100% free space (approx. 8GB)
3 red lights = 75% free space (approx. 6GB)
2 red lights = 50% free space (approx. 4GB)
1 red light = 25% free space (approx. 2GB)
Note: The @ button does not work when the
device is switched in the OFF position.
3. Open the Set Time folder and double click
on the SetTime.exe application.
4. A pop-up box will appear on your screen,
indicating that your Date and Time
are now set on the device.
OPERATING NOTES
• This device cannot record audio while it is
connected to a computer.
• When the battery is about to be depleted,
the device will automatically save the
current recording before it shuts down.
• When the memory is full, the device will
automatically save the current recording.
CUSTOMER SERVICE
RESETTING YOUR DEVICE
In the unlikely event of a crash, you may hit
the reset key by inserting the end of a small
paper clip into the hole marked RESET on
the device.
CHARGING YOUR DEVICE
1. Turn the power OFF
2. Plug the USB Discreet Voice Recorder
into a USB port.
3. The red lights will flash as the device is
charging as follows:
1 flashing red light = 25% charged
2 flashing red lights = 50% charged
3 flashing red lights = 75% charged
4 flashing red lights = almost 100% charged
4 solid red lights = 100% charged (charge
complete)
Sharper Image branded items purchased
from SharperImage.com include a 1-year
limited replacement warranty. If you have
any questions not covered in this guide,
please call Customer Service at
1 (877) 210-3449.
The Sharper Image® name and logo are registered trademarks. Manufactured
and marketed by Camelot SI, LLC under license. ©Sharper Image All Rights Reserved.
SETTING THE DATE AND TIME (OPTIONAL,
FOR WINDOWS COMPUTERS ONLY
Before recording, you can set the Date
and Time to help you keep track of your
recordings.
1. Plug the USB Discreet Voice Recorder into
a USB port.
2. Open the disc icon when it appears on your
desktop.
)
 Loading...