

Sharper Image 204865 Owner's Manual
TRAVEL SLEEP SOUND MACHINE WITH ALARM
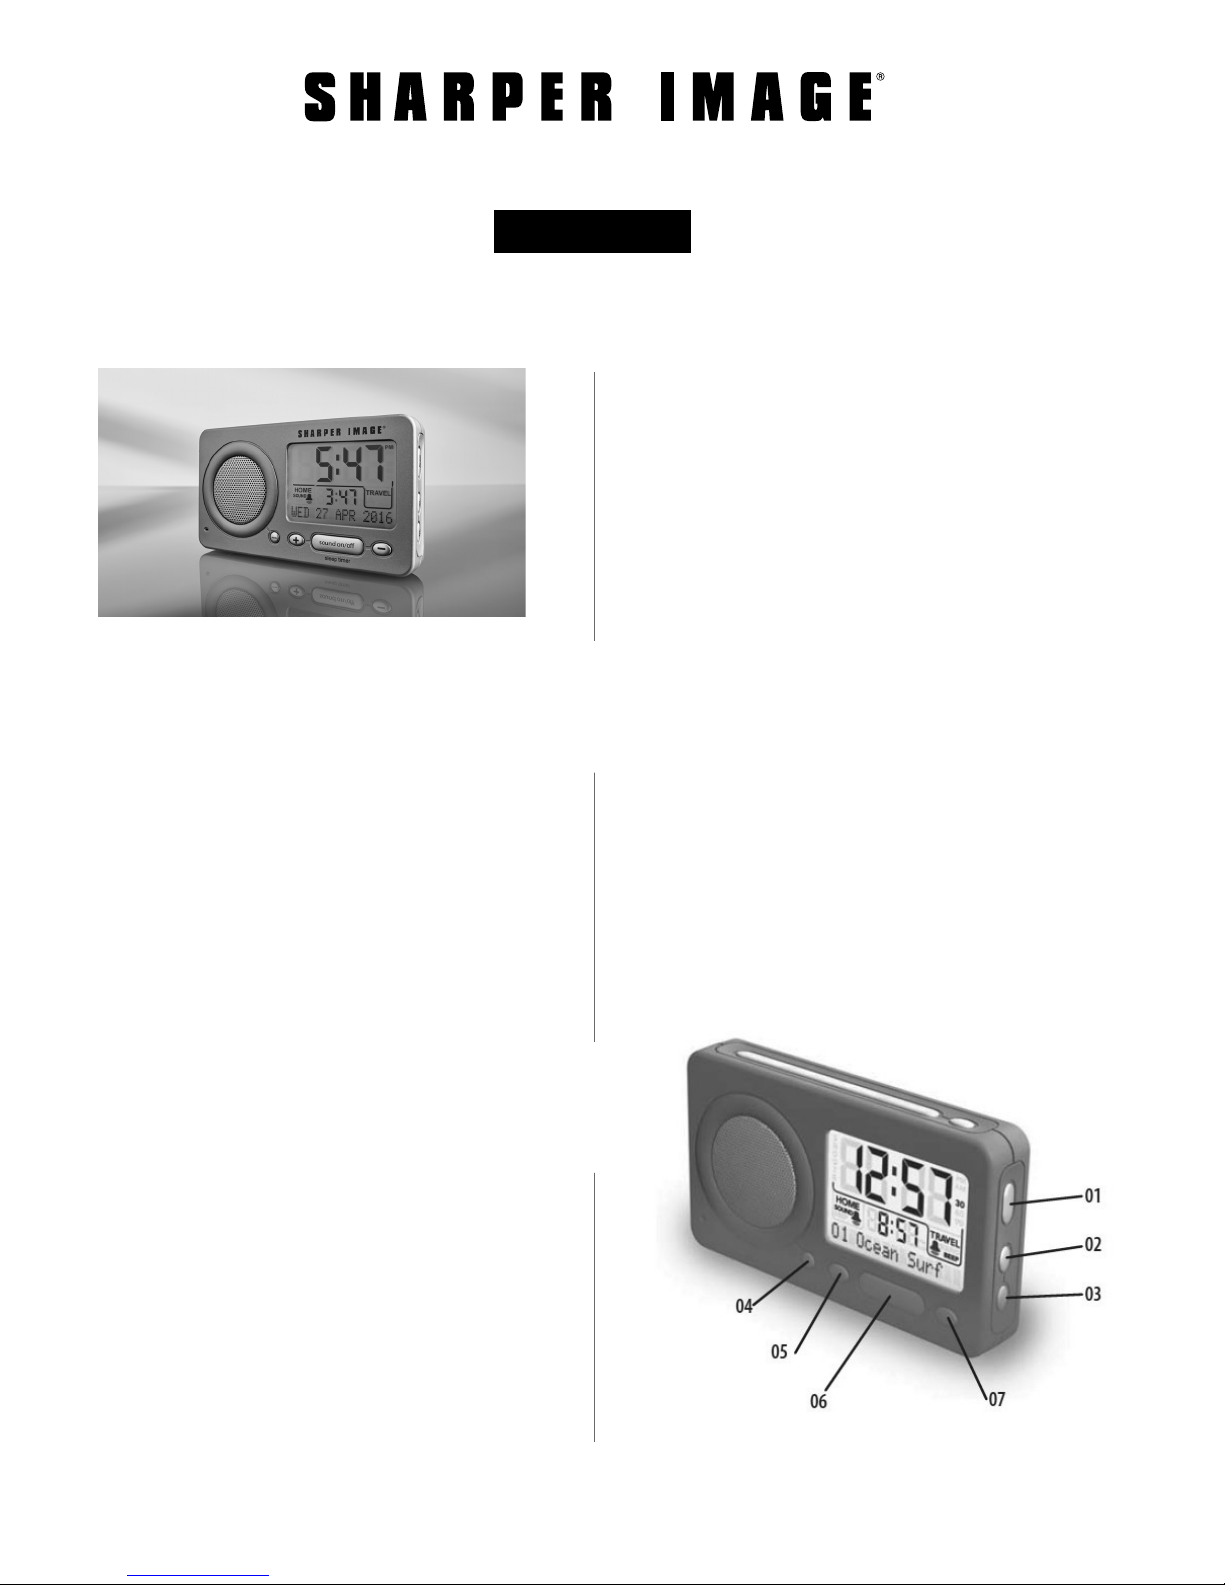
Thank you for purchasing the Sharper Image Travel Sleep Sound Machine with Alarm.
Please read this guide carefully and keep for future reference.
Power Sources
Your unit is powered by an AC ADAPTER (included) or
by 4 “AA” batteries (not included). Your unit is easily
convertible for international use since it includes a
dual voltage, interchangeable plug adapter.
AC Power & International Use Your unit includes a
global adapter that allows you to electrically power
your unit in different countries. To use, choose the
plug that fits your particular wall outlet and slide it
onto the adapter.
Connect the AC ADAPTER to the AC ADAPTER JACK
and plug the AC ADAPTER into a wall outlet. When
plugged in, the unit will draw no power from any
batteries that you may have installed in the unit’s
BATTERY COMPARTMENT.
Item No. 204865
Owner’s Manual
they will provide back-up power in the event that a power
outage occurs while the unit is plugged into a wall outlet.
Note: Without any AC or Battery Power, your unit will
maintain time, calendar, sound and alarm settings
for 1 minute. This is particularly useful when changing
batteries.
Setting Clock/Alarm
Dual Time Home/Travel Button: Your unit has 2 time
selections – HOME time and TRAVEL time. You can
conveniently alternate between your everyday (HOME)
time and a travel (TRAVEL) time by simply pressing the
HOME/TRAVEL button, without having to reset your time
display. You may also set alarms to sound on either the
HOME or TRAVEL times.
For Example: If you live in New York and travel to London,
you can conveniently keep your New York time as your
HOME time and the local time in London as your TRAVEL
time. You may set your alarm to wake up at your selected
New York HOME time or your local London TRAVEL time.
Battery Power
To install batteries, open the BATTERY
COMPARTMENT. Insert 4 “AA” alkaline batteries in
the direction marked by the indictors inside the
BATTERY COMPARTMENT. Replace the BATTERY
COMPARTMENT door.
Note: It is recommended that you keep 4 “AA”
batteries installed in your unit at all times. These 4
“AA” batteries will not only power your unit during
travel or when a wall outlet is not within reach, but
- 1 -

To Set Clock & Calendar
1. Make sure that the TRAVEL LOCK button is set to the
UNLOCKED position.
2. Select your preferred time selection (HOME or
TRAVEL) by pressing the HOME/TRAVEL button.
3. To set the clock for the location currently displayed,
press and hold the TIME SET button, for 2 seconds. A
single beep will confirm entering the Time Set mode
and the hour digits will flash on the screen to signify
that you are in the Time Set mode.
4. Press either the UP (+) or DOWN (–) buttons to set
Hours.
Note: The AM and PM Indicator is visible beside the
Minute digits.
5. When your desired Hours setting is reached, press
the TIME SET button to store the Hours and move to
the Minute digits.
6. Repeat steps 4 and 5 until you have selected all of
your clock and calendar settings (Hours, Minutes,
Year, Month, Day and 12 or 24 Hour Time Display).
7. Press the TIME SET button to exit the Clock and
Calendar Setting mode.
To Set Alarm Time, Nature/Voice Sound & Alarm
Volume:
1. Make sure that the TRAVEL LOCK button is set to the
UNLOCKED position.
2. Select your preferred time selection (HOME or
TRAVEL) by pressing the HOME/TRAVEL button.
3. Enter the alarm time set mode for the location
displayed by pressing and holding down the ALARM
SET button, for 2 seconds. A single beep will confirm
entering the alarm set mode and the hour digits
will flash on the screen to signify that you are in the
Alarm Set mode.
4. Press either the UP (+) or DOWN (–) buttons to set
the Hours for your alarm time.
5. When your desired Hours setting is reached, press
the ALARM SET button to store the Hours and move
to the Minute digits.
6. Press either the UP (+) or DOWN (–) buttons to set
the Minutes for your alarm time. When the desired
Minutes setting is reached, press the ALARM SET
button to store the Minutes and move to the Set
Alarm Sound mode.
7. In the Set Alarm Sound mode select your NATURE/
VOICE alarm sound by pressing either the UP (+) or
DOWN (–) buttons until the desired sound is shown
on the display – the selected sound will play during this
selection process. When you have chosen your desired
sound, press the ALARM SET button to enter the Set
Alarm Volume mode.
Note: If you want to wake to a beeping alarm, please see
the Alarm On/Off section.
8. Select your alarm volume by pressing the UP (+)
button to increase alarm volume (to a maximum
volume of 20), or the DOWN (–) button to decrease the
alarm volume (to a minimum volume of 01).
9. After selecting your alarm sound volume, exit the
Alarm Time, Sound and Volume Setting mode by
pressing the ALARM SET button.
10. If desired, turn the unit over and turn the TRAVEL
LOCK switch to the locked position to ensure that time,
calendar, sound and alarm settings are not changed if
the buttons are accidentally bumped during travel.
Alarm On/Off
To select a beeping or NATURE/VOICE alarm sound, first
select the time location (HOME or TRAVEL). Then Press
the ALARM SET button repeatedly to scroll through the
available choices: ALARM BEEP, ALARM SOUND, and
ALARM OFF, until you reach your selection.
The display menu abbreviations correspond to the
following:
(HOME/TRAVEL) ALARM BEEP - Selects a Beeping Alarm
(HOME/TRAVEL) ALARM SOUND - Selects a Nature/Voice
Alarm
(HOME/TRAVEL) ALARM OFF - Turns the Alarm Off
When ALARM BEEP is “on”, the word BEEP and an ALARM
BELL is visible on the display. When ALARM SOUND is
“on”, the word SOUND and an ALARM BELL are visible
on the display. When ALARM OFF is selected, there is no
BEEP, SOUND or ALARM BELL visible on the display.
Follow the above procedure for each of your desired time
selections (HOME or TRAVEL).
Alarm Check
You can conveniently check your alarm time, alarm
sound and alarm volume by pressing the ALARM CHECK
button. Pressing the ALARM CHECK button will display
the alarm time, your selected alarm type, and play back
your selected alarm for 4 seconds at the set volume for
first the HOME, then the TRAVEL alarms.
- 2 -
 Loading...