

Program & Installation Manual

IMPORTANT NOTICE
This Manual supersedes the information contained within the UP5700 Version 4 Upgrade Manual. The
information contained in this manual shows the use program & configuration of the Waitermate Terminal,
in conjunction with the UP5300/5700

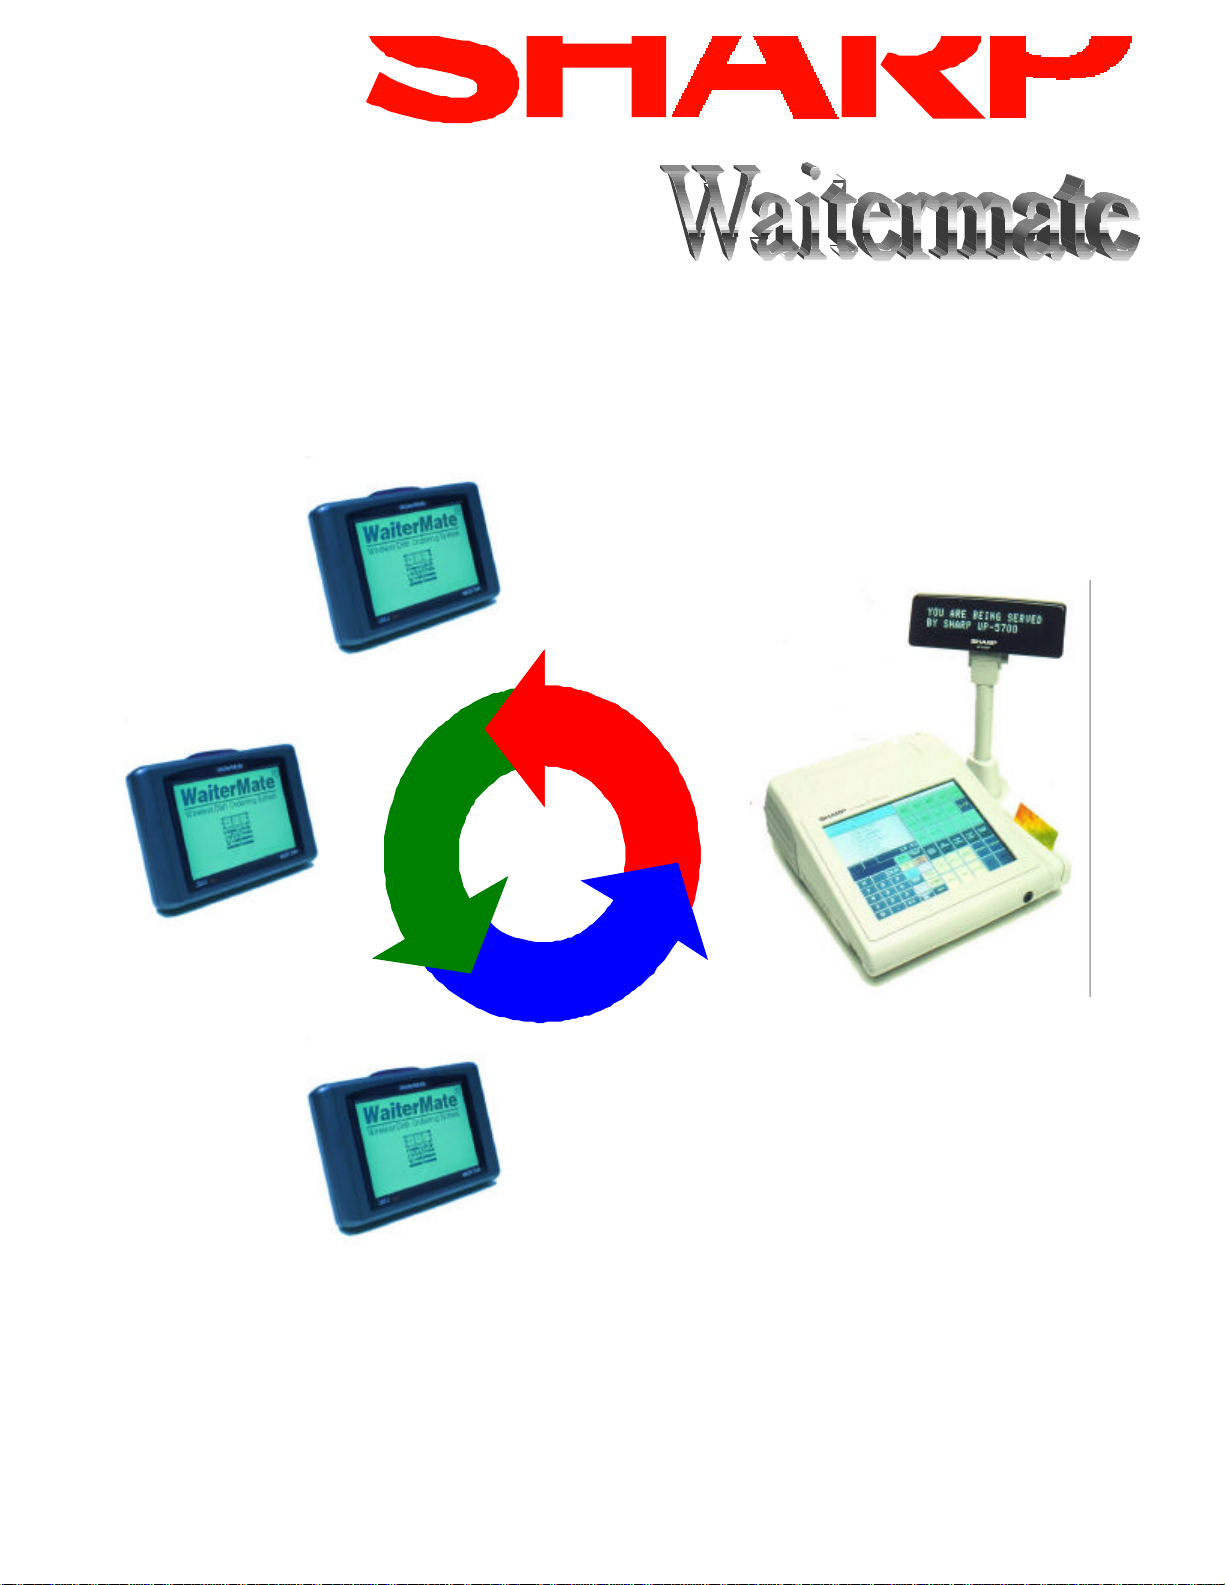
Waitermate
The Waitermate is a Hand-Held RF (Radio Frequency) order entry terminal. Its interfacing to the
UP5700 allows remote ordering to the UP5700 system. The interface has been developed so that all
programming of the Waitermate Terminal is done from a specified machine on the POS System. The
program that is created for the Waitermate is identical to that on the POS Terminal. The Products and
lists from the POS are used to create the files needed for the Waitermate. NO pricing is held on the
Waitermate, only Lists and products.
As the Waitermate is not as sophisticated as the POS Terminal certain restrictions have to be adhered
to when programming the POS. The restrictions listed below should be noted in order to create resilient
operation.
Restriction
Number
1. NO Link Lists To overcome this set the products within a list
2. NO Condiment PLU=s Use Standard Lists with 0.00 priced items.
3. Products must only be linked to ONE List Use Multiple Products
4. Top Level Trading Screen is limited to One
5. Lists are limited to One Page of a Maximum
6. Only 4 Methods of Payment are used on
7. Only Two lines of text from the Button Text
8. Maximum Recommended Products is 500
9. Control Characters should not be used Text for PLU’s and on Screens should not
10. No Split Tables can Accessed When using splits of any kind, only the parent
Restriction Comment
to another list
Product duplication may be necessary
Screen (i.e. 30 Buttons). Screens 2 - 5
cannot be used.
of 30 items Page 2 cannot be used
If less than 4 are needed on the Waitermate set
the Waitermate Payment types 1,2,3,& 4 on
the POS
should be used
nothing in types 2,3,4 on the POS and only 1
will appear
contain control characters. (i.e. !\/”-()*,. etc)
table can be accessed at the Waitermate. (i.e.
Table 1, 1.1, 1.2 are open, only table 1 can be
accessed at the Waitermate)

Set-Up
As the Waitermate uses Disk Space the machine that controls the Waitermate System MUST have
memory Board Fitted (UPP02MB) if it is a Flash/Ram Terminal. If it is a Hard Disk POS the memory
is not required. It is recommended that if the installation is not a Standalone that the Waitermate Control
POS is a slave. In order to avoid unnecessary use of Disk space
the files required to Run the Waitermate system are contained in a special upgrade, this allows these files
only to be loaded when necessary. Contained in the Waitermate release is the Batch files
WMFLASH.BAT and WMHDD.BAT these files will upgrade any version 4 system to Waitermate.
N.B Using this upgrade on Version 3 POS Software will NOT work. The Waitermate Upgrades will
be carried on our Technical Web Site as are the Application Upgrades.
After Upgrading /Installing a Version 4 System select the machine to be the Waitermate Control POS
and then connect it to a PC using an APLD Cable. Then using WMFLASH.BAT for Flash/Ram POS
and WMHDD.BAT for Hard Disk POS follow the Instructions on the PC screen. When this has been
completed the POS is ready for Waitermate Connection. It is only necessary to carry this out at the
Control POS.

Using WMFLASH.BAT & WMHDD.BAT
In order to set the Control POS carry out the following after Version 4 Upgrade.
1. Copy the Waitermate Installation file WAITMnn.EXE into a New folder on the PC and Execute
it, then connect the PC to the POS using the APLD cable and enter WMFLASH of WMHDD
on the PC and follow the On-Screen Instructions.
2. After completion re-start the POS and follow the Instructions below.

Programming
1. To set the Waitermate Control POS it is only necessary to enable it in C:\RINCS.CFG as
follows :-
[GCNET]
REM V4********************WAITERMATE PROGRAMMING START******************
REM ============PORT SETTING============
REM To set the Port that the Waitermate Base Station is connected to
REM remove the REM line below and set n= Com Port Number
REM WAITERMATE=n
REM ======WAITERMATE PRINT STATION======
REM To set which POS Terminal to send Waitermate Receipts and Bills
REM remove the REM statement below and set n= POS Terminal Number and
REM x= to the Waitermate Number (e.g To set Waitermate 1 to print at POS
REM Terminal 3 WMPRINT1=3)
REM WMPRINTx=n
REM *********************WAITERMATE PROGRAMMING END*********************
The two settings are :-
Waitermate=n Where n is the Serial port that the Waitermate Home Base is connected (N.B This
should be Port 1 or 2)
WMPRINTx=n Where x is the Waitermate Number and n is the POS Terminal Number that sets the
Receipt/Bill printer that will be used to print from the Waitermate set in x. This is to enable different
Waitermates to print at different machines, e.g if WMPRINT2=4 was set, Waitermate 2 would print
on the Receipt/Bill printer that was set on Terminal 4 Till parameters.
Then at the control POS in DOS carry out the following EDIT C:\AUTOEXEC.WM when the screen
comes up you will see that two settings need setting PONUM=n where n is the port that the Waitermate
Home Base Adongle@ is connected and also HBNUM=m where m is the Homebase Number. This can
be found on the underside of the Waitermate Home Base Pyramid.
The only other set up required is servers. One Server is required for each Waitermate and it is strongly
advised that the clerks selected are not available directly on the POS either by Real Key or Push Keys.

Waitermate Loading
********IMPORTANT CHECK ********
Before the Waitermate is programmed for the first time check the following
1. Power on the Waitermate, at the bottom of the screen check that the following is seen
BIOS 1000.11
2. If the above is OK touch the screen and check the following is displayed
VER 23034S
It is important that the AS@ is on the end of the Number
If either of the above are not satisfied the Waitermate will not Function. It will need returning to be setup correctly.
After setting and checking the above it is now possible to load a Waitermate Terminal. This is done from
the Waitermate Control POS. From the Manager Menu select Utilities and then More.... If the
Waitermate has been correctly set in RINCS.CFG an option will appear AWaitermate Loader@. Select
this. The application will be exited and a compiler routine will be seen running on the POS, when this
is finished you will be prompted to Switch the POS Off and then ON again using the Power Switch, at
this time an AT Keyboard must be plugged into the POS
When the POS reboots a menu will be shown with the following options :-
1. Program Waitermate - this is used to program a New Waitermate unit or if Lists, Keyboards
or Product texts have been changed on the POS. The On-Screen Steps should be followed.
2. Program Waitermate (With Default Calibration) - this is the same as above but it also sets
the default Keyboard Calibration on if the Waitermate has had a bad Calibration carried out.
The default Calibration settings are sent to the Waitermate. It may be necessary to calibrate the
Waitermate after this operation.
3. EXIT to POS - This option restarts the POS into the application ready for use.
N.B Please remember to reprogram Waitermate Terminals after an Open Session after the POS
program has changed.
The System should now be ready for use.

Operation
Start all the POS Terminals and enter Trading.
When the Waitermate is switched ON a Start screen is displayed this should be pressed twice until
A
CONNECTING@ is displayed, this means the Waitermate is connecting to the base Station. When this
has been done the Control Screen will display. Select Main Screen which will display the Server Logon
Screen. This screen will display only once at Power-Up, whichever server is selected will stay live on
that terminal until it is powered off. Select the Server Number required. If No numeric entry appears
in the Server Number Box touch the Server Number Box this will then allow key entry.
N.B IT IS MANDATORY TO SELECT A DIFFERENT SERVER FOR EACH
WAITERMATE.
The next screen that will be displayed is the Table Log-On screen Enter the table number required if
no numeric entry appears in the Table Number Box touch the Table Number Box this will then allow
key entry. The next Screen will then be displayed - The Function Screen, the possible operations are
:-
Covers Press this button and a prompt will appear to enter the number of Covers. If
no numeric entry appears in the Covers Box touch the Covers Box this
will then allow key entry. After Entry the Waitermate will return to the
Function Screen
EXIT Takes the Waitermate back to the Table Entry Screen
ORDERING Allows Orders to be taken on the Logged on table
SHOW ORDER Displays the Order presently on the Table Selected
FINALISATION Enter the Payment Screen

ORDERING
If Ordering is selected Screens similar to the POS will displayed, select the items required. To navigate
around two keys are available at all times in ordering at the Top Left of the Screen
HO This key returns the Waitermate to the Top level trading Screen from any point.
BA This Key takes the Waitermate Back One Screen, it is also used at the end of Ordering, if it is
pressed at the Top Level Screen The ASend Order@ Screen appears. If Send Order is pressed
the order is sent to the POS System. It is also possible on the ASend Order@ screen to Cancel
the Order or Add more items to it.
SHOW ORDER
If ASHOW ORDER@ is selected the items sold are brought from the POS and displayed on the
Waitermate Screen at this point a Bill can be produced using the APrint Bill@ key.
FINALISATION
If AFINALISATION@ is selected the Waitermate enters the Payment Screen and displays the Amount
Due, at this point a Bill Split can be done by pressing ASplit@. If a payment is required the tender can
be entered and the Method of Payment selected. This Information will then automatically be sent to the
POS and a receipt printed.
PROBLEM ANALYSIS
Q. When I enter a numeric value it doesn=t appear in the AEntry Box
A. Press the AEntry Box@ and then enter the value again
@
 Loading...