

Page 1
5
NOW LET’S GET STARTED
Refer to the Operation Manual for:
Channel selection .................................. P. 10
Picture adjustments............................... P. 11
Audio adjustments.................................. P. 15
Timer settings (ON/OFF Timer)............... P. 19
Child lock................................................ P. 21
Menu structures...................................... P. 23
Teletext mode......................................... P. 24
SAFETY WARNINGS
1 Select a well-ventilated location.
2 Avoid exposing this set to direct sunlight,
dust, heat sources or moisture.
3 Do not place objects containing liquids or
candles on top of theTV.
4 Never open the back cover.
5 Never insert objects into the TV.
66GF-63H
COLOUR TELEVISION
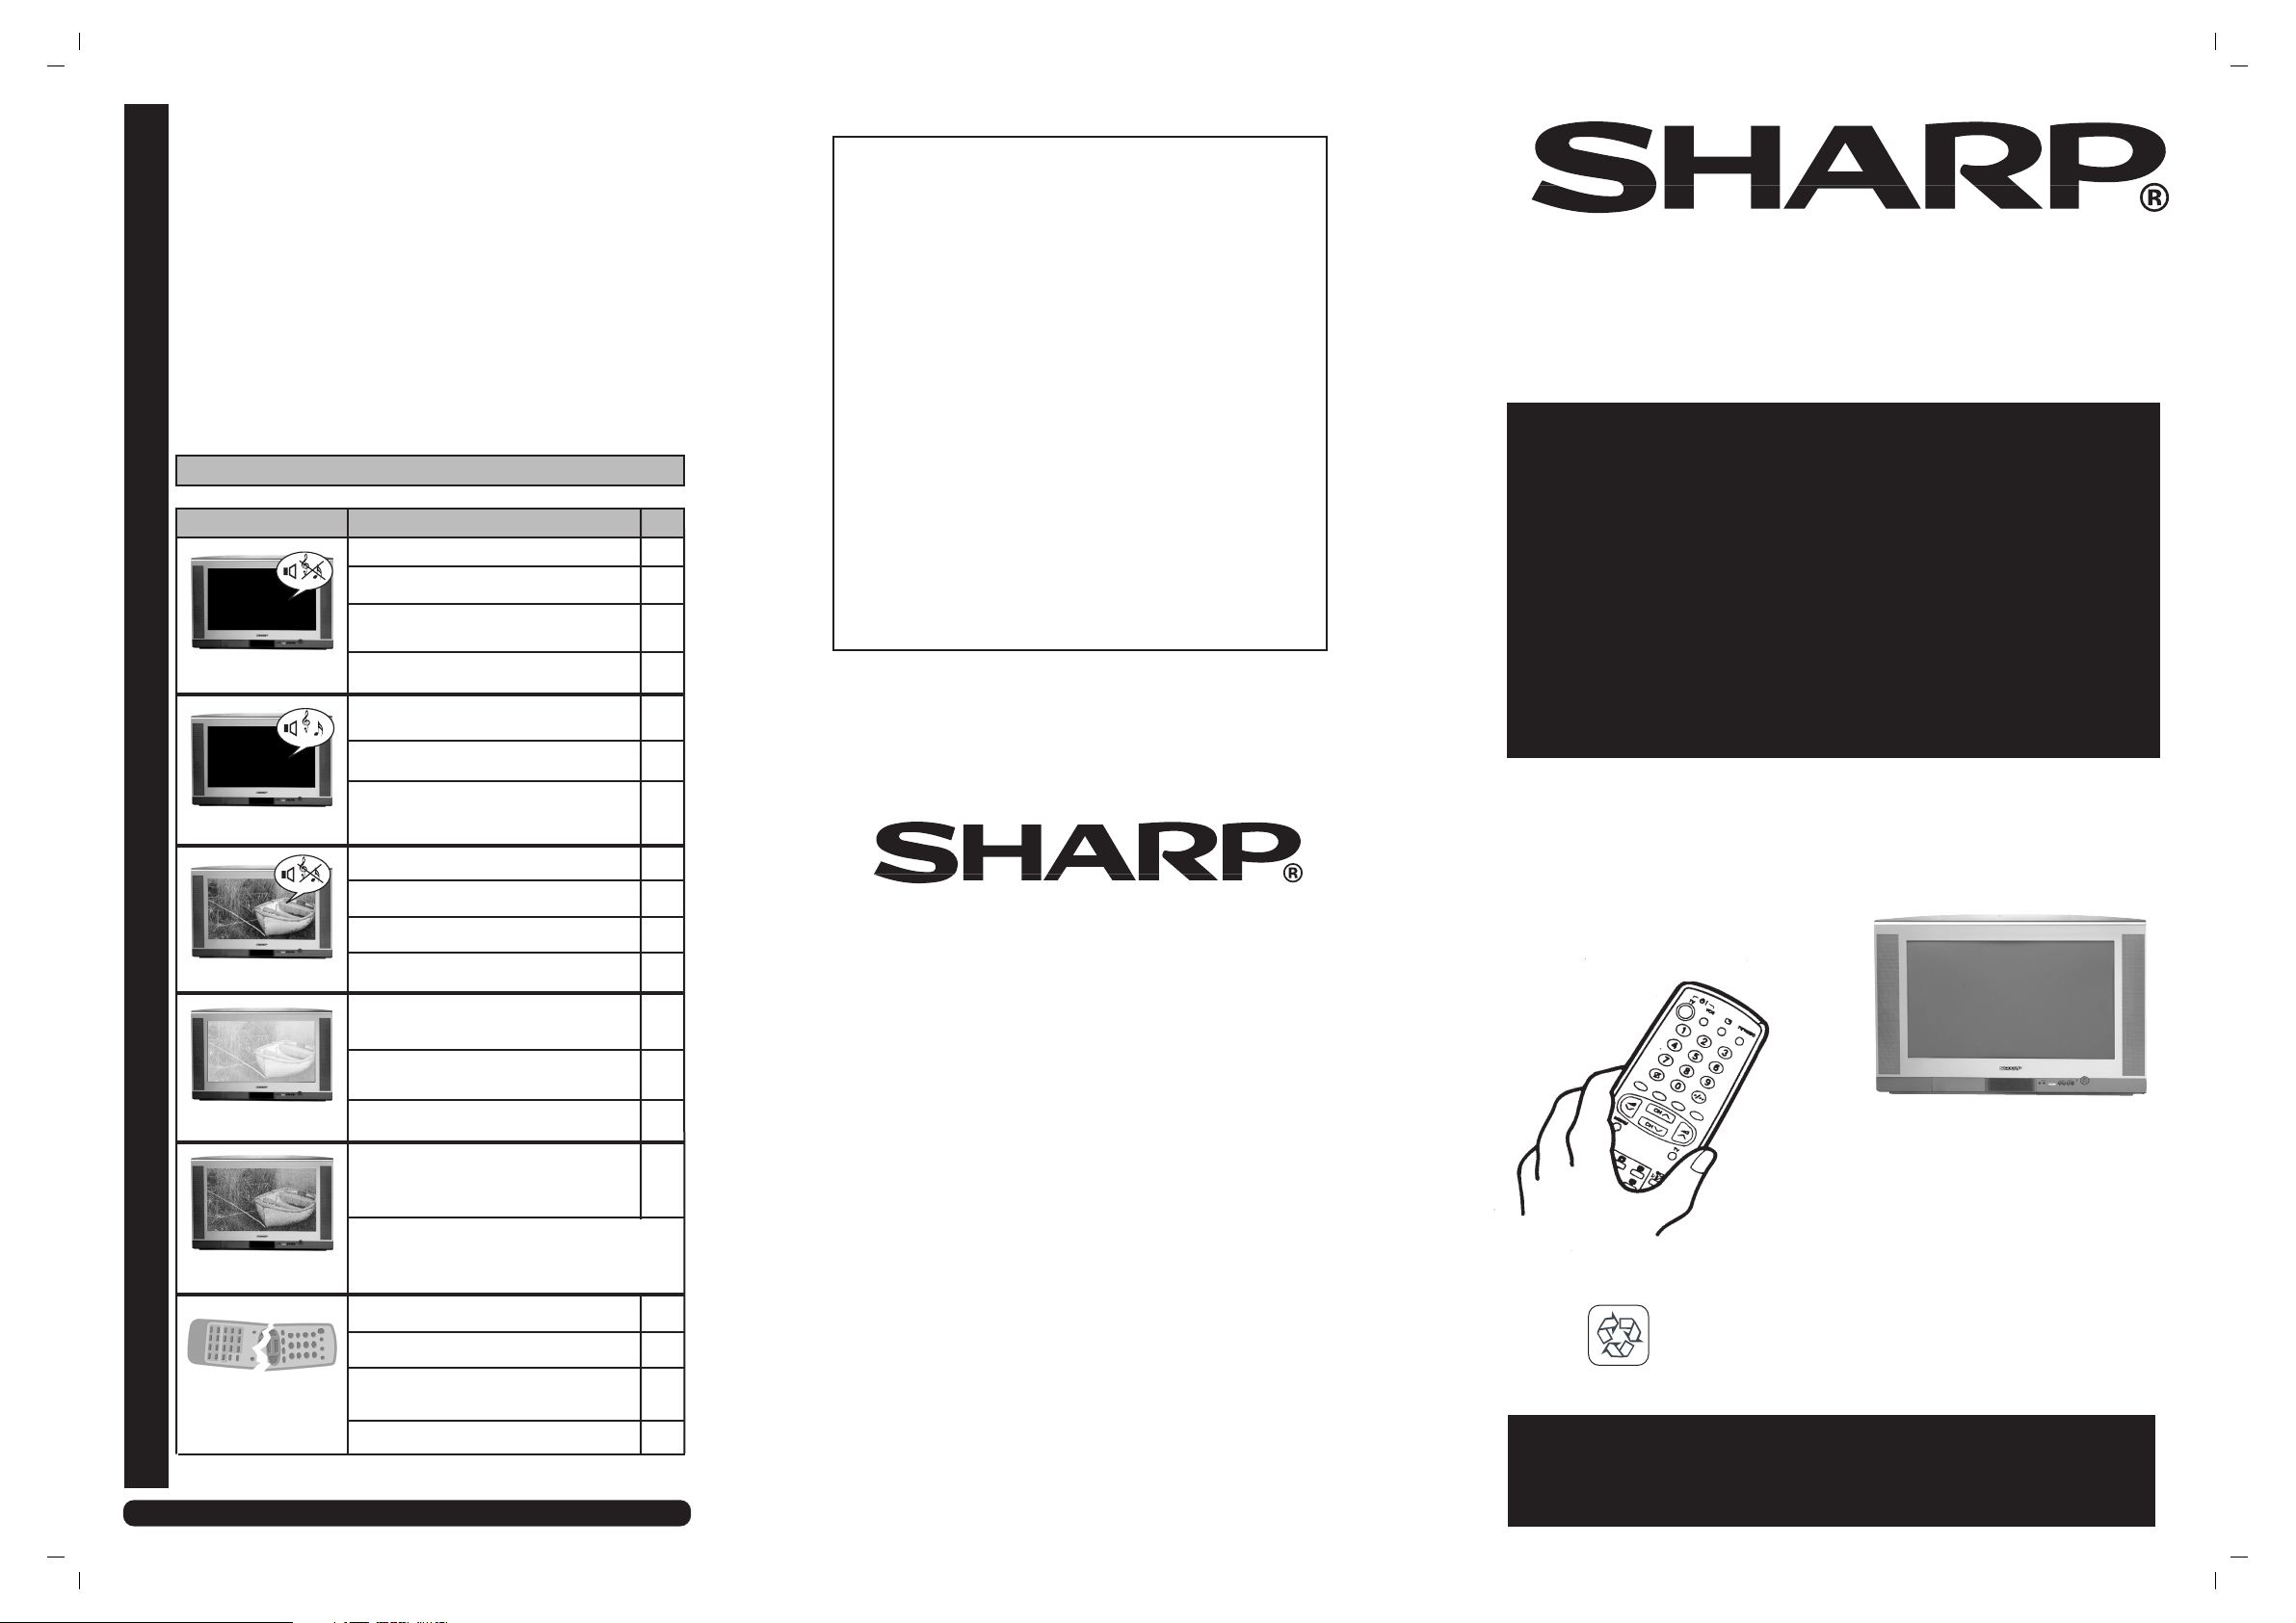
TROUBLESHOOTING
PROBLEM
No picture or sound
Sound OK, picture poor
Picture OK, sound poor
CHECK ITEM
- TV not plugged in Outlet power OFF
- Main Power button of TV not ON
- Aerial not connected to terminal at the back of the TV
set
- Check STEREO Menu: Speakers matrix and
Identification.
- Aerial not connected to terminal at the back of the TV
set
- Adjust COLOUR control
- Check if the Brightness or Contrast setting in the
picture setting mode might be all the way to the minus
side
- Increase the volume
- Check AUDIO MODE and Audio levels Menus
- Poor equalizer adjustment. Check Graphic Equalizer
- Check STEREO Menu: Speakers matrix and
Identification.
- Aerial not connected to terminal at the back of the TV
set
- Adjust COLOUR control
PAGE
4
7
4
18
4
11
11
15
16,17
18
18
4
11
6 Take care not to damage the power cord.
7 Keep the TV from strongly magnetic
objects.
8 To prevent fire, never place any type of candle
or naked flames on the top or near the TV set.
SHARP ELECTRONICA
ESPAÑA, S. A.
QUICK
START
GUIDE
for easy installation
● Fitting the batteries into the remote control
● Connecting the aerial cable
● Tuning the TV channels
Picture weak / No colour
Poor reception on some
channels
Remote control
does not work
Web-site:www.sharp.co.uk/support Help Line(office hours only): 08705 274277
- Try fine tuning to correct
- Aerial not connected to terminal at the back of the TV
set
- Check for local interference
- TV not plugged in Outlet power OFF
- Main Power button of TV not ON
-
Turn OFF using the Main Power button, then turn ON again
after a minute
- Check batteries in the Remote Control
30
4
4
7
7
3
SHARP ELECTRONICS
(U.K.) LTD.
Sharp House, Thorp Road, Newton Heath,
Manchester M40 5BE
PRINTED IN SPAIN
TINS-6895BMN1
03/01
Using this installation
guide should enable you
to set up your TV in less
than 15 minutes - - -
- - - Please refer to your
operation manual for
more tips and advice
PRINTED ON RECYCLED PAPER
If problems persist contact the SHARP Helpline (office hours only) on
tel:08705 274277 (or (01) 676 0648 if telephoning from Ireland)
and/or WEB-SITE:www.sharp.co.uk/support
Page 2
1
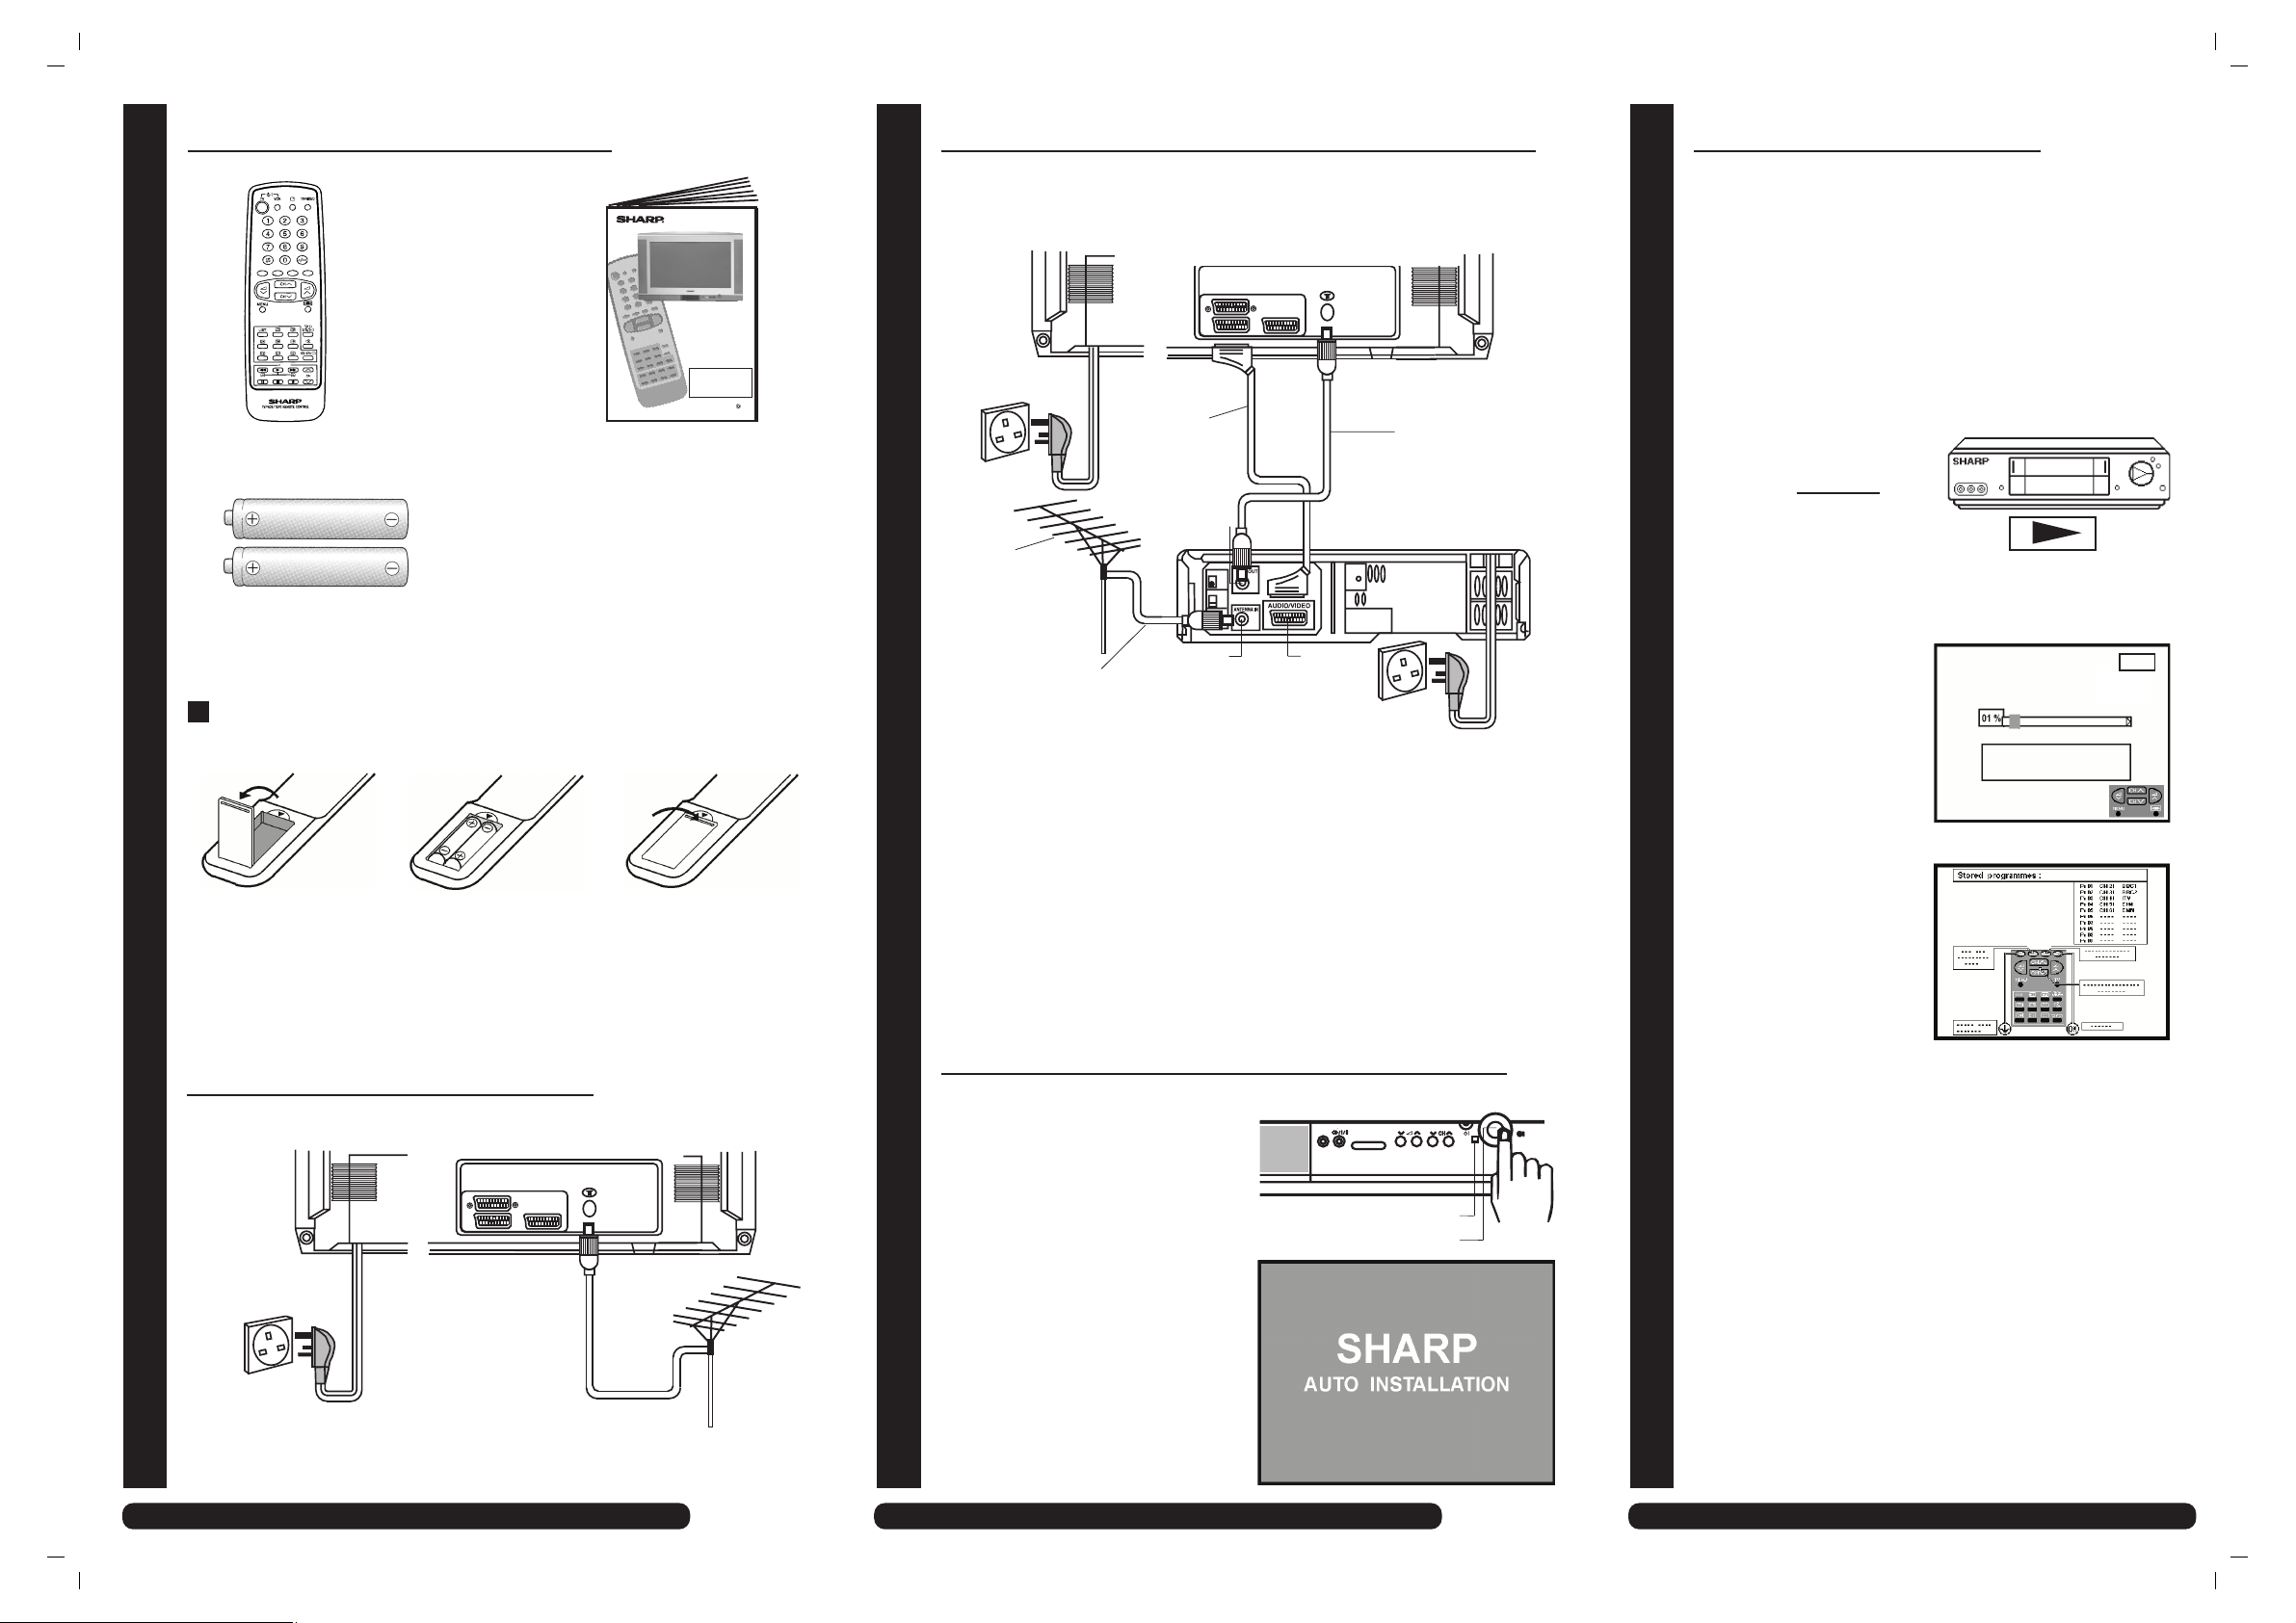
SUPPLIED ACCESSORIES
2
TYPICAL CONNECTIONS (continued)
BACK OF TV
4
AUTO INSTALLATION
The AUTO INSTALLATION function will tune all available
TV stations into your TV.
The TV is ready to preset automatically all local channels
for you.
Remote control
Type-AA Dry Batteries
Fitting the batteries
66GF-63H
COLOUR TELEVISION
OPERATION MANUAL
Please read this operation manual carefully
before using the colour television.
If you require any advice or assistance
regarding your Sharp product please visit
our web-site www.sharp.co.uk/support.
Customers without Internet access may
telephone 0990 274277 during office hour.
Printed on recycled paper
Operation Manual
Mains Socket Outlet
AC 220~240 V, 50 Hz
SCART Lead
(Not supplied)
RF out
Aerial
(Not supplied)
Aerial in
Aerial Lead
(Not supplied)
A scart lead (not supplied) is recommended for use with this TV, to
obtain the best communication between your TV and VCR, please refer
to page-36 of the operation manual.
Audio/Video
Mains Socket Outlet
AC 220~240 V, 50 Hz
Aerial Lead
(Not supplied)
BACK OF VCR
If you do not intend to use your TV with
a VCR then please proceed to stage 4.2
1 If the TV is being used
with a VCR, turn on the
VCR and
pre-recorded tape.
2 Now, press any button
on the TV remote
control and follow the
instructions on the
screen, to start Auto
Channel Preset.
This tuning process may
take several minutes to
perform.
play back a
Automatic searching and sorting
Press the menu button to cancel
VCR
Pr 01
2
1. With your
thumb nail,
pull up the slit
2. Insert the two
batteries as
shown.
as shown.
TYPICAL CONNECTIONS
Mains Socket Outlet
AC 220~240 V, 50 Hz
Aerial Lead
(Not supplied)
3. Replace the
cover.
Aerial
(Not supplied)
3
Check List:
● Is the TV connected to the mains?
● Is the aerial connected to the TV?
Note: for Satellite/Cable or digital decoder page 36 of operation manual.
TURN TV ON FOR THE FIRST TIME
TV set
1 Press the main power button (®)
to start the AUTO INSTALLATION.
2 The orange power indicator will light.
Power indicator
3 The AUTO INSTALLATION
message will appear on your TV
screen, and after a time will change
for another with electrical connetions
Note:
If you need to repeat the “AUTO
INSTALLATION”, please refer to the
relevant section on page 28 of the
operation manual.
Main power button
3 After searching has
finished the channels
will be stored in the
following order:
Pr01 - BBC1,
Pr02 - BBC2,
Pr03 - ITV,
Pr04 - CH4...
The "Stored programmes" menu will appear on screen
and you can change the order of the channels and change
or give the channels a four letter name.
If you wish to rename the channels, or change the order,
refer to the pages 8 and 9, chapter Stored programmes
in the Operation Manual
If you wish exit from the menu, press the BLUE button.
NOTE: IF THE TV CANNOT BE INSTALLED BY
THIS METHOD, PLEASE PHONE THE FOLLOWING
NUMBER:
08705 274277
Web-site:www.sharp.co.uk/support Help Line(office hours only): 08705 274277Web-site:www.sharp.co.uk/support Help Line(office hours only): 08705 274277Web-site:www.sharp.co.uk/support Help Line(office hours only): 08705 274277
 Loading...