

SHARE FL Series User Manual
Cloud Computer FL Series
————User Manual
浏

FL Series Cloud Computer
-2-
【
Notice
】
Thank you for purchasing cloud computer.
In order to easily use this device, please read the manual before using.
The product version may upgrade in ceaseless, this document is used only as a
guide. All of representations, informations and advices within this document,
does not constitute any express or implied warranty. If there is any informations
of this user manual are subject to change without notice, and don't take any
responsibility that manual errors generated or omissions caused.
【Precautions】
● In order to assure the safety, please select the power adapter appointed or
provided by our factory
● In the boot state,please do not directly pulled out power adapter in order to
avoid suddenly power off caused damage.
● Please do not move the device when it is running.
● Keep far away from high temperature or low temperature environment, try to
keep moistureproof and ventilated working environment.
● Please do not hurl,knock or shake the device,the non-professional workers
do not unpack the device without any guides.improper operating will cause
damage for device.
● Do not clean the device with harsh chemical or corrosive cleaner.

FL Series Cloud Computer
-3-
Catalogue
1 Component.......................................................................................................................... 4
2 Connection.......................................................................................................................... 6
2.1 Connect with Monitor.........................................................................................................................6
2.2 Connect with Lan Cable
....................................................................................................................
8
2.3 Connect with Mouse&Keyboard...................................................................................................... 8
2.4 Connect with Mic&Speaker.............................................................................................................. 8
2.5 Connect with Power
...........................................................................................................................
8
3 Operating Instruction........................................................................................................9
3.1 Remote Connection Settings
...........................................................................................................
9
3.1.1 Find A Host................................................................................................................................ 9
3.1.2 Configuration & Shortcut....................................................................................................... 10
3.1.3 Shutdown & IP address
.........................................................................................................
11
3.2 Control Panel....................................................................................................................................12
3.2.1 Network....................................................................................................................................13
3.2.2 Display & Sound
...................................................................................................................
14
3.2.3 Peripherals & Start................................................................................................................. 15
3.2.4 Date & Time............................................................................................................................ 16
3.2.5 Password Setting
...................................................................................................................
17
3.2.6 Upgrade & Reset.................................................................................................................... 18
3.2.7 Language Selection............................................................................................................... 19
3.2.8 Software & Hareware Information........................................................................20
3.3 Video Display....................................................................................................................................20
3.3.1 Setup of player.....................................................................................................20
3.3.2 Usage of player ...................................................................................................20
3.3.3 Button.................................................................................................................. 21
4 FAQ
......................................................................................................................................
24
FL Series Cloud Computer
-4-
1
Component
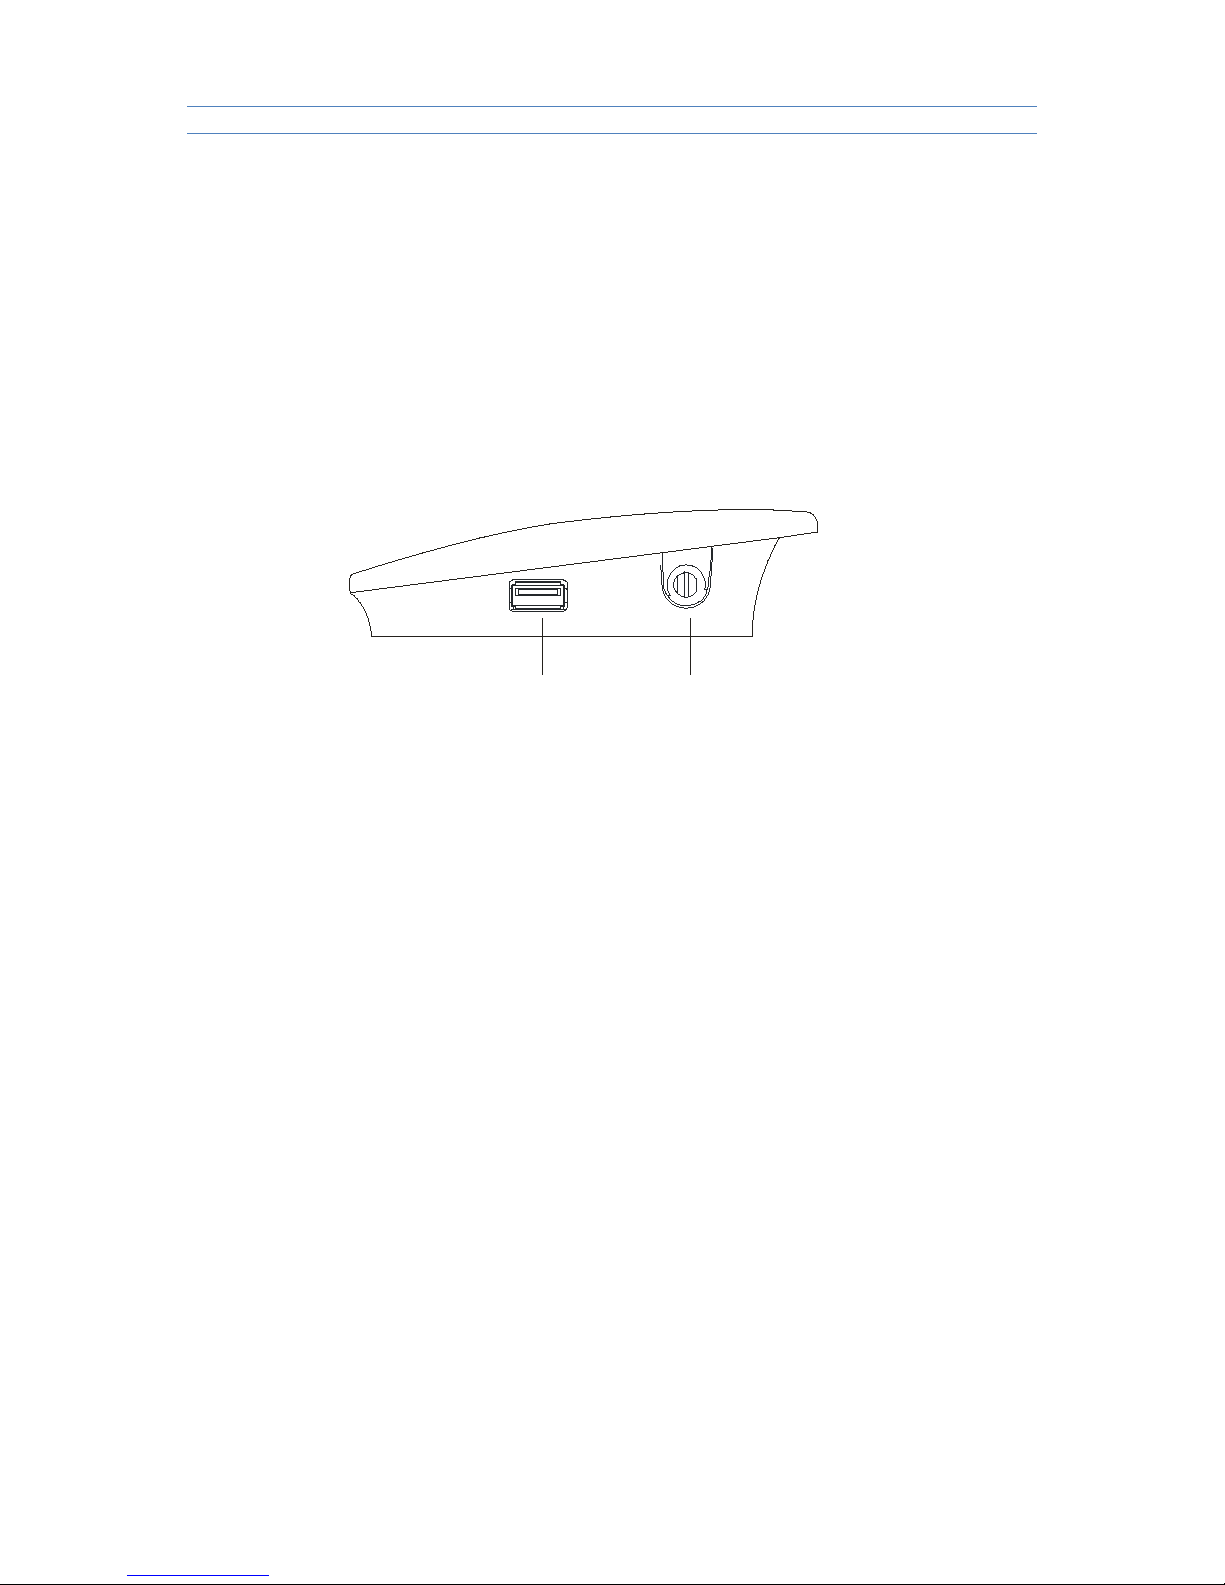
Front Panel
A B C
A:TF card port
B:Non-opaque Bar
C:On/Off button
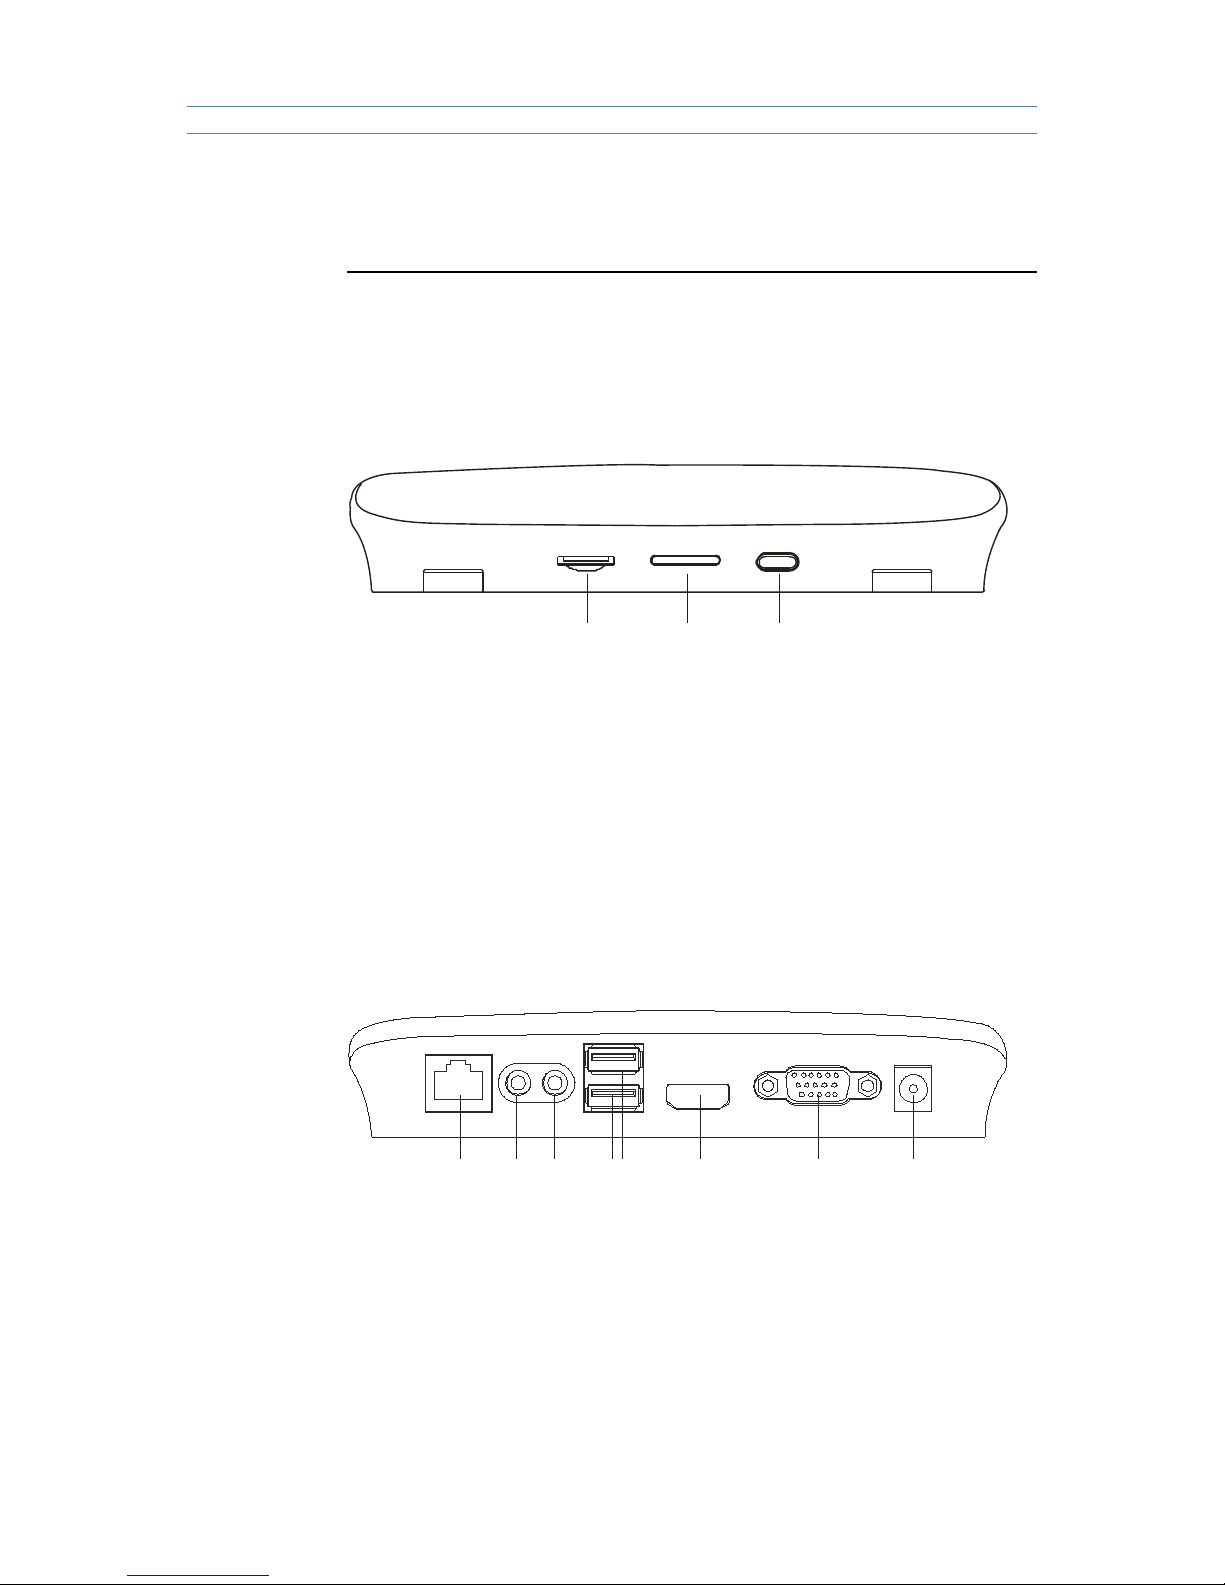
Back Panel
D E GF H I J
D:RJ45Lan port
E:Audio Output SPK Port
F:Audio Input MIC Port
FL Series Cloud Computer
-5-
G:USB Port 1; USB Port 2
H::HDMI Port
I:VGA Port
J:5V/2A Power Port
Side Panel
K L
K: USB port*3
L:WIFI antenna port
K: USB Port 3
L:WIFI port
FL Series Cloud Computer
-6-
2 Connection
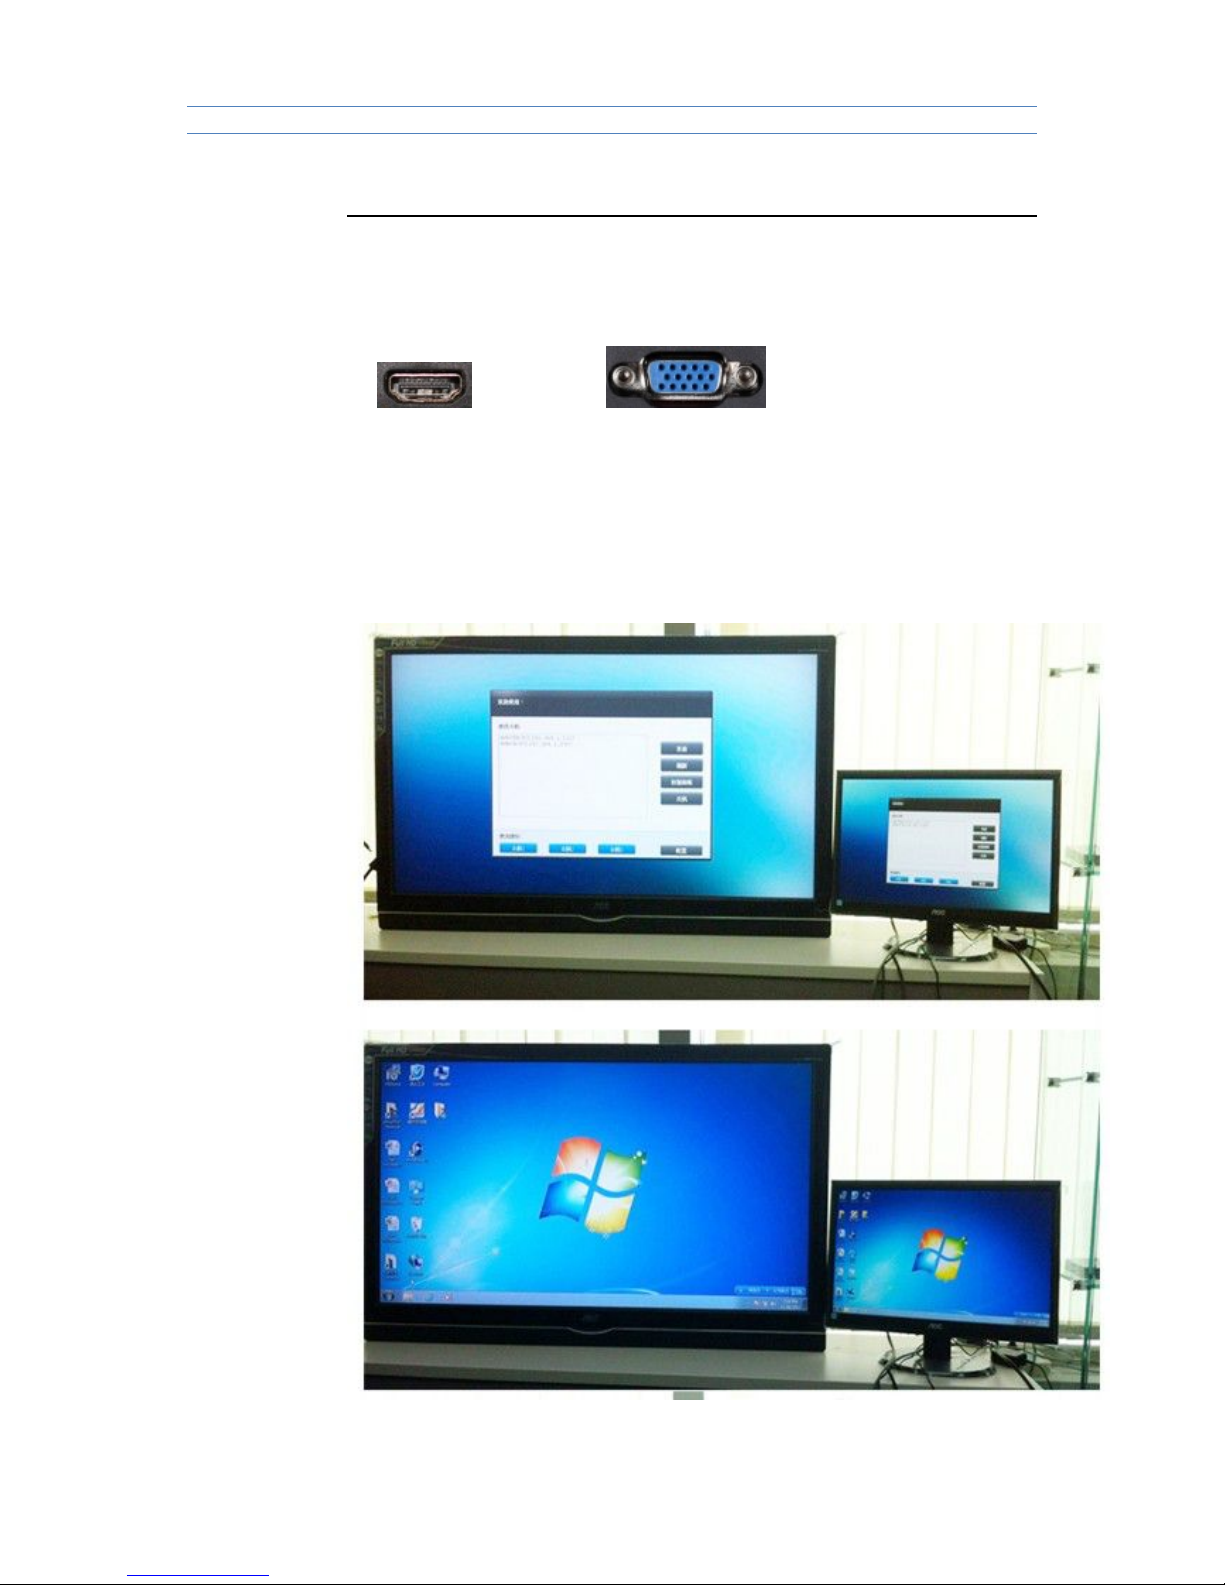
2.1 Connect with Monitor
HDMI VGA
Pls connect LCD signal wire with VGA port of cloud computer.
Pls connect HDMI signal wire with HDMI port of cloud computer if HD display is
requested,such as HDTV.Cloud computer FL300 can support dual-screen
display.
FL Series Cloud Computer
-7-
2.2 Connect with LAN Cable
Pls connect LAN cable (10~100M ) with LAN port of cloud computer,and
connect opposite end with switch or router.
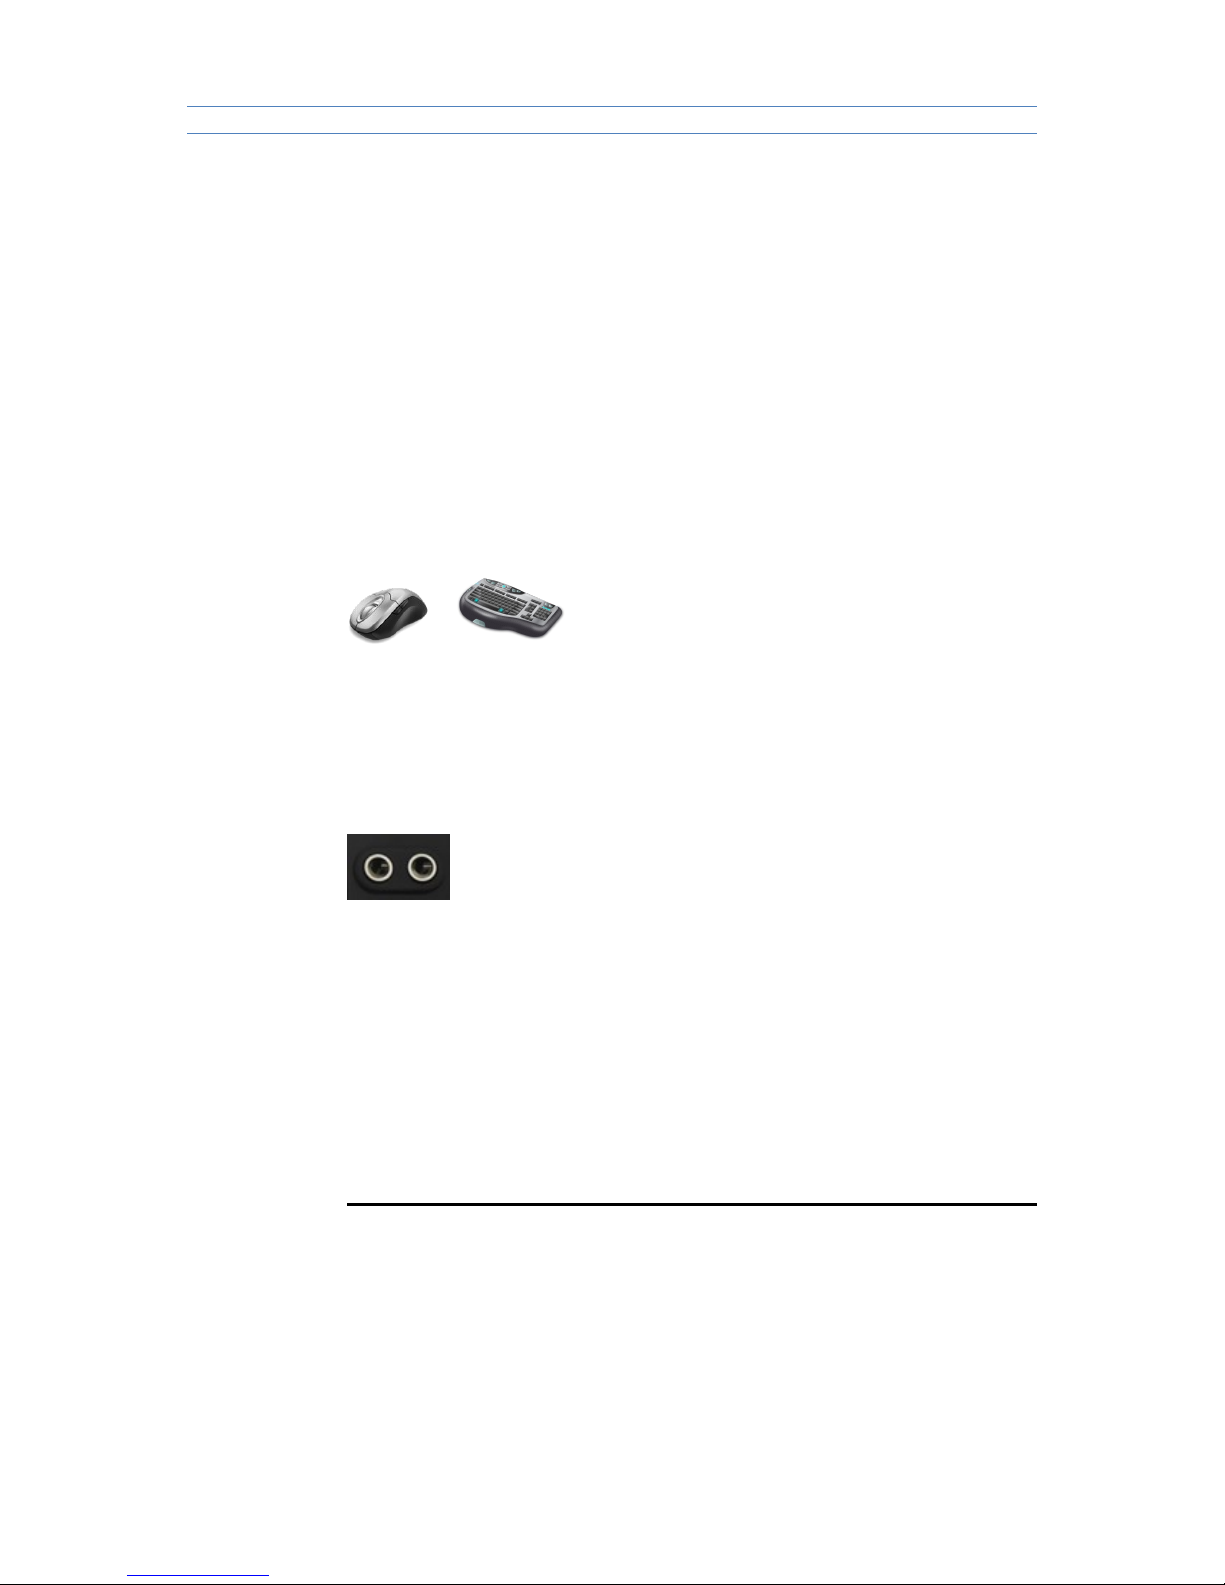
2.3 Connect with mouse & keyboard
Connect mouse & keyboard with cloud computer by USB 2.0 port.
2.4 Connect with Mic & Speaker
1. Connect Earphone with SPK port
2. Connect Mic with MIC port
2.5 Connect with Power
1) Plug power adapter in,the power indicator light will be green color.
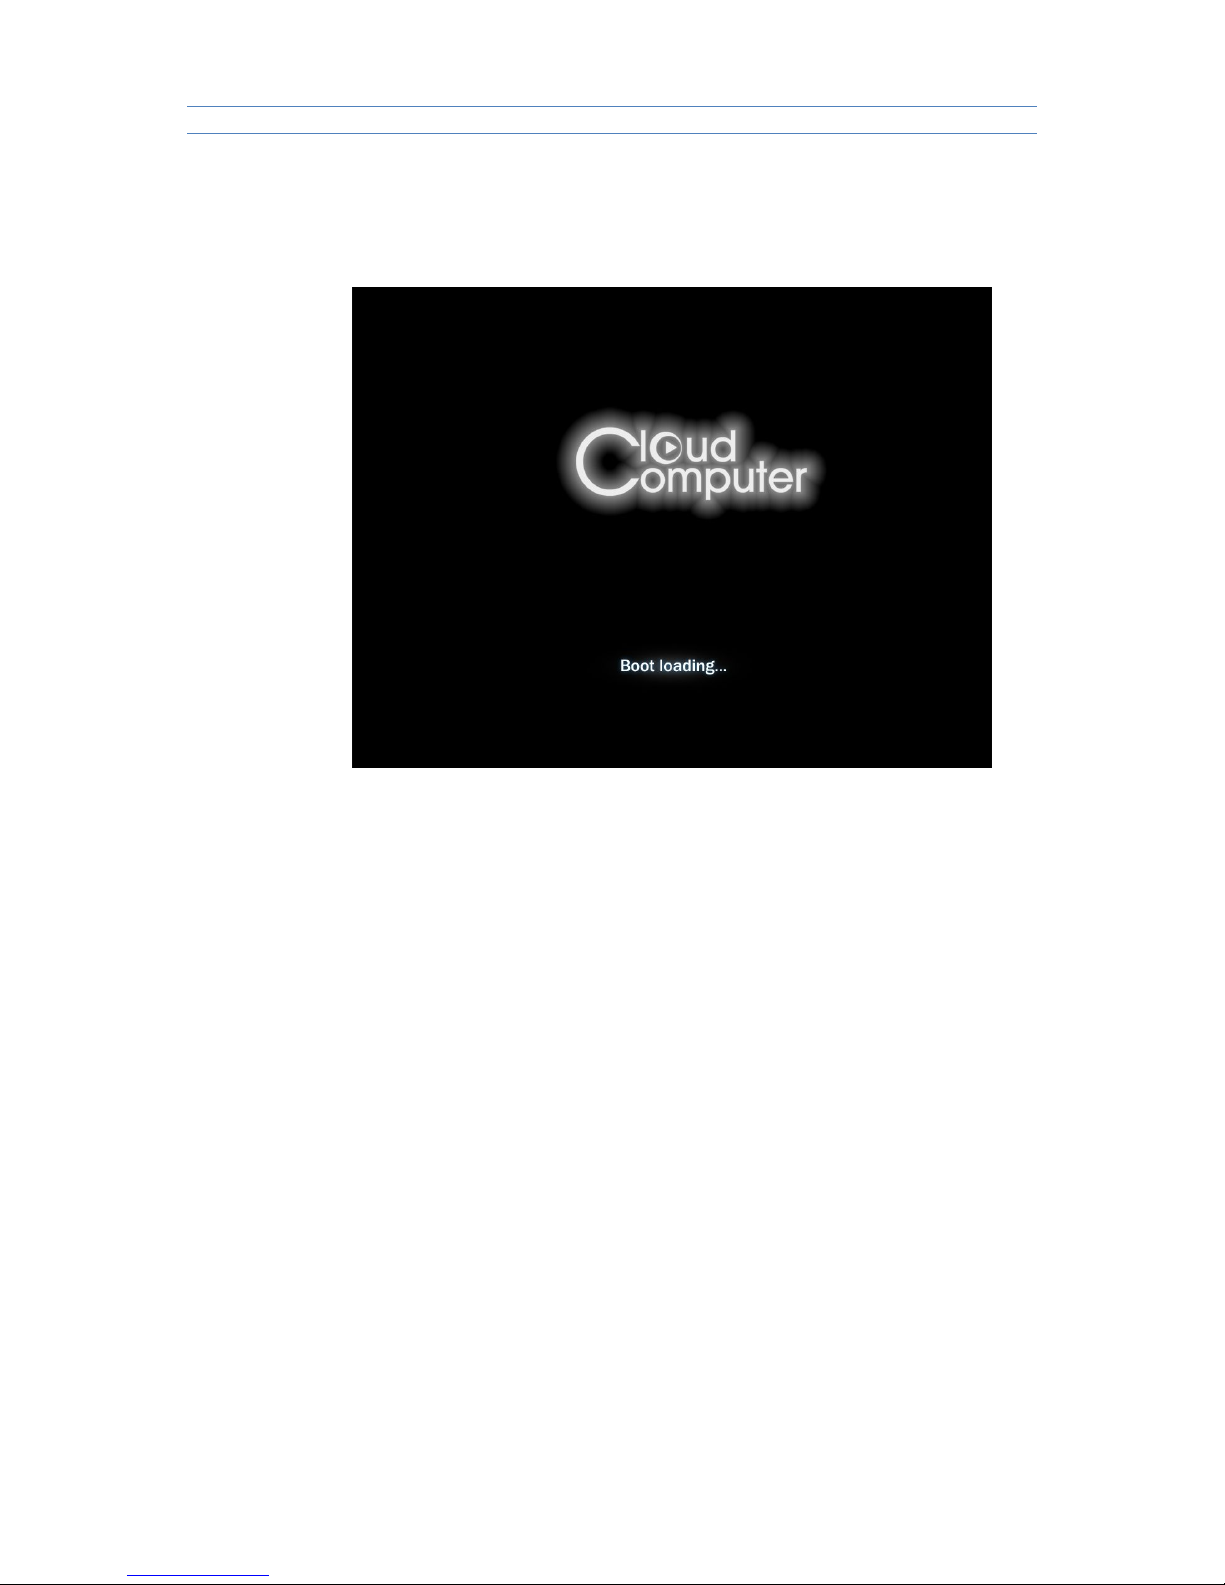
3. Operating Instruction
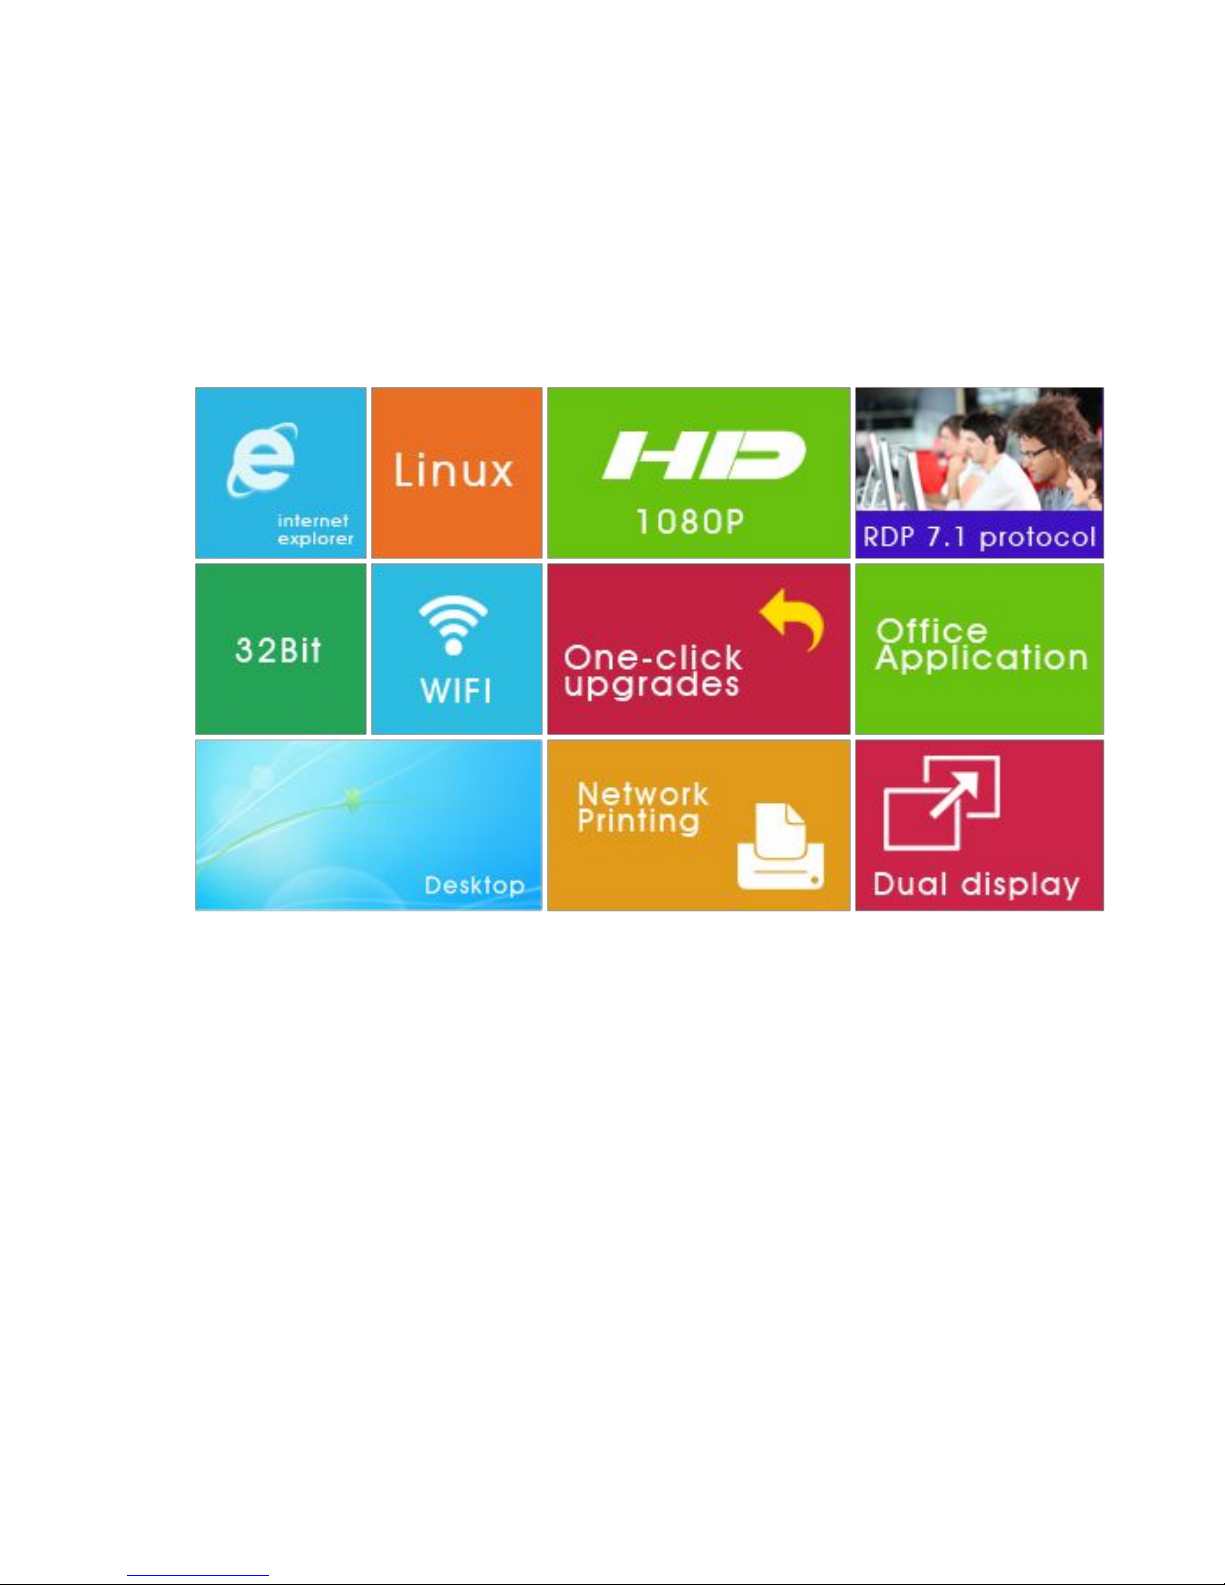
Cloud Computer FL300 is built-in RDP7.1 protocol,it supports 32 bit color and
1080P full screen hd video (local display). FL300 is compatible with 99% of
Windows platform application,brings users a rich windows experience.
FL Series Cloud Computer
-8-
3.1 Remote connection Settings
Plug power adapter in, the device enter boots interface.
Note: Pls set the resolution in control panel before remote
connection,and choose the network settings according to actual network
condition.Other functions setup according to personal requirements.
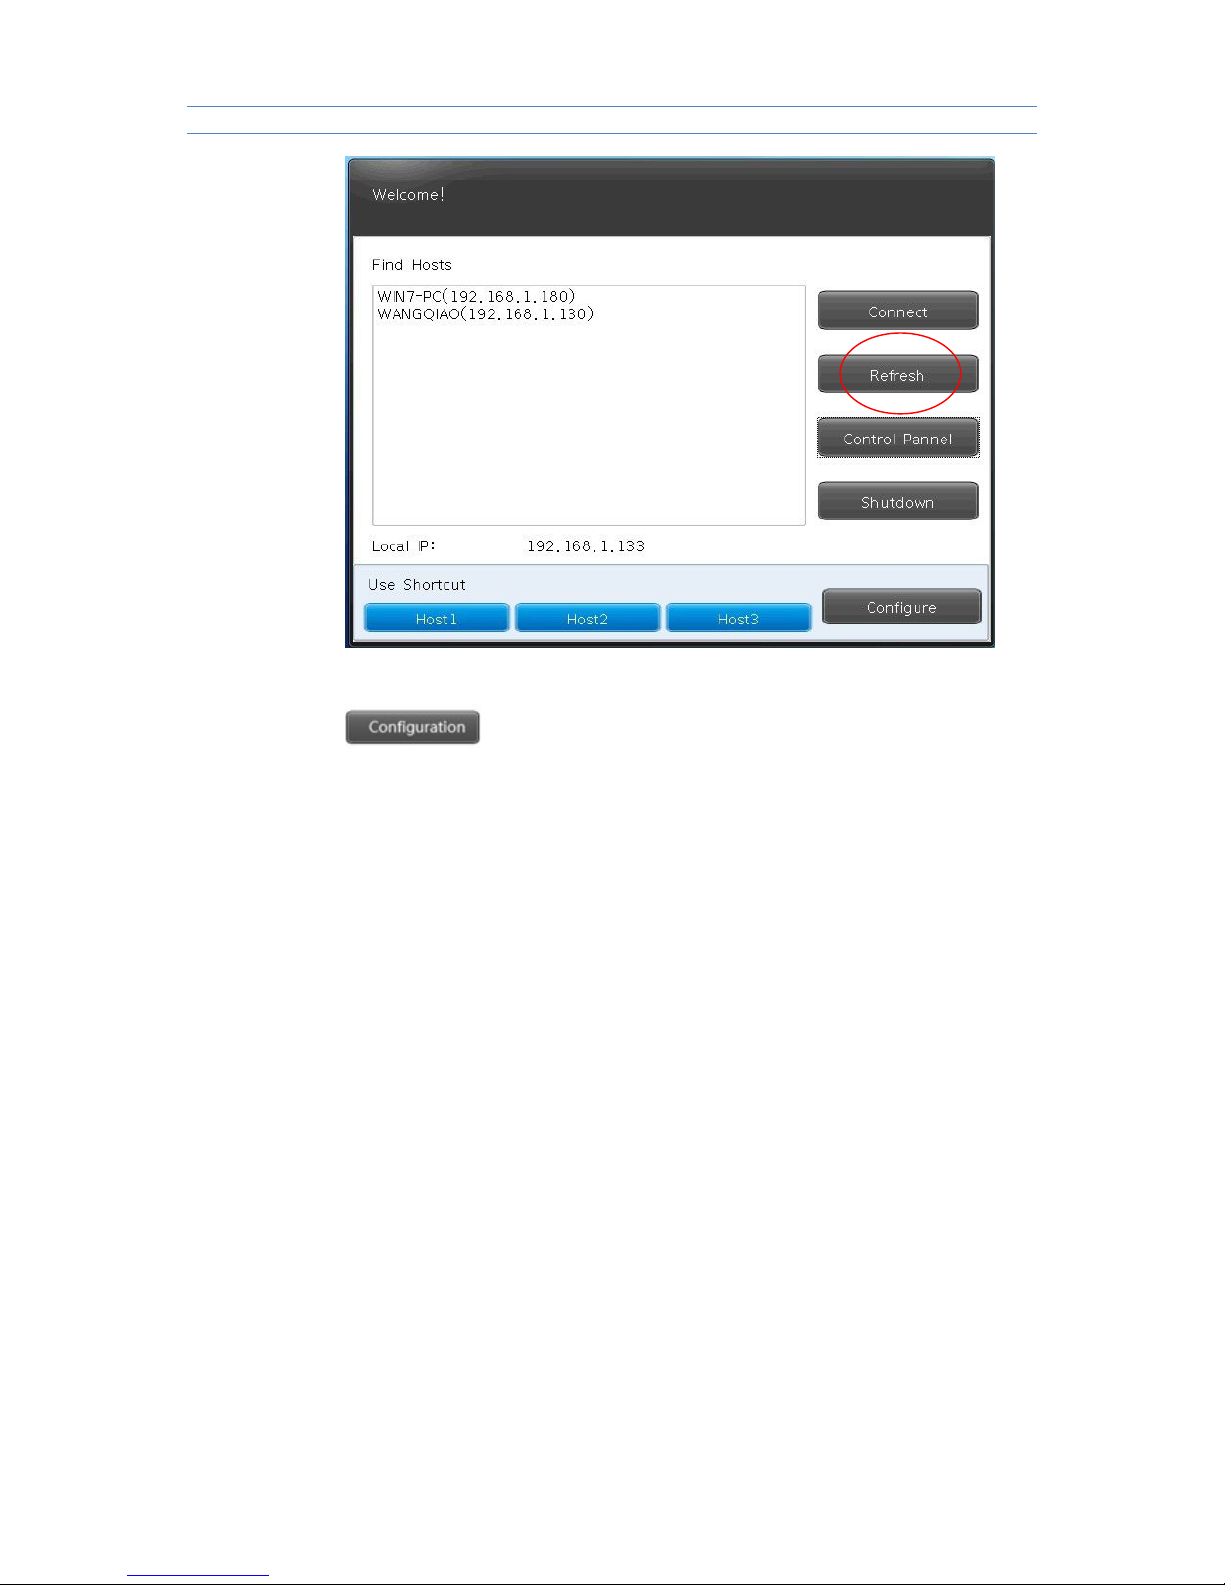
3.1.1 Find A Host
It will automatically search all HOST which has installed Terminal service (Pls
note that terminal service was developed by our company must installed in the
server first.)then choose the host record by double-clicking or clicking "connect"
in the right side,to enter into the login interface.With user
name,password,domain and port info,then enter the remote system.
Note: It may show the host that are not eligible due to network delay,pls click
"refresh" in the right side or reboot the device.
FL Series Cloud Computer
-9-
3.1.2 Configuration & Shortcut
To set the related shortcut of HOST login.
Configuration:For example,HOST 1,once user input and save IP
address,Host name,Password,Port & Domain info under Configuration,it can
access to the HOST 1 by the shortcut with info above.
Auto:It will automatically enter into the HOST you choose after rebooting.
If user want to cancel or revise this AUTO function,pls disconnect remote
system then enter the “configuration” for settings.
Note: It does not need to input domain if there is not domain in the server.
Port Info is 3389 by default. User can input the new number only when port info
is revised in the server,or it is no need.
 Loading...