

Shakespeare Electronic Style SM-30 User Manual
Thank you for choosing a Shakespeare product. Shakespeare works hard to build
reliability and durability into all of its products for maximum customer
satisfaction. Customer comments are welcome. Before installing, please study
the diagram and check parts supplied against those listed.
IMPORTANT: Please read all instructions before installing.
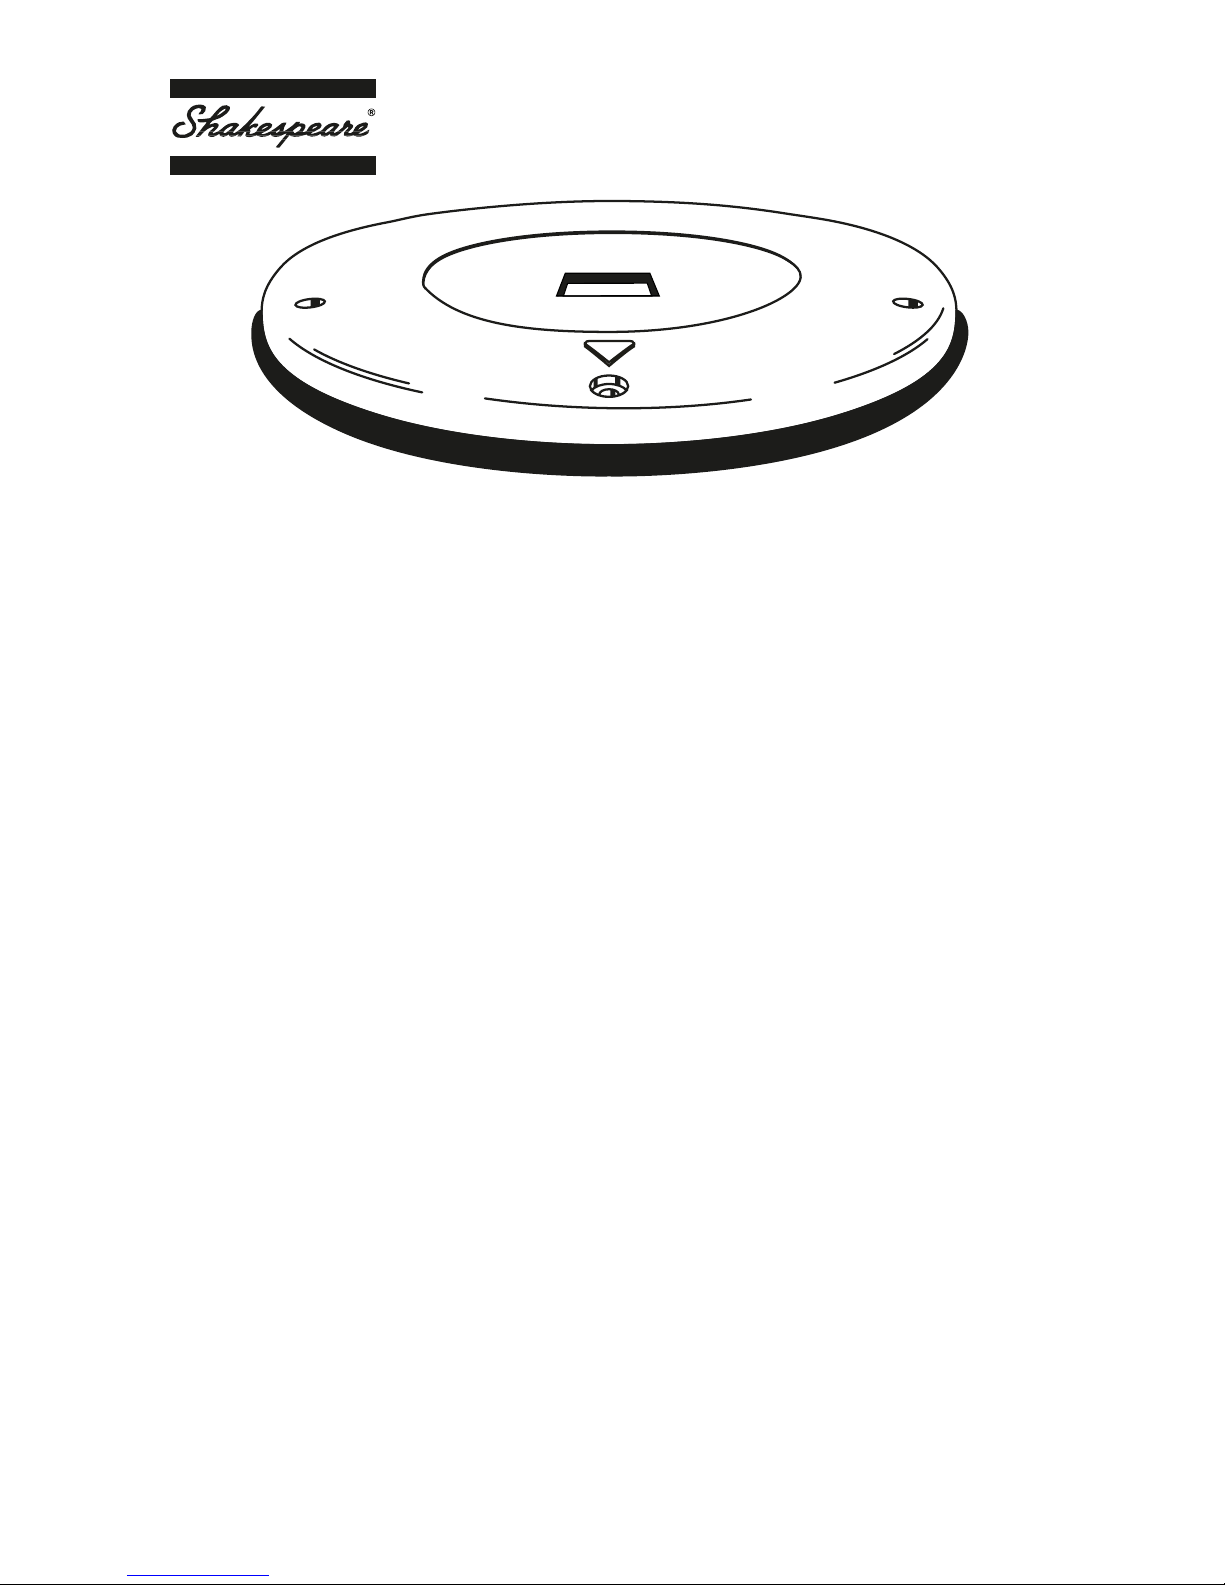
The Style SM-30 is a surface mounting kit to simplify mounting a Shakespeare
Style Galaxy
®
SRA-30 Satellite Radio Antenna (sold separately) on RV roofs, boat
radar arches or other surfaces where it is difficult or impossible to reach
underneath to attach nuts and bolts. The mounting kit provides a convenient way
to route the antenna’s coax cabling with or without passing the cable through the
mounting surface.
Supplied parts: (1) mounting base
(1) mounting gasket
(5) Self-tapping mounting screws with rubber gaskets.
Tools required: Screwdriver. Drill and drill bits (9/16”, 7/64”), or other tools may
also be needed.
Required materials:
1 Shakespeare Galaxy
®
SRA-30 Satellite Radio Antenna (sold separately)
Lockwasher and hex nut supplied with SRA-30
Style SM-30 Surface Mount Kit
Step 1: Select a location for the antenna.
Follow the instructions for choosing a location, which are included with the SRA-30
antenna (sold separately). The SM-30 Mounting Kit should be positioned with its
triangular arrow facing toward the front of the vessel or vehicle, and the antenna’s
cable either going through the surface or exiting the SM-30 Mounting Kit at the
back, away from oncoming wind due to normal vessel or vehicle motion.
SRA-30 antenna
(sold separately)
Step 2: Assemble the SRA-30 to the gasket using the washer and nut, as illustrated.
Mounting Base
Mounting Gasket
Lock Washer (from SRA-30)
Hex Nut (from SRA-30)
6” Cable and Connector
Step 3: Orient the gasket with the base according to how the cable is to be routed:
If the cable is to go through the mounting surface, rotate the gasket so as to block the
cable exit notch and expose the weep hole, as illustrated. If the cable is not to pass
Cable through mounting surface OR Cable through notch in base.
through the mounting surface, position the gasket so that the cable exit notch is
available to make a neat seal, and route the cable through the base as illustrated.
Step 4: Attach the SM-30/SRA-30 assembly to the surface.
If the antenna’s cable is to go through the mounting surface, Drill a 9/16”
hole in the center of where the antenna is to be mounted, for passage of the
6” cable with connector. When drilling fiberglass surfaces, use a small
backup block of scrap wood to control push-through splintering.
Use caution to avoid drilling through or near fuel lines, fuel tanks, hydraulic
lines, or electrical wiring. Mount the SM-30 so that it does not interfere with
safe operation of the vessel or vehicle.
Attach the gasket/base/antenna assembly to the mounting surface. Be sure to orient
the unit so that the triangular directional arrow on top of the base points toward the
front of the vessel or vehicle. The supplied mounting screws will accommodate most
surfaces. If you find them too long, too short, or otherwise unsuitable for your
application, substitute wood screws, machine screws/washers/nuts, or other hardware
(not supplied). Be sure to use only non-rusting (for example, stainless steel)
hardware, and be sure to use the five supplied grommets with the hardware you
choose. If you find it too difficult to start the screws, drill 7/64” pilot holes.
Self-tapping
screw
Grommet
 Loading...