

Page 1
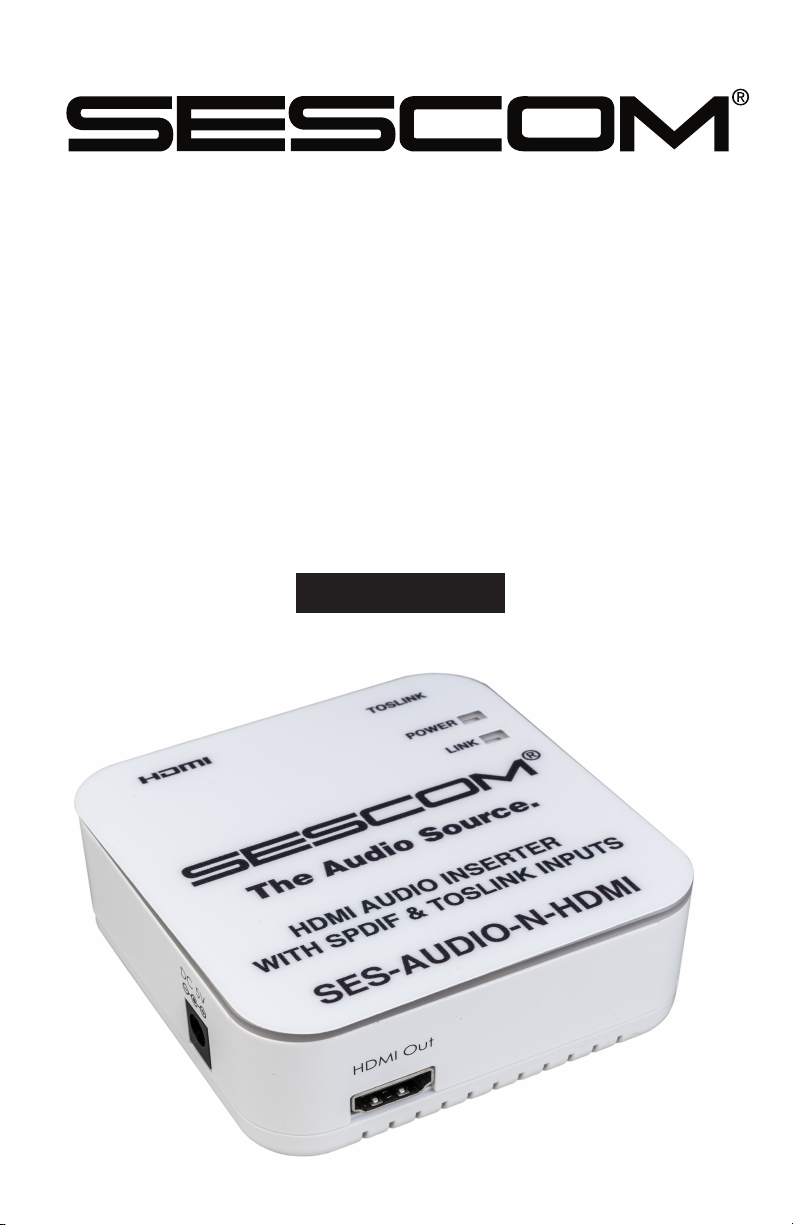
SES-AUDIO-N-HDMI
HDMI Audio
Inserter
Operation Manual
Page 2

SAFETY PRECAUTIONS
1. To prevent re or shock hazard, do not expose this equipment to an environment of high
humidity and/or dust. Do not use in an unprotected outdoor installation or any area
classied as overly damp or wet.
2. The temperature for installation should be kept between 0°C ~ 60°C. Avoid direct sunlight exposure or extreme changes of temperature over a short period of time.
3. Do not disassemble the unit or put it on an unstable base
4. Do not drop it and avoid heavy impact.
5. Ventilation: Any openings in the enclosure are provided for ventilation and to ensure
reliable operation of the unit and to protect it from overheating. These openings, if any,
must not be blocked or covered. This unit should not be placed in a built-in installation
unless proper ventilation is provided.
6. Cleaning: Unplug the unit from the mains outlet before cleaning. Do not use liquid cleaners or aerosol cleaners, only use a damp cloth.
7. Do not overload outlets and extension cords as this may result in a risk of re or electric
shock.
8. Enclosure Entry of any kind is dangerous. Never push objects of any kind, including
liquids, into this unit through openings as they may touch dangerous voltage points or
short-out parts that could result in a re or electric shock.
9. Service: Do not attempt to open or service this unit yourself as opening or removing
covers may expose you to dangerous voltage of other hazards.
10. There are no user-serviceable parts inside the unit. If the unit requires service please
contact your authorized dealer, or an authorized repair service company.
Page 3

CONTENTS
1. Introduction 1
2. Applications 1
3. Package Contents 1
4. System Requirements 1
5. Features 1
6. Operation Controls and Functions 2
6.1 Top Panel 2
6.2 Right Panel 2
6.3 Left Panel 3
6.4 Front Panel 3
6.5 Rear Panel 3
7. Connection Diagram 4
8. Specifications 5
9. Acronyms 6
Page 4

1. INTRODUCTION
The HDMI Audio Inserter lets you insert an external audio signal into your HDMI
or DVI signal path. The unit allows you to insert stereo and multi-channel surround
sound signals to give users the capability to select audio formats while extending
your HDMI signal.
Please note that this unit requires that the incoming HDMI signal contain existing
embedded audio to embed new audio over. It will not function properly if no
audio is present on the incoming HDMI signal.
2. APPLICATIONS
• Embeds external audio into HDMI signal
• Integrates audio and DVI video to HDMI signal output
• Replaces audio in the original HDMI signal by other input sources
3. PACKAGE CONTENTS
• HDMI Audio Inserter
• 5 V/1 A Power Adaptor
• Operation Manual
4. SYSTEM REQUIREMENTS
Source equipment such as PC/Laptop or DVD player with connection cables
and HD monitor or LCD TV with HDMI cables.
5. FEATURES
• Compliant with HDMI, HDCP 1.2 and DVI 1.0
• Supports HDMI audio sampling rates up to 192 kHz
• Supports Optical S/PDIF audio sampling rate up to 48 kHz
• Supports TMDS clock frequency up to 225 MHz
• Supports high-bit-rate (HBR) audio
• HDMI cable distance tested with 1080p at 8-bit or 12-bit resolution, the input
and output can run up to 15 meters (8-bit) or 10 meters (12-bit)
• Low power consumption
• Supports 3D signal
1
Page 5
6. OPERATION CONTROLS AND
FUNCTIONS
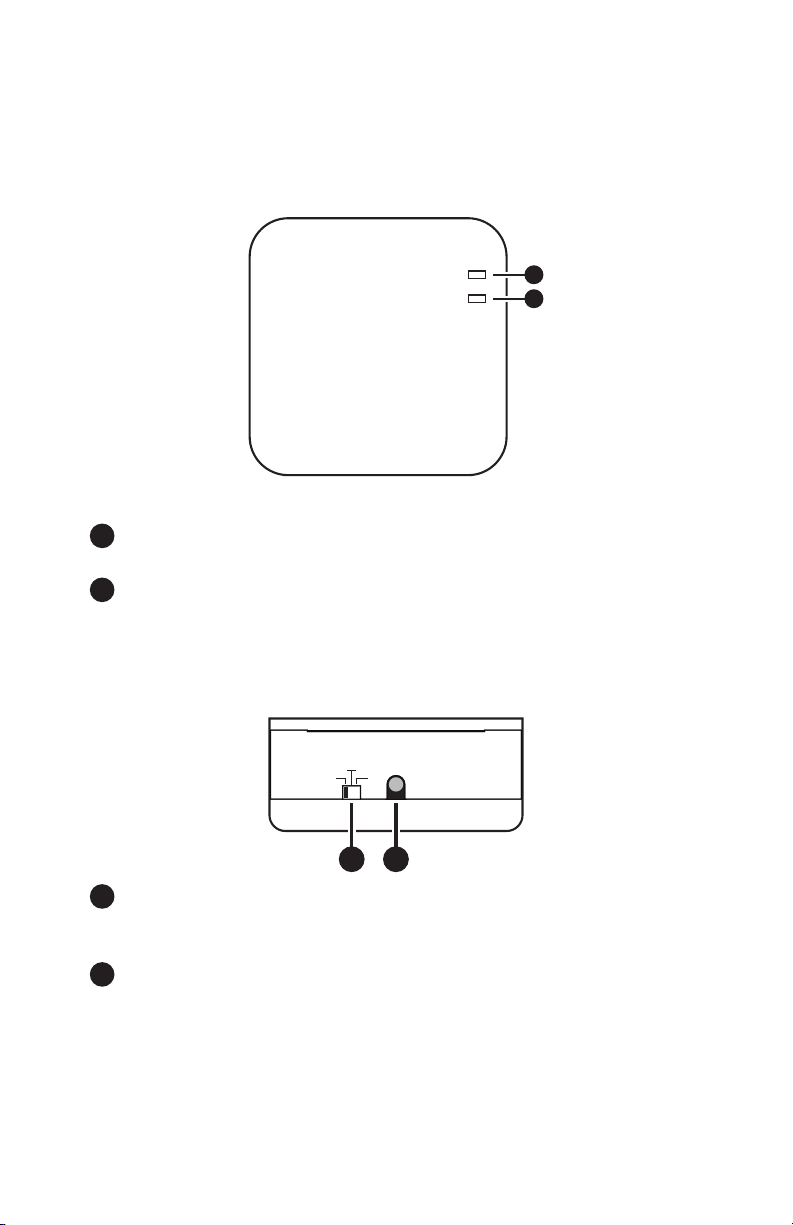
6.1 Top Panel
Power
Link
HDMI Audio Inserter
1
2
1 Power LED: The LED will illuminate in blue when the unit is
connected to the power supply and switched on.
2 Link LED: The LED will illuminate in green when both the source and the
display are connected and have established a link. This LED will also blink
once while the power is turned on.
6.2 Right Panel
Audio In Select
Optical
HDMI L/R
Power
1 2
1 Audio In Select: Allows users to select among 3 different audio input
options. Switch among the original HDMI audio, Digital Audio (Optical)
and Analog Stereo (L/R).
2 Power: Switches the unit ON or puts the device into STANDBY
mode.
2
Page 6
6.3 Left Panel
DC 5V
1
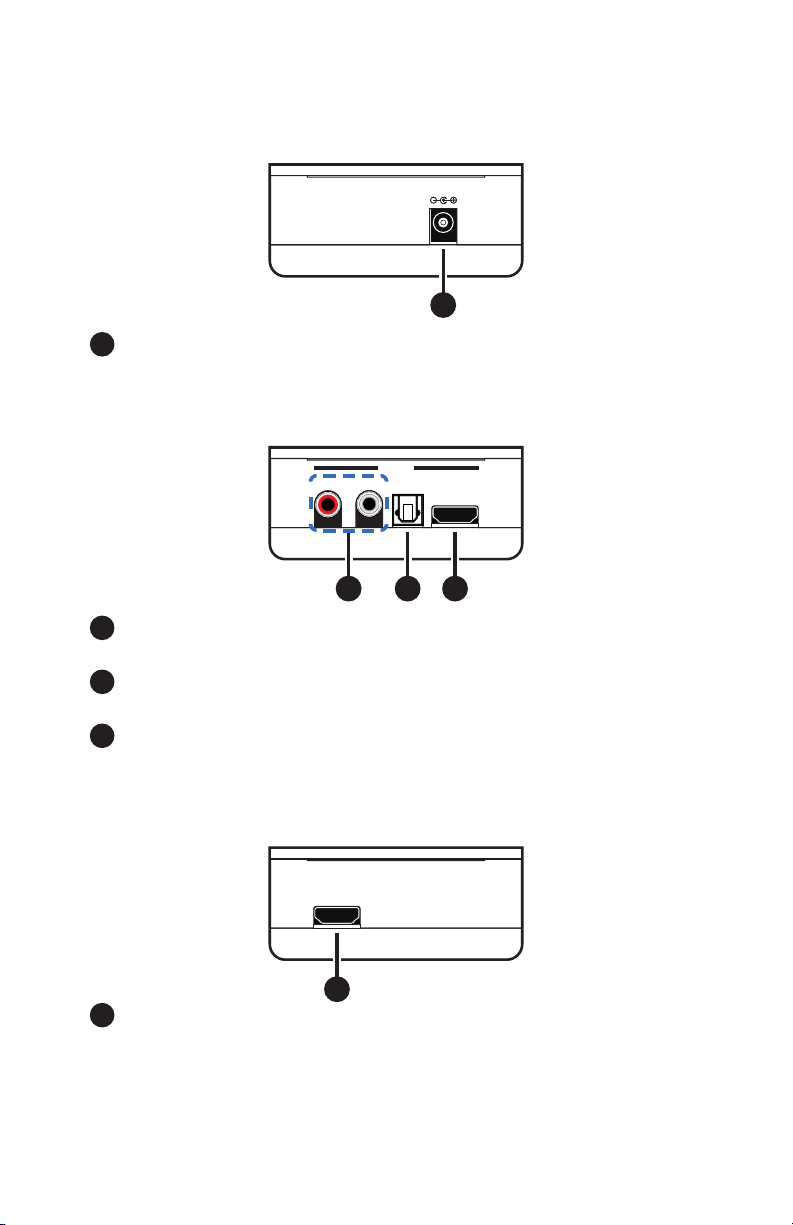
1 DC 5V: Connect the 5V DC power supply into the unit and plug the
adaptor to an AC wall outlet.
6.4 Front Panel
INPUT
R L
1 R/L Input: Connect to the audio source equipment such as a PC/
Laptop or an Hi-Fi equipment with RCA cables.
2 Optical Input : Connect to the audio source equipment such as a CD
player or an Hi-Fi equipment with an optical cable.
3 HDMI Input: Connect to the audio/video source such as a DVD/ Blu-
ray player with an HDMI cable.
HDMIOptical
321
6.5 Rear Panel
HDMI Out
1
1 HDMI Out: Connect to an HDMI display (LCD TV or HD monitor) or AV
Receiver to output both video and audio with an HDMI cable.
3
Page 7
7. CONNECTION DIAGRAM
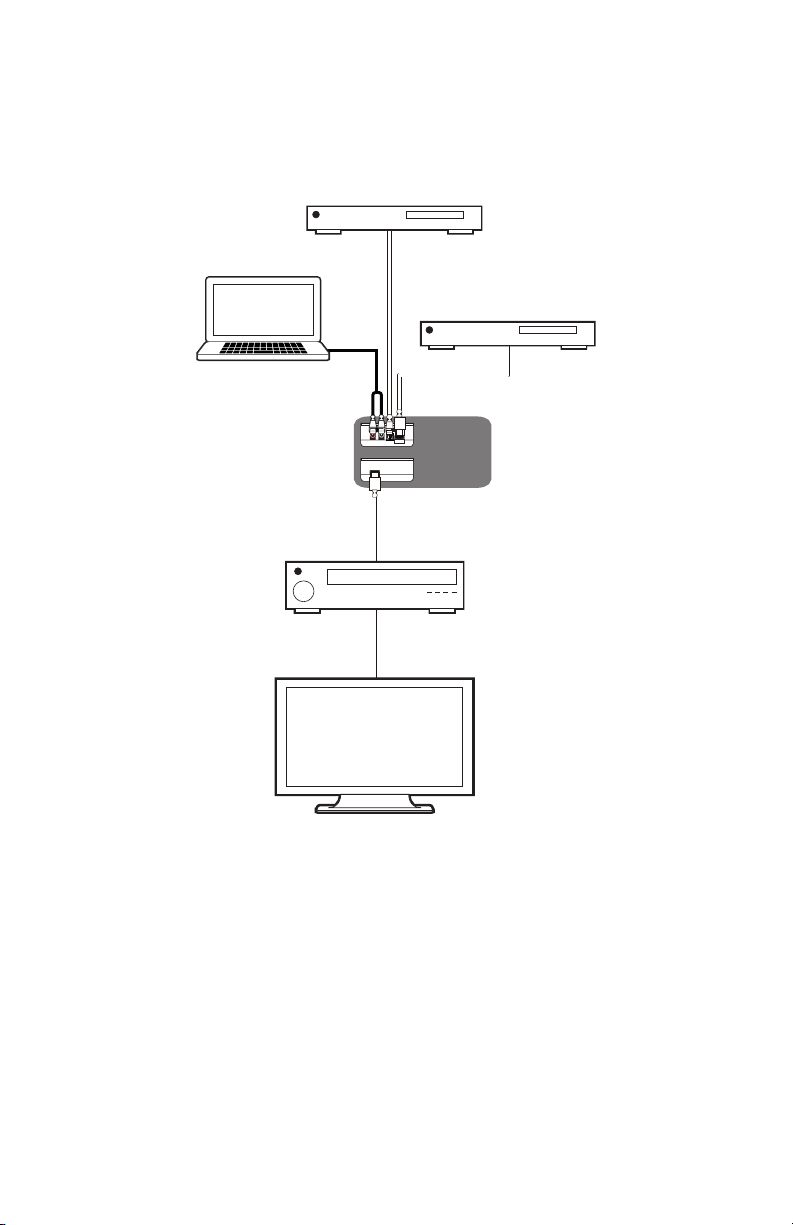
DVD Player
PC/Laptop
Digital Audio
Input (Optical)
Blu-ray Player
Analog Stereo Input HDMI Input
InputOptical HDMI
LR
HDMI
Audio
HDMI Out
Inserter
HDMI Output
AV Receiver
HDMI Output
HDTV or Monitor
4
Page 8

8. SPECIFICATIONS
Input Ports 1xHDMI, 1xOptical (Digital Audio),
1xL/R (Analog Audio)
HDMI Audio Sampling Rate Up to 192 kHz
Optical Audio Sampling Rate Up to 48 kHz
Output Port 1xHDMI
HDMI Cable I/O Distance 10 meter, 1080p@12-bit
15 meter, 1080p@8-bit
HDMI Audio Format LPCM 2/5.1/7.1, Dolby 5.1, DTS 5.1,
Dolby Digital+, Dolby TrueHD & DTS HD Master
Audio
Optical Audio Format LPCM 2, Dolby Digital & DTS Digital Audio 5.1
Power Supply 5 V/1 A linear power adaptor (US/EU
Standards, CE/FCC/UL Certified) or 5 V/1.2
A switching power adaptor (with universal plug,
CE/FCC/UL certified)
ESD Protection Human body model:
±8kV (air-gap discharge)
±6kV (contact discharge)
Dimensions 90.7 mm (W)x85.8 mm (D)x34 mm (H)
Weight 107 g
Chassis Material Plastic
Silkscreen Color White Letters on Black
Operating Temperature 0 ºC~40 ºC/32 ºF~104 ºF
Storage Temperature −20 ºC~60 ºC/−4 ºF~140 ºF
Relative Humidity 20~90 % RH (non-condensing)
Power Consumption 2.7 W
5
Page 9

9. ACRONYMS
ACRONYM COMPLETE TERM
DVI Digital Visual Interface
HDCP High-bandwidth Digital content protection
HDMI High Definition Multimedia Interface
6
Page 10

 Loading...