

ServiceMASTER Clean Oasis Plus, Oasis Ozone Generator Information & Operating Instructions
Owner’s Manual 19400
Title: Oasis Ozone Generator
Serial Number: ___________
The ServiceMaster Company
860 Ridge Lake Blvd.
Memphis, TN 38120
800-765-5656 (Tech Support)
ServiceMaster® Manual
Copyright 2004 by
ServiceMaster Clean
All rights reserved
2-10-2010 revised 2/11 FORM NO. 56041855
OASIS OZONE GENERATOR
INFORMATION & OPERATING INSTRUCTIONS
READ ALL INSTRUCTIONS BEFORE OPERATING
OZONE IS A POWERFUL OXIDIZER AND MUST BE USED WITH CARE
WARNING: USE IN UNINHABITED AREAS ONLY. CONSULT MSDS SHEET BEFORE
USE. Ozone attacks mucous membranes. Limited exposure can cause irritation to eyes,
throat, and nose and may cause nausea. Do not re-inhabit a treated area until it has
been ventilated. Prolonged exposure can also affect certain organic materials such as rub-
ber, plastic, wire insulation.
Do not get the machine wet.
INSPECTION:
Carefully unpack and inspect the OASIS PLUS for shipping damage. Each unit is tested and inspected
before shipment. Any damage incurred is the responsibility of the carrier, who should be notifi ed immedi-
ately.
All cleaning and maintenance work should be completed before using the Ozone machine.
Ozone treatment should be the fi nal step in room maintenance.
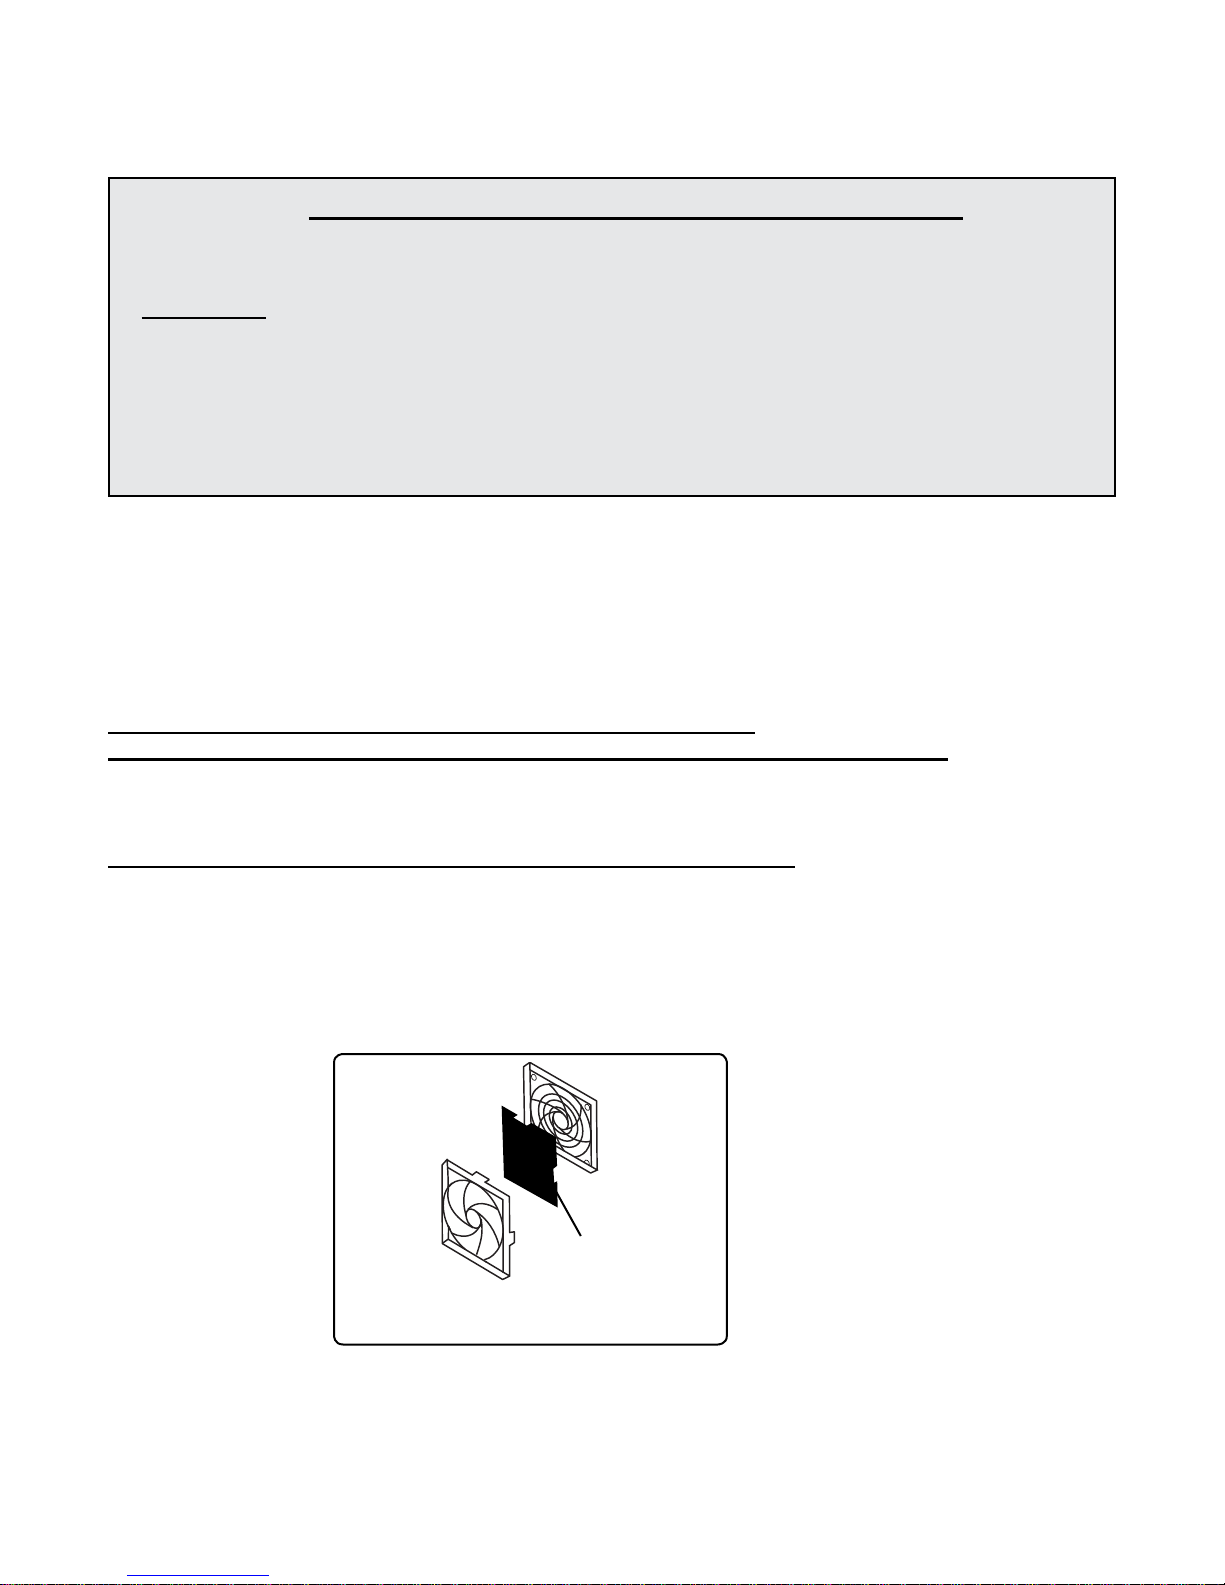
NOTE: the air fl owing into the machine must be clean and dry.
NOTE: if the air intake fi lter is dirty or missing, warranty is voided (see Figure 1).
OPERATION:
NOTE: Ozone is a toxic gas. Follow all safety precautions.
1. Make certain all people, pets, and plants are out of area.
Close all windows and doors.
2. Make sure the fi lter is installed and is clean.
Rear of
Machine
Figure 1
3. Place the Ozone generator on a shelf or tabletop, as high as possible in the area to be treated.
4 Plug the power cord into a grounded, 3-prong outlet.
Filter
Filter
Cover
FORM NO. 56041855 - 2
TOP OF
MACHINE
POWER
TIMER
OUTPUT
25% 50% 75%
ON
OFF
>
>>
>
100%
Figure 2
5. Refer to Figure 2, above.
Set the timer to the desired length of time: momentarily pressing the (UP) timer button for one
>
second will increase the time setting by one minute.. Hold the button for 1 -3 seconds to change
the time value by two minutes per second. Hold the button for longer than 3 seconds and the time
setting will change the time in 20 minute increments.
The maximum time setting is 29:59 hours. After reaching the maximum time, the timer will wrap
back to 00:00 and then continue increasing. When the time is being decreased and reaches 00:00,
it will wrap to 29:59 and continue decreasing.
>
6. Select the desired power level by pushing the or buttons, located to the right of the word
“OUTPUT”, until the red light is on above 25%; 50%; 75% or 100%. NOTE: the machine always
>
defaults to 100% when you plug it in.
When the output level is set to 100%, the machine makes ozone continuously until the timer runs
out or the OFF button is pressed. At other power level settings, the machine will produce ozone for
the fraction of a minute of the set ouptut level. For example, if the output level is set to 75%, the
machine will produce ozone for 75% (45 seconds) of each minute. At 50%, ozone is generated
for
half of (30 seconds) of each minute, and at 25%, the ozone generation lasts for 15 seconds
of each minute. On any setting other than 100%, the ozone generator will be cycling the
ozone ON and OFF.
7. Turn the unit on by pressing the ON button, after you have set the time and the output level.
Leave the area.
8. When treatment is complete, unplug the ozone machine and ventilate the area completely
until all smell of ozone is gone. Do NOT allow people, pets or plants back into the area
until the area has been ventilated and all smell of ozone is dissipated.
FORM NO. 56041855 - 3
 Loading...