

User Manual
Version 2.1
October 2001
Model SL-421

Page 2
Table of Contents
3 Welcome T o The ServerLink Infinity .
3 ServerLink Infinity Model
3 Support Service
4 ServerLink Infinity Features
5 Preinstallation
5 General concepts
5 Physical Considerations
6 ServerLink Installation
6 Set up the Console
6 Connect the first computer
6 Turn on the system.
6 Connect Additional Computers
7 During Installation
7 Controlling the ServerLink
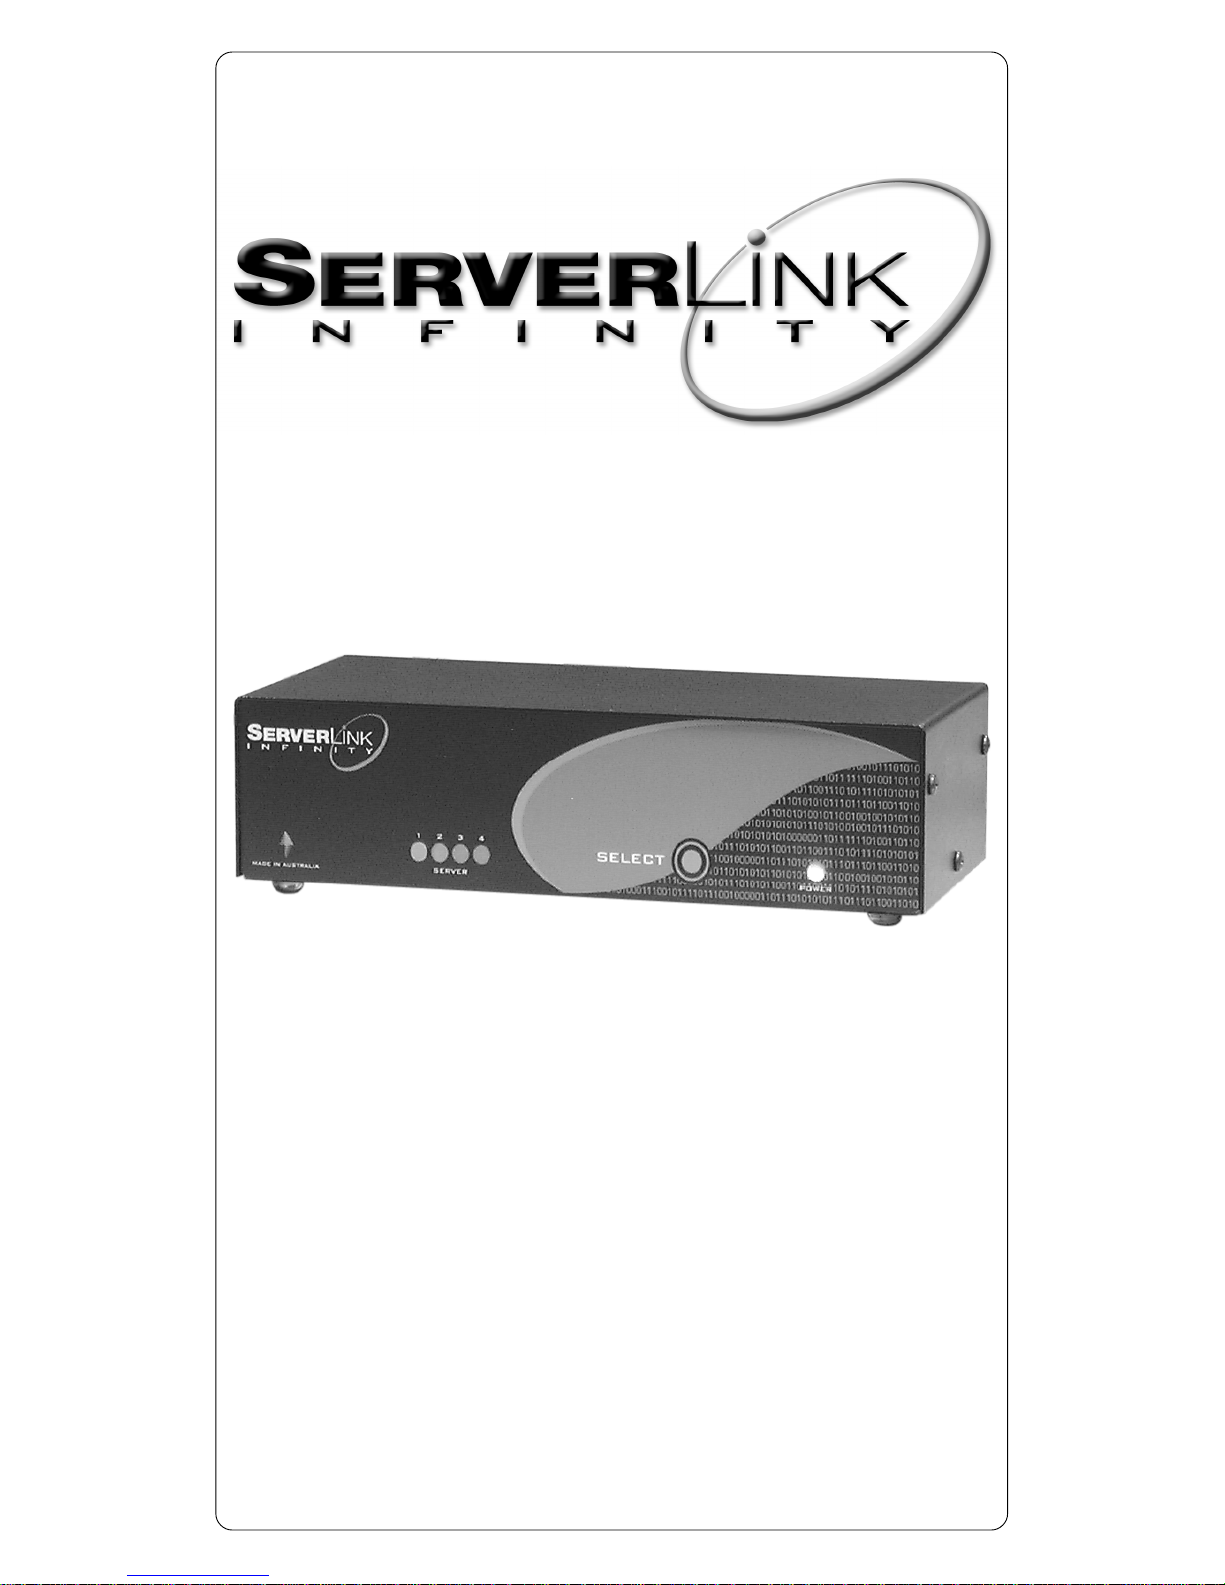
7 Front panel operation
7 Console Control
8 ServerLink Popup Screens
8 Server Selection Screen
9 Main Setup Screen
11 Mouse Setup Screen
12 Product Information Screen
12 Diagnostic Screen
12 Other information
12 ServerLink Website
12 Cascading Your ServerLink
12 Other Models Of ServerLink
13 Technical Data
14 T roubleshooting
15 Notices
15 Copyright Notice
15 Warranty
15 Disclaimer
15 Warning

Page 3
Welcome To The ServerLink Infinity.
The ServerLink Infinity is an electronic KVM switch for
use in multi-computer installations. At sites where an
operator requires rapid access to many computers, the
ServerLink Infinity offers an ideal solution. The ease of use
and its simple operation make the ServerLink Infinity an
outstanding tool for your computers.
Manufactured in Melbourne, Australia, The ServerLink
Infinity is designed for the convenient management of server
rooms, network hosts and other multi-system installations.
ServerLink Infinity Model
This booklet is a user manual for the following model:
ServerLink Infinity SL-421
Support Service
The ServerLink Infinity is backed by a
telephone support service.
For ServerLink Toll Free Support, please ring
1800 262 262
A Free Call anywhere in Australia.
W e at
Diamond Systems Pty . Ltd.
hope that you enjoy using your
ServerLink Infinity .

Page 4
ServerLink Infinity Features
Model SL-421
One operator can control up to 4 computers.
Designed and Manufactured in Australia.
Toll free Support.
3 Year Warranty.
Units can be cascaded for larger installations.
Microprocessor controlled operation.
Designed for continuous operation.
No external power supply is required.
Independent of any Operating System.
Computer selection by keyboard or front panel.
On Screen Display.
Each computer can have a user defined name.
Individually selectable computers.
Scanning function for selected computers.
EEPROM memory will save altered settings when the
ServerLink is turned off.
Automatic mouse emulation.
Support for various mouse types.
2 button,
2 button wheel,
4 button wheel.
Retention of keyboard settings for each Computer.
Standard connectors are used throughout.
Colour Coded PS/2 Connectors.
Connect to computers with standard cables.
Emulation of keyboard and mouse functions to allow any
computer to boot up without operator assistance.

Page 5
Preinstallation
General concepts
FUNDAMENT ALS OF OPERATION
The ServerLink connects multiple computers to a single
keyboard, monitor and mouse. Invoking a popup display at
the console allows the operator to select one of the
computers. A physical keyboard, monitor and mouse are
plugged into the ServerLink. The ServerLink switches the
keyboard, monitor and mouse signals from the selcted
computer and does this with standard cables.
Physical Considerations
LOCATION
Place the ServerLink near the computers to be switched.
Position the ServerLink where the front panel display is
visible and the switches are easily reached.
CABLES
Your ServerLink supplier has colour coded cable sets for
each computer available in various lengths. Three standard
cables are needed to connect each computer to the
ServerLink. The keyboard and mouse use cables with male
PS/2 connectors. The video cable is similar to a monitor
extension cable and uses HDB15 connectors.
In all cases good quality cables should be used.
CABLE CONNECTION
Connecting cables should be well supported between the
computer and the ServerLink. Consider the use of cable ties.
Cables should be laid so that individual cables or connectors
are not stressed by the weight of adjacent cables.

Page 6
ServerLink Installation
Set up the Console
The console is the location where you sit to use the computers
connected through the ServerLink. It can be adjacent to the
computers or possibly in another room. The cables from
the keyboard, monitor and mouse will need to reach the rear
panel of the ServerLink. Plug the cables in to the back of
the ServerLink in the area marked ‘Console’. Plug in the
keyboard to the ‘KB’ socket, the mouse into the ‘M’ socket
and the monitor cable into the ‘Monitor’ socket.
Connect the first computer
Choose a computer to connect to the ServerLink. Take the
cables and plug them into the keyboard, video and mouse
sockets of this computer. Plug the other ends into one of
the inputs on the back of the ServerLink. Match the colour
of the connectors with the sockets on the computer and
ServerLink. It is best to use input 1 as this is the default
selection when the Serverlink boots.
Turn on the system.
The ServerLink uses power from the computer’s keyboard
cable. Switch on the video monitor and let it warm up.
Switch on the ServerLink and then computer 1. Both the
computer and the ServerLink will now boot.
After both units have booted, the keyboard, monitor and
mouse should seem as though they are plugged directly into
the computer.
Connect Additional Computers
You can plug in a new computer while the ServerLink is
running. It can use any numbered input. Turn on the
computer, and switch the ServerLink to it.
It is better to test the oparation of each new computer prior
to plugging in another one.
Continue installing all the remaining computers, testing each
in turn until they are all connected.

Page 7
During Installation
SOME INSTALLA TION TIPS
Computer 1 is the default selection when the ServerLink is
switched on or reset.
It is a good idea to label the cables at each end. This helps
when making any changes to the configuration.
If not using moulded cable sets, tie each cable set together
with cable ties. This will help to keep the sets neat.
If a computer has no mouse then no mouse cable is required.
PROBLEMS WITH INSTALLATION
If no activity occurs, check that at least one computer is
connected to the ServerLink with a keyboard cable. This
will provide power to the ServerLink.
If one of the peripherals does not work, check that both the
input cable and the console cable are correctly inserted.
Otherwise, please refer to the troubleshooting guide later in
this booklet.
Controlling the ServerLink
Front panel operation
The ServerLink can be operated from the front panel.
Pushing the button selects the next tagged computer. (See
the later section “Computer tags”). The repeated pushing
of the button will cycle through all the tagged computers.
Console Control
PRINTSCREEN SELECTION
The printscreen key acts like the front panel button.
Repeated pressing of the printscreen key cycles through the
tagged computers. This feature can be disabled if the
printscreen key is required for its original function.

Page 8
THE POPUP SCREEN
The SeverLink can be managed from the console by invoking
a popup display. A video overlay generated by the ServerLink
can be used to show the current status of each connected
computer, and to manage various functions in the
ServerLink.
INVOKING THE POPUP SCREEN
To invoke the display, press the left control key three times.
This key is known as the hotkey. When the popup is
invoked, the keyboard is isolated from the currently selected
computer. The keyboard signals are now used to manage the
ServerLink.
To exit the popup screen, simply press the escape key <ESC>.
ServerLink Popup Screens
A series of screens can be used to adjust various functions of
the ServerLink. The screens are:
The Server Selection screen,
The Main Setup screen,
The Mouse Setup screen,
The Product Information screen.
The screens may be selected by pressing the Page Up and
Page Down keys on the keyboard.
Pressing the Escape key exits all popup screens.
Server Selection Screen
This screen allows selection of each computer connected to
the ServerLink.
COMPUTER SELECTION
There are two methods of computer selection, quick select
and normal select.
QUICK SELECT
Press a key from 1 to 4 which corresponds to the desired
computer.
The ServerLink will switch to that computer and exit the
popoup.

Page 9
NORMAL SELECT
There is a red highlight over a computer. Use the arrow keys
to move this red cursor to another computer. The current
computer will show in grey and the new selection in red.
Pressing the ENTER key will switch to the new computer.
SCAN MODE
Pressing <F5> invokes the scan mode. This cycles the tagged
computers through a timed sequence. The next tagged
computer is automatically selected after a certain time has
elapsed. The time is set in the Main Setup screen.
Main Setup Screen
This screen is where various funtions of the ServerLink can
be changed. A series of fields, described below, lets the
operater change the values used for each funtion.
To change values in these fields, use the arrow keys to move
the small red cursor to the desired field. The field is activated
or changed by pressing the Function 2 key <F2>.
If a field has a editable name, the new name can be saved by
pressing the ENTER key.
The other fields will show the available options by repeatedly
pressing the Function 2 key <F2>.
COMPUTER NAMES
Each computer may be renamed.
COMPUTER TAGS
Each computer may be tagged. Tagged computers are included
in the scan function, and can be selected with the front
panel button and the printscreen key. A tag is represented
with a dot. All computers are tagged by default.
PORT CASCADE
2 or more ServerLinks may be cascaded to increase the
number of switched computers. Set the cascade field to ‘C’,
if another ServerLink is connected to this input port.

Page 10
HOTKEY SELECTION
The Hotkey is the key used to invoke the popup menu.
The Hotkey can be changed to Left Control, Right Control,
Left Alt, Right Alt, Left Shift or Right Shift.
SERVERLINK NAME
The ServerLink may be named. The name will appear on
the server selection screen. This is useful in cascading.
MONITOR ST ANDBY TIMEOUT
The computer monitor will have its screen blanked by the
ServerLink in certain conditions The available delays are
15, 30, 60, 120 minutes or disabled.
CHANGING THE SCAN TIME
The Scan Time is the duration for each tagged computer
when the scan mode is active. The available delays are 2, 5,
10, 20 and 60 seconds.
PRINTSCREEN SELECT
Setting the value in this field enables or disables the
Printscreen select key.

Page 11
Mouse Setup Screen
This Mouse Setup screen is used to set the mouse emulation
for each computer. Mouse emulation allows the mouse to
work despite the attached computers having different mouse
drivers.
The ServerLink has an automatic setting for mouse
emulation:
“AUTO” enabled by default
If the automatic mouse emulation does not work for a
particular computer, manual mouse emulation may be set.
The manual emulation modes are:
“2 Button” Two button mouse emulation,
“Wheel” Two button Wheel mouse emulation,
“Wheel 4B” Four button Wheel mouse emulation,
“None” No mouse emulation.
For an operating system which does not use a mouse, set the
emulation to ‘None’.
MOUSE DRIVER REINITIALISATION.
If the mouse fails with a particular computer, it is sometimes
possible to recover by restarting the mouse driver on that
computer.
Restart the mouse driver by pressing the Function 9 key
<F9> while the mouse setup or diagnostics screen are visible.
If the mouse driver has restarted, the message “Mouse
sucessfully restarted” appears. The mouse should now work.
If the attempt to restart the mouse driver fails, the message
“Unsuccessful try again” appears. In this case, some other
strategy will be needed to get the mouse working.

Page 12
Other information
ServerLink Website
The ServerLink has a website on the World Wide Web.
The address is
www .serverlink.com.au
Cascading Your ServerLink
In installations where there are more computers than the
capacity of your ServerLink, it is possible to cascade two or
more ServerLinks. Please visit the ServerLink website for
more details about cascading your ServerLink.
Other Models Of ServerLink
Diamond Systems Pty. Ltd. currently produces other models
of the ServerLink Infinity:
SL-221 2 input PS/2
SL-821 8 input PS/2
SL-1621 16 input PS/2
The Serverlink Infinity will cascade with all Serverlink
Infinity models.
Product Information Screen
This screen contains information about your ServerLink
Infinity. It shows the manufacturer, firmware revision and
the serial number.
Diagnostic Screen
This screen contains features to help diagnose any problems
which may arise between the ServerLink Infinity and your
other equipment. It shows keyboard and mouse protocol
vectors and the states of various processes in the ServerLink
CPU. It is provided to allow the customer support staff to
analyse any unusual behavior. To view the diagnostic screen,
go to any popup except the server selection screen. Now
press the Function key 6 <F6>. Press the escape key to
close this screen.

Page 13
Technical Data
Functional Description: An electronic switch for operating
multiple computers from one console.
Model SL-421
Switchable computers 4
Physical Dimensions
Height 50 mm
Width 95 mm
Length 210 mm
Weight 750 g
Power Supply:
5 Volt Phantom Power via host(s) keyboard input.
Power consumption 2.5 Watts
Physical Control
Computer Selection: front panel momentary switch.
System Enable: rear panel power/reset toggle switch.
Console Control
Video generated Popup Console
Computer Connentions
Video HDB15 male 4
Mouse MiniDIN PS/2 (Green) 4
Keyboard MiniDIN PS/2 (Purple) 4
Console Connections
Video HDB15 male 1
Mouse MiniDIN PS/2 connector 1
Keyboard MiniDIN PS/2 connector 1
Mountings Rubber feet
Colour Black

Page 14
Troubleshooting
Problem: Only some of my computers work through
the ServerLink.
Answer - Check that all the cables are plugged in correctly.
Ensure that no keyboard or mouse connectors are swapped
either at the ServerLink or the Computer. Check for bent
pins in the connectors.
Problem: No Power.
Probable fix - Ensure that the power switch is on, but also
ensure at least one computer is connected and running for
the ServerLink to work.
Problem: The keyboard used to work, but after
rebooting, a computer’s BIOS dignostics finds a
problem with the keyboard.
Answer - The ServerLink will boot faster than the connected
computers, but if the serverlink is turned on after one of the
computers has completed its boot diagnostics then that
computer will hang. Solution - reset that computer with the
ServerLink turned on
Problem: The keyboard of a computer hangs.
Answer - Ensure that the mouse emulation is set correctly.
Either Two Button, Wheel or None. This is particularly
important when there is a mouse cable attached to a
computer with no mouse driver installed. In this case set the
emulation to ‘None’. Solution - reboot the computer and
set the mouse emulation of that computer to ‘None’.
Problem: The wheel of the wheel mouse does not
work.
Solution - Ensure that the required computers have a wheel
mouse driver installed and that the ServerLink has the wheel
mouse emulation set for those computers.

Page 15
Problem: The mouse jumps all over the screen.
Answer - The mouse emulation is incorrect. Usually this is
when the emulation is set to wheel mouse and the computer
driver is for a two button mouse. Solution - Change the
emulation for that computer to another setting.
Problem: There is ghosting on the monitor.
Answer - Ghosting is caused by impedence mismatches
between the computer video cable and the monitor video
cable. Solution - use high quality video cables.
Your ServerLink supplier can supply these.
If these solutions do not solve the problem, please contact:
ServerLink Toll Free Support
1800 262 262
A Free Call anywhere in Australia.
Notices
Copyright Notice
Copyright Diamond Systems Pty. Ltd. October 5th 2000.
Diamond Systems reserves the right to make alterations to
the ServerLink Infinity Model SL-421 and this manual at
any time without notice.
Warranty
The ServerLink Infinity Model SL-421 is covered by a three
year warranty against defective parts and workmanship
provided that the defect has not been caused by misuse or
abuse.
Disclaimer
In the event of any failures no responsability will be accepted
for any damage to any other equipment.
W arning
This is a class A product. In a domestic environment, this
product may cause radio interference in which case the user
may be required to take adequate measures.

ServerLink
Support Service
ServerLink
T oll Free Support
Free Call anywhere in Australia
1800 262 262
 Loading...