

Page 1

HOW TO USE
1. Place the arrow (as shown in the picture). The arrow vane with single
color upwards, arrow nock against the string on the middle D loop,
arrow shaft in the arrow rest.
2. Draw the bow. Stand up straight before you draw the bow. Keep two
legs same width as shoulders, tiptoe in one line with target. Draw the
string with release aid after placing the arrow. Grip the riser with
left hand, raise the bow with two arms towards the diagonal and above
direction of the target. Hold the bow left hand and draw the string back
with right hand. Pay attention and never put your nger on trigger to avoid releasing the aid.
3. Aim and shoot. To aim, the front sight and target should be in a line when looking through the peep
hole. Pull the trigger after aiming to shoot.
ATTENTION
1. Never draw re, which leads to deadly damage to the bow and injury to the archer and people around.
2. Avoid heat and damp, which can damage the limbs of bow.
3. When shooting arrow, make sure there are no people on non-targets in the shooting range.
4. Inspect the bow regularly, never use the bow with damaged parts and replace then on time.
5. Never shoot arrows straight up in the air. Children should be under adult supervisor.
MAINTENANCE
1. The bow needs regular maintenance. Check the string each time before shooting. If the string is loose,
please tighten it and if the string is broken or damaged, please replace it in time.
2. The string becomes pale after using for a while, please use string wax to improve it. Wax the string, and
then rub the string fast back and forth until the wax fully permeates the string.
3. Keep the release aid in dry place when not in use, drop some lubes to the pins and axis regularly. Never
dissemble the release aid.
4. When shooting arrow, if arrow-vane is distorted, put in hot water (not longer than 2 minutes) to
restore.
STORAGE
Keep the bow in dry, cool and ventilated place. Avoid storage in hot and humid places. Apply some anti
corrosive oil or lube the spare parts like axis hole, bolts etc. Never touch the bow, especially the limbs,
strings and cams with sharp objects. Keep the bow out of children reach.
User Manual
Page 2
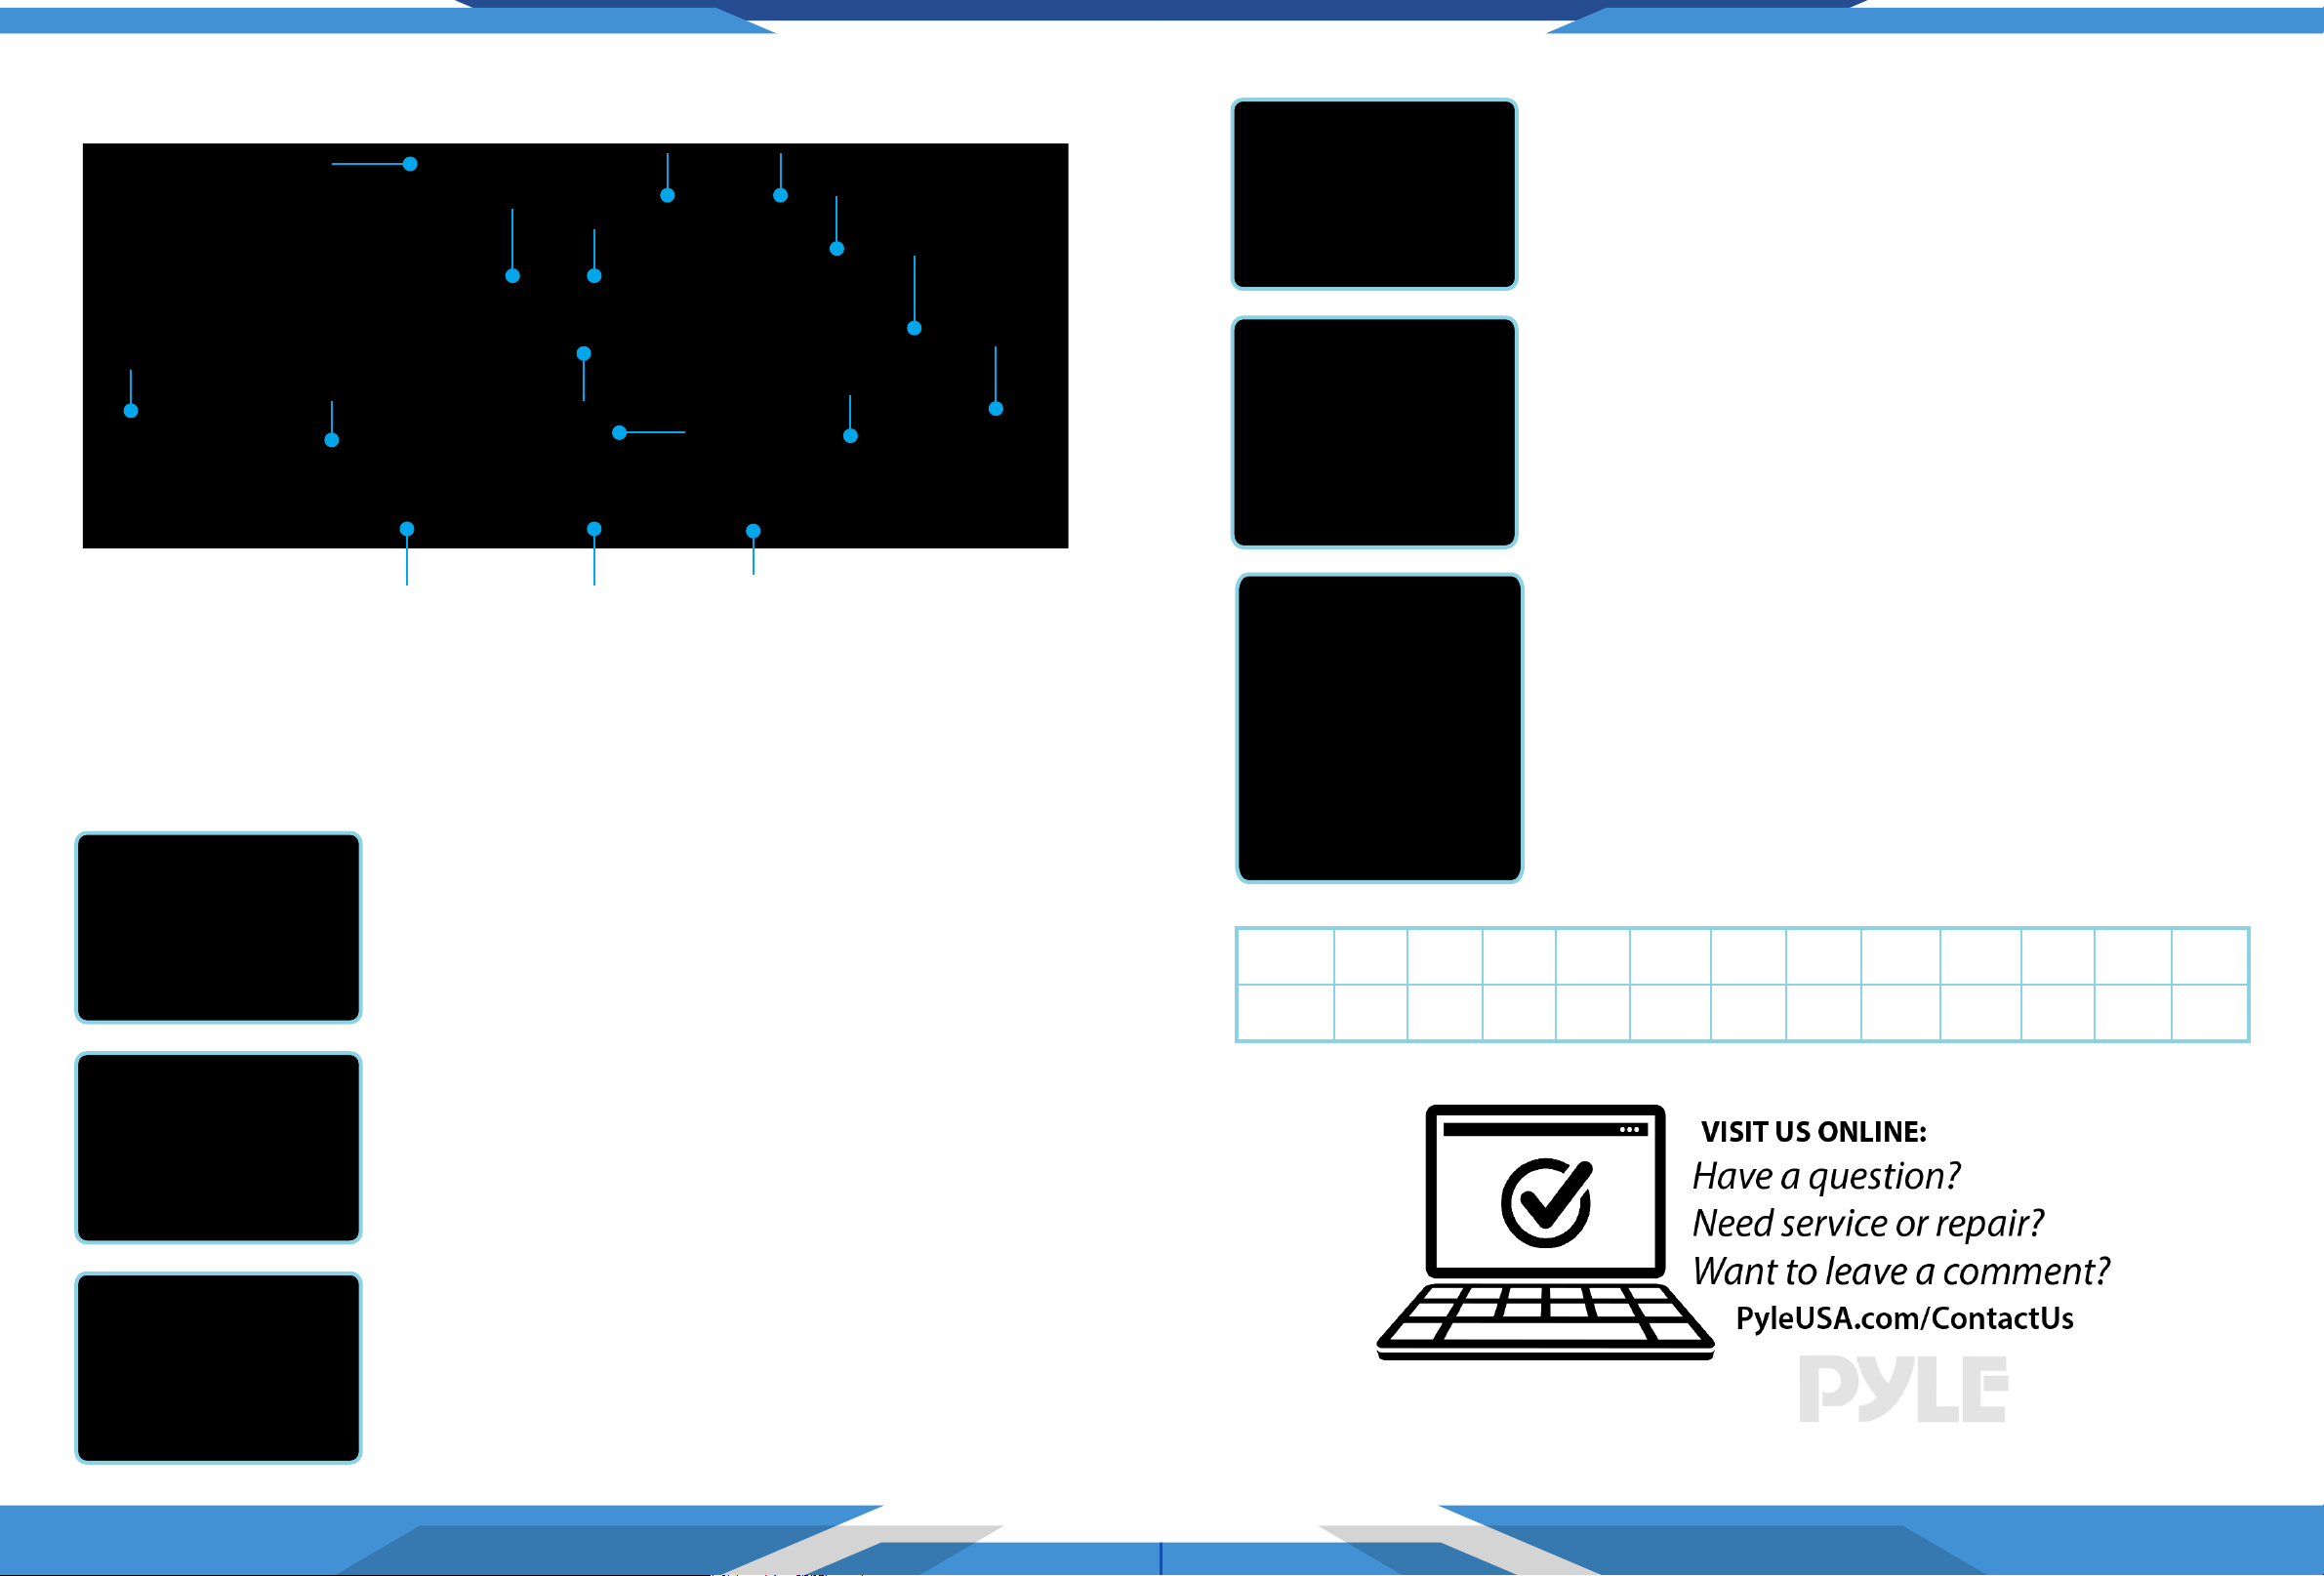
Buttom Cam
Rubber Stabilizer
String Silencer
COMPOUND BOW PARTS DIAGRAM
Five Pin Sight
Rubber Stabilizer
Riser
Arrow Rest
Limb Base
Limb
Cables
Cable Guard
Rubber Damper
Top Cam
3. Stabilizer Installation – Assemble the stabilizer on the specied
position of the riser (as shown in the Picture 4)
BOW ADJUSTMENT
1. Peak Draw Weight Adjustments (as shown on Picture 5)
This bow has roughly 30lbs to 70lbs peak weight adjustment range.
Adjust the draw weight by screwing the bolts on the limbs and riser,
turn the bolts on the draw weight and counter-clockwise to decrease.
PAY ATTENTION to adjust the two bolts equally. The bow you get is with
40-45lb draw weight, which can be adjusted with steps above.
Watch out: Never over tighten or loosen bolts.
D-LoopString
FEATURES
1. High performance dual CAM system.
2. Adjustable draw weight and draw length.
3. Application of rubber damper and string silencer makes the shooting more stable, and makes shooting
less noisy.
BOW ASSEMBLY
1. Arrow Rest Installation – Install the arrow rest on the riser of the bow
(as shown on Picture 1), Archers adjust the position of the arrow rest
according to the length of arrow used. Generally speaking, the distance
between the arrowhead and arrow rest is ove 4cm after bow drawing.
(Watch out the gap arrow rest upwards).
2. Sight Installation – Install the sight on the bow riser with the screws
provided (as shown on Picture 2), the screw can be on both hole A and
hole B. If assemble on hole B, shooting range will be 5m or so shorter
than hole A.
Rubber Stabilizer
2. Draw Length Adjustment
This bow has 12 gears adjustment range (as shown in the picture 6)
There are 12 two-socket ay head cap screw on the modular cam. You
can adjust draw length freely according to your stature and arm span.
When you adjust the draw length, rst loosen the screw in the middle
of the cam, press cable by the hand to remove it. Second move the cam
to the correct length hole and then tighten the screw and loosen the
cable..
SCREW NO. 1 2 3 4 5 6 7 8 9 10 11 12
DR AW
LENGTH
23.5” 24.1” 24.7” 25.4” 26” 26.7” 27.4” 28” 28.6” 29.3” 29.9” 30.5”
• Install the blue night light on the sight (as shown on Picture 3),
which can be turned on when light is poor.
www.PyleUSA.com
User Manual
www.PyleUSA.com
 Loading...