

Separett FLAME 8000 User Manual

Separett
®
FLAME
Modell 8000
www.separett.com
Separett
®
SWE FIN ENG
TEKNISKA DATA
• Modell 8000
TEKNISET TIEDOT
• Mallit 8000
SWE FIN
TECHNICAL DATA
• Models 8000
ENG
Detta medföljer produkten
This is included with the product
Tuotteen mukana toimitettavat osat
SWE
FIN
ENG
SWE FIN
Material
Överdel: Polystyren
Underdel: Vitlackad galvaniserad
plåt
Innerdel: Rostfri plåt
Sits: Högglans polypropen
Askbehållare: Syrafast plåt
Samtliga material är återvinningsbara
Vikt
28 kg
Dimensioner
Ventilationsrör frånluft: Ø 110
mm
Ventilationsrör längd: Max 6
meter
Ventil tilluft: Ø 160 mm
Elutrustning
8000: 240V, 1.6kW
Elanslutning
8000: Kabel 2,4m med jordad
stickpropp
Energiförbrukning
8000: 0.4-1.3 kW/besök
Materiaalit
Yläosa: polystyreeni
Alaosa: valkoiseksi maalattu
galvanoitu metalli
Sisäosa: ruostumaton teräs
Istuin: kiiltävä polypropeeni
Tuhka-astia: haponkestävä
metalli
Kaikki materiaalit ovat kierrätettäviä
Paino
28 kg
Mitat
Ilmanvaihtoputki, poistoilma:
Ø 110 mm
Ilmanvaihtoputken pituus: enint.
6 metriä
Ilmanvaihdon tuloilma: Ø 160
mm
Sähkövarustus
8000: 240 V / 1,6 kW
Sähköliitäntä
8000: 2,4 m:n johto, jossa
maadoitettu pistotulppa
Energiankulutus
8000: 0,4–1,3 kW / käynti
Material
Upper part: Polystyrene
Bottom part: White lacquered
galvanised plating
Interior: Stainless steel plating
Seat: High lustre polypropylene
Ash box: Acid-resistant plating
All the material is recyclable
Weight
28 kg
Dimensions
Ventilation pipe, exhaust air:
Ø 110 mm
Ventilation pipe length:
Max 6 metres
Vent inlet air: Ø 160 mm
Electrical equipment
8000: 240V/1.6kW
Electrical connection
8000: Cable 2.4m with earthed
plug
Energy consumption
8000: 0.4-1.3kW/visit
ENG
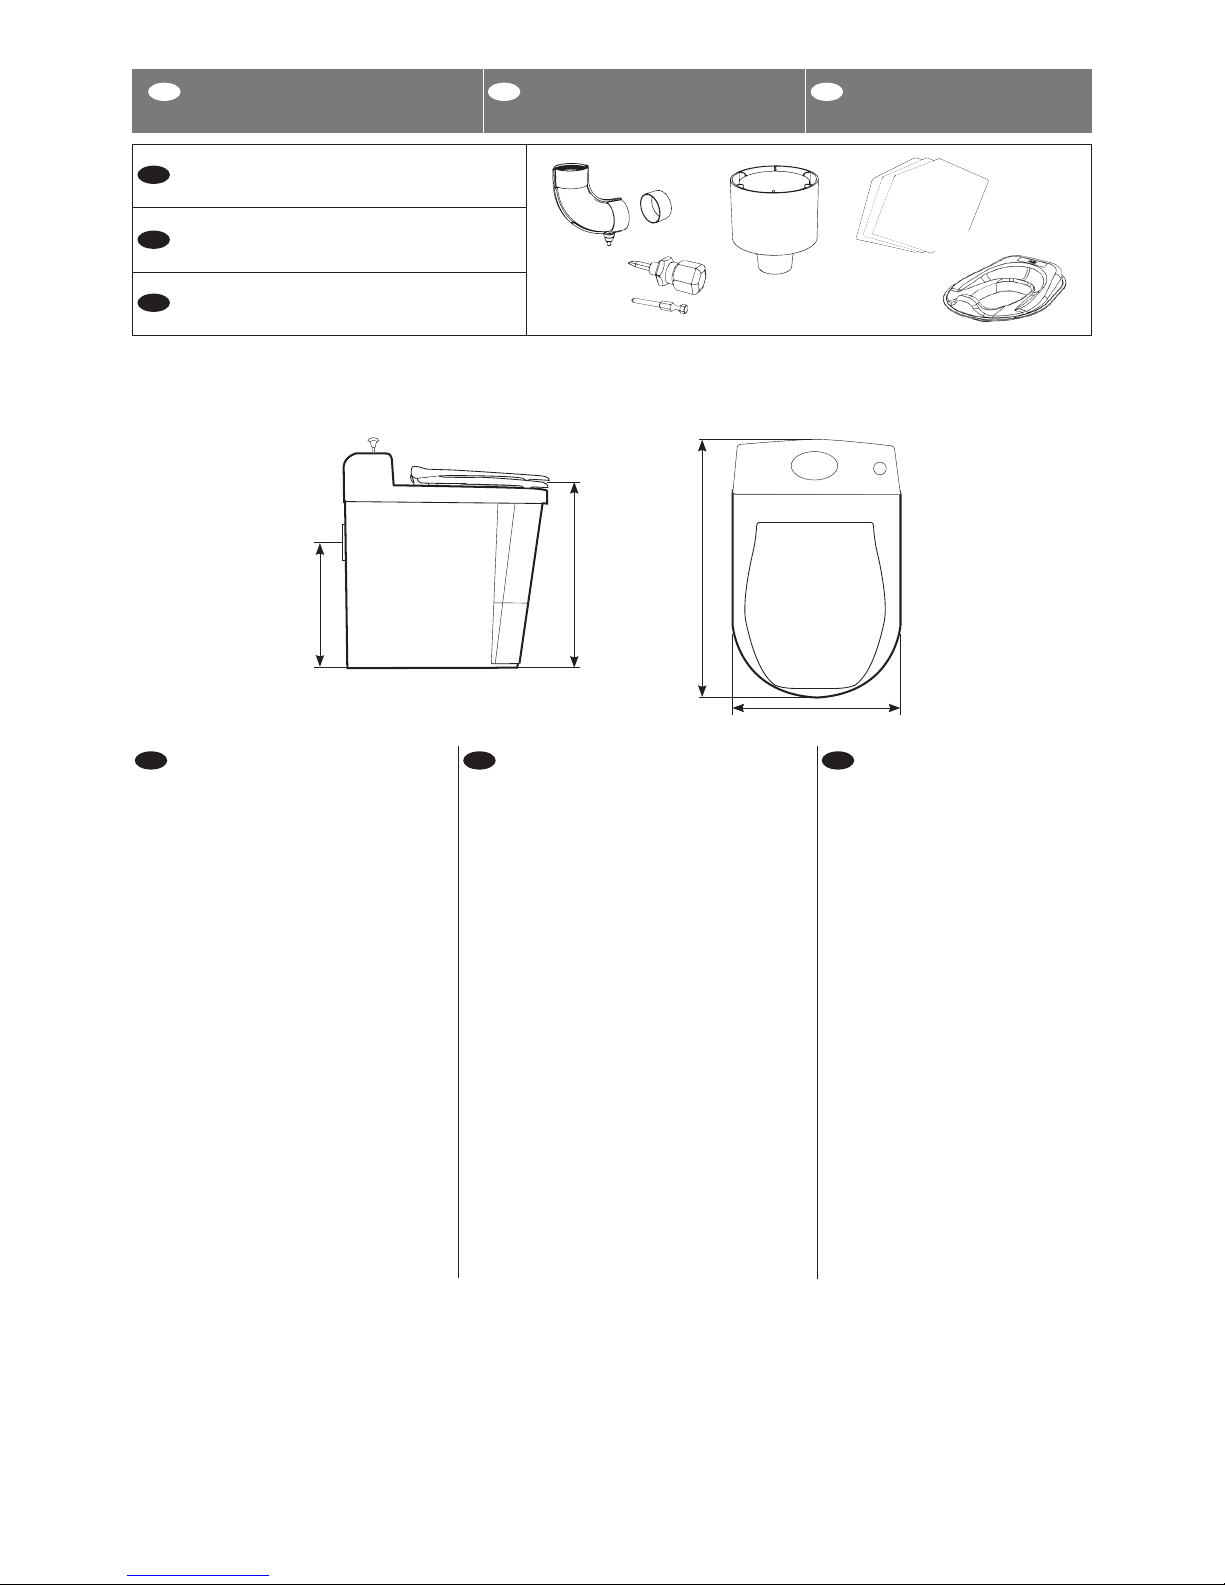
340 mm
535 mm
635 mm
395 mm
Rekonditionerad förbränningstoalett
• Ny äkt med kona för ökad ejektorfunktion
• Elementkablar sitter fast direkt på elementet,
ingen skarv
• Extra skydd på termoelementet
• Uppdaterat styrkort; nya säkringshållare samt
uppdaterat till senaste programversion
• Modierad asklåda, styrpiggen under kan inte slås av
• Runt rökrör, ska sotas med den borste som skickas med
• Katalysator med nytt utförande tar bort mer av lukten
Nyhet på senaste programversion på styrkortet:
• Så fort man sätter i strömkabeln i vägguttaget går
äkten på 8 % av totaleffekten. Fukt leds ut mer
effektivt ur toaletten och kallras i frånluftsröret förhin
dras, detta gör att det blir mindre fukt inuti toaletten
som kan påverka de elektriska komponenterna
negativt. Fläkten drar vid 8 % effekt ca 4 W, vilket
motsvarar en strömförbrukning på ca 3 kr/månad.
Långtidsförvaring
När man lämnar sin förbränningstoalett en längre tid och
väljer att dra ut strömsladden från vägguttaget bör man
även lossa den från frånluftsröret så att inte fuktig luft
kommer in i toaletten som kan påverka elektroniken.
Det räcker med att dra fram toaletten en liten bit och
sedan täppa till frånluftsröret, du kan te.x. trä en plastpåse
över röret och tejpa fast. Tänk även på att stänga av båda
strömbrytarna så att inte batteriet laddas ur.
Vill man slippa att dra bort toaletten från frånluftsröret ska
man ha strömsladden i och strömbrytarna på hela tiden.
Nya krav på installationen
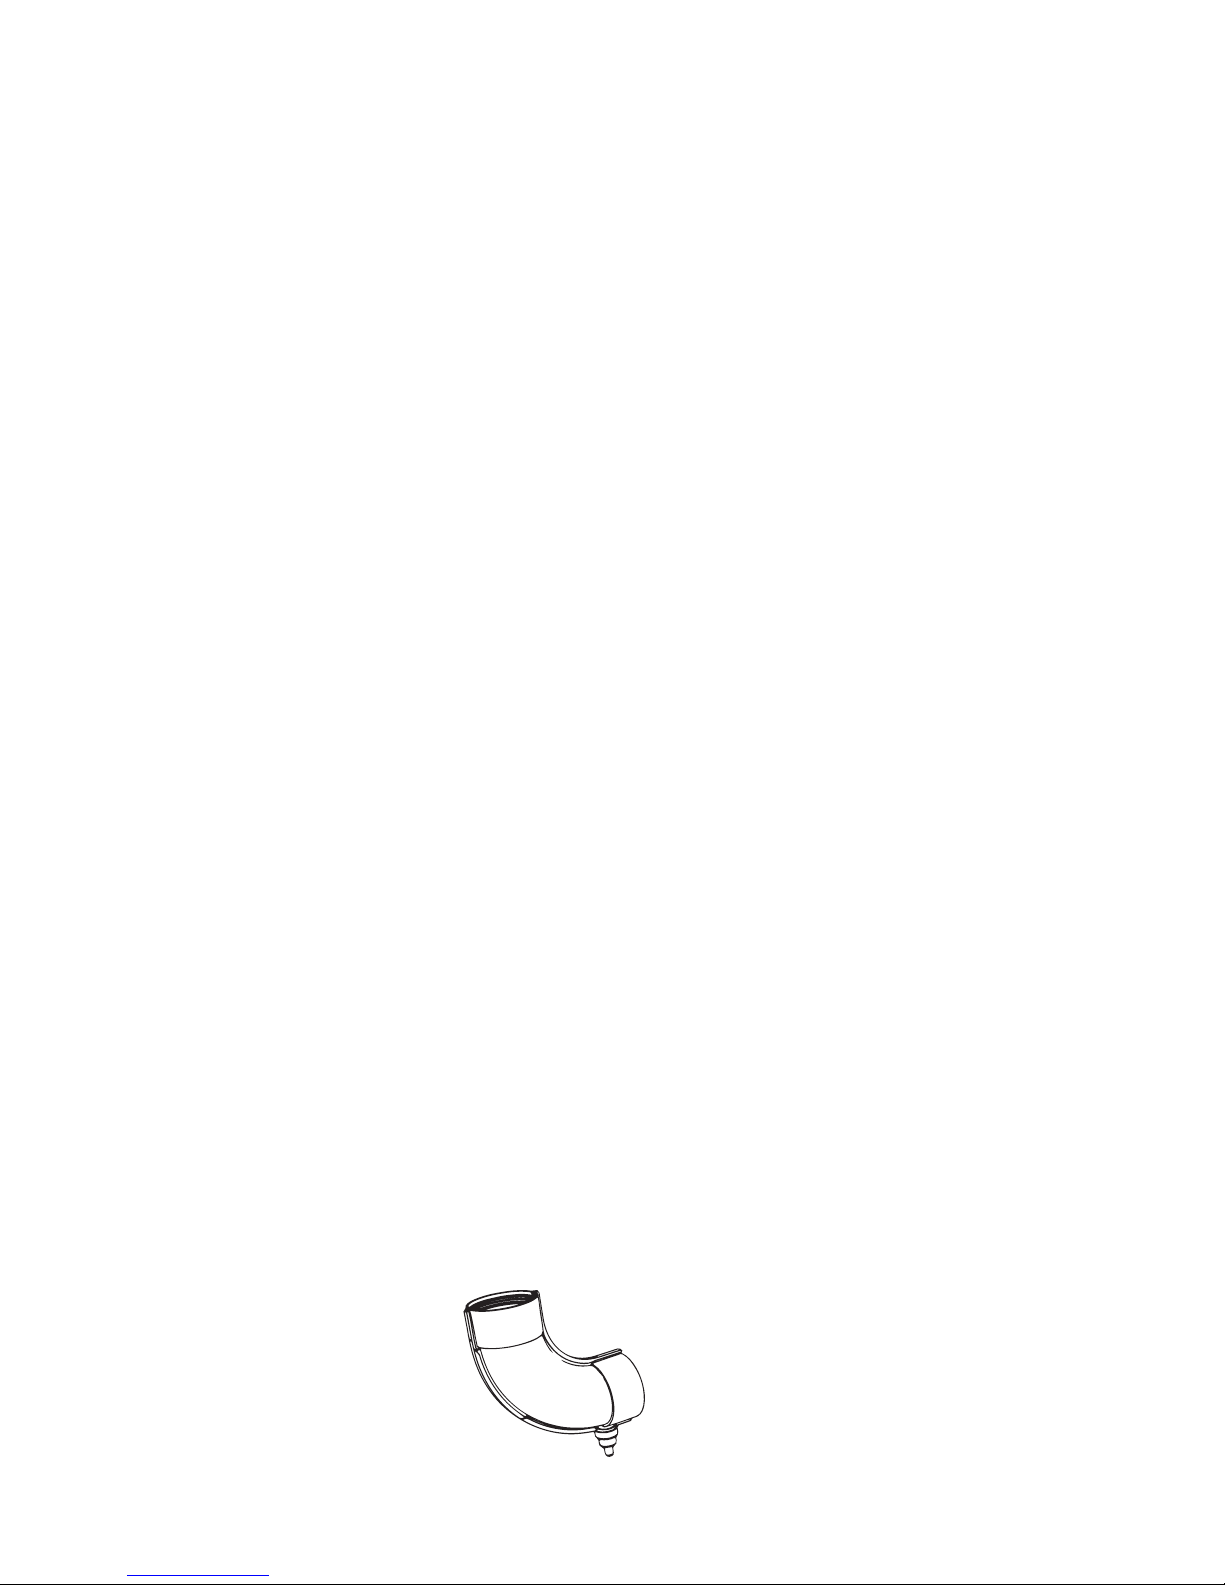
• Toaletten måste installeras med den 90°-böj som
skickats med toaletten. Detta för att luften ska få en
lättare väg upp i frånluftsröret.
• Om du har invändig installation, 90°-böj bakom
toaletten och upp genom taket, måste du ha den korta
rörbiten närmast toaletten för att det ska bli tätt.
Stosen på toaletten är anpassad för att ett 110 mm
plaströr ska passa utanpå och långböjen passar utanpå
110 mm röret.
• Det nns ett avtappnings/kondenshål i böjen och detta
ska vara nedåt för att kondensvatten ska kunna
droppa ut.
The reconditioned incineration toilet:
• New fan casing with a cone for better ejector function
• The heater cables are tted directly on the heater, no
longer with spade terminal connectors
• The thermal coupling is equipped with an extra heat
protection
• Upgraded circuit board; new fuse holders and the latest
software
• Modied ash pan, the steering pin can’t come off
• Round smoke pipe, clean it with the enclosed brush
• The catalyst is new and removes more of the odour
News in the latest software:
• The fan runs at approximately 8 % of its total effect as
soon as you plug the power cord in the wall socket.
Moisture is ventilated from the toilet more efciently
and cold draught from the ventilation pipe is prevented.
As a result of this there is less moisture inside the toilet
that can have negative effects on the electrical
components. The fan uses 4 W at this stage.
Long-time storage
When you leave the toilet for a longer period of time and
choose to unplug it, you should also pull it out from the
ventilation pipe to prevent that moist air enters the toilet and
effects the electronics.
Just pull it out a bit and cover the end of the ventilation pipe.
You can put a plastic bag over the pipe and tape it in place.
Be sure to turn of both power switches so that the battery
doesn’t discharge.
If you don’t want to pull the toilet away from the ventilation
pipe you should always keep the power cord plugged in and
the power switches turned on.
New requirements on the installation
• After the upgrade you need to change the installation with
the supplied long radius bend. The reason for this is so
that the air ows easier up through the ventilation pipe.
• If you have an installation with the 90° bend behind the
toilet and then up through the ceiling, you need to put the
short piece of 110 mm pipe between the bend and the
toilet to make the connection completely sealed. The
110 mm pipe ts on the sleeve coupling on the toilet and
the bend ts on the 100 mm pipe.
• There is a drain tap/hole on the bend that should be
downwards so that condensation can escape the pipe and
not ow into the toilet.
5 mm
INSTALLATION
• Kan installeras i både kallt och
varmt utrymme.
• Använd endast rör av plast.
• Utsätt inte för vattenstänk eller
rena duschstrålar.
• Godkänd för installation i
badrum.
Se även installationsfilm på
www.separett.com
ASENNUS
• Voidaan asentaa sekä lämpimiin että kylmiin tiloihin.
• Käytä vain muoviputkea.
• Älä altista vesiroiskeille
tai -suihkuille.
• Hyväksytty kylpyhuoneasennukseen.
Katso myös asennusvideo osoitteessa
www.separett.com
INSTALLATION
• Can be installed in both warm
and cold spaces.
• Use only plastic pipe.
• Do not subject to water
splashes or shower jets.
• Approved for bathroom
installation.
See also installation video at
www.separett.com
SWE FIN ENG
1
SWE FIN
Montering
För att Flame ska fungera måste underlaget vara hårt för att
undvika att toaletten sjunker
ner och täpper till tillflödet av
luft i framkant av toaletten.
Toaletten behöver inte skruvas
fast.
Asennus
Flame on asennettava kovalle
pinnalle, jotta se ei vajoa ja jotta tuloilman virtaus käymälän
edessä ei esty.
Käymälää ei tarvitse ruuvata
kiinni.
Mounting
For Flame to work properly,
the surface should be hard to
avoid it sinking and blocking
the flow of inlet air at the front
of the toilet.
The toilet does not need to be
screwed down.
ENG
Användbara verktyg
Useful tools
Sopivia työkaluja
SWE
FIN
ENG
 Loading...