

Sentronik SE9000A Instruction Manual

SE9000A
Weighing Indicators
INSTRUCTION MANUAL
Software rev.: UEr 1.10

CONTENTS
1.0 INTRODUCTION................................................................................................3
2.0 SPECIFICATIONS AND LED SYMBOLS..........................................................4
2.1 SPECIFICATIONS..........................................................................................4
2.2 LED SYMBOLS...............................................................................................4
3.0 CONNECTION...................................................................................................5
3.1 LOAD CELL CONNECTION...........................................................................5
3.2 RS-232C INTERFACE....................................................................................5
3.2.1 CONNECTION.........................................................................................5
3.2.2 DATA FORMAT.........................................................................................5
4.0 OPERATIONS....................................................................................................6
4.1 POWER...........................................................................................................6
4.2 CAR NUMBER AND GOODS NUMBER.........................................................7
4.2.1 CAR NUMBER SETTING.........................................................................7
4.2.2 GOODS NUMBER SETTING...................................................................7
4.3 AUTO ACCUMULATION CONTROL SETTING..............................................7
4.4 TOGGLE AUTO/MANUAL MODE..................................................................8
4.5 ZERO FUNCTION...........................................................................................8
4.6 TOGGLE NET/GROSS MODE........................................................................8
4.7 TARE FUNCTION...........................................................................................9
4.7.1 REMOVE STORED TARE VALUE...........................................................9
4.7.2 ACQUIRE TARE BY WEIGHING VALUE.................................................9
4.7.3 ACQUIRE TARE BY KEYPAD INPUT......................................................9
4.8 ACCUMULATION TIMES AND VALUE DISPLAY........................................10
4.9 HIGH RESOLUTION DISPLAY.....................................................................10
4.10 DATE/TIME DISPLAY AND SETTING........................................................10
4.11 CLEAR DATA..............................................................................................11
4.11.1 CLEAR THE LAST WEIGHING RECORD............................................11
4.11.2 CLEAR ALL THE CAR NUMBERS AND TARES..................................11
4.11.3 CLEAR ALL THE WEIGHING RECORDS............................................11
5.0 PRINT...............................................................................................................12
5.1 STYLE SETTING..........................................................................................12
5.2 FORM FEED/BACK FEED............................................................................13
5.3 WEIGHING BY ONCE...................................................................................13
5.3.1 WITH CAR NUMBER AND TARE...........................................................13
5.3.2 WITHOUT CAR NUMBER AND TARE...................................................13
5.4 WEIGHING BY TWICE.................................................................................14
5.5 STATISTIC BY CAR NUMBER.....................................................................14
5.6 STATISTIC BY GOODS NUMBER...............................................................14
5.7 DAILY STATISTIC REPORT.........................................................................15
5.8 STATISTIC REPORT FOR ALL RECORDS.................................................15
5.9 SAMPLE PRINTING SHEETS......................................................................16
6.0 ERROR MESSAGES AND TROUBLE-SHOOTING........................................17
7.0 MAINTENANCE AND RECOMMENDATIONS................................................18
8.0 SERVICE INFORMATION................................................................................19

3
1.0 INTRODUCTION
The SE9000A Indicator is an ideal electronic car scale with high precision,
multi-function, high performance for use with strain gauge load cells.
The scale offers:
• High precision A/D converter
• Intellectual digital filtering for stability and fast response
• 1.0 inch clear green LED Display, highly visible in all work areas
• Supports up to eight 350 ohm or sixteen 700 ohm load cells
• Real clock
• Power fail protect
• RS-232 interface can be connected to large screen display
Our company has product QLD-X Large Screen Display which is 6
digits high intensity display with 3, 5 or 8 inch character high
• Store up to 200 car number's tares and 1900 car number's
weighing records
• Full range tare
• Manual or automatic memory accumulation facility
• Operation from main power or internal rechargeable battery once
charged it will last for about 30 hours.
• Lockable keyboard calibration and configuration for security
4
2.0 SPECIFICATIONS AND LED SYMBOLS
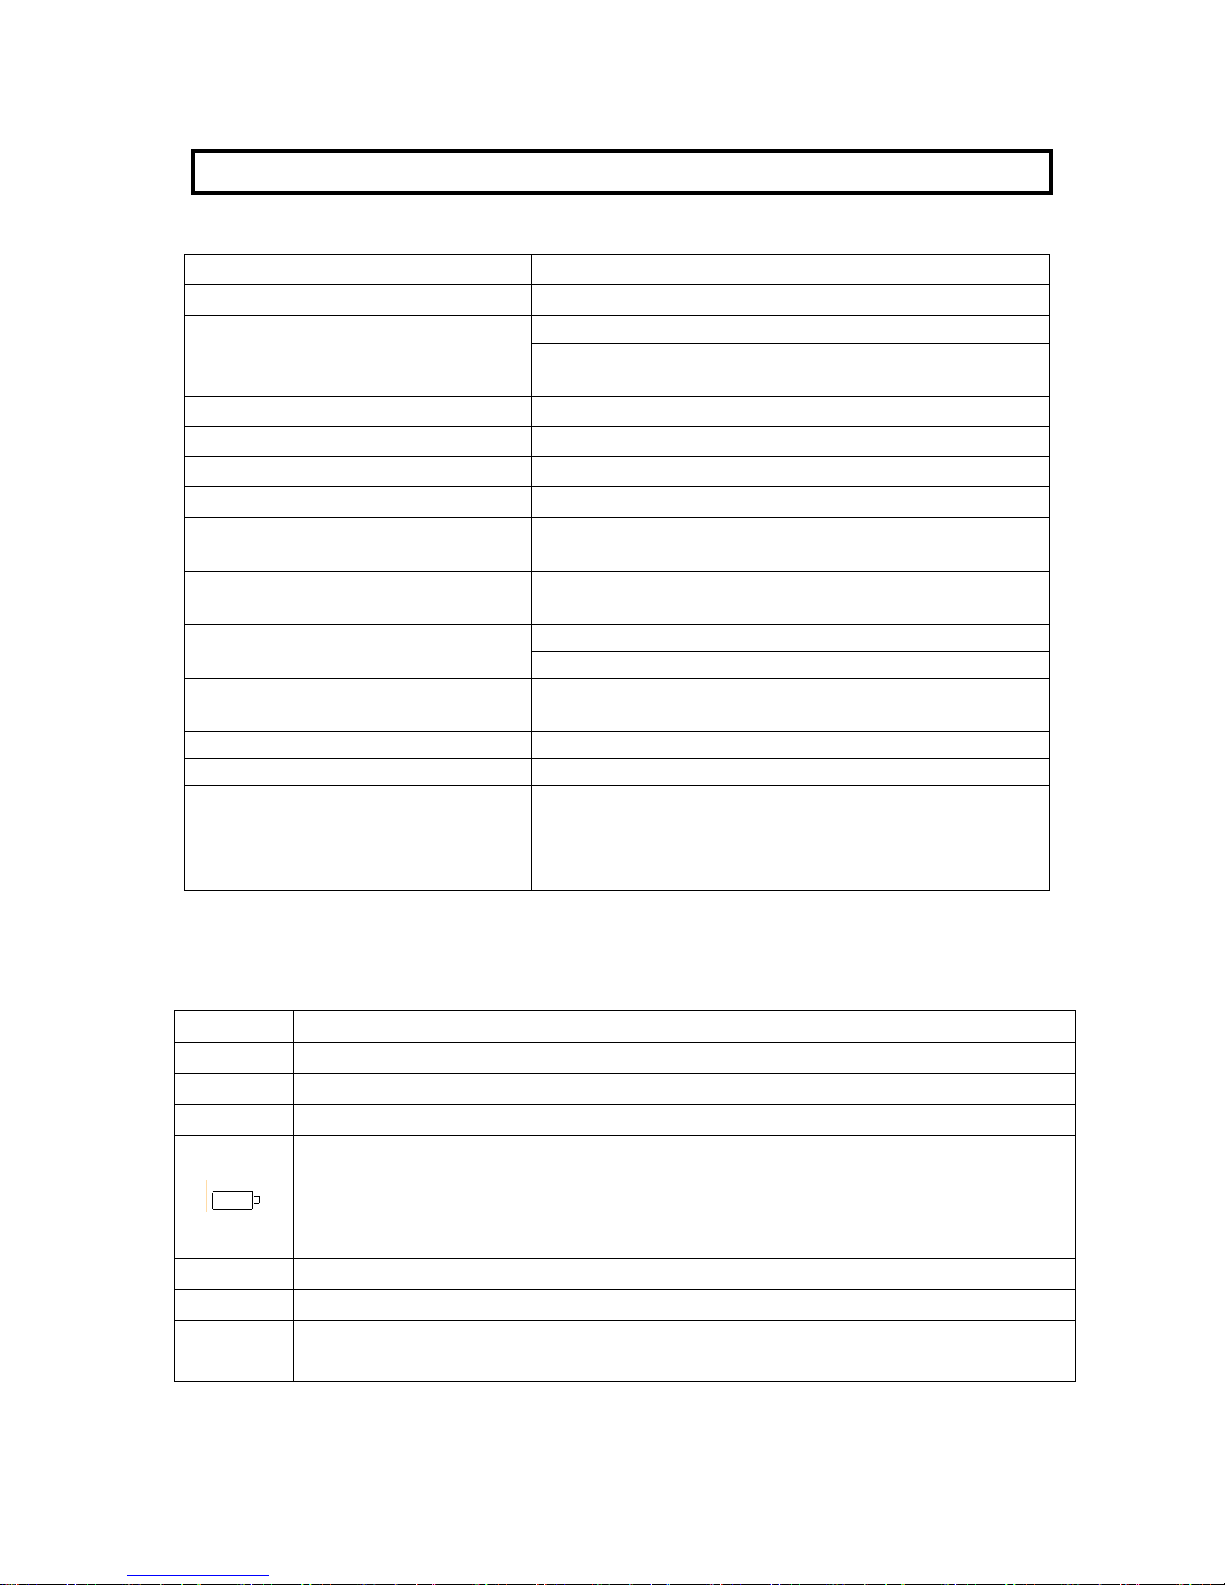
2.1 SPECIFICATIONS
Grade
Classes Ⅲ at 3000 divisions
Input signal
1.0~4.0 mV/V
Supply voltage 5VDC
Load Cells
up to 8 load cells of 350 ohm or 16 load cells of
700 ohm
Zero temperature drift
< ±0.1μV/℃
Range temperature coefficient
< ±10ppm/℃
Operating temperature
-10℃~40℃
Humidity
< 85%RH
Maximum data stored
200 car numbers' tares
1900 car numbers' weighing records
Print
Daily report and statistic monthly report (sorted by
car number and goods number)
RS-232C interface
Interface
RS
-
485 interface is optional
Power supply
220 VAC, 50 Hz, 12 watts or internal 6 V lead acid
battery charged by internal power supply
Overall dimension 300 X 200 X 160 mm
Net weight 2.7 kg
Functions
Automatic zero track range is selectable
Non-linearity revise
Power fail protect
Non-stop clock
2.2 LED SYMBOLS
Zero
The scale is at zero
Net
A weight has been tared; the display is showing the net weight.
Auto
The automatic accumulation function is active
Stable
The weight is stable
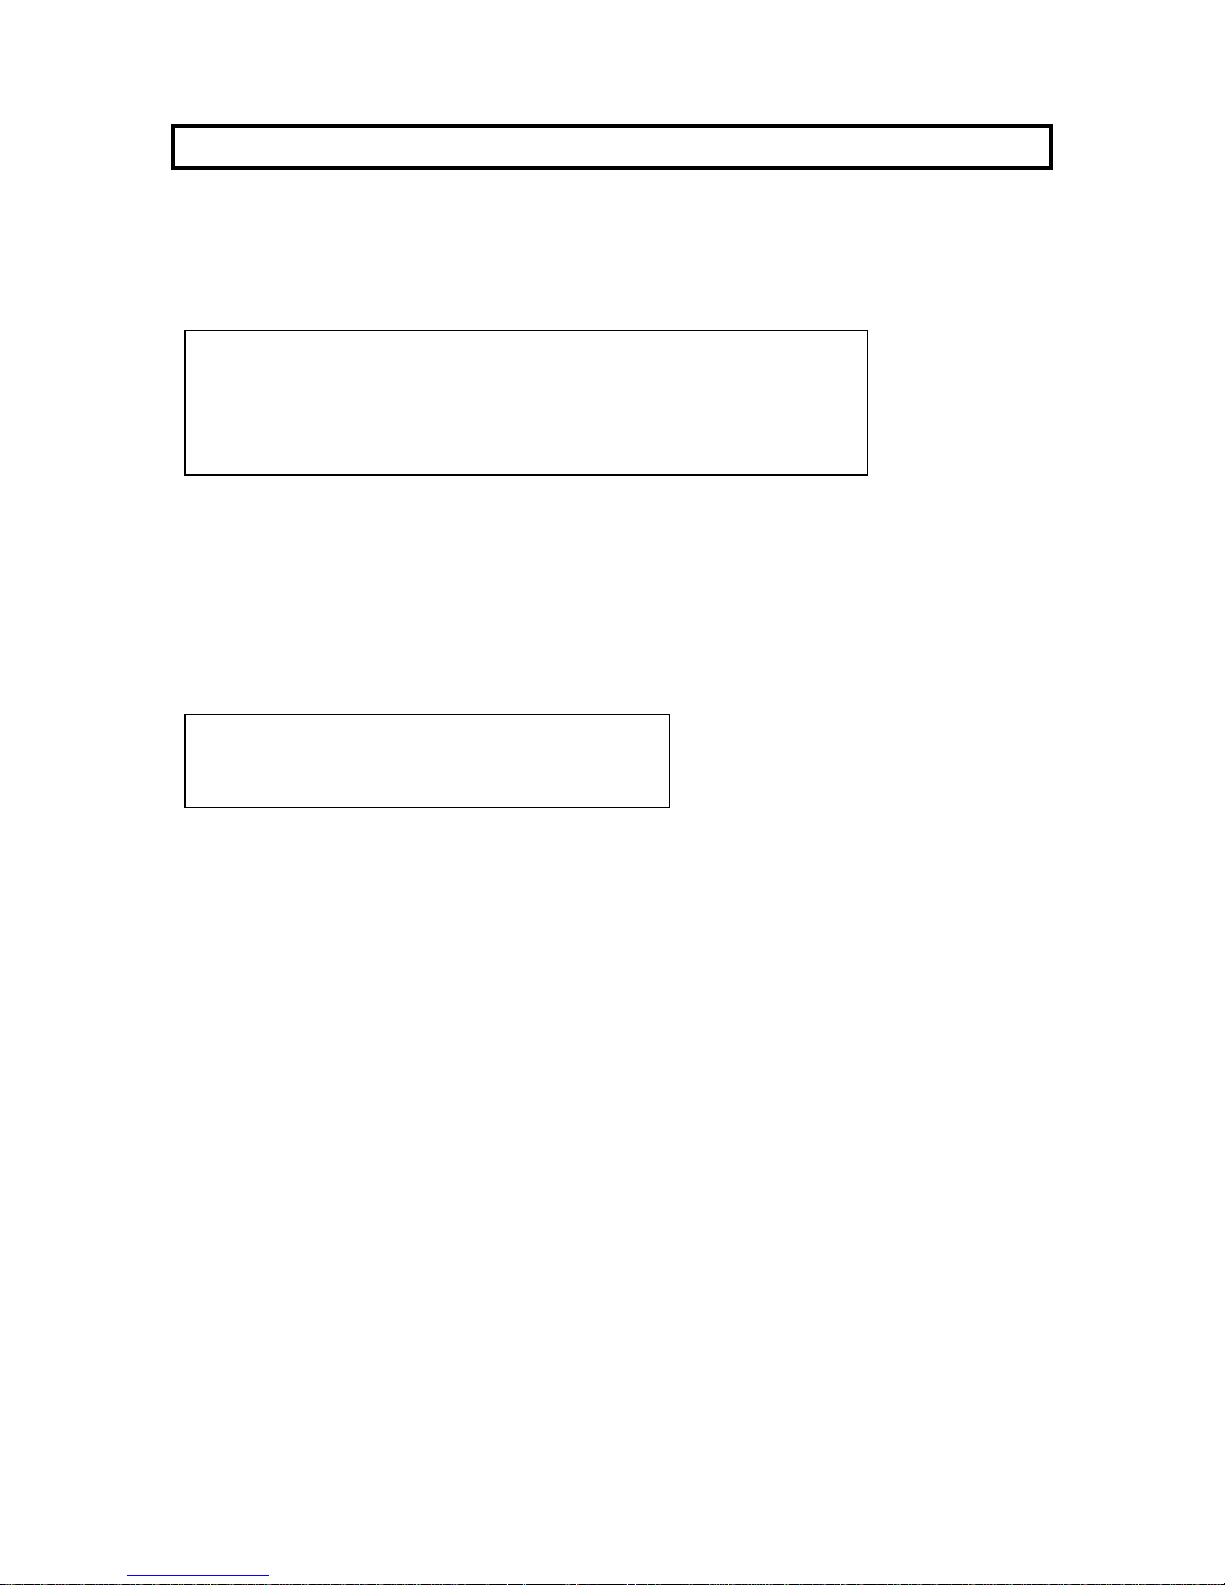
Light when battery capacity is less than 30% to remind that the
battery needs to be re-charged
Flicker when battery capacity is less than 20% to remind that the
battery needs to be re-charged immediately
Tare
The tare value is not equal to zero
Car No.
There are car numbers stored
AC
Main power is applied to the indicator and charge the internal
battery automatically
5
3.0 CONNECTION
3.1 LOAD CELL CONNECTION
The RS-232 connector is a 9 pin d-subminiature plug mounted on the rear
panel.
Load cell connection: (Load cell supply voltage: 5 VDC)
3.2 RS-232C INTERFACE
3.2.1 CONNECTION
The RS-232 connector is a 9 pin d-subminiature socket mounted on the
rear panel.
Communication connection:
3.2.2 DATA FORMAT
1.Communication address XX = 0; Stream output mode
Data format: = X1 X2 X3 X4 X5 X6 X7 SA CR
X7X6X5X4X3X2X1 is displaying data, X1is low digit, X7 is high digit
SA = 0100ABCD in which
A = 1: overflow B = 1: tared
C = 1: stable D = 1: zero
2.Communication address XX = 1-98, External command mode from PC
2.1 Read weight:STX R D S n BCC CR
Return data:STX n D X1 X2 X3 X4 X5 X6 X7 SA BCC CR
2.2 Tare:STX T A R n BCC CR
Return data:STX n D X1 X2 X3 X4 X5 X6 X7 SA BCC CR
Note 1: n is the communication address (81H – E2H).
Note 2: The check byte BCC is the binary sum from STX to BCC
(excluding STX and BCC).
Pin 1-2: +E Load cell excitation positive
Pin 4-5: -E Load cell excitation negative
Pin 7: +S Load cell output positive
Pin 8: -S Load cell output positive
Pin 3: GND Load cell cable shield
Pin 2: RXD RS-232 input
Pin 3: TXD RS-232 output
Pin 5: GND

6
4.0 OPERATIONS
4.1 POWER
l Attach the mains power adapter to the power supply. The scale will
charge the internal battery whenever it is connected to the 230VAC
power supply.
l To turn on the SE9000A, turn on the power switch at the rear of the
scale and then press the [①] key.
l The display will show the software revision then a self test, showing
the segments are all working. The message "Pbt XX" will be shown
before the display goes to zero. This is an indication of the
percentage of charge of the internal battery. The value "XX" will vary
from a low value of about 10% to a maximum of 99%.
l If the message "Err 3" is shown,that means zero point is abnormal.
l To switch off the power press the [①] key. It may be necessary to
hold the key a few seconds, until display shows "– OFF – ". When
the power is to be off for a long time as in storage or shipping, turn
off the switch at the rear to save the battery from being drained.
 Loading...