

Sensys Networks FlexRadio Cabinet Quick Start Manual
1608 4th Street Suite 200 Berkeley CA 94710| info@sensysnetworks.com| P 510.548.4620 F 510.548.8264
Assemble
1
Quick Start Guide: FlexRadio Cabinet
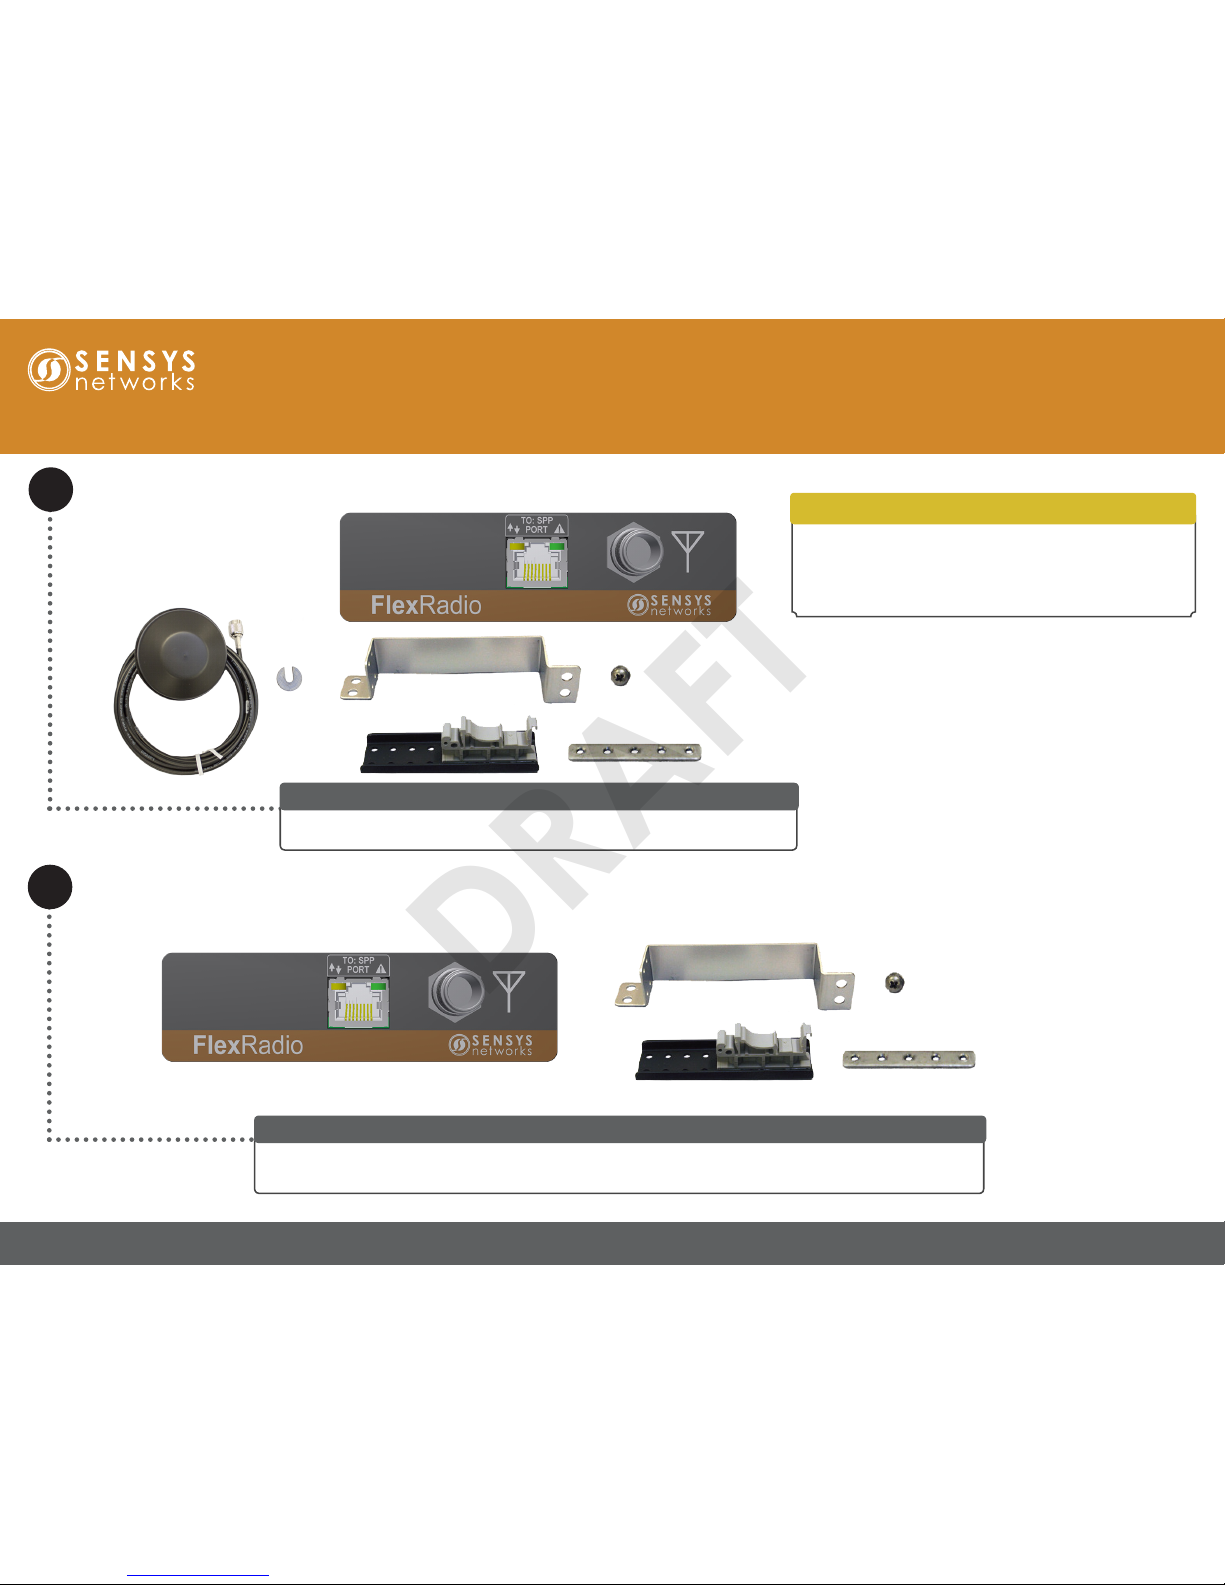
A FlexRadio Cabinet assembly requires a single FlexRadio Cabinet module, omni
directional antenna, 6 foot coaxial cable, and the bracket/DIN mount kit.
FlexRadio Cabinet Installation Parts
FlexRadio Cabinet requires the following tools for installation:
• #2 Phillips bit screwdriver
• 0.75” ( 1.9 cm) hole saw or step drill bit with power drill
• Hand wrench
Tools Required
M3x4 mm screw x 4
Rail x 2
Use the Sensys Networks provided DIN or bracket mounts to install the FlexRadio Cabinet inside the trac cabinet.
Refer to Assembly Instructions Bracket and DIN Mounts for more information.
Install FlexRadio Cabinet
M3x4 mm screw x 4
Rail x 2
Install FlexRadio Cabinet
2
DRAFT
1608 4th Street Suite 200 Berkeley CA 94710| info@sensysnetworks.com| P 510.548.4620 F 510.548.8264
Quick Start Guide: FlexRadio Cabinet
Install the plastic washer (a) onto
the threaded ferrule. Ensure the
ange on the washer is seated on
the ¾ inch hole. The at side of
the washer contacts the nut.
Add Washer
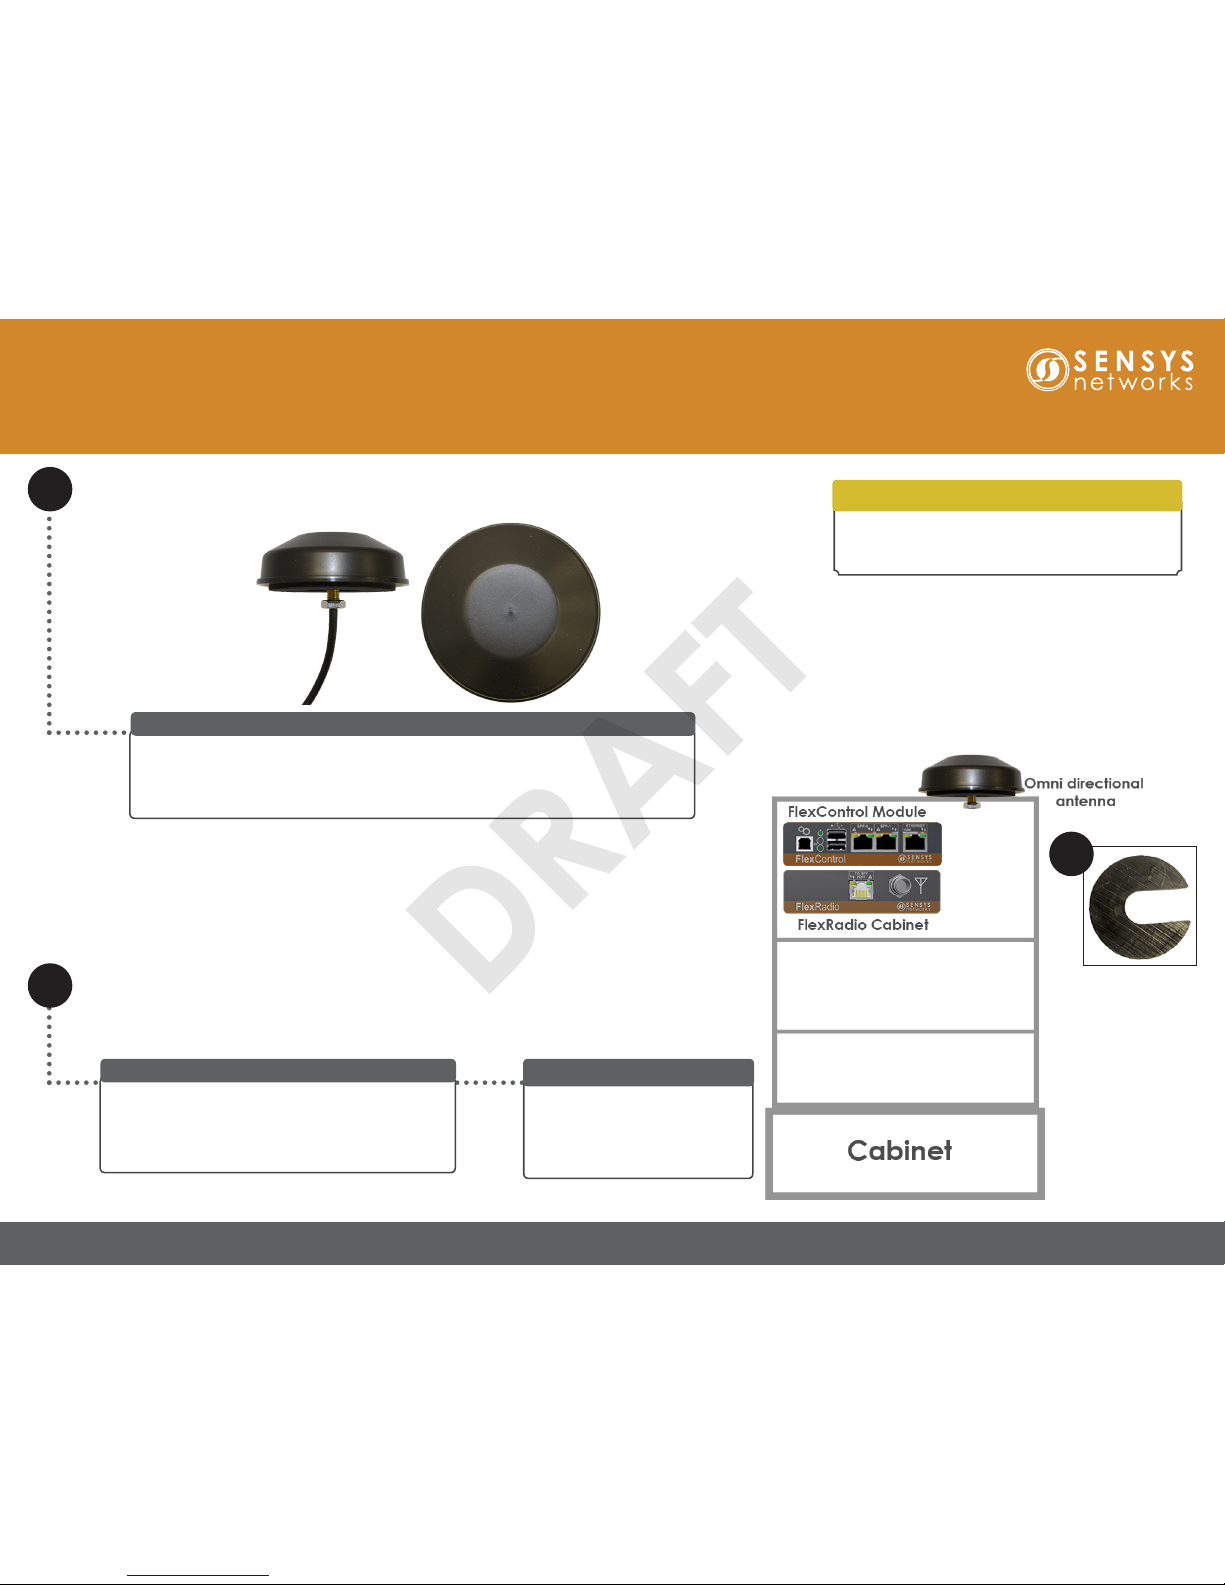
Drill a hole ¾ inches ( 1.9 cm) diameter for aluminum ferrule antenna on top of the at
surface of the trac cabinet with a hole saw or a step drill bit where the omni directional
antenna will be installed.
Note: Ensure the antenna hole location will not interfere with the trac cabinet inside.
Drill a Hole in Trafc Cabinet
3
Install Omni Directional Antenna
Pass the connectors through the hole. Pull the cable
until the threaded end of the antenna ferrule appears
in the hole. DO NOT pull on connectors. Pulling on
the connectors may cause them to detach or may cause
internal damage to the cable connection.
Thread Connectors into Cabinet
a
Please refer to Bolt-On Antenna Installation Guide Slotted Washer & Nut that is provided in the antenna
packaging for more details.
Omni Directional Antenna Installation
DRAFT
 Loading...