

Page 1
How to set up your Sensorist Solution?!
!
It’s simple and easy to set up your Sensorist solution, and you will be monitoring your
desired environment in no time!
!
I. Basic Setup!
!
Sensorist gateway & ethernet cable!
- Plug your ethernet cable into your Sensorist gateway and into your Internet router !
- Plug in Power Supply Unit and connect it to your Sensorist gateway - wait until the light
on top of your gateway turns solid green, so you know it’s online and working. This can
take a couple of minutes.!
!
Sensor!
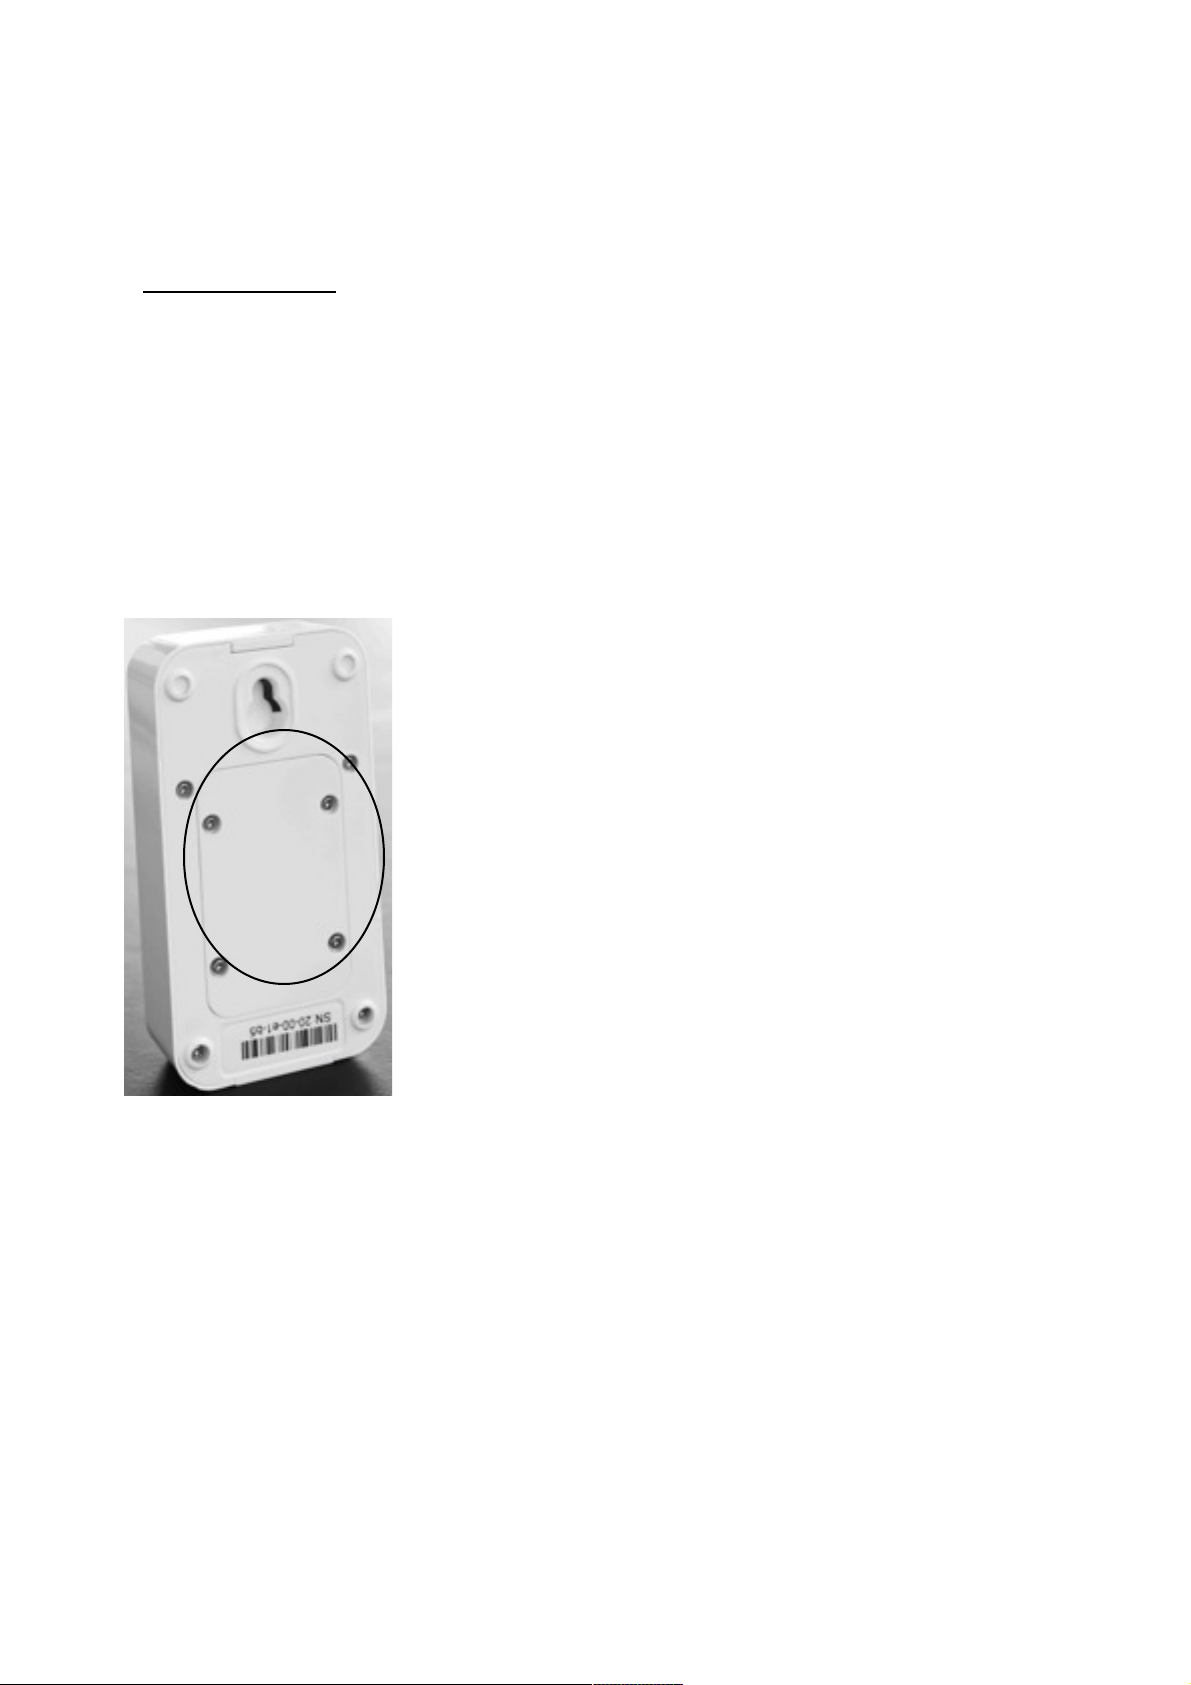
- Remove the screws from the battery lid of your sensor !
- Place batteries in your sensor!
- Place screws back in and tighten them!
!
!
!
!
!
!
!
!
!
!
!
!
!
!
!
!
!
!
Pair your Sensorist gateway and sensor!
- The light next to the button on your gateway should be solid green!
- Press the button on your gateway one time!
- Press the button on your sensor one time - if you have multiple sensors, you need to do
this for each one!
- The light on the sensor will blink green, this indicates that it’s pairing with the gateway.
The light on your Sensorist gateway will also blink green. Once your gateway and sensor
have been paired, they will stop blinking, and will just be green. This indicates that your
sensor is ready to start collecting data.!
!
!
!
!
!
!
1
Page 2
!
!
Setting up your probes - !
!
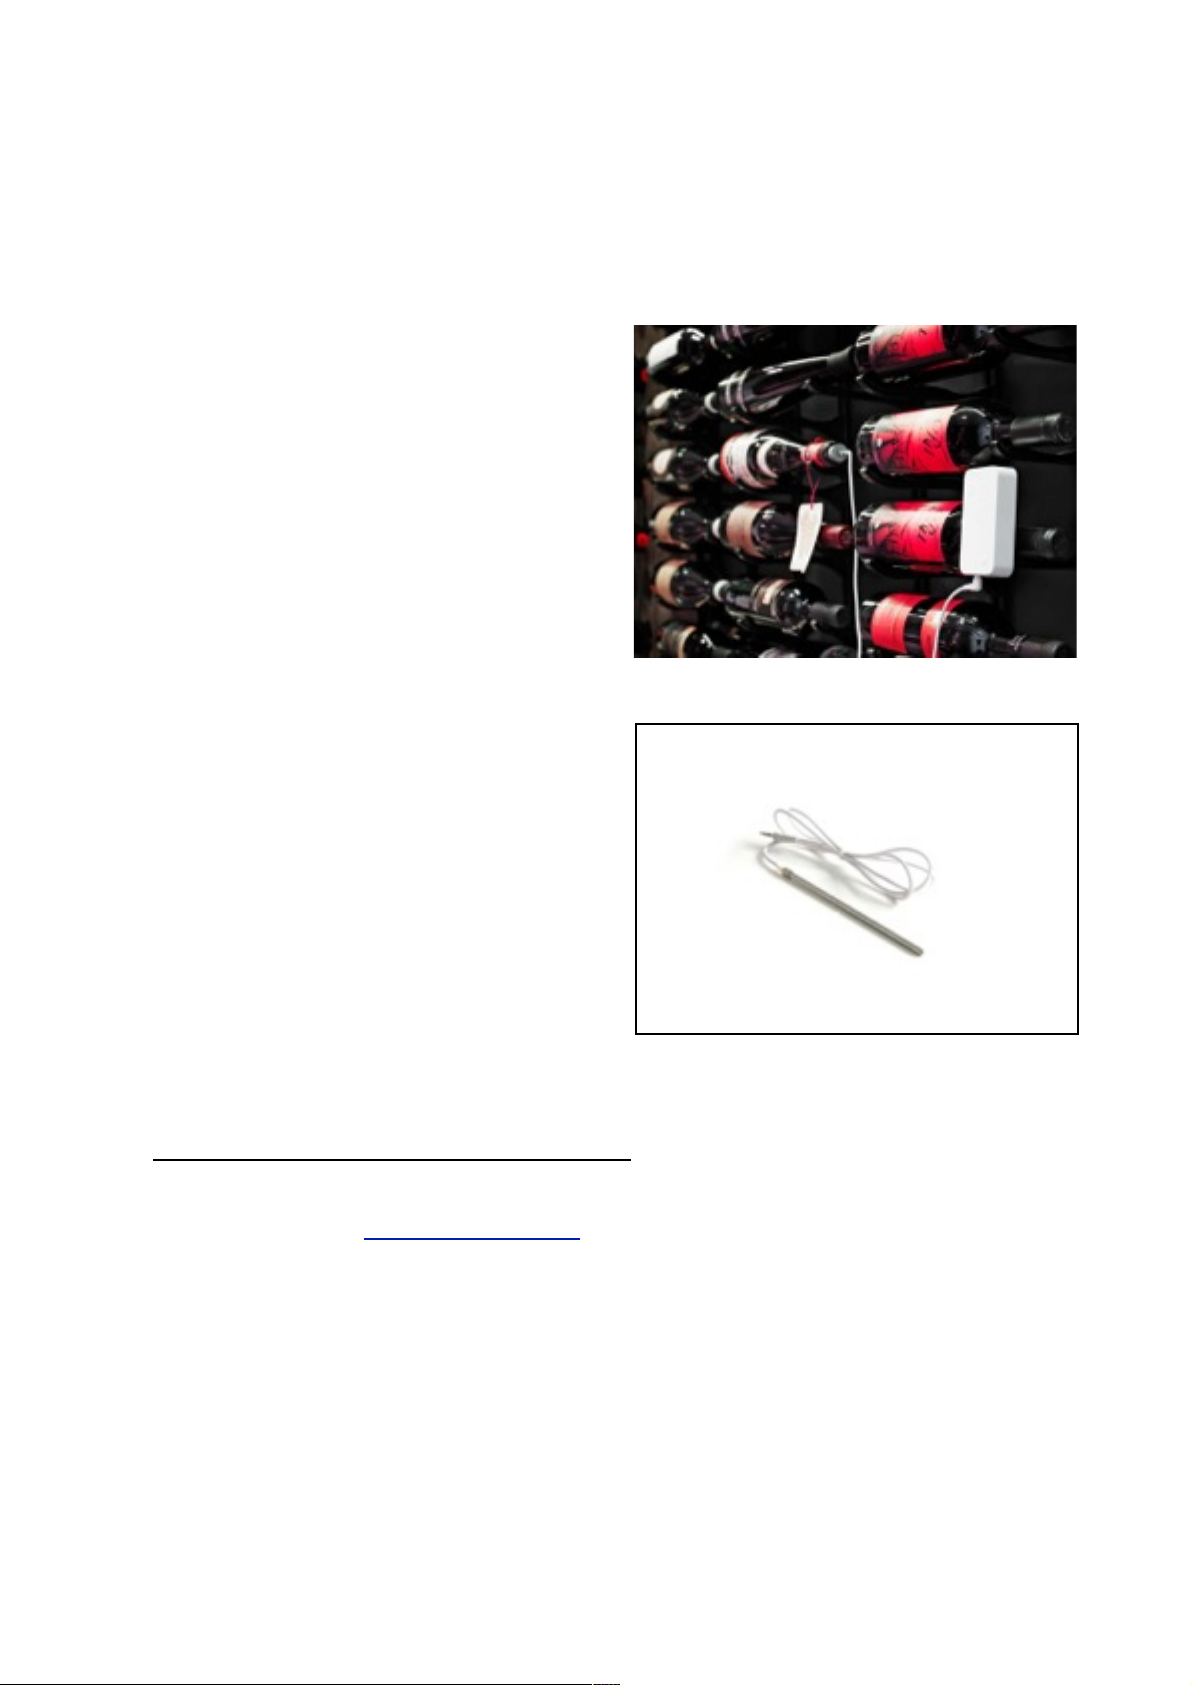
Wine bottle probe:!
- Our wine bottle probe is equipped with a
cork, and can be inserted into an indicator
bottle. Simply fill up a wine bottle with water
and place the probe firmly into your bottle, so
it sits tight!
- Connect the probe to your sensor through a
mini jack in the bottom, make sure you push
the probe connector completely into the
sensor!
!
!
!
!
!
!
Temperature probe: !
- Connect probe to your sensor through a mini
jack in the bottom!
- Place your probe in soil or wherever you
want to measure temperature!
- Connect the probe to your sensor through a
mini jack in the bottom, make sure you push
the probe connector completely into the
sensor!
!
!
!
!
!
II. Overview of my.sensorist.com!
!
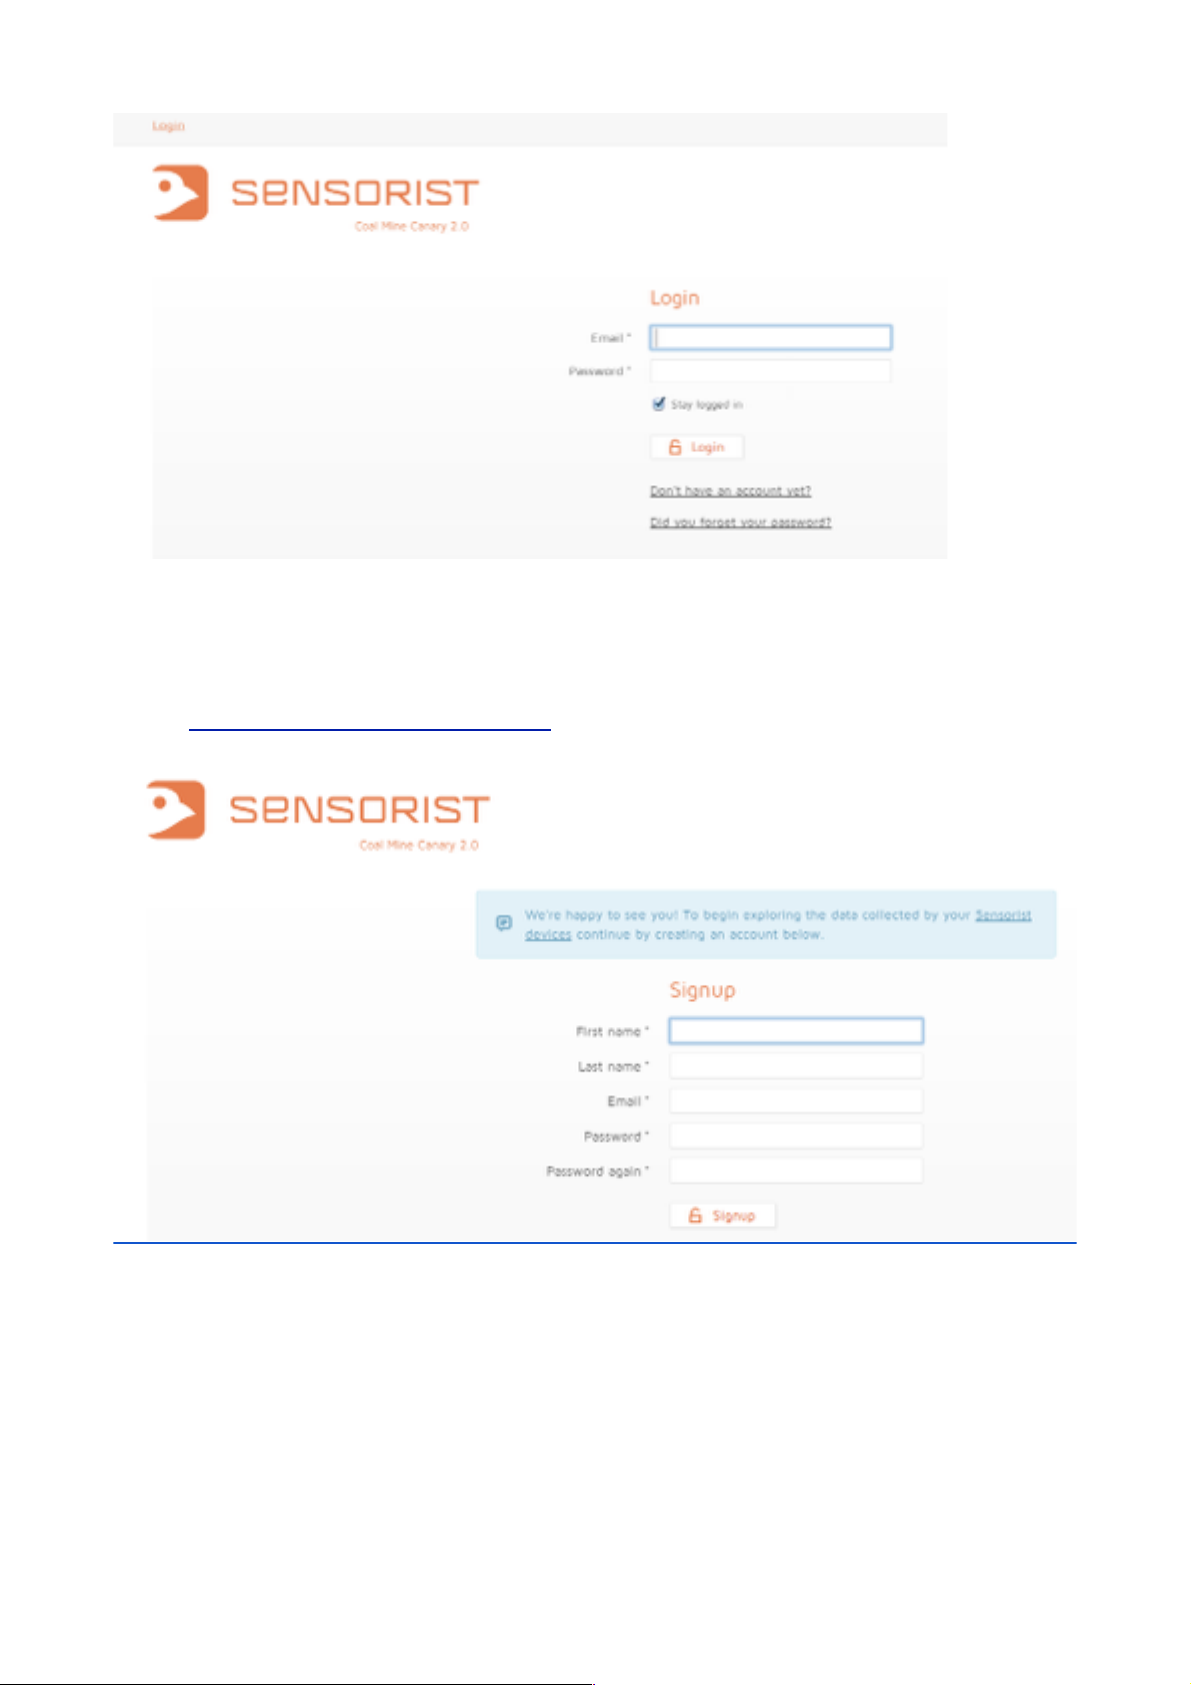
Create an account on my.sensorist.com!
2
Page 3
!
!
!
!
!
!
link to https://my.sensorist.com/signup
!
!
!
!
- Once you signup, you will be taken to a page, where you register your gateway.!
!
- Enter the serial number on your Sensorist gateway, which you can find on the back - it’s
the number that has SN next to it e.g., SN: 10-00-a8-11 !
- Name your gateway!
!
!
3
Page 4
Data and Settings!
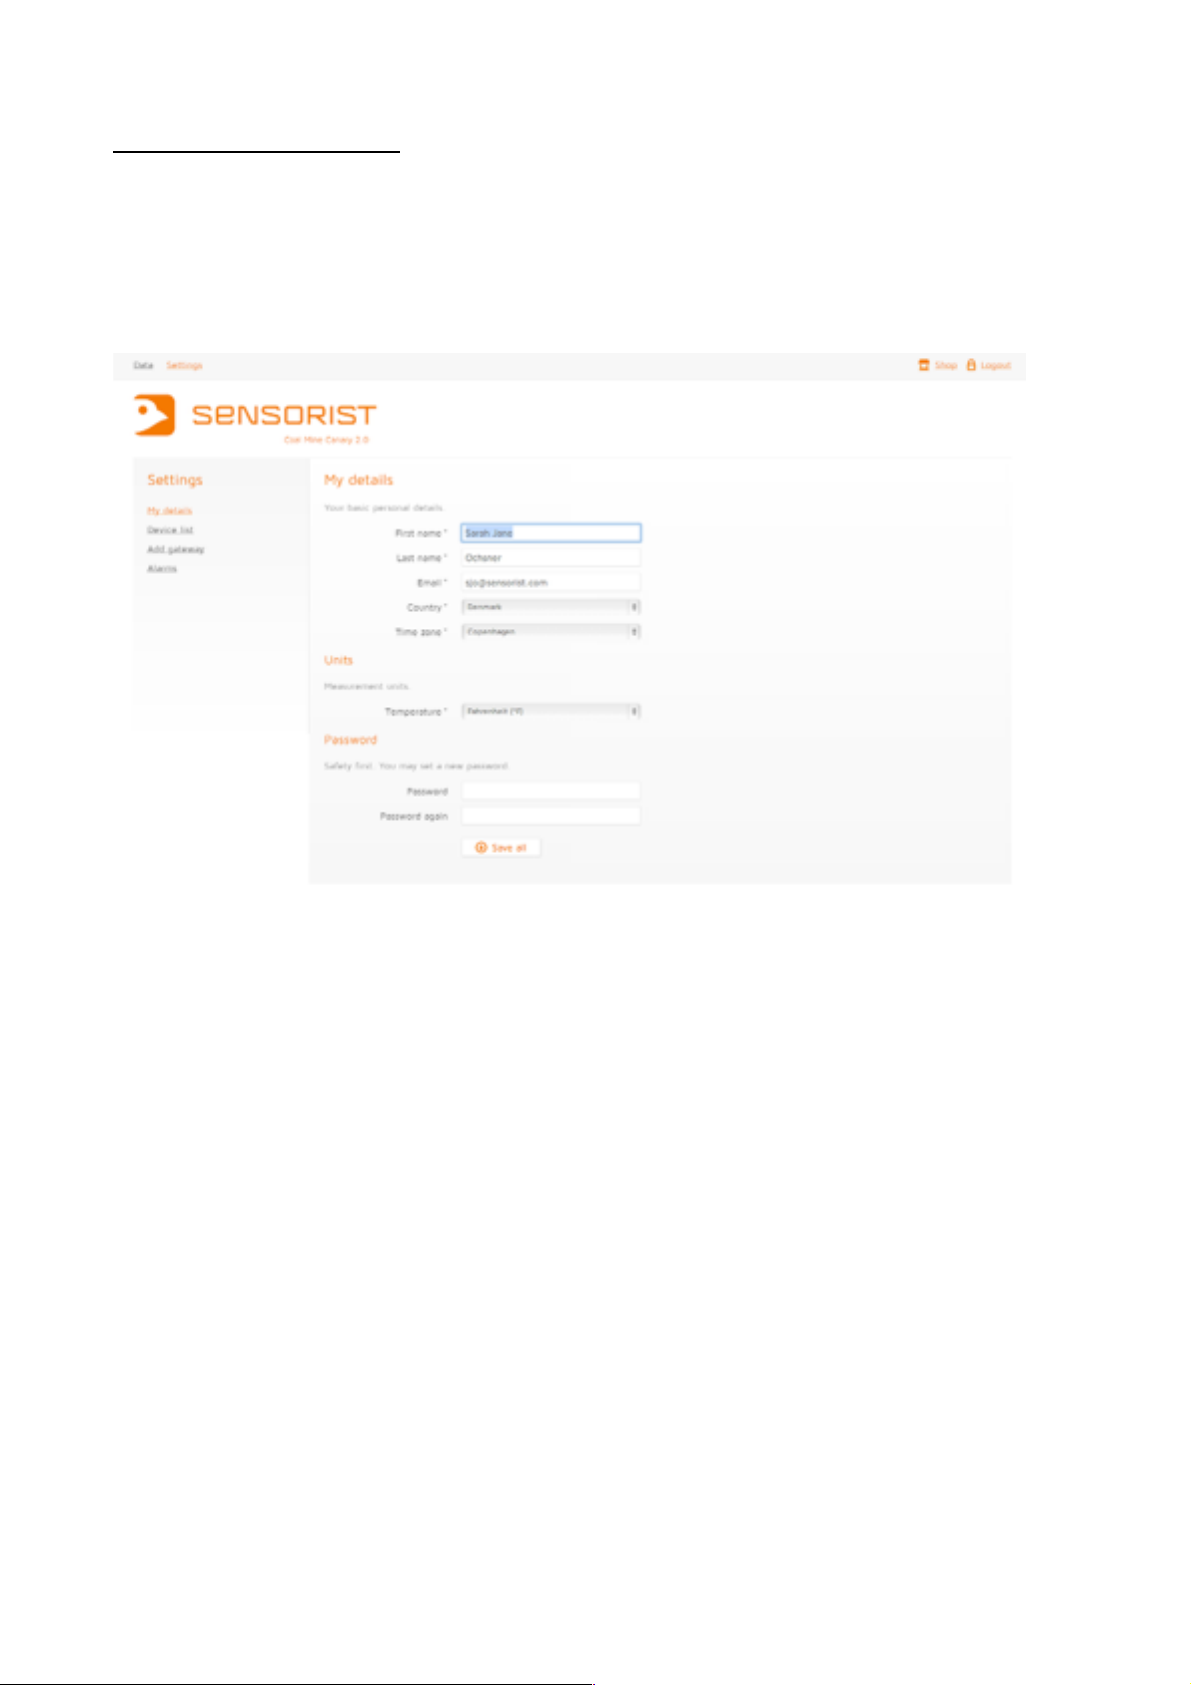
At the top of the page, you will see two links in the upper left hand corner; Data and
Settings!
!
!
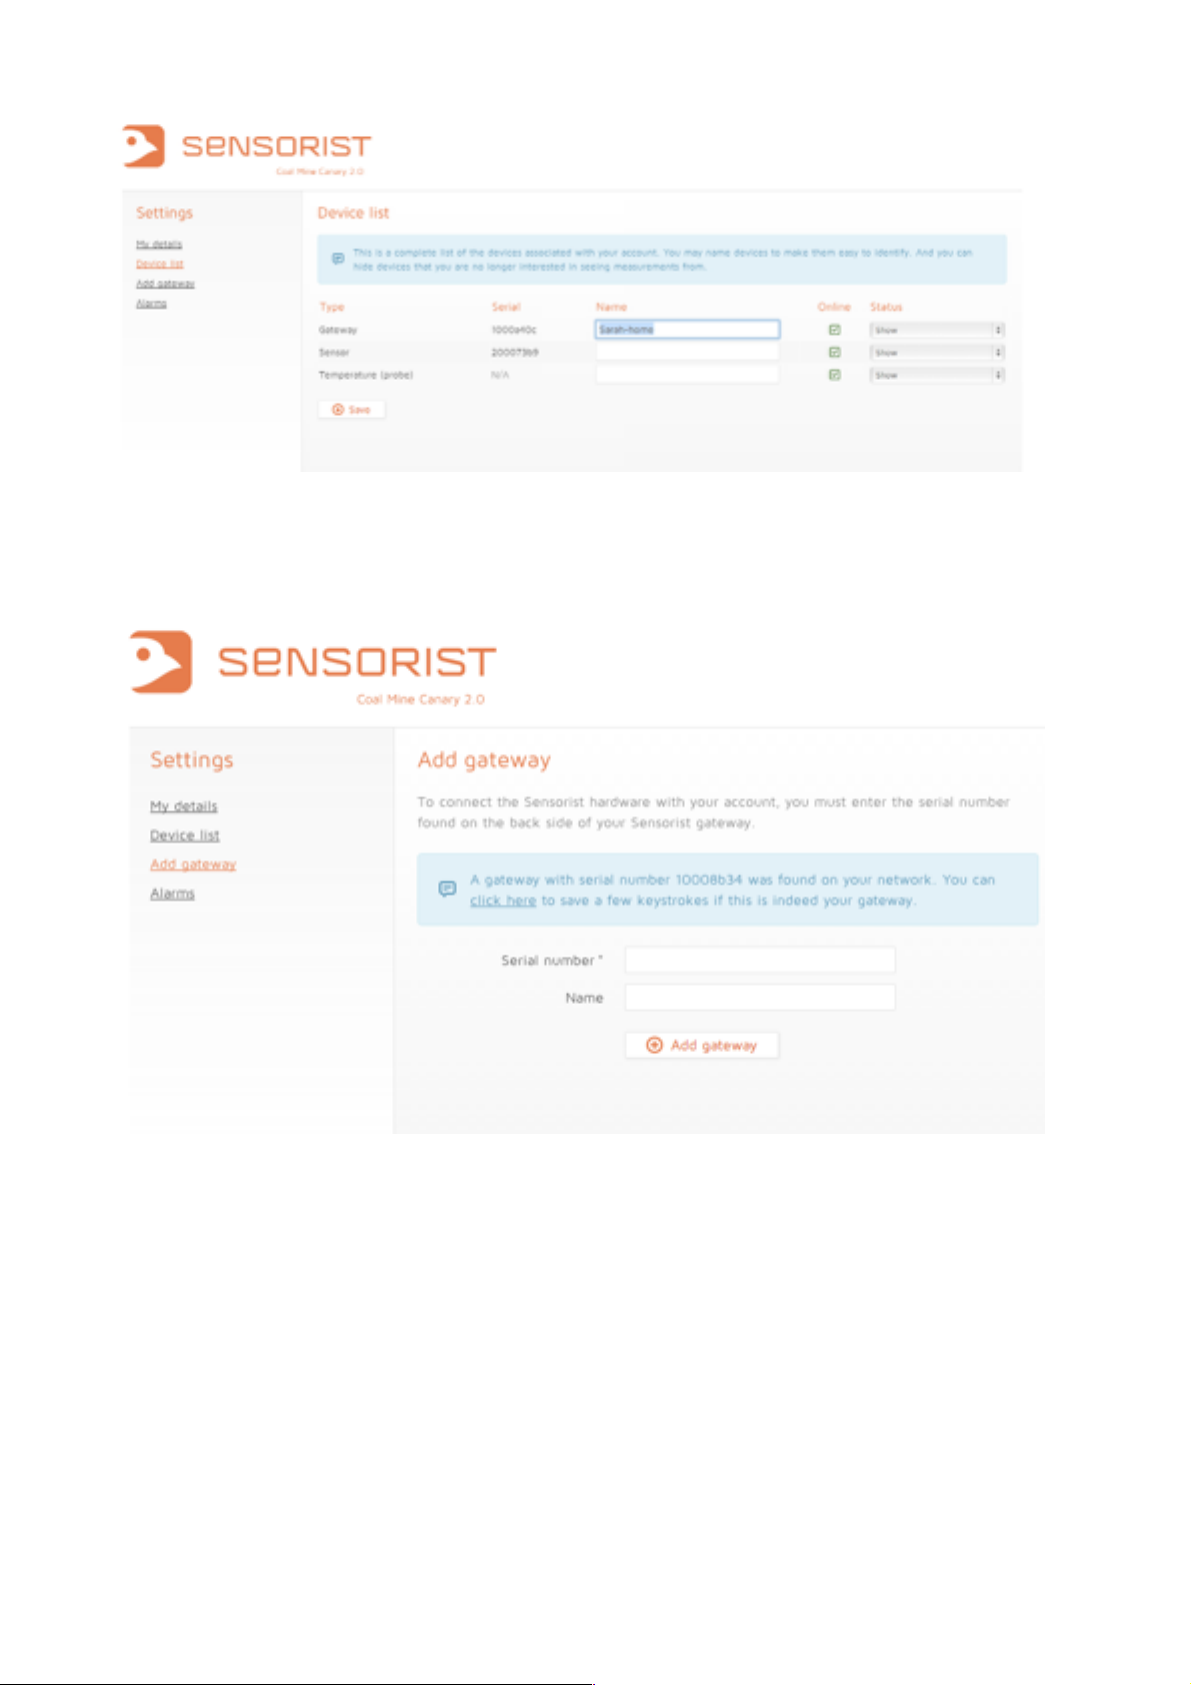
Under Settings, you have four links, which you can see on the left side of the page; My
details, Device List, Add gateway, Alarms!
!
!
!
!
!
Under My details, you will find all of your account information. This is where you can set
up which country you live in, your time zone, as well as if you would like to view your
temperature in Fahrenheit or Celsius. In addition, you can change your password here if
you would like. !
!
! ! !
Under Device list, you can see an overview of all of your devices; Sensorist gateway,
sensors, probes. This is where you can name your devices, so you can easily track each
one. In addition, you can choose if you want to show or hide them. You will also be able to
see whether or not your devices are online.!
!
4
Page 5
!
!
!
Under Add a gateway, you can add additional gateways, if you have two houses for
example that you want to monitor.!
!
!
!
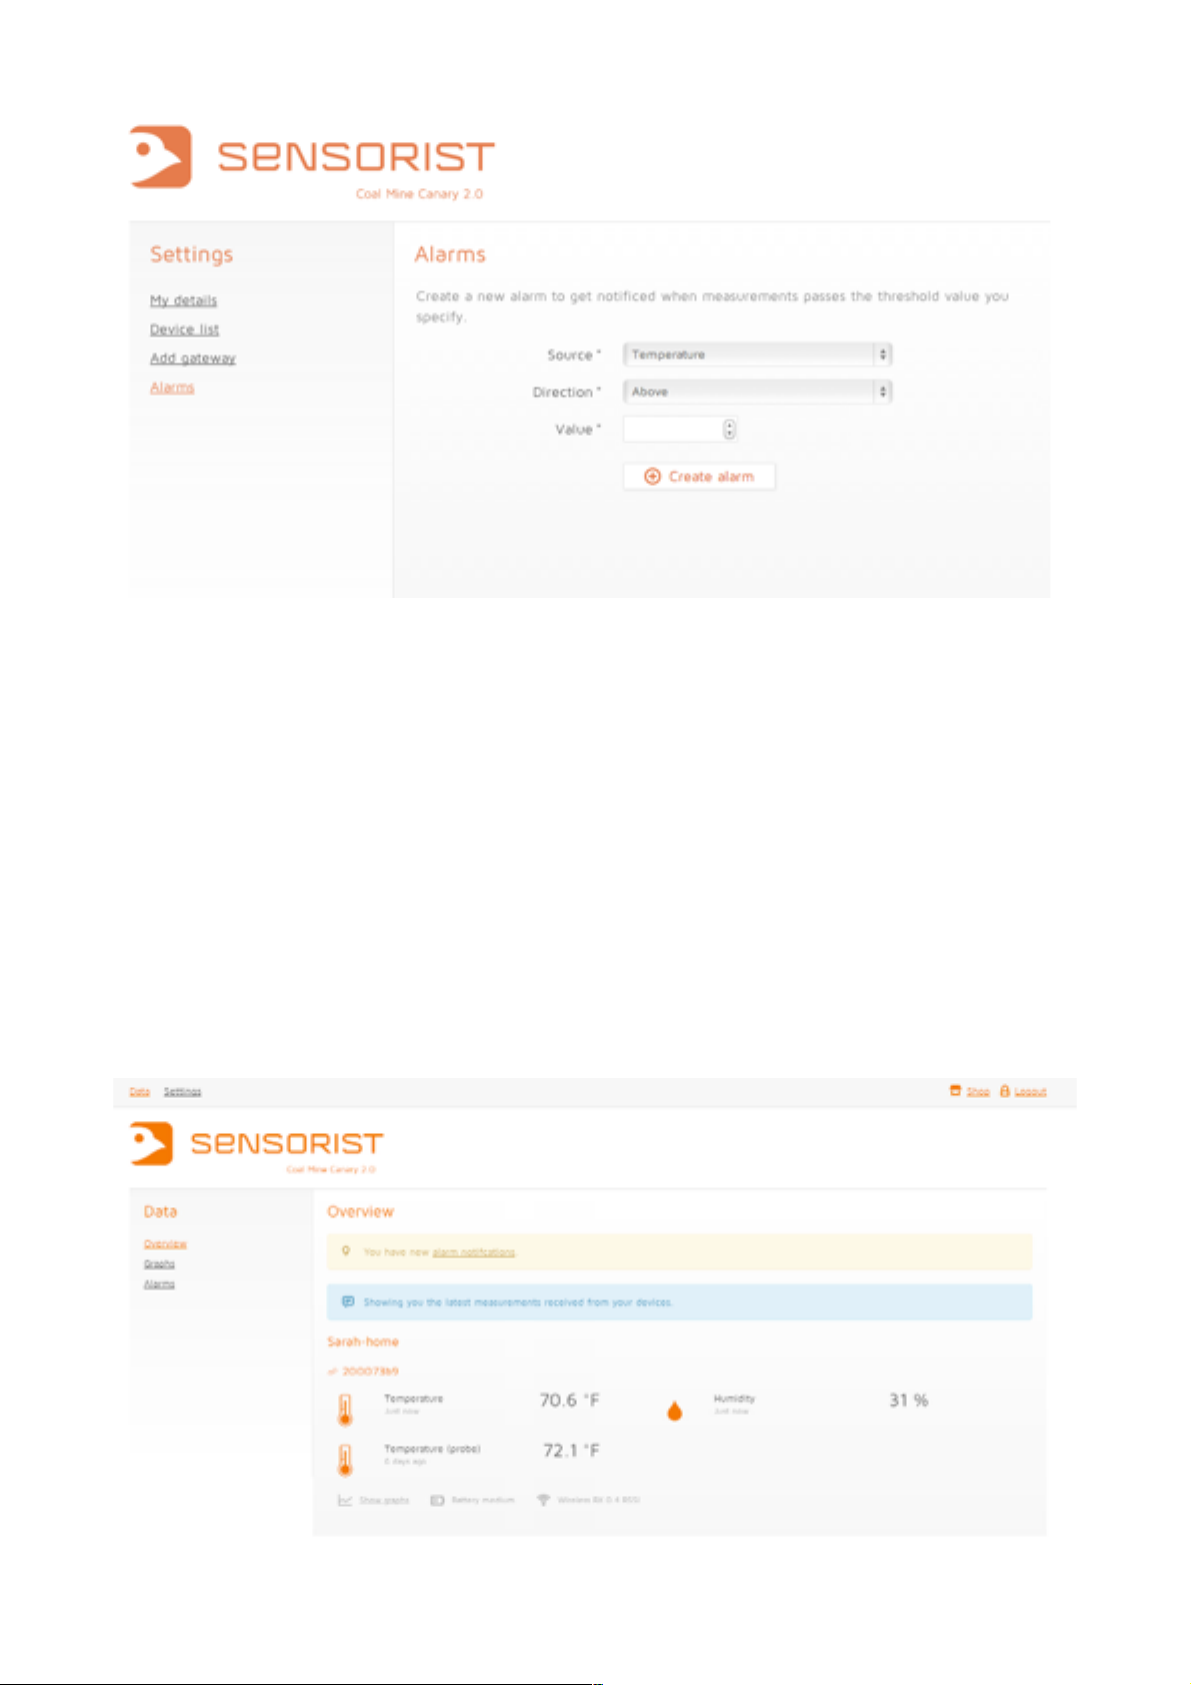
Under Alarms, you can set up all of your alarms. !
!
5
Page 6
!
!
In order to set up your alarm, you need to choose the Source, Direction and Value. !
!
Under Source, you can choice whether you want to set up your alarm to notify you of
either a temperature or humidity change.!
!
Under Direction, you can set up an alert if temperature/humidity goes above or below
your set threshold.!
!
Under Value, you can set your temperature/humidity thresholds.!
!
!
!
!
!
Under the section Data, you have three links on the left side of the page; Overview,
Graphs, Alarms. Here you can see all of the data that your devices collect.!
!
6
Page 7
!
!
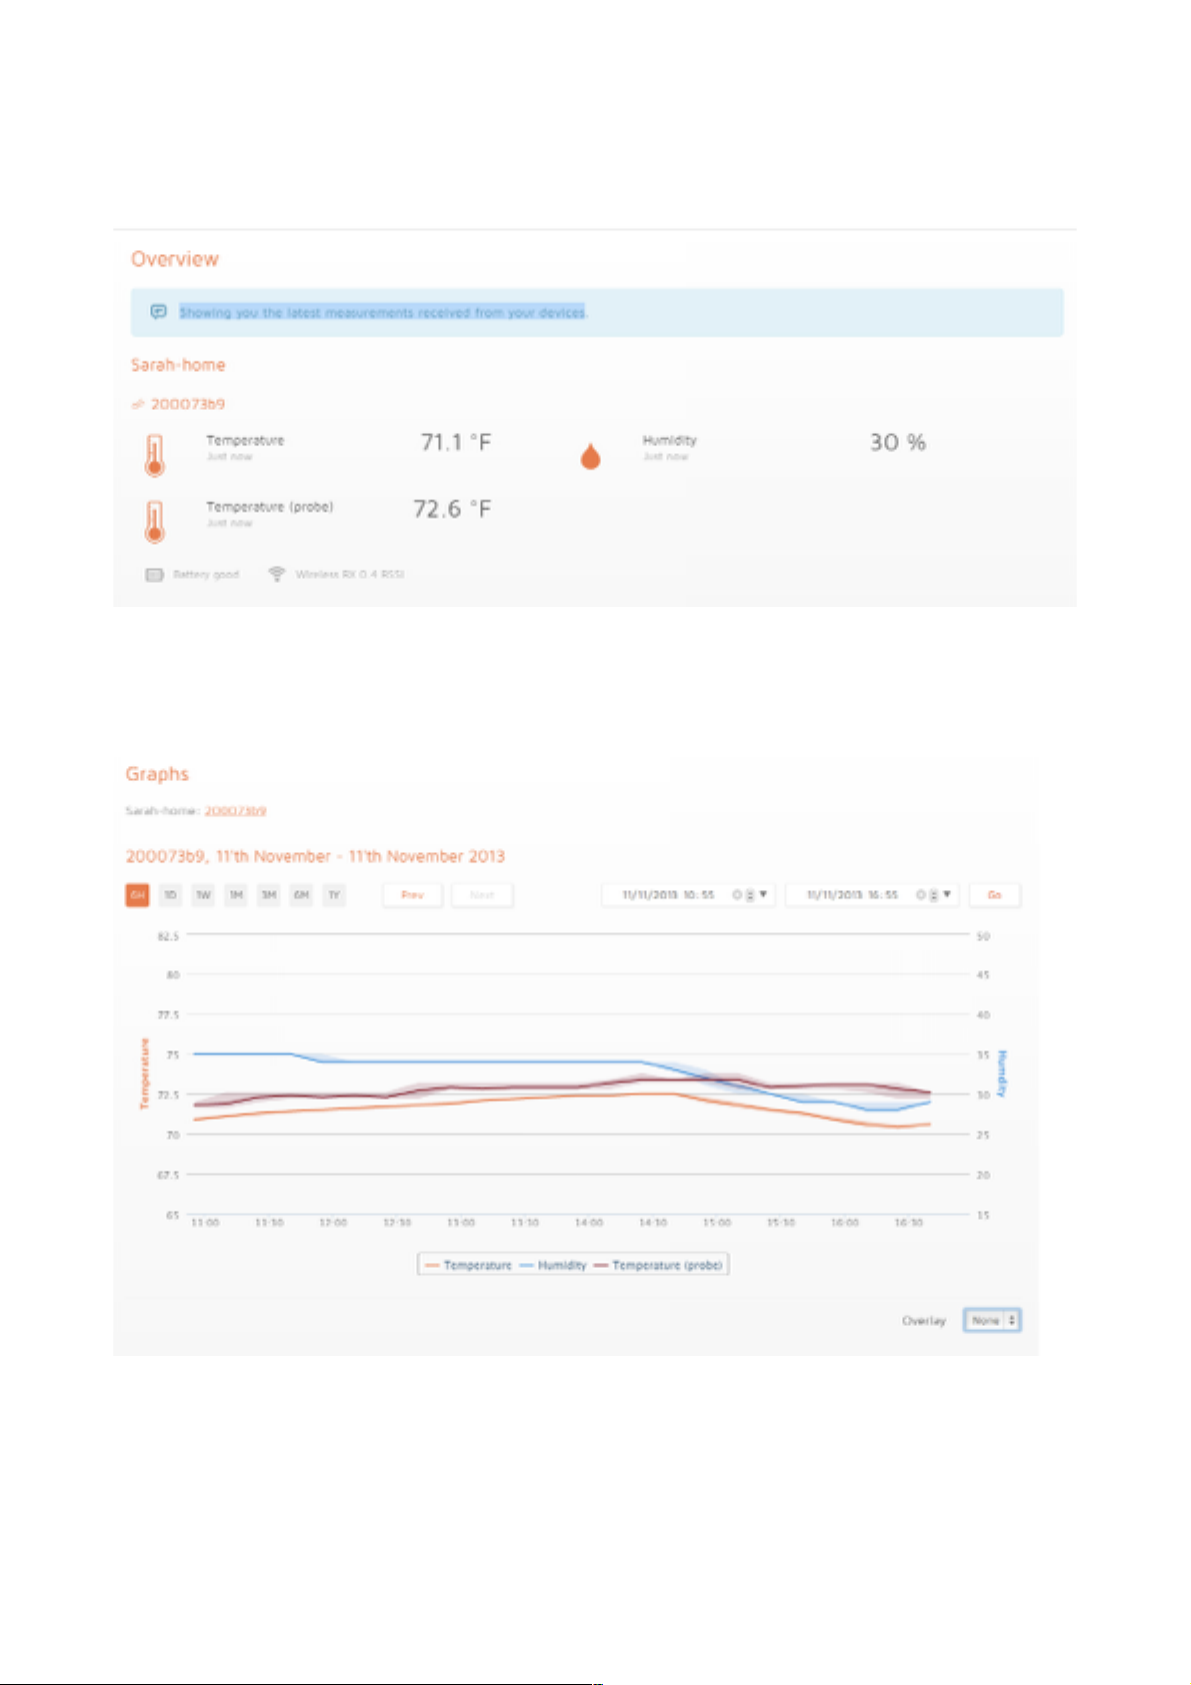
Under Overview, you will see the latest measurements received from your devices.!
!
!
!
Under Graphs, you will see a graphical overview of your devices. Here you can see
current data, as well as dive into historical data. You can set it up to see data by day/week/
month/year!
!
!
!
!
!
!
!
!
!
7
Page 8
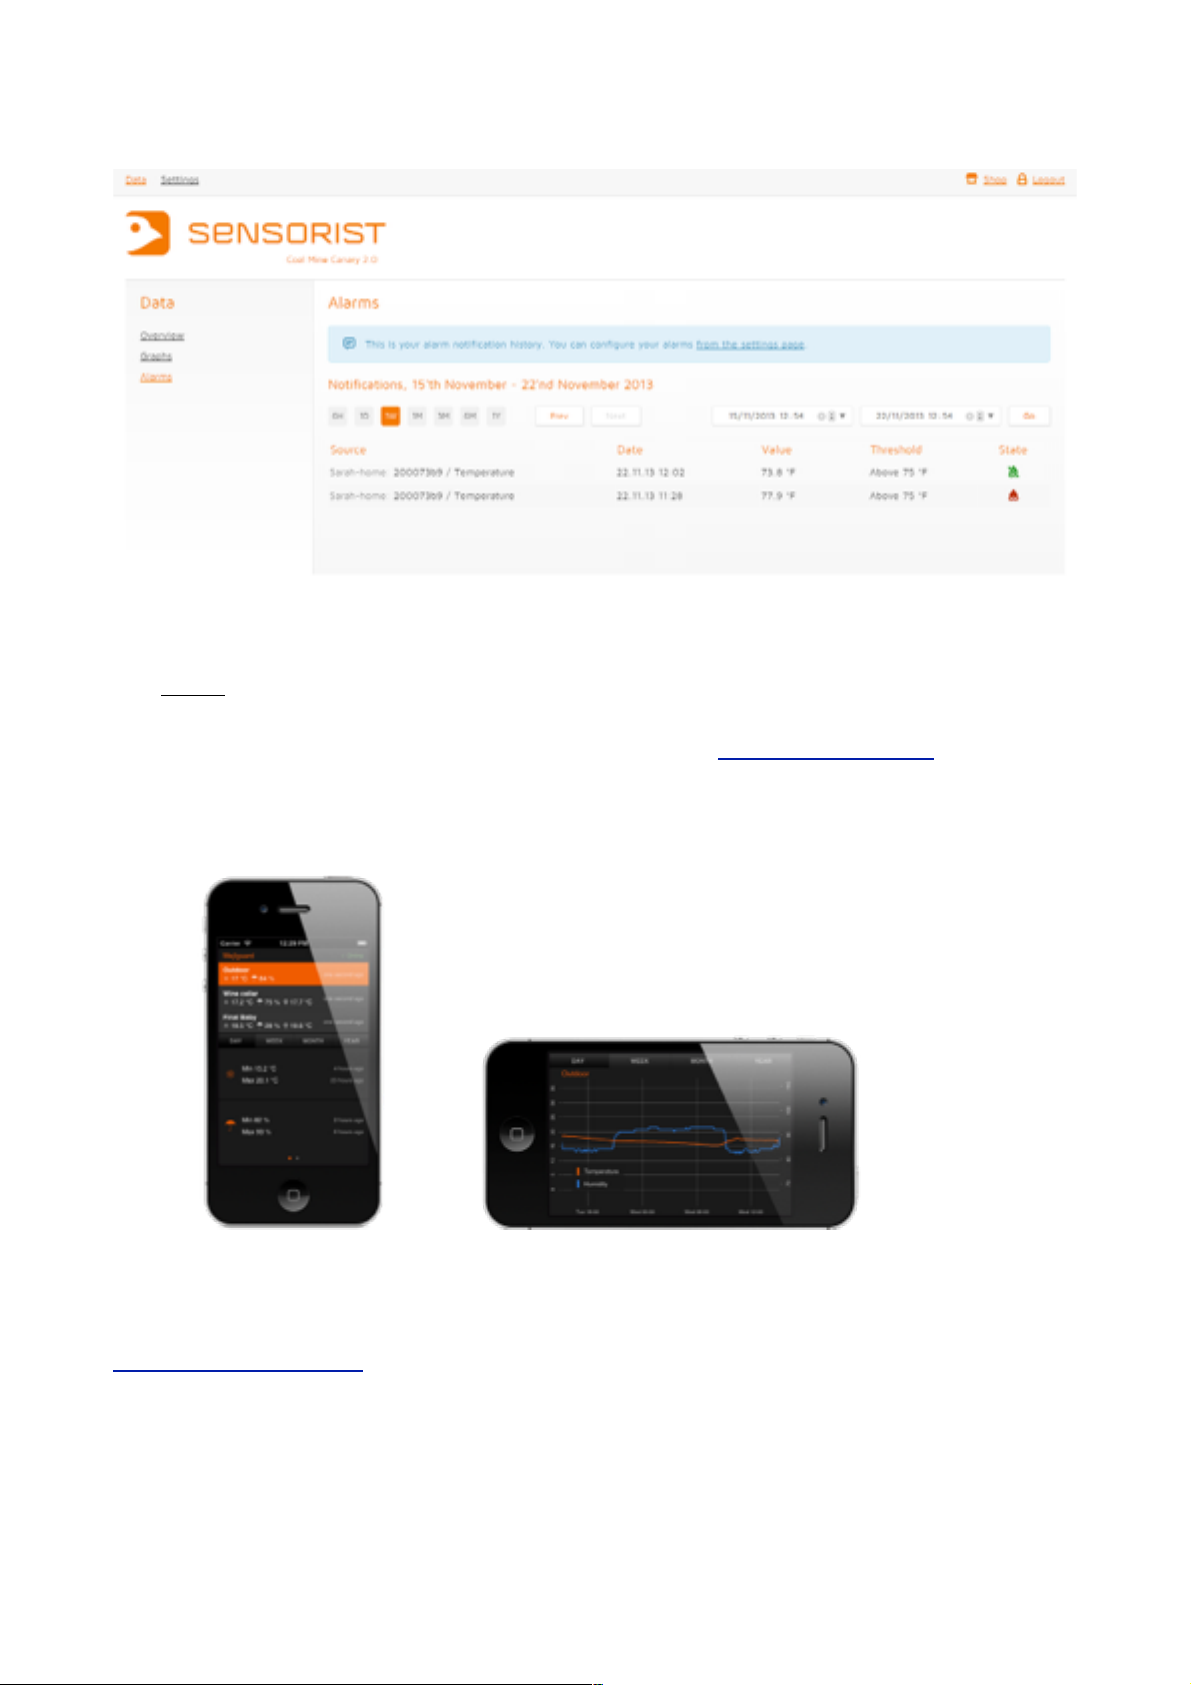
Under Alarms, you can see an overview of recent alarm notifications you have received. !
!
!
!
!
III. App:!
- Go to the App store and search for Sensorist!
-
Log in with the same login and password as you did on my.sensorist.com!
- You can set up alarms so you will receive push notifications via your App!
- Within moments, you will see the data from your sensor on your App!
!
!
!
!
!
!
If you are having any problems with setting up your solution, you can always contact us at
#
!
!
!
!
!
8
Page 9

Warning: Changes or modifications to this unit not expressly approved by the party
9
responsible for compliance could void the user’s authority to operate the equipment!
!
NOTE: This equipment has been tested and found to comply with the limits for a Class B
digital device, pursuant to Part 15 of the FCC Rules. These limits are designed to provide
reasonable protection against harmful interference in a residential installation. This
equipment generates, uses and can radiate radio frequency energy and, if not installed
and used in accordance with the instructions, may cause harmful interference to radio
communications.!
!
However, there is no guarantee that interference will not occur in a particular installation. If
this equipment does cause harmful interference to radio or television reception, which can
be determined by turning the equipment off and on, the user is encouraged to try to correct
the interference by one or more of the following measures:!
!
Reorient or relocate the receiving antenna.!
Increase the separation between the equipment and receiver.!
Connect the equipment into an outlet on a circuit different from that to which the
receiver is connected.!
Consult the dealer or an experienced radio/TV technician for help.!
!
FCC RF Radiation Exposure Statement Caution: To maintain compliance with the FCC’s
RF exposure guidelines, place the product at least 20cm from nearby persons.”
This device complies with part 15 of the FCC Rules. Operation is subject to the following
two conditions: (1) This device may no cause harmful interference, and (2) this device must
accept any interference received, including interference that may cause undesired operation.
 Loading...