

Page 1
Quick-Start Instructions
NOTE: Start in a gas-free environment
IMPORTANT: Periodically test using known
samples of gas from 10ppm Ethane/1000ppm
Methane mix bottle.
WARNINGS:
To prevent the risk of ignition of a ammable
atmosphere, batteries must only be changed in
an area known to be non-hazardous.
To prevent ignition of ammable or combustible
atmospheres, disconnect power before servicing.
Substitution of components may impair intrinsic
sa fe ty.
Not for use in atmosphere of oxygen greater
than 21%.
This is not a substitute for the
instruction manual. It is for
reference only.
Read and understand the
instruction manual before use.
MADE IN THE USA
WITH GLOBALLY SOURCED COMPONENTS
Distributed by:
851 Transport Drive
Valparaiso, IN 46383-8432
Phone: 219 465 2700
Web: www.gasleaksensors.com
Innovative Detection Solutions
Page 2
1. Install a fully charged battery pack by aligning
the top of the battery with the latches in the
instrument housing. Lower the bottom of the
battery into place. Use the ¼ turn locking
screws to secure the battery pack in place.
2. Be certain the lter assembly has
a lter disc within the housing.
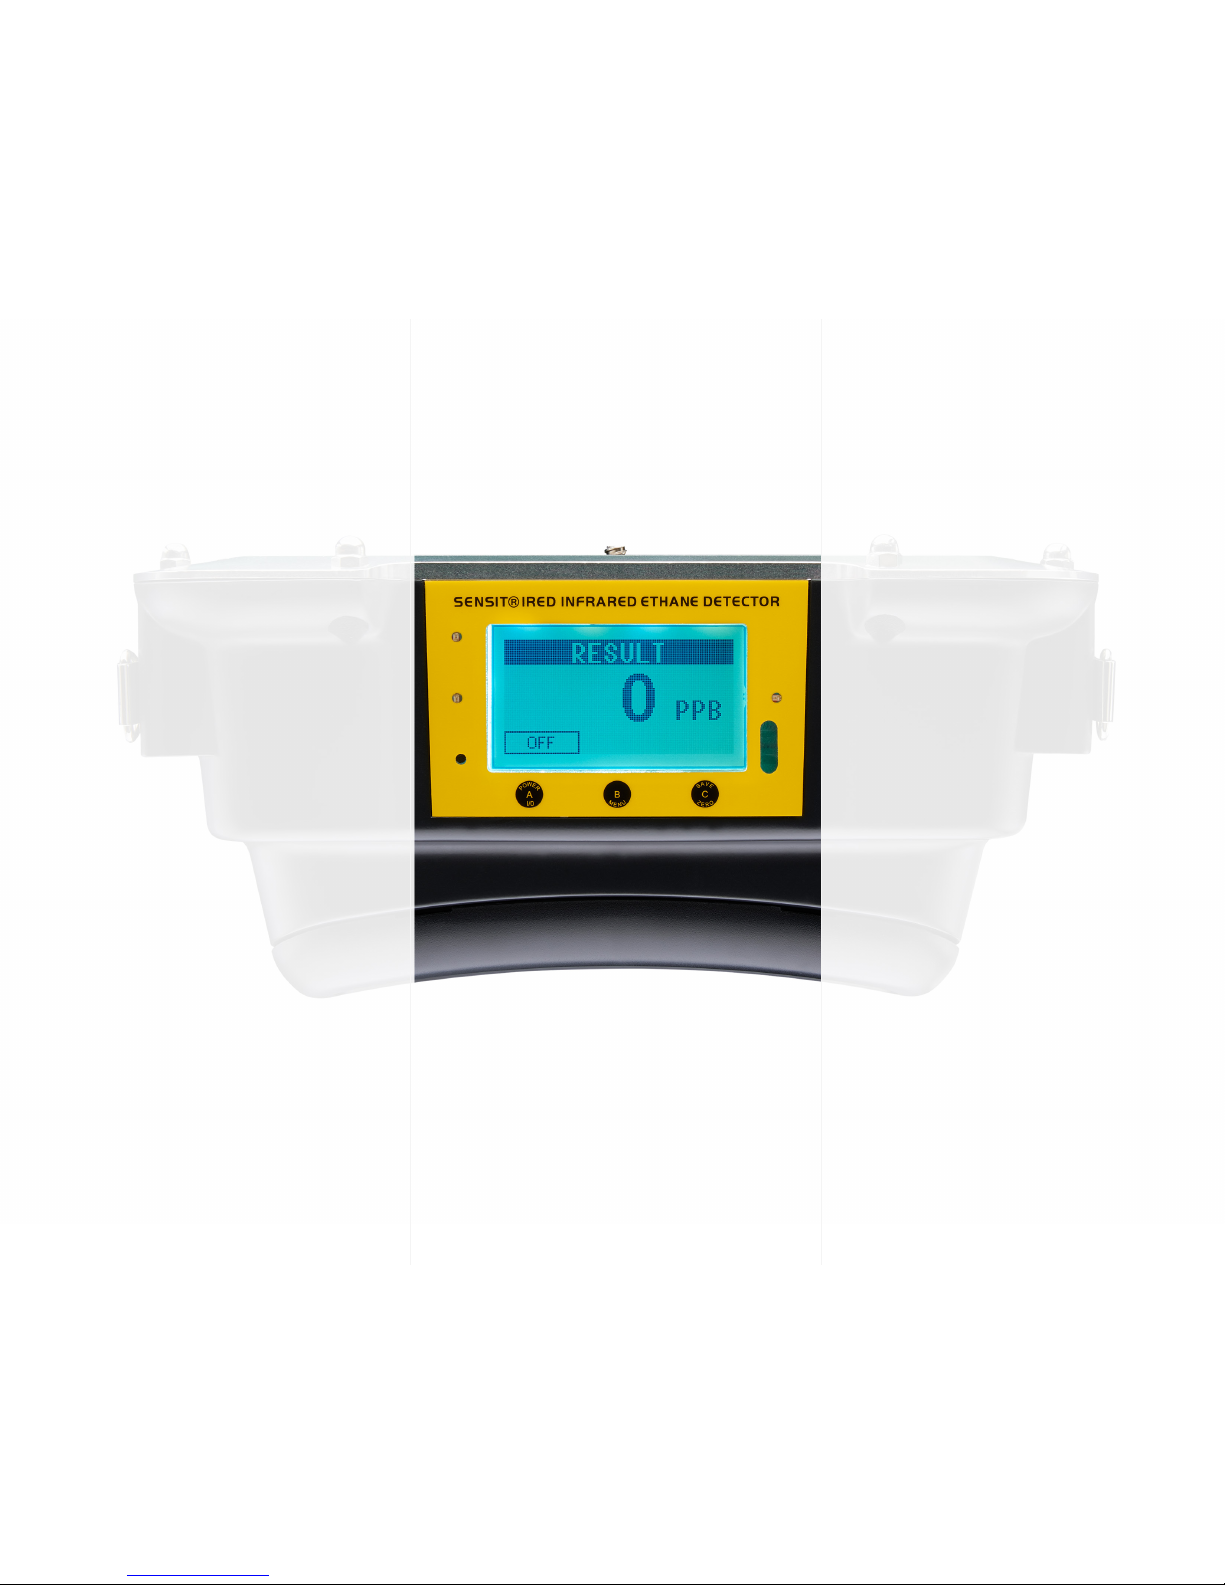
3. Locate button “A” – press & hold until the unit
powers up, then release the power button.
Charger cord must be unplugged from IRED.
4. Allow unit to go through the warm up sequence
in clean air. At the end of warm up, the unit will
perform a “cell check” and enter the working
display. This requires 20 to 25 minutes.
5. Look at the display – Ready for Measurement
and function indicators will be displayed.
6. Bump test the IRED with recommended
10ppm ethane/1000ppm methane
to verify accuracy. (optional)
7. Attach any probe to the lter
assembly (survey or barhole probe).
8. Place your nger over the inlet and wait ~5
seconds for “FLOW BLOCKED” to appear
on the display. If the instrument does not
show “FLOW BLOCKED,” service is required.
SENSIT® IRED
QUICK-START INSTRUCTIONS
9. You are now ready to use the instrument.
“For Best Results: Using a gas detection
device capable of sensing low level
natural gas concentrations, conrm
a gas measurement in a range of 50
- 2000ppm prior to use of the IRed”
10. Press the “B” button and follow the directions
on the display to perform a measurement.
The IRED will sample for 40 seconds and
update the display readings at 10 second
intervals. If sample concentration is too
large, the display will read “background
too high.” Back off the probe to dilute
the sample. It may be necessary to retest.
11. The “C” button allows you to view the
menu functions, turn the pump on or off,
and print the result after a measurement.
12. Measurements will automatically be stored
to the instrument’s memory with GPS
coordinates (GPS is an optional feature).
Measurements can be viewed on the
display of instrument or through Smartlink.
13. To Power Off or enter Stand By, press and
hold the “A” button for 5 seconds until the
instrument displays “POWER OFF” and
“STAND BY,” then release. Press the “A”
button to power off or the “C” button to put
IRED in “STAND BY.”
 Loading...