

Page 1
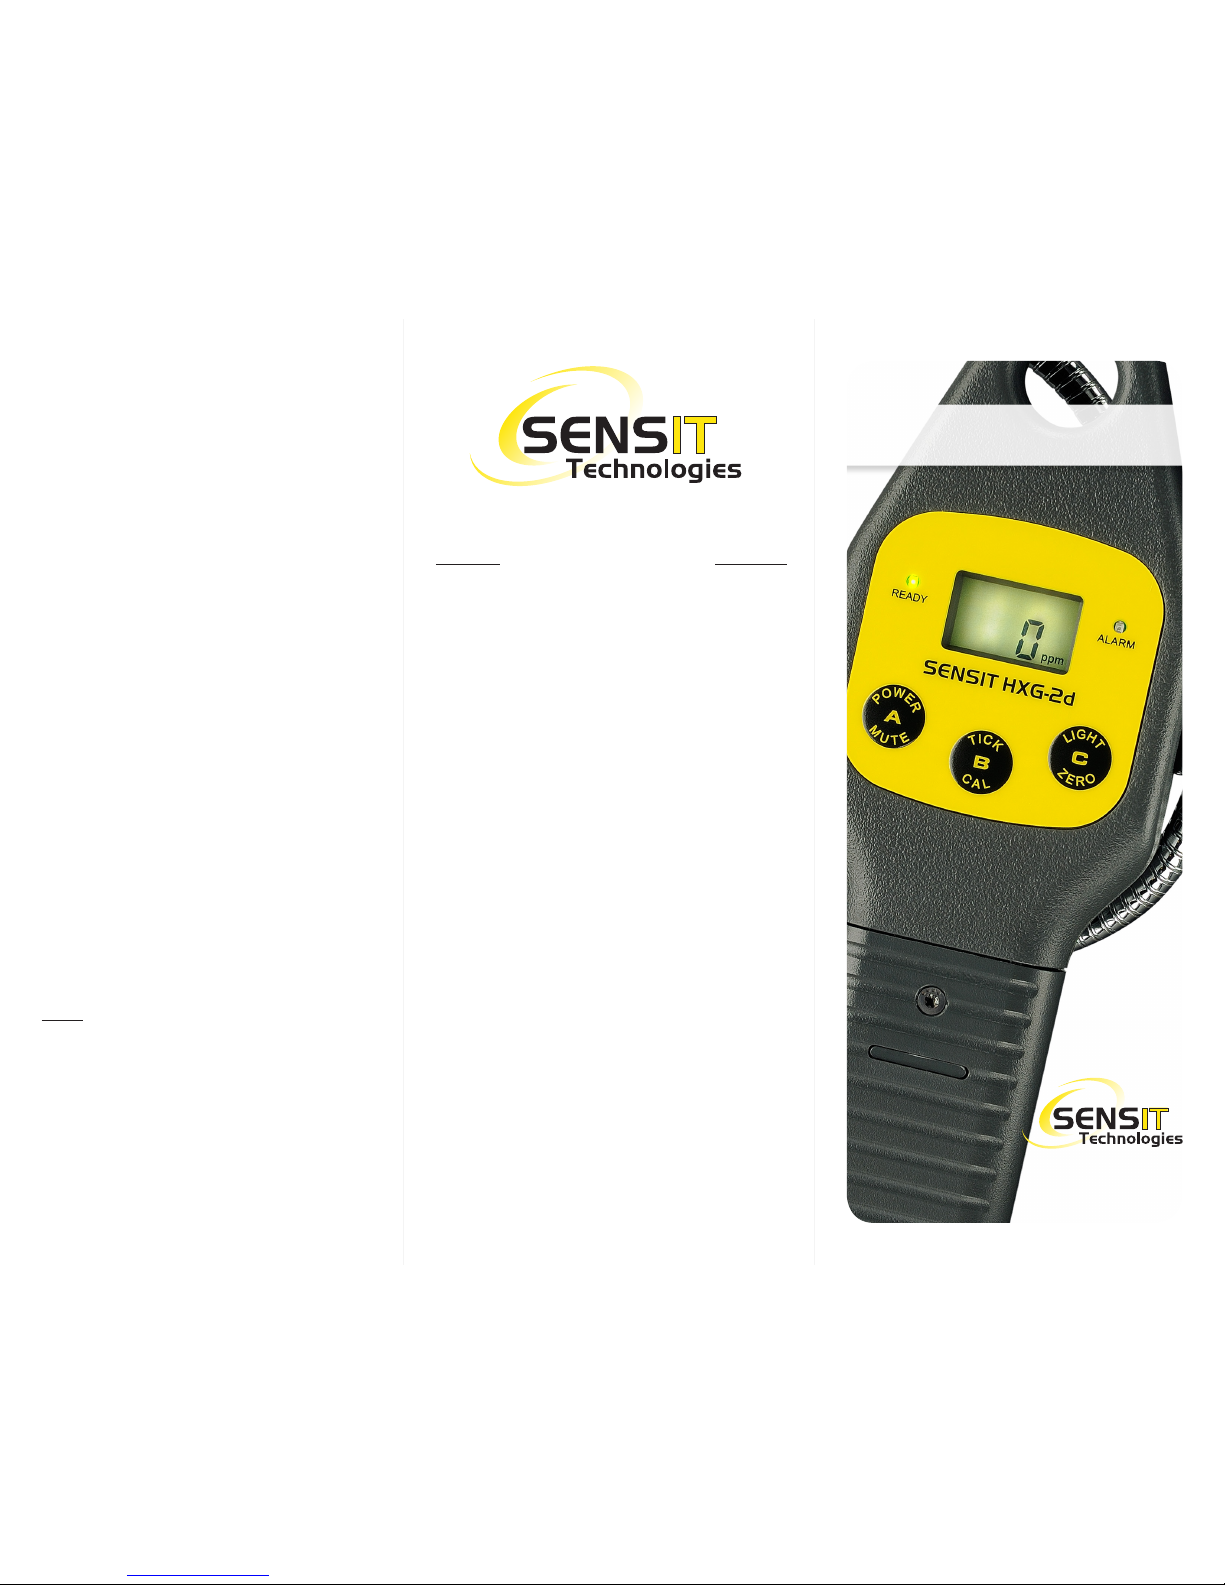
Quick-Start Instructions
HINT: As you approach the source of the
leak, continue pressing the “B” button to
slow down the tick if it is rapidly increasing.
If the tick is no longer heard press the “B”
button to reset. Pressing the “A” button
deactivates the tick.
IMPORTANT: When replacing the
gooseneck into the clip on the right side,
wrap the gooseneck in a wide circular
manner counter-clockwise around the back
of the instrument. Bending in the opposite
direction may cause damage over the life of
the product.
WARNINGS:
To prevent ignition of ammable or combustible
atmospheres, disconnect power before servicing.
To reduce the risk of ignition of a ammable
atmosphere, batteries must only be changed in
an area known to be nonammable.
Do not mix batteries of different age or type.
Not for use in atmospheres of oxygen greater
than 21%.
ONLY zero instrument in a gas free environment.
To maintain intrinsic safety, service must be
performed by factory authorized technicians
with approved replacement parts only.
This is not a substitute for the
instruction manual. It is for
reference only.
Read and understand the
instruction manual before use.
MADE IN THE USA
WITH GLOBALLY SOURCED COMPONENTS
Distributed by:
851 Transport Drive
Valparaiso, IN 46383-8432
Phone: 219 465 2700
Web: www.gasleaksensors.com
Innovative Detection Solutions
Page 2
1. Install the batteries by removing the
retaining screw (torx) from the handle. Push
down the locking tab and slide the handle
away from the top of the instrument. When
replacing handle be sure the tab is securely
in place and replace the retaining screw.
2. IMPORTANT: CAREFULLY OBSERVE
POLARITY WHEN CHANGING BATTERIES.
Instrument will not function with improperly
installed batteries.
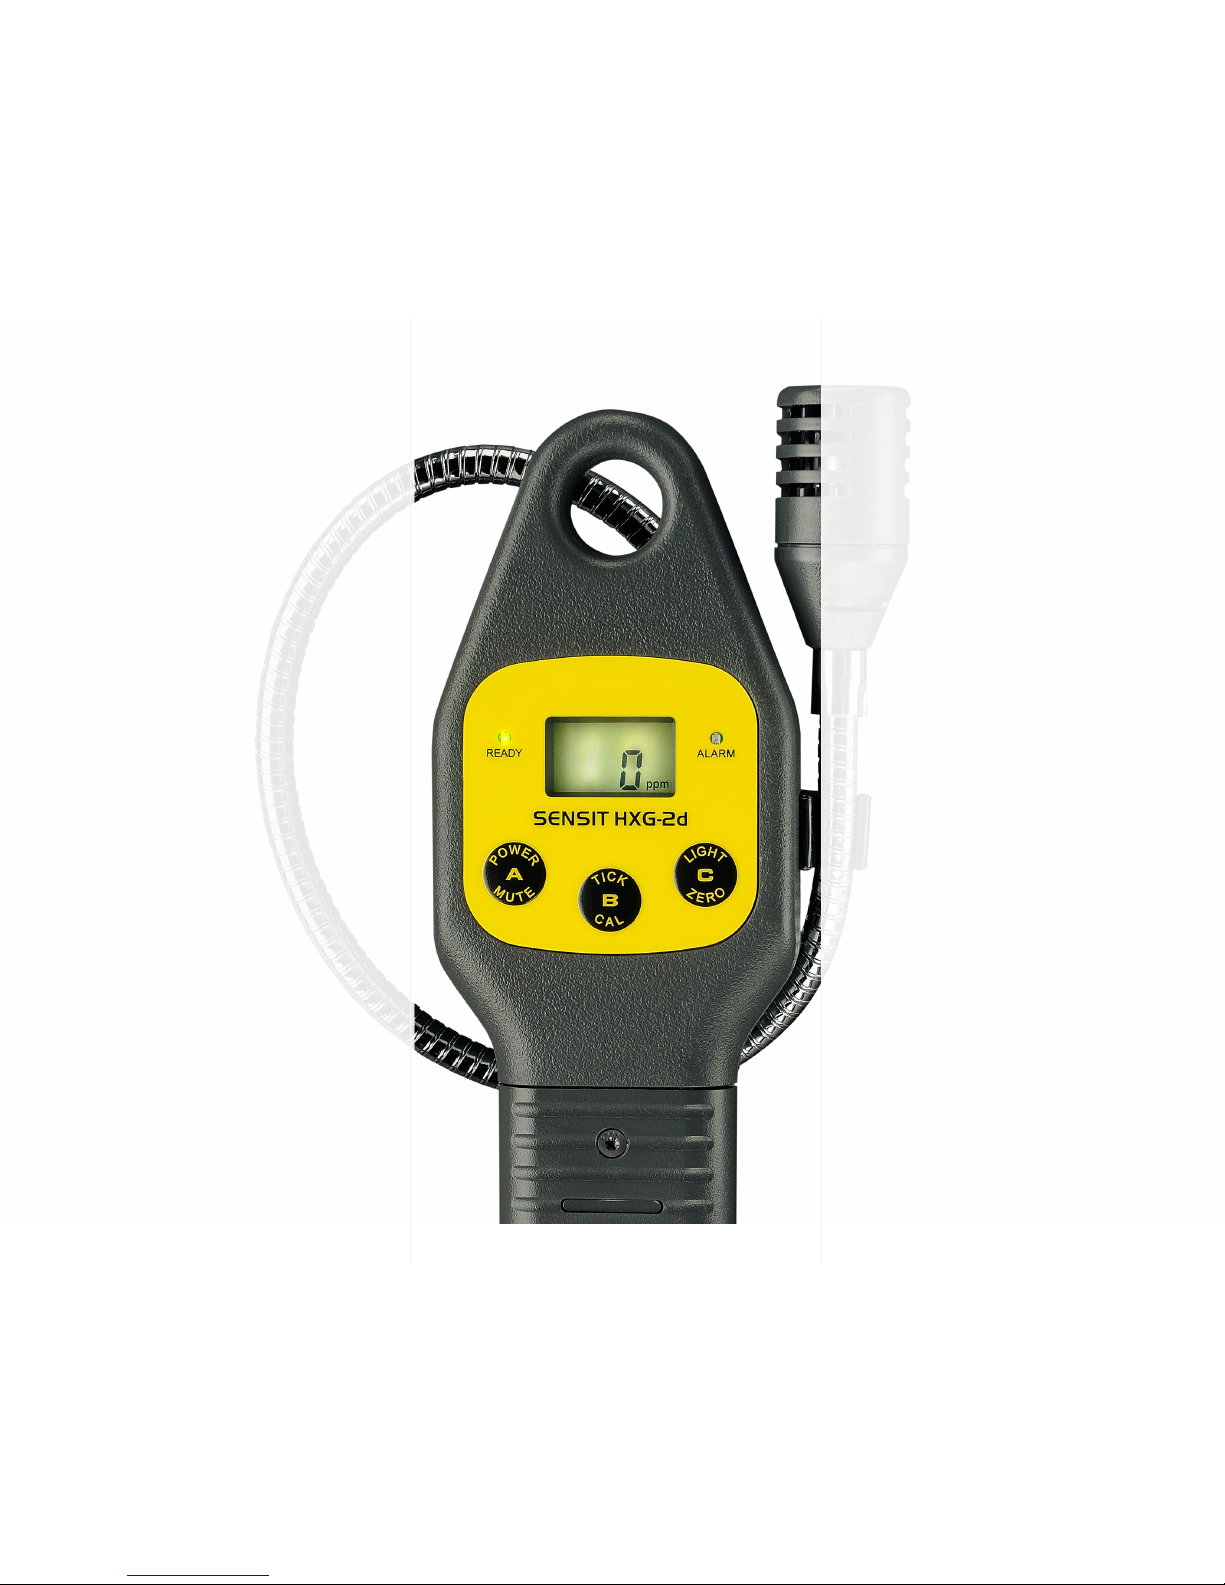
3. Locate button “A” – push & hold until the
unit powers up, then release the power button.
4. Allow unit to go through the warm up
sequence in clean air. At the end of warm
up, the unit will auto zero and enter the
working display. This requires from 40 up
to180 seconds.
5. If FAIL is displayed for any of the sensor
readings, make sure the instrument is in clean
air; push and hold the “C” button until Zro
is displayed. If this process does not clear
the fail on the display, this could indicate a
problem with the instrument or sensor.
6. Look at the display – PPM readings are
displayed. Readings above 990 PPM will
automatically range to LEL% as indicated by
the display icon on the right.
7. Extend the goose neck (the PPM/LEL sensor
and cap is at the tip).
8. You are now ready to use the instrument.
You can now enter the area and detect gases.
9. Once the environment is determined to
be safe to work in, if the source of an odor
needs to be located, press the “B” button to
hear a tick rate. Once an investigation is
begun, as the instrument is moved closer to a
combustible source, the tick rate will increase.
Press the “B” button again to reset the tick to
for a slower tick.
10. Press and release the “C” button to
activate a backlight for 30 seconds in
darkened environments.
11. Press and hold the “C” button to zero the
instrument. (only in a gas free area).
12. When your investigation is complete,
push button “A” and hold for 5 seconds until
the instrument displays “POWER OFF” then
release to shut off.
SENSIT® HXG-2d
QUICK-START INSTRUCTIONS
 Loading...