

Page 1
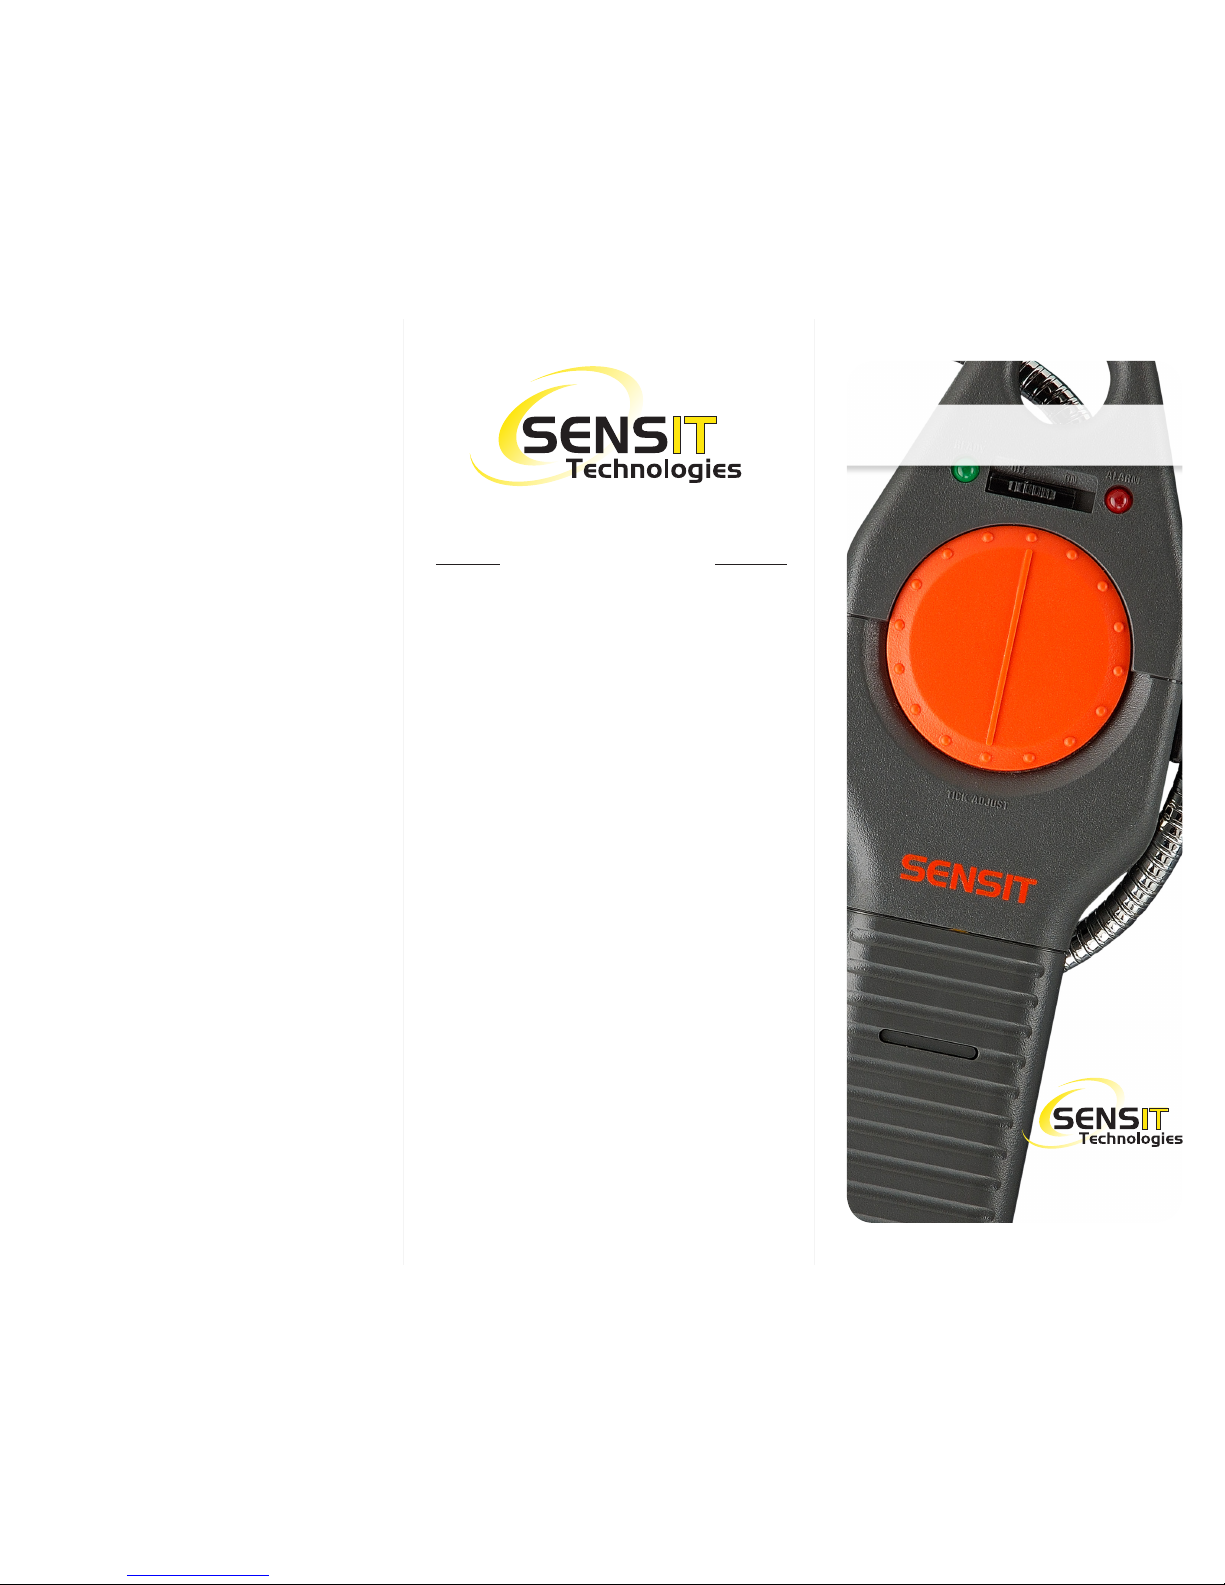
Quick-Start Instructions
HINT: As you approach the source of the
leak continue adjusting the wheel without
moving the sensor head to a uniform tick
sound until you locate the exact location of
the leak.
IMPORTANT: When replacing the
gooseneck into the clip on the right side,
wrap the gooseneck in a wide circular
manner counter-clockwise around the back
of the instrument. Bending in the opposite
direction may cause damage over the life of
the product.
WARNINGS:
To prevent ignition of ammable or
combustible atmospheres, disconnect power
before servicing.
Always change batteries in an environment
free of combustible gases.
This instrument should not be used as a
carbon monoxide investigative tool.
This is not a substitute for the
instruction manual. It is for
reference only.
Read and understand the
instruction manual before use.
MADE IN THE USA
WITH GLOBALLY SOURCED COMPONENTS
Distributed by:
851 Transport Drive
Valparaiso, IN 46383-8432
Phone: 219 465 2700
Web: www.gasleaksensors.com
Innovative Detection Solutions
Page 2
1. Install the batteries by pushing down
the locking tab and sliding the handle
away from the top of the instrument. When
replacing handle be sure the tab is securely
in place and replace the retaining screw.
2. IMPORTANT: CAREFULLY OBSERVE
POLARITY WHEN CHANGING BATTERIES.
Instrument will not function with improperly
installed batteries.
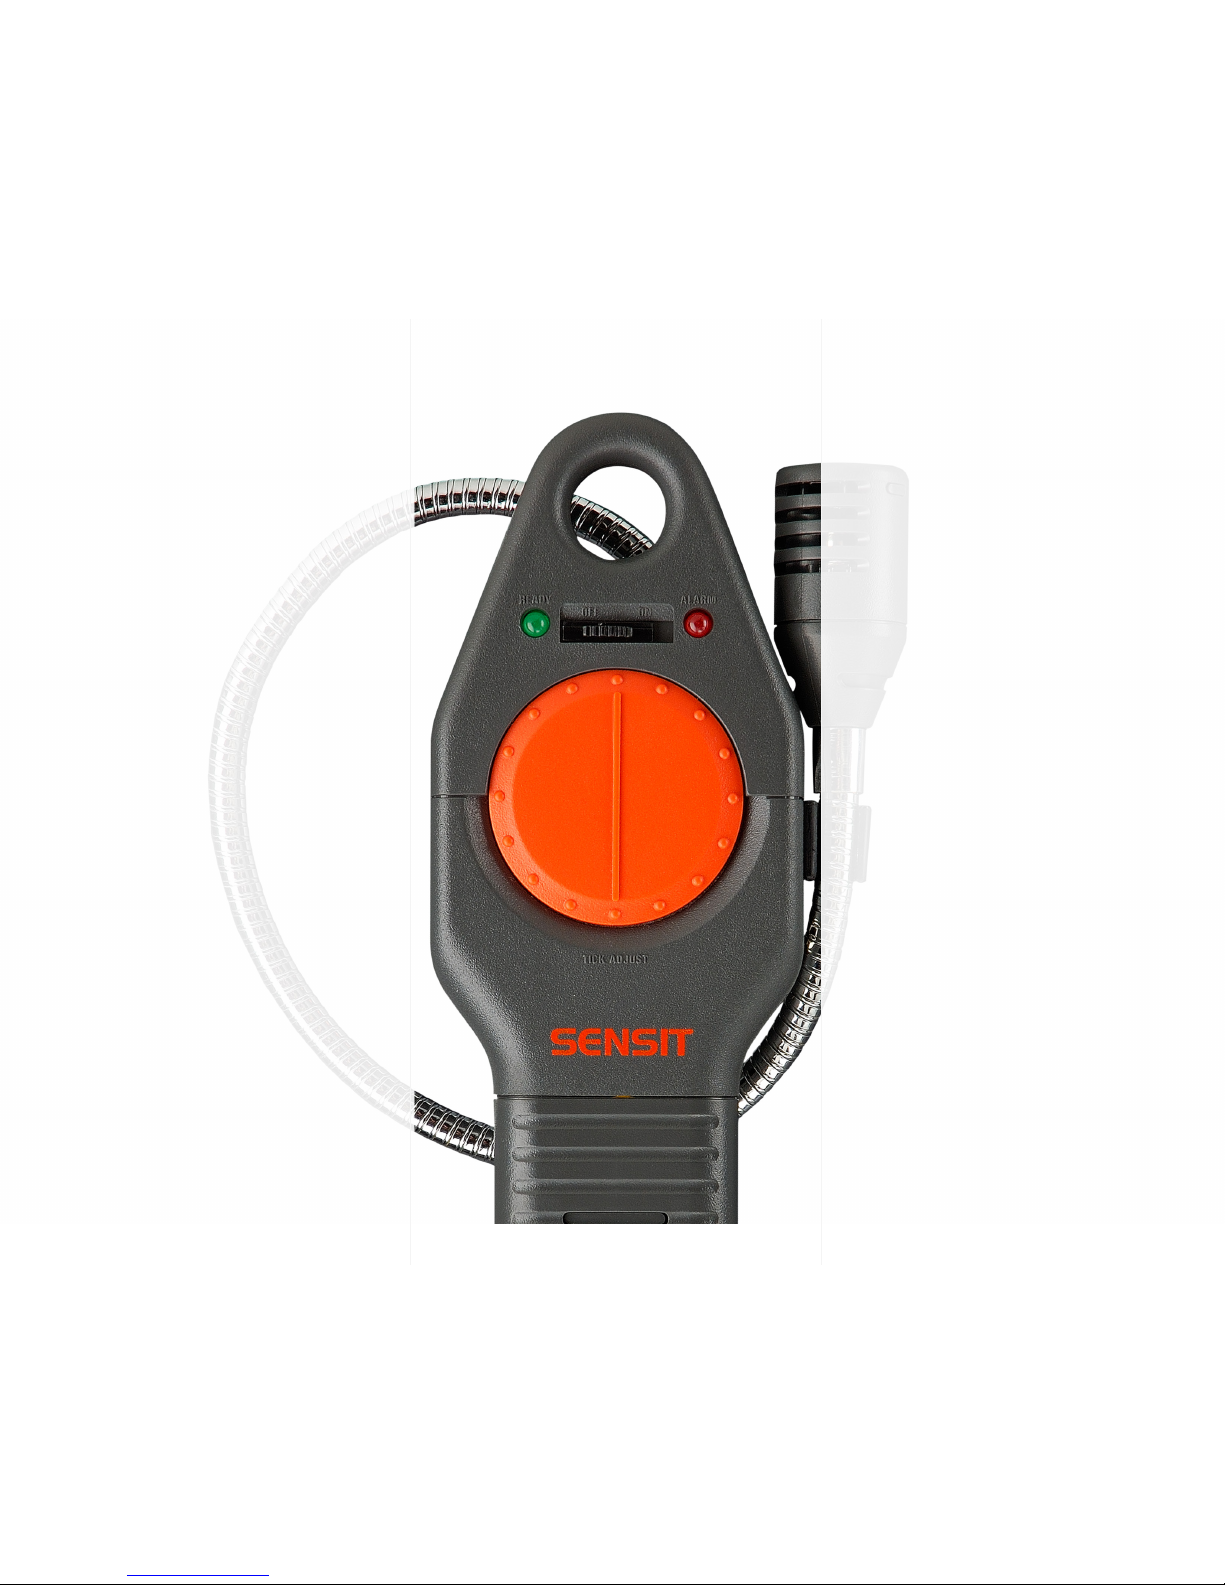
3. Slide the on/off switch to the right to turn on.
4. Allow unit to go through the warm up
sequence in clean air. The tick will sound
and the alarm light will ash for a few
moments. Full warm up may take up to 60
seconds.
5. Extend the goose neck (the sensor and
cap is at the tip).
6. You are now ready to use the instrument.
You can now enter the area and detect gases.
7. A properly tested and calibrated
instrument will ash the red alarm light and
provide a warbling sound at 10% LEL of
methane. Consult Sensit Technologies for
cross sensitivities.
8. Once the environment is determined to
be safe to work in, if the source of an odor
needs to be located, rotate the center wheel
until there is a uniform ticking sound. As
you approach the leak rotate the wheel
counter-clockwise to slow the speed. Rotate
clockwise to increase the speed (indicating
lower gas concentrations).
9. When your investigation is complete slide
the switch to the off position.
SENSIT® HXG-2
QUICK-START INSTRUCTIONS
 Loading...