

Page 1

GuidePort Software
Short User Guide
Version 1.0 of 27 July 2000
Sennheiser electronic GmbH & Co. KG
Am Labor 1
30900 Wedemark
Germany
Page 2

Contents
1 SETTING UP THE BASE STATION HARDWARE ...................................................3
2 INSTALLING THE CELL TRANSMITTER LOADER SOFTWARE .....................4
3 CENTRAL UNIT PC .......................................................................................................6
3.1 CENTRAL UNIT SOFTWARE...........................................................................6
3.2 DATABASE DRIVER........................................................................................... 7
3.3 PALMTOP SOFTWARE ..................................................................................... 8
4 CREATING A GUIDEPORT INSTALLATION FOR YOUR EXHIBITION .......... 9
5 ANNOUNCEMENTS.....................................................................................................18
6 DOWNLOADING THE CONFIGURATION FILES TO THE GUIDEPORT
TRANSMITTERS ................................ ..........................................................................19
GuidePort: Software Description 27. Juli 2000 Seite 2
Page 3

1 Setting Up the Base Station Hardware
• First connect all Cell Transmitters via a USB hub to a Base Station PC.
• Then connect the Base Station PC to your local area network.
• Via the network, the Base Stations are connected to a Central Unit PC.
Cell Transmitter
Cell Transmitter
Cell Transmitter
Cental Unit PC
with:
•Sound Card, capable of
32 kHz sampling rate
•G7.22++ converter and
announcement software
•GP CU software
Figure 1: System Set-Up
Local Area
Network
Base Station PC
with CT Loader
Base Station PC
with CT Loader
Cell Transmitter
USB-Hub
Base Station
Cell Transmitter
Cell Transmitter
Cell Transmitter
Cell Transmitter
USB-Hub
Base Station
N.B.: Instead of a local area network solution with separate Central Unit PC and
Base Station PC, you can also work with only one PC or laptop computer with
Windows 98™ and a USB connector.
Via the USB, the Base Station PC detects the IDs of all Cell Transmitters connected
to it, and transfers the configuration files to the Cell Transmitters. (N.B.: These
configuration files will be created later with the Central Unit Software, see chapter 4)
When starting the Base Station PC or hot plugging the Cell Transmitters into the PC,
a Windows 98 message will inform you about the detection of a new USB device.
Please insert the „USB Driver“ disk to install the missing driver.
Now your hardware is ready for the installation of the Cell Transmitter Loader
Software.
GuidePort: Software Description 27. Juli 2000 Seite 3
Page 4
2 Installing the Cell Transmitter Loader Software
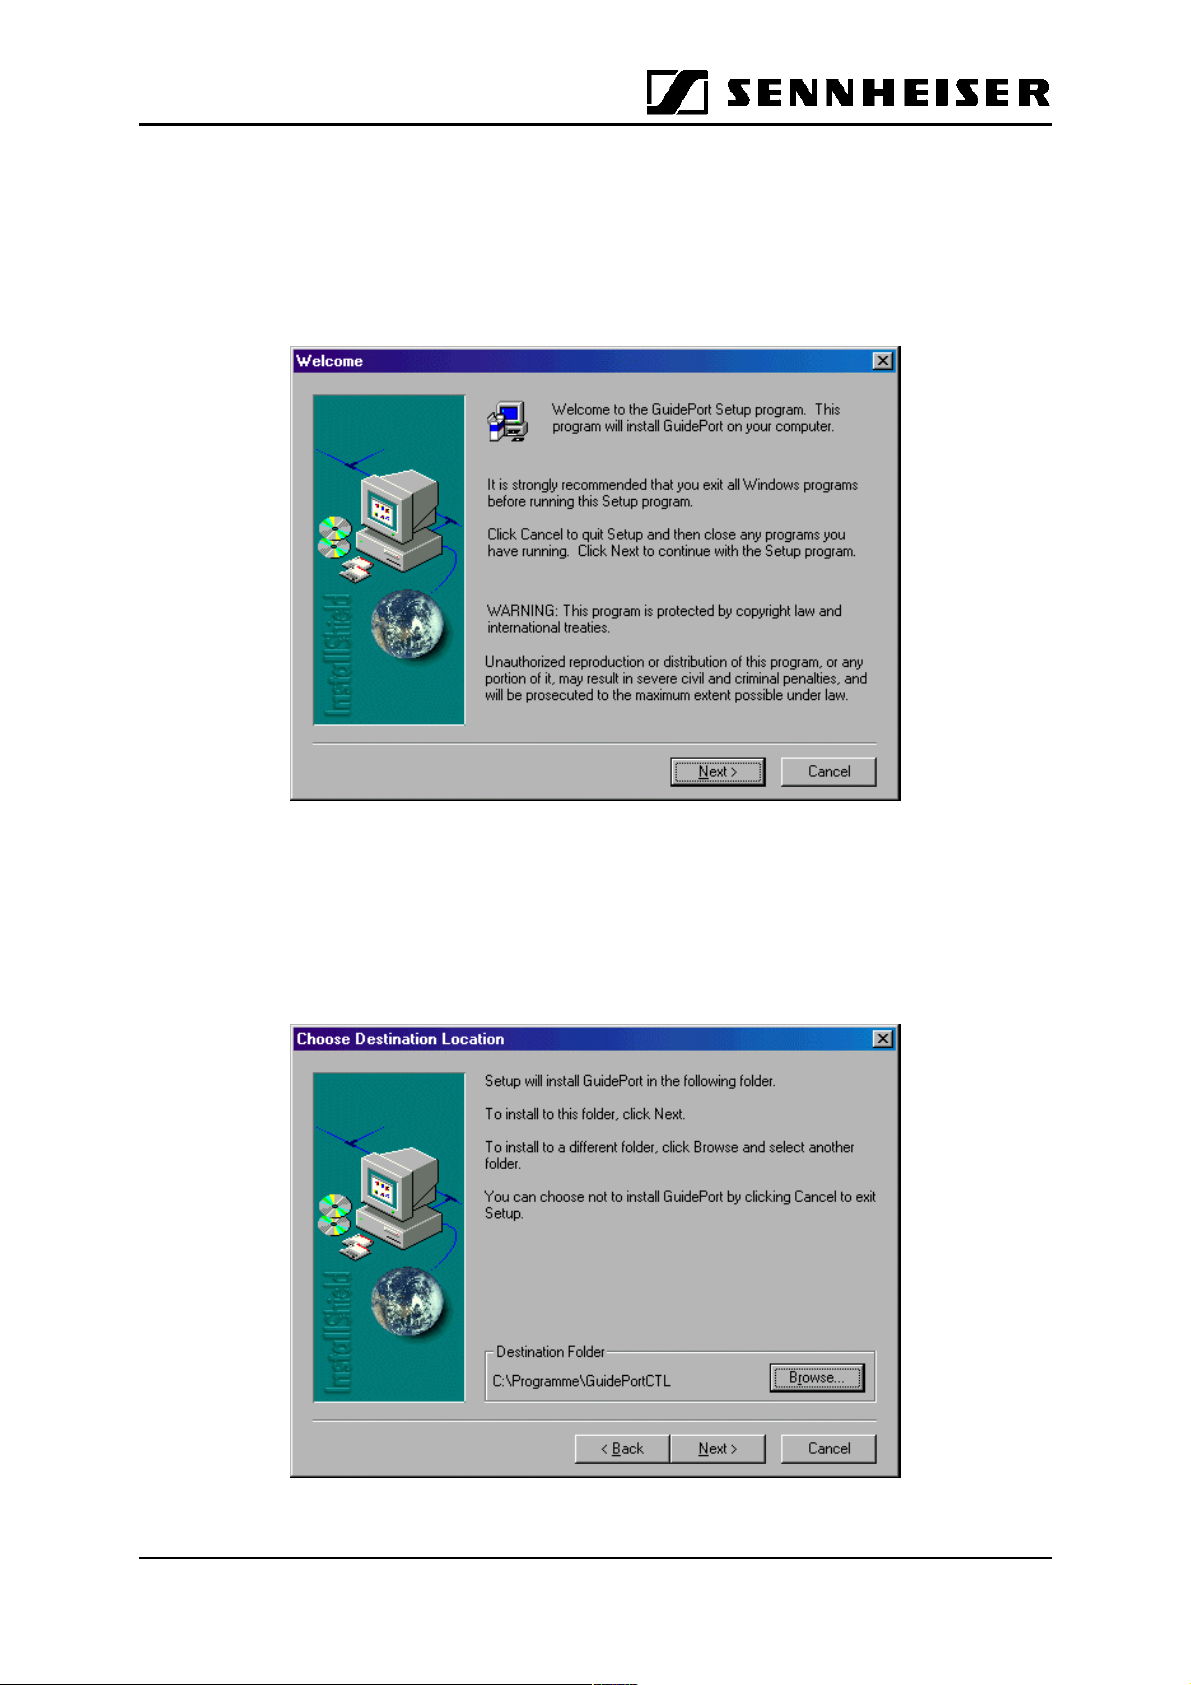
• Insert the „Cell Transmitter Loader“ disk and run „setup.exe“ to install the
Cell Transmitter Loader Software on your Base Station PC. The following
screen will be shown:
• Click [Next] to continue installation.
• The InstallShield assistant will suggest a destination directory where to
install the program files. You may either accept the proposed path or click
[Browse] to choose a different path. Please make a note of the path as you
will need it later for setting up the cell transmitters.
GuidePort: Software Description 27. Juli 2000 Seite 4
Page 5
Installation will then continue. The Shield assistant will close automatically when the
program has been installed.
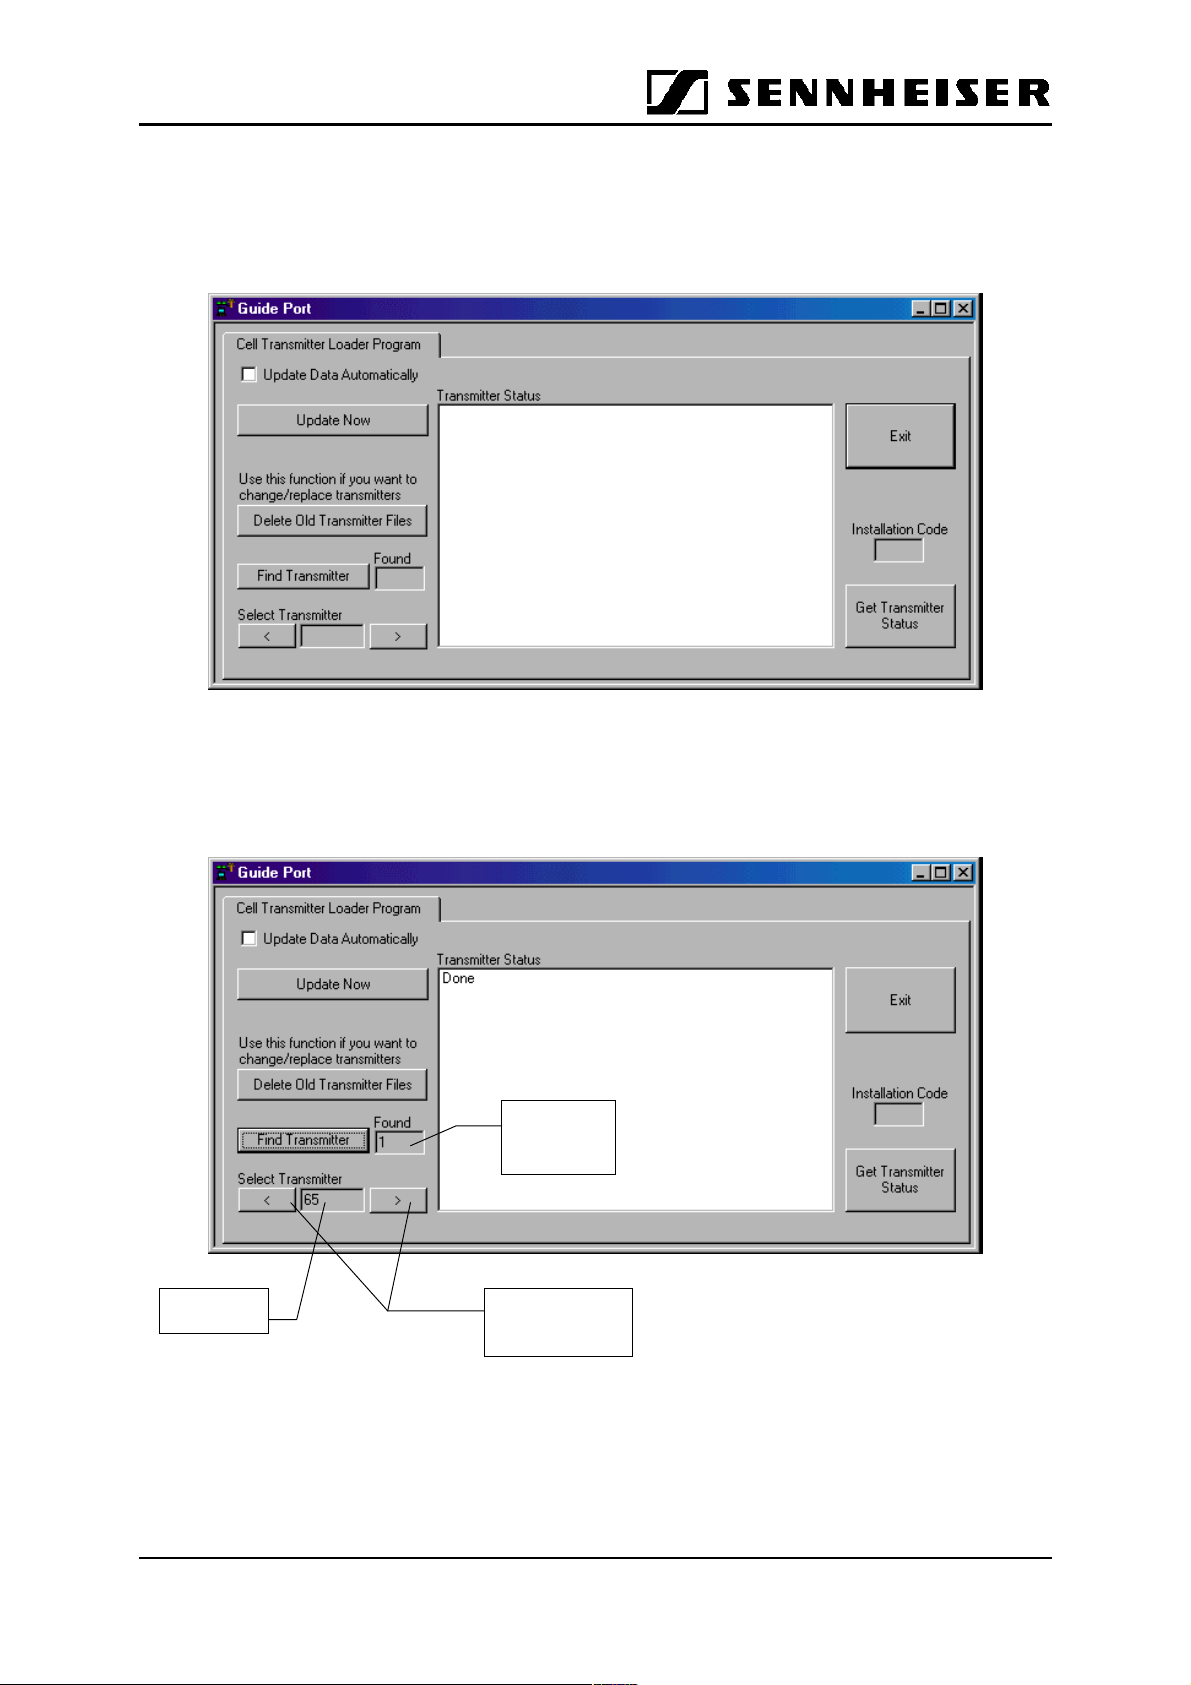
• Now start the Cell Transmitter Loader program from the program directory
of the Windows 98™ start menu. The following window will be displayed:
• Switch on all Cell Transmitters connected to your Base Station PC. Click
[Find Transmitter] to locate the transmitters. The number and IDs of all
transmitters found will be displayed:
Number of
transmitters
found
Transmitter
ID
Buttons for
selecting for a
transmitter
GuidePort: Software Description 27. Juli 2000 Seite 5
Page 6
The Cell Transmitter Loader Software will create a „TXxxxxxx.ini“ file in its
destination path for every transmitter it has found. These files will be used later for
configuring the transmitters with the Central Unit Software.
Now you have to install the Central Unit Software on your Central Unit PC.
N.B.: Instead of a local area network solution with separate Central Unit PC and
Base Station PC, you can also work with only one PC or laptop computer with
Windows 98™ and a USB connector.
3 Central Unit PC
The Central Unit PC is at the heart of the GuidePort system. It serves to configure
the entire GuidePort installation with its cells, transmitters, events and identifiers.
3.1 Central Unit Software
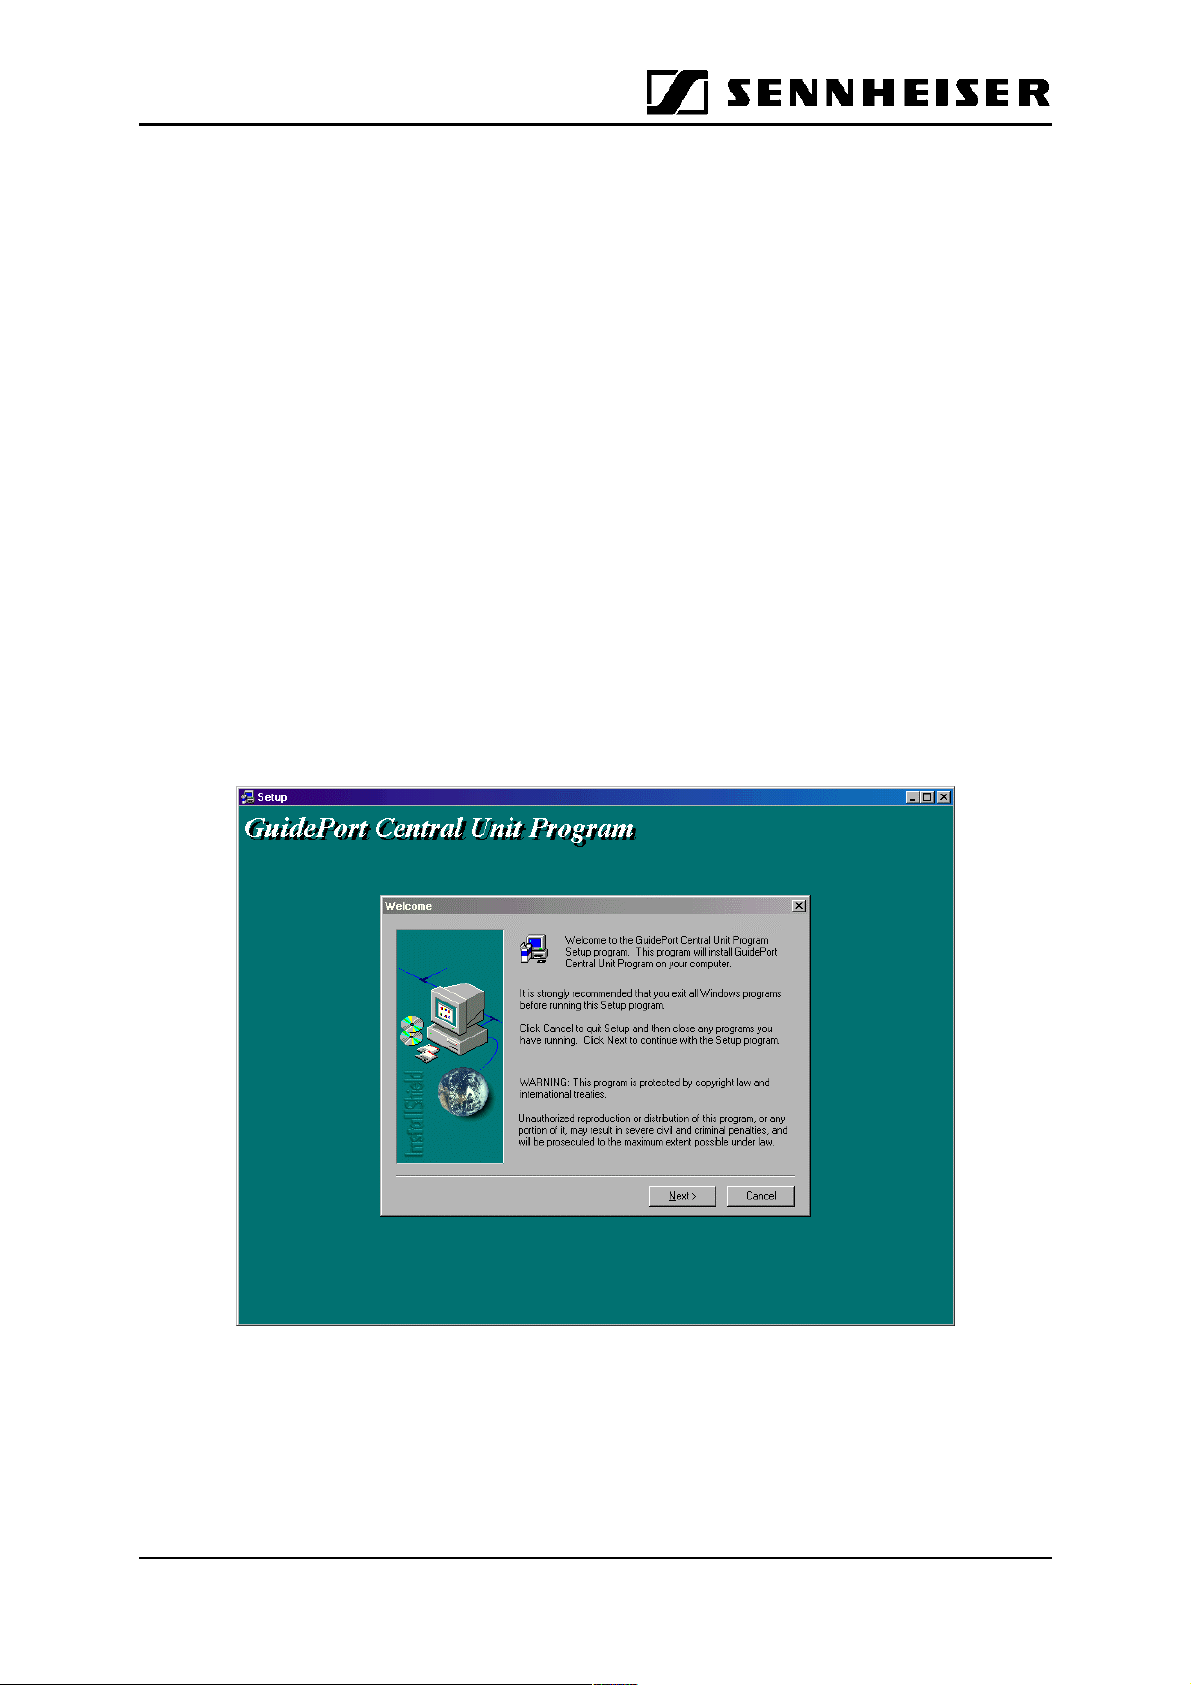
• Insert the „Central Unit Software“ disk and run „setup.exe“ to install the
program on your Central Unit PC. The following screen will be shown:
• The InstallShield assistant will then suggest a destination directory where
to install the program files. You may accept the proposed path or click
[Browse] to choose a different directory.
• In order to run the Central Unit Software, you now have to install the
GuidePort database driver.
GuidePort: Software Description 27. Juli 2000 Seite 6
Page 7

3.2 Database Driver
• Insert the first disk of „GuidePort Database Driver Ver. 3.5“ and start
„Setup.exe“ to install the driver. The following window will be displayed:
• Select both items and click [Next] to continue. The next window contains
additional, optional data formats:
• Select all formats and click [Next] to start the installation.
• When the program asks for disks 2 and 3, insert the respective disk and
click [OK] to continue installation.
• When the installation has been completed a message will be displayed.
Click [OK] to leave the InstallShield assistant.
GuidePort: Software Description 27. Juli 2000 Seite 7
Page 8

3.3 Palmtop Software
To complete the configuration of your GuidePort installation, install the identifier
programming software on your 3Com Palm IIIx or PalmV.
• First install the Palm™ Desktop Organizer Software as described in the
palmtop’s manual.
• The GuidePort.prc application is contained on the „GP Palmtop Software“
disk. The installation of an application program is described in the
palmtop’s manual, too.
GuidePort: Software Description 27. Juli 2000 Seite 8
Page 9

4 Creating a GuidePort Installation for Your Exhibition
• Start the Central Unit Program on your Central Unit PC. The following
screen will be shown:
1) First select an „Administration No.“ for your installation. Three different
installations are possible (Administration Nos. 1 to 3)
2) Enter the number of audio sources, classifying them into „Stereo Events“
and „Mono Events“. The program will automatically calculate the number of
transmitters required.
3) Enter a name for your first cell under „Cell Editor“.
4) [Add to List] will add this Cell Name to the Cell List.
5) Continue with steps 3) – 5) until every cell of your installation is on the Cell
List.
Example of a cell list:
GuidePort: Software Description 27. Juli 2000 Seite 9
Page 10

Now go to the „Cell Transmitters“ page to assign transmitters to your cells.
1. First select a cell from the „Cell“ drop-down list.
GuidePort: Software Description 27. Juli 2000 Seite 10
Page 11

2. Then click [Select Cell Transmitter]. A window will open; select the directory
into which the transmitter files (TXxxxxxx.ini) were copied during the
installation of the Cell Transmitter Loader Software.
3. Select the desired „TXxxxxxx.ini“ and click [Öffnen] to add the Cell
Transmitter and its address to the list of „Cell Transmitters“.
4. Back on the Cell Transmitters page, under „Active antenna“, select a
channel for the chosen transmitter („Channel“: 1-94), choose the desired
antenna power („Power“: 100%, 50%, 25%) and select the type of antenna
used („Antenna“: Internal Chip Antenna, External Antenna).
5. Then click [Add to List] to include the transmitter and its data on the list.
„-> COF“ behind a cell transmitter indicates that its configuration has not yet
been completed.
GuidePort: Software Description 27. Juli 2000 Seite 11
Page 12

6. Repeat steps 2 to 5 until all transmitters for this cell have been added to the
list.
7. Then select the next cell and add transmitters as described above.
GuidePort: Software Description 27. Juli 2000 Seite 12
Page 13

Now go to the Events page. Here, you can define which audio events are to be
emitted by which transmitter.
1. First select a cell from the drop-down list „Cell“.
2. Then select the transmitter you want to assign the events to from the „Cell
Transmitter“ drop-down list.
3. Enter the name of the event to be added into the field „Input Events“.
4. Select the audio mode of this event from the „Mode“ list.
GuidePort: Software Description 27. Juli 2000 Seite 13
Page 14

5. Then choose the audio input(s) („AF IN“) for this event; inputs 1&2 or 3&4
for a stereo event; input 1,2,3 or 4 for a mono event).
6. The event „ID“ will be assigned automatically.
7. Click [Add Event] to include the event on the Events list of this transmitter.
One transmitter can be given 4 mono events, 2 stereo events or 1 stereo
event and 2 mono events.
8. When you have assigned all events to your cell transmitters, click [Create
Output Files] to create the configuration files for all transmitters. „->COF“
behind the transmitter names will change to „OK“. If the creation of output
files has not been successfully completed for some transmitters,
„->ERROR“ will be displayed after the transmitter name. To get more
detailed information about such an error, change to the Cell Transmitters
page and click the transmitter in question. An error message will be
displayed.
GuidePort will save the configuration files on the Base Station PC(s)
(destination path of the Central Loader Software).
GuidePort: Software Description 27. Juli 2000 Seite 14
Page 15

9. When all transmitters have been successfully assigned to their cells, the
status info at the top right „The creation of output files has not yet been
completed“ will change to „Creation of output files completed“.
10.When the output files have been generated, the program will automatically
create an installation code for this specific installation.
Now go to the Identifiers page. Here, you have to enter the parameters for the
magnetic field identifiers. The identifiers are installed near the exhibits (events) to
trigger the associated audio information.
GuidePort: Software Description 27. Juli 2000 Seite 15
Page 16

1. First select a cell. All events in this cell will be displayed on a list.
2. Select an event name from the list.
3. Choose the „Antenna“ to be used (internal ferrit antenna or external loop
antenna), the „Power“ required (from 10% to 100%, adjustable in steps of
10%) and the „Cycle“, i.e. the time after which the identifier signal is to be
repeated, adjustable from 0.5s to 1s in steps of 0.05s)
4. Use the [+] and [–] buttons under „Start“ and „Stop“ to enter the starting
time and end of identifier transmission, for example from 7 a.m. until 6 p.m.
The below screenshot shows a complete list:
Now you need to transmit the identifier parameters to the palmtop. The palmtop will
enable you to program the magnetic field identifiers.
1. Start the GuidePort application on your palmtop.
2. Put the palmtop into the docking station connected to your Central Unit
PC. N.B.: The desktop organizer software of your palmtop has to be
closed before transmission can start!
3. Select the main menu of the GuidePort application on your palmtop. Then
choose „Read Database“ from the „File“ menu.
Now click [Transfer Data] on the „Identifiers“ page of the „GuidePort Central Unit“
software to transfer the identifier parameters to the palmtop. The following window
will be displayed:
GuidePort: Software Description 27. Juli 2000 Seite 16
Page 17

Select the COM interface to which the docking station of the PalmPilot is
connected and click [Send Data to Palmtop]. When the identifier data has
been transmitted successfully, both the Central Unit PC and the palmtop
will display a message. Click [OK] to end the transmission between the
Central Unit PC and the palmtop.
GuidePort: Software Description 27. Juli 2000 Seite 17
Page 18

5 Announcements
The Announcements page serves to integrate standard announcements into the
audio database of your exhibition. Your announcements should be available as
Wave (.wav) files. Use recordings with a sampling rate of 32 kHz; 16 bits per sample;
mono; PCM format. You can create a Wave file with, for example, an audio recording
program using your PC’s sound card and a suitable microphone.
1. First compress your Wave file by clicking [Audio Conversion]. The file will be
converted to G722++, a format that is suitable for downloading to a transmitter.
2. Click [Select Announcement] to select a converted file for downloading.
3. If you want the Announcement to be repeated; click [>] under „Loop“. Up to five
repetitions are possible.
4. To play the selected Announcement click „Start Announcement“. Please wait until
all transmitters have finished sending the announcement to the receivers before
you make a new announcement.
GuidePort: Software Description 27. Juli 2000 Seite 18
Page 19

6 Downloading the Configuration Files to the GuidePort
Transmitters
1. To download the configuration files, start the „Cell Transmitter Loader“
program and click [Find Transmitter]. The number and IDs of the
transmitters found will be displayed.
2. A) Manual Downloading
Select the first transmitter and click [Update Now] for downloading the
configuration files to this cell transmitter. A message in the „Transmitter
Status“ window will inform you about the downloading process. When the
information „READY“ is shown, select the next transmitter and continue
downloading until every transmitter has been configured.
B) Automatic Downloading
By checking (ticking) the box [Update Data Automatically], the data will be
downloaded immediately after a transmitter has been selected.
GuidePort: Software Description 27. Juli 2000 Seite 19
 Loading...