

Quick Installation Guide
CAP7250AG/CAP7252AG/CAP7253AG
Wireless-AC+ABGN Long Range Ceiling Mount Dual Concurrent AP
Please verify contents of the box before continuing to set up the CAP7250AG/CAP7252AG/CAP7253AG.
CAP7250AG/CAP7252AG/CAP7253AG Access Point
12V/2A 100V~240V Power Adaptor
Mounting Bracket
Wall/Ceiling Mounting Hardware Kit
T-Rail Mounting Hardware Kit
*CAP7250AGis3x3concurrent3x3MIMOaccesspoint
*CAP7252AGis2x2MIMOinternalANTaccesspoint
*CAP7253AGis2x2MIMOexternalANTaccesspoint
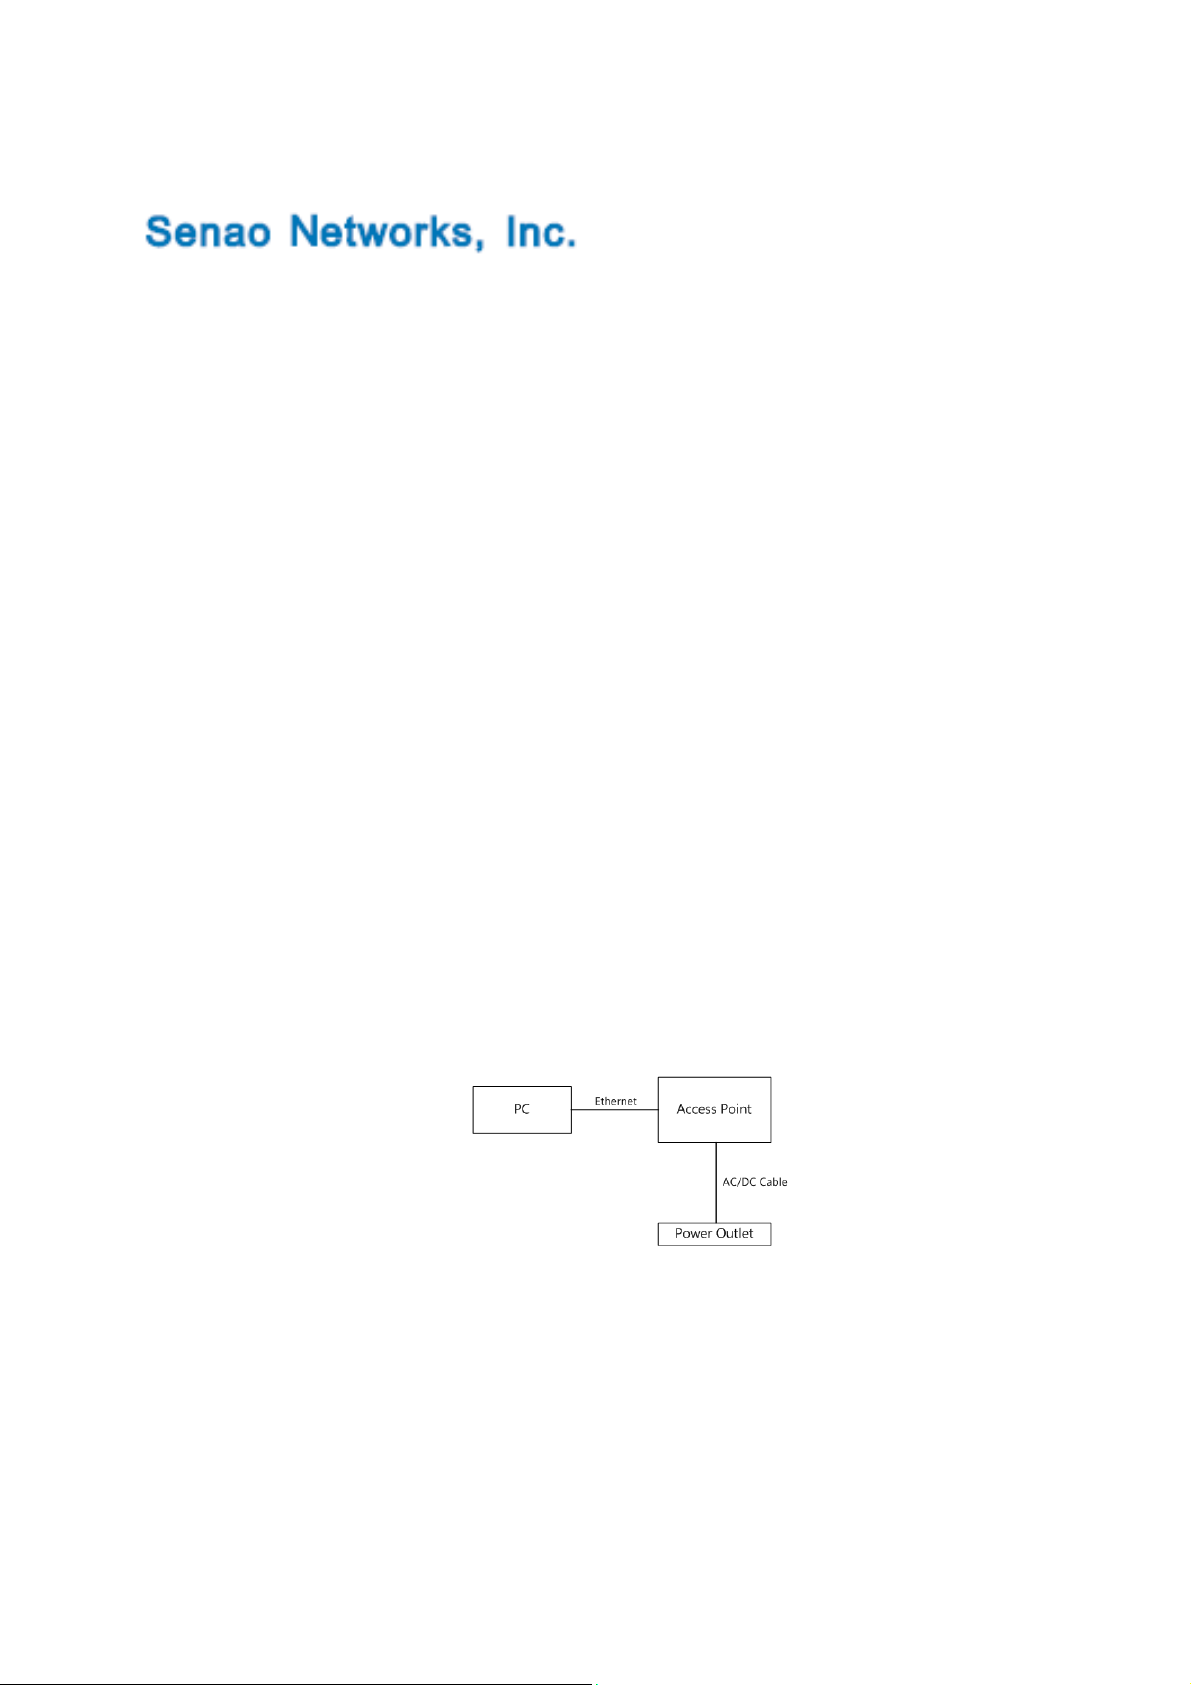
Connecting the CAP7250AG/CAP7252AG/CAP7253AG
1) Ensure that the computer in use has an Ethernet Card (RJ-45 Ethernet Port). For more information,
verify with User Manual.
2) Connect one end of the Category 5e Ethernet cable into RJ-45 port of the
CAP7250AG/CAP7252AG/CAP7253AG and the other end to the RJ-45 port on the computer that
will use the CAP7250AG/CAP7252AG/CAP7253AG. Ensure that the cable is securely connected to
both the CAP7250AG/CAP7252AG/CAP7253AG and the Computer.
3) Connect the Power DC Inlet to the DC-IN port of the CAP7250AG/CAP7252AG/CAP7253AG and
the Power to the electrical out.
Note: CAP7250AG/CAP7252AG/CAP7253AG supports both IEEE 802.3at PoE(Power over Ethernet) and
regular power adapter. You should use either one as the power source. Please do not apply both at the
same time.
IP address configuration
1) After ensuring the EnGenius device is powered on and plugged in, ensure that your computer is
on.
2) For the next steps, refer to your Operating System User Manual.
3) Once your computer is on, ensure that your TCP/IP is set to On or Enabled. (In the control panel,
double click Network Connections and then double click on the connection of your Network
Interface Card (NIC). Select Internet Protocol (TCP/IP) and then click on the Properties button.)
4) If your PC is already on a computer network, ensure that you have set it to a Static IP Address on
the interface (or Ethernet card that will use the CAP7250AG/CAP7252AG/CAP7253AG) as
192.168.1.21 and the Subnet Mask address as 255.255.255.0. (Select Use the following IP
Address radio button). Once the computer has been prepared, proceed to setting up the
CAP7250AG/CAP7252AG/CAP7253AG.
CAP7250AG/CAP7252AG/CAP7253AG Setup
1) To configure CAP7250AG/CAP7252AG/CAP7253AG, open a web browser (example: Microsoft
Internet Explorer, Mozilla Firefox, Google Chrome, etc.).
2) In the address bar of the web browser, enter 192.168.1.2 (the default IP address of the
CAP7250AG/CAP7252AG/CAP7253AG) and hit enter.
http://192.168.1.2
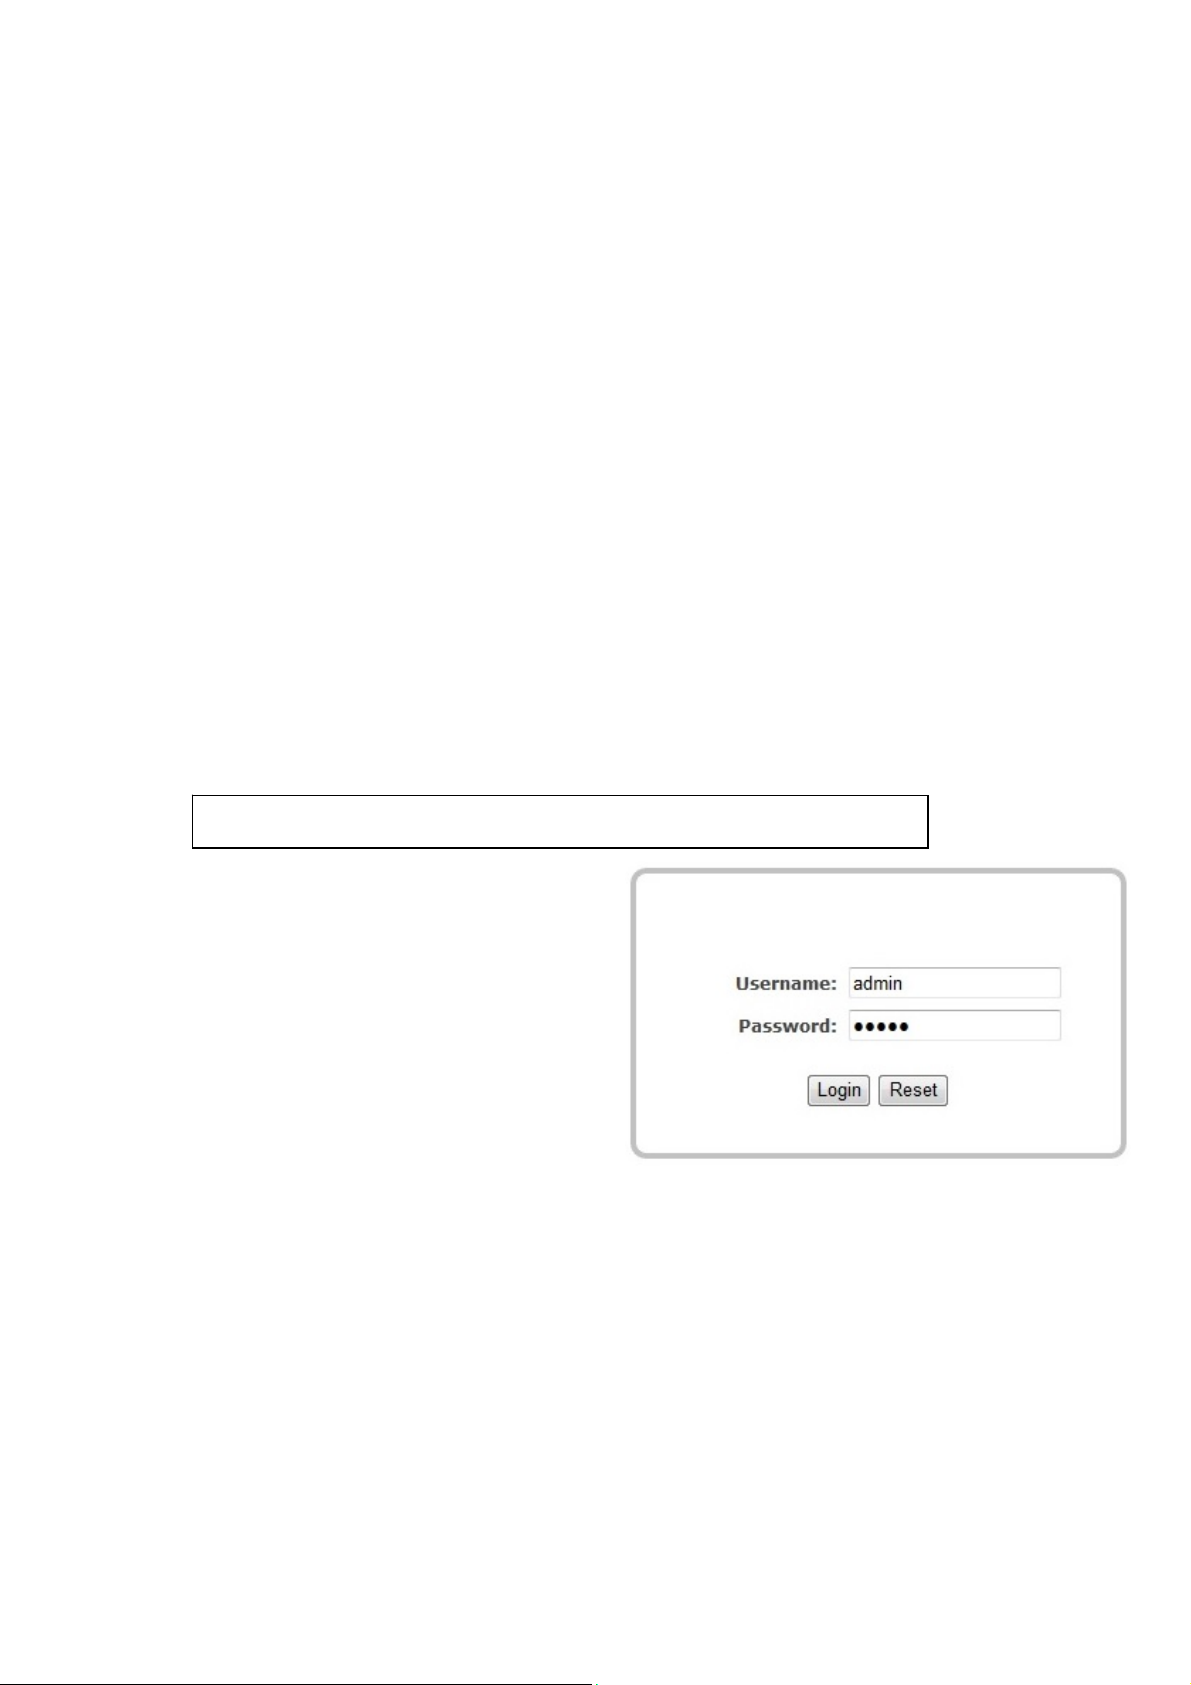
3) A login screen will appear. By default, the
username of the
CAP7250AG/CAP7252AG/CAP7253AG is
admin and the password is admin. Enter the
current username and password of the
CAP7250AG/CAP7252AG/CAP7253AG and
then click Login. Refer to the
CAP7250AG/CAP7252AG/CAP7253AG user
manual on how to change the username and
password.
4) After clicking Login with the correct username
and password, the
CAP7250AG/CAP7252AG/CAP7253AG Main Menu will appear. If you are successful, proceed to
setting up the wireless connection.
 Loading...