

Seiko LSC-8BV-1.8BLV-1, LSC-8B-I.8BL-1, LSC-8BH-I.8BLH-I Operating Instructions Manual
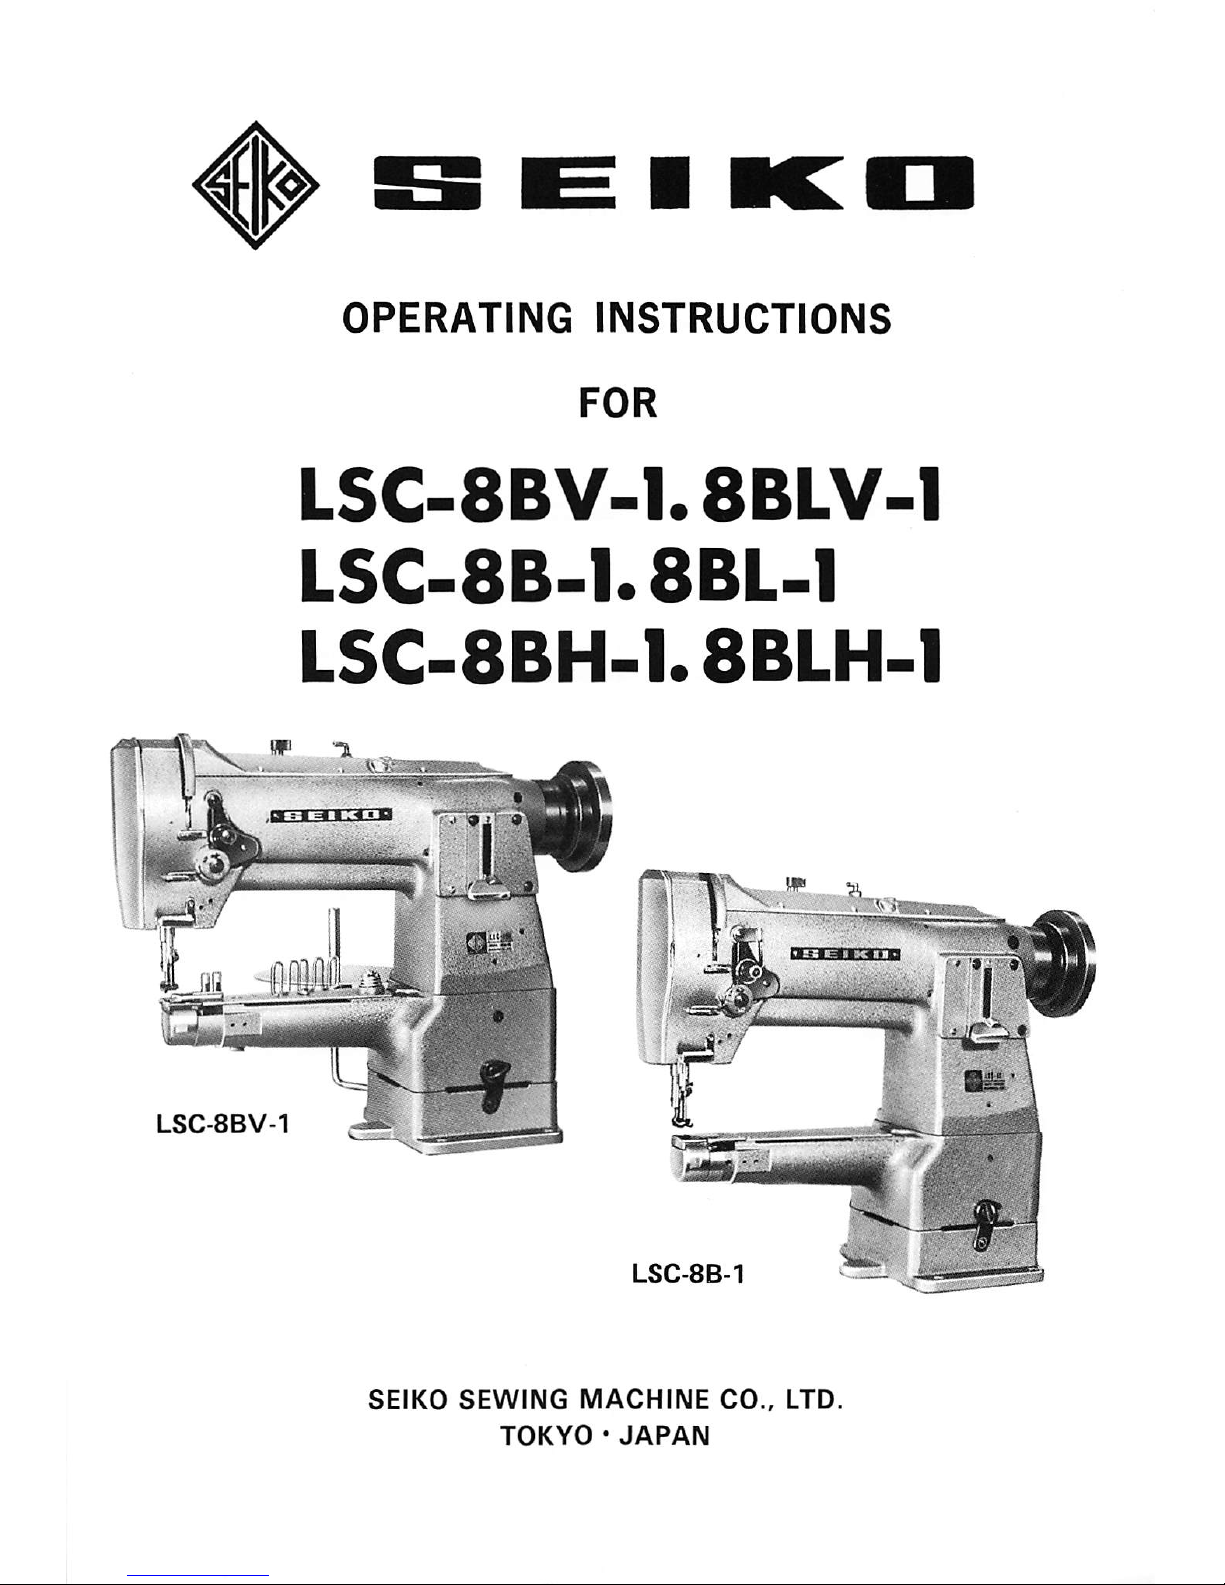
LSC-8BV-1
OPERATING
INSTRUCTIONS
FOR
LSC-8BV-1.8BLV-1
LSC-8B-I.8BL-1
LSC-8BH-I.8BLH-I
as
E ( K
II
LSC-8B-1
SEIKO
SEWING
MACHINE
CO.,
LTD.
TOKYO•JAPAN

INSTRUCTIONS
FOR
SEIKO
MODEL
LSC
TYPE
INDUSTRIAL
SEWING
MACHINES
This
is a
guidetouseofSEIKO
model
LSC
type
industrial
sewing
machines
under
the
best
condition.
SEIKO
LSC series are a single needle, lock-stitching, needle,
upper&lower
feed, reverse feed, semi-automatic lubrication
system,
cylinder
bed sewing
machine.
Please read
this
guide
thoroughlysothat
you
may
expect
good
performance.
Specifications
Model
LSC-8BV-1
LSC-8BLV-1
LSC-8B-1
LSC-8BL-1
LSC-8BH-1
LSC-8BLH-1
Speed
(s.p.m.)
2,500
2,200
2,300
2,200
2,500
2,200
Needle
DPx
17
Standard
^16
Standard
#16
Standard
#18
Standard
#18
Standard
#16
Standard
#16
Hook
Rotary
Standard
Large
Standard
Large
Standard
Large
Stitch
Length (Max.) 6
mm
7
mm
6
mm
7
mm
6
mm
7
mm
Presser
Foot
Alternating
pressers
Presser Lift
Up/Down
Moving
Amount
3 — 6
mm
Presser
Lift
8mm(by
lever)
Needle
Bar
Stroke
33.2
mm
Thread
Take
Up
Slide
motion
type
Thread
TakeUpStroke
57.5
mm
67
mm
57.5
mm
67
mm
57.5
mm
67
mm
Diameter of Cylinder Bed
46
mm
50
mm
46
mm
50
mm
46
mm
50
mm
Working
Space
258mmx
110
mm
Weight
29kg(with
base)
Motor
250
W •2PClutch
Motor
Thread
Synthetic
Use: All kinds of work In the clothing, footwear, upholstery, leather industry such as shoes, canvas
products, dress shields, sleeve, sandals, gloves, sports goods, especially. Model LSC-8BV-1 &
LSC-8BLV-1
are suitable for various kinds of tape stitching with a edge binder which is interchange
able
without
having any
alternationtoany
other
parts.

1
—
INDEX
CONTENTS
Page
Setting up
the
machine 2
Oiling 2 —3
Oil
adjustment
3
Needle
4
Thread
4
Winding
bobbin
5
Adjustment
of
the
bobbin
winder
5
Inserting and removing
the
bobbin
6
Threading
the
machine
7
Regulating
the
thread
tension 7
Regulating
the
pressureongoods 8
Adjusting the stitch length and reverse stitch 9
Adjusting the liftofthe alternating presser feet 9
Instructions
for
LSC-8BV-1
and
8BLV-1
10
INFORMATION
FOR
ADJUSTMENT
Adjusting
the
heightofthe
feed dog 11
Adjusting
the
timingofthe
needle plate, needle and feeder 11 —12
Adjusting
the
heightofthe
needle
bar
12
Timing between
the
needle and the hook 13
Timing between the needle and the feeder 14
Adjusting the heightofthe
presser feet
14—15
Timingofthe vibrating presser foot 15
Adjusting
the
thread controller spring 16

SETTING UP THE MACHINE (Fig. 1)
»
Before
setting
up
the
machine
on
the
table,
attach
the
relative
parts
to
the
table.
(1) Stand (2) Motor
(4) Cotton stand (5) Tape stand (only
LSC-8BV-1,
(7) Knee lifter
8BLV-1)
and Machine base
(9) V shape belt (10) Bobbin winder
if
(3) Treadle
(6) Machine head
(8) Chain
Fig. 1
OILING AND ITS
ADJUSTMENT
(Fig.
2)
* Do
not
operate
the
machine,
eveniffor
testing,
unlessithas
been
pro
perly
oiled.
To
fill
the
oil
reservoir
on
the
topofthe
machine,
pour
oil
through
the
oil filler hole (A), until oil level
reaches
to
the
upper
reference
line (B).
♦
Oilingisautomatically
made
by
the
vibrationofthe
machine
while
sew
ing
operation
through
the
oiling
wicks
in
the
machine,
and
oil flow
stops
automatically
when
the
operation
of
the
machine
ends.
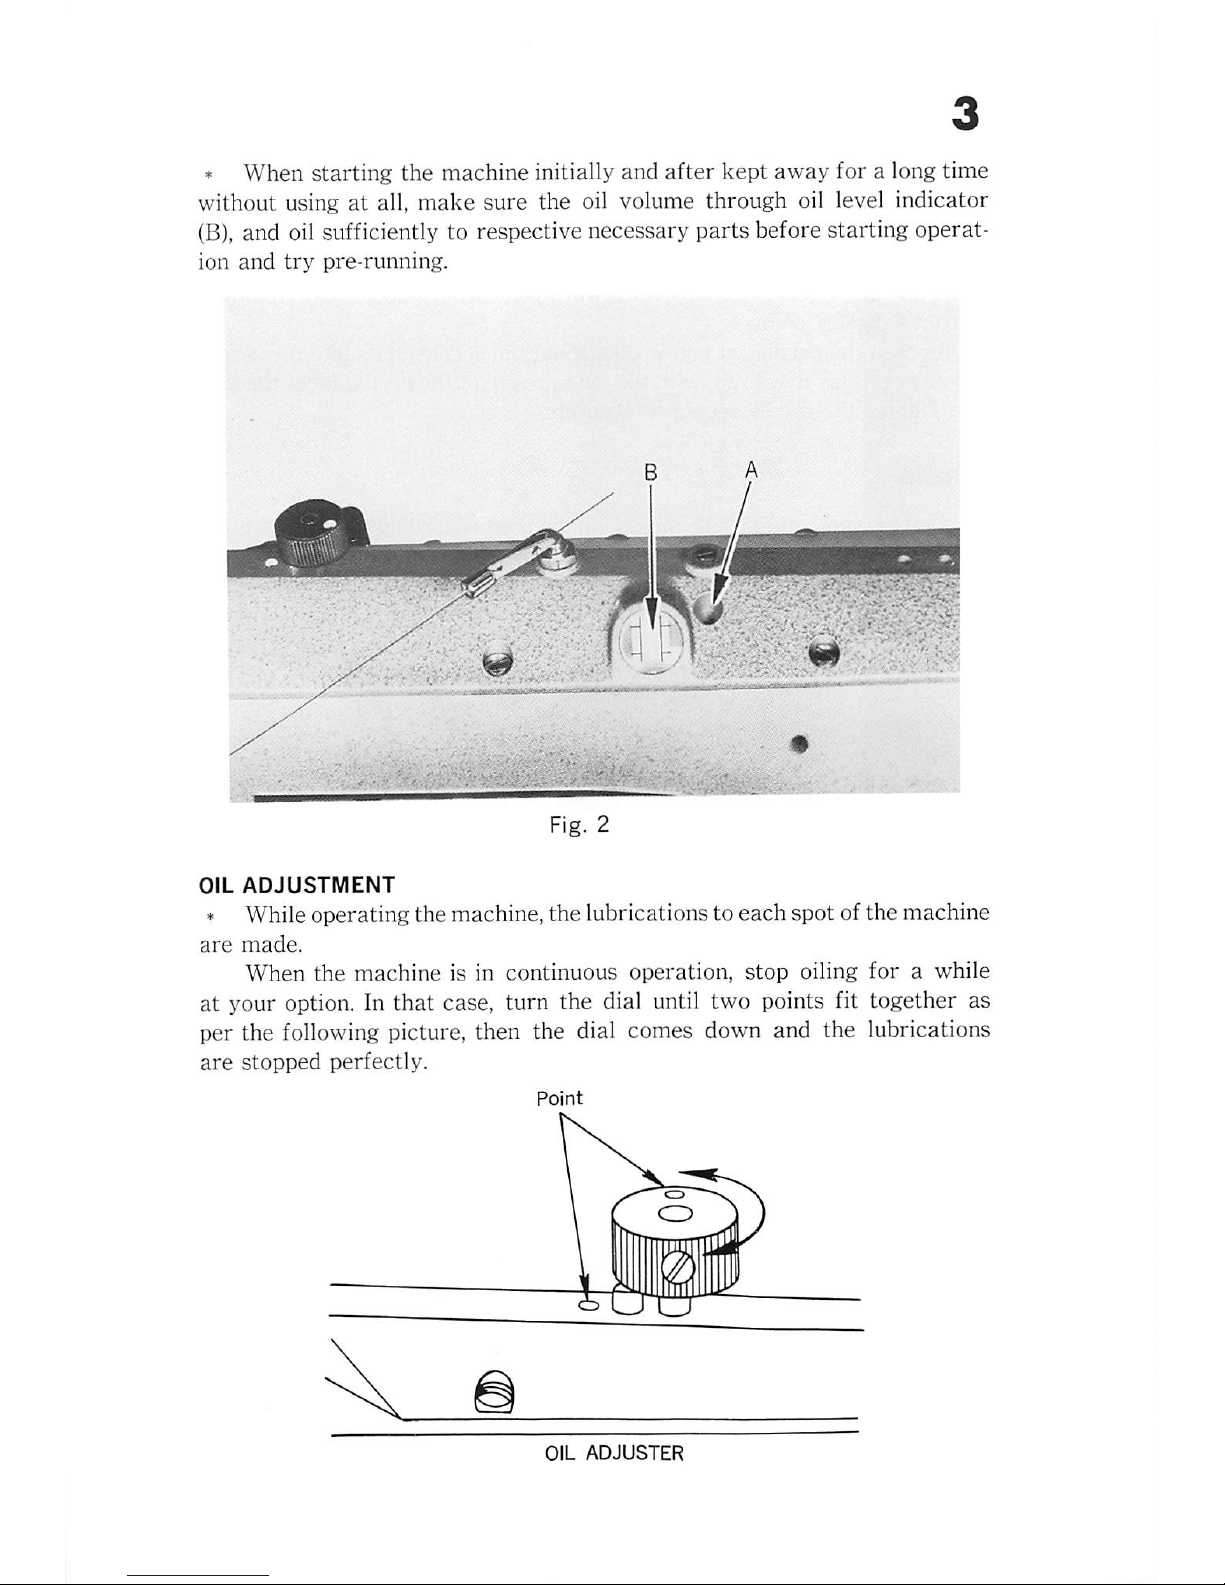
» When
starting
the machine initially and
after
kept
away for a long time
without using
at
all,
make
sure the oil volume through oil level indicator
(B),
and oil sufficiently to respective necessary
parts
before
starting
operat
ion
and
try
pre-running.
OIL
ADJUSTMENT
><•
While operating the machine, the lubrications to each spot ofthe machine
are
made.
When
the
machine
is in
continuous
operation,
stop
oiling
forawhile
at your option. In
that
case, turn the dial until two points fit together as
per the following picture, then the dial comes down and the lubrications
are
stopped
perfectly.
OIL
ADJUSTER
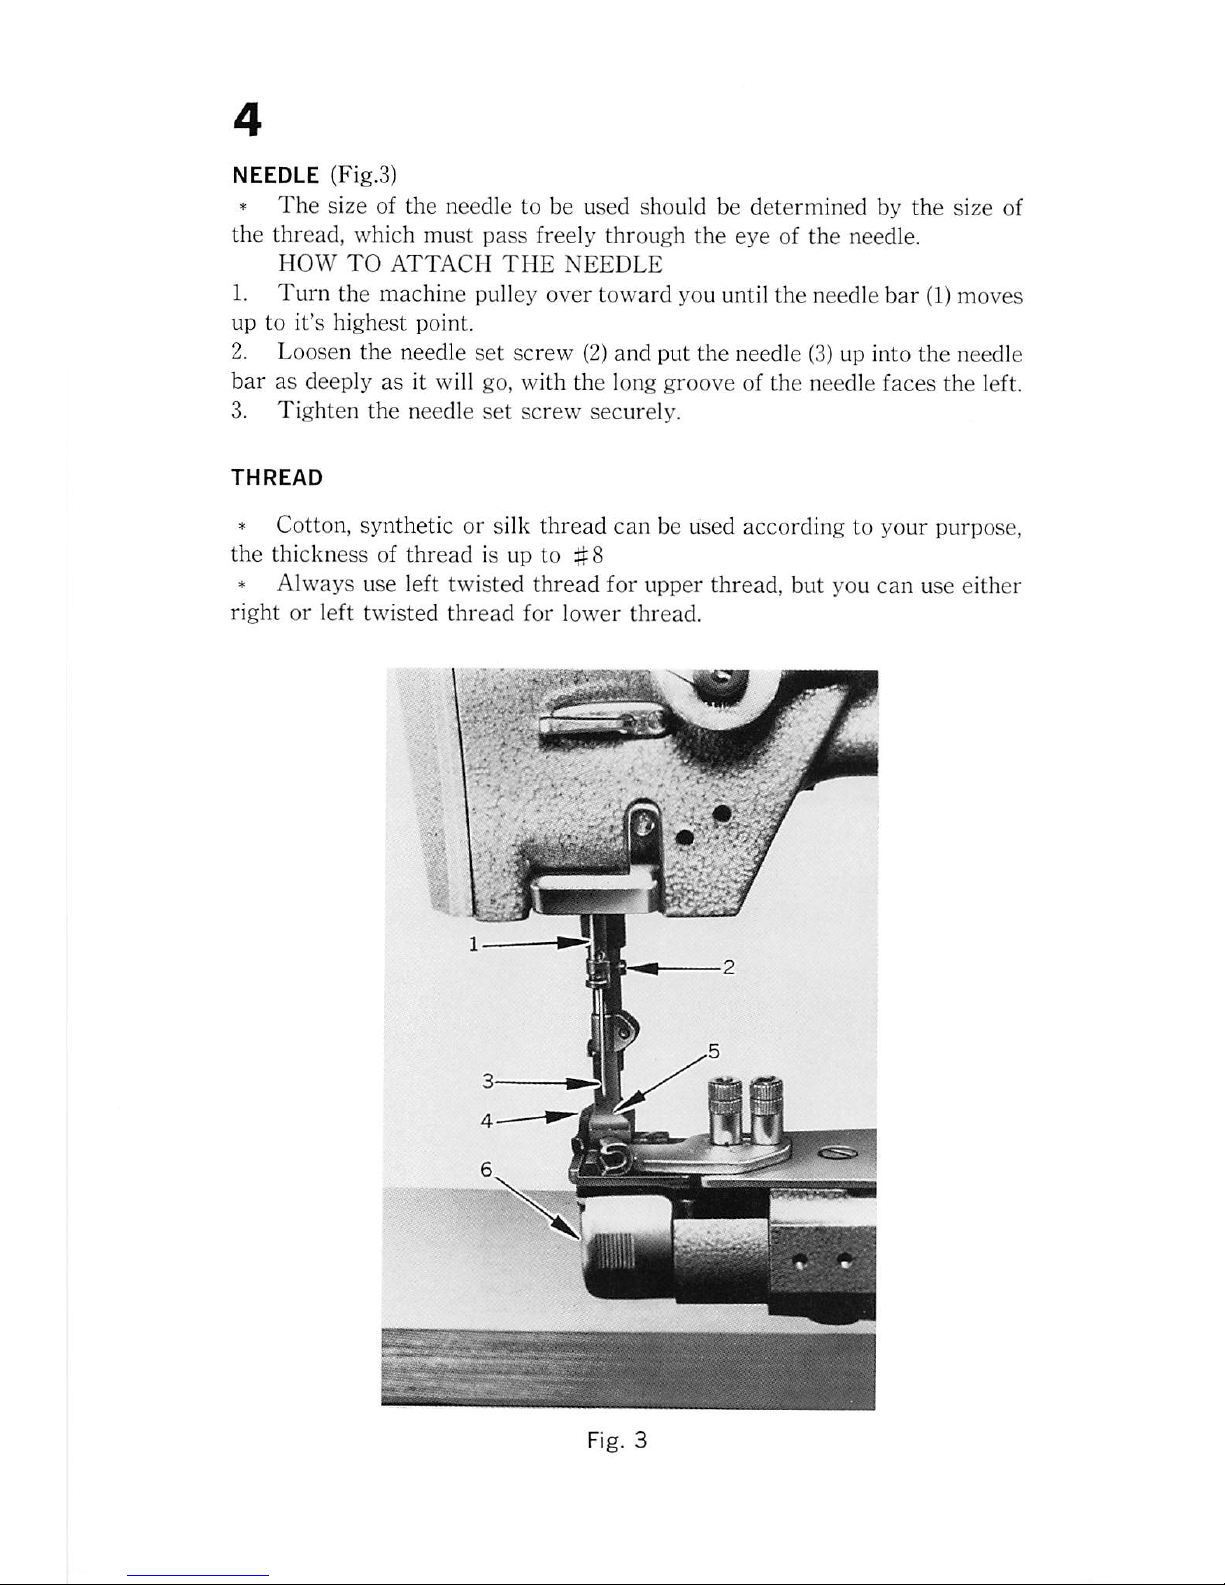
NEEDLE {Fig.3)
*
The
size of the needle to be used should be
determined
by
the
size of
the
thread,
which
must
pass
freely
through
the
eyeofthe
needle.
HOW
TO
ATTACH
THE
NEEDLE
1.
Turn
the
machine
pulley
over
toward
you
until
the
needle
bar
(1)
moves
uptoit's
highest
point.
2. Loosen the needle
set
screw
(2)
and
put
the
needle (3) up into
the
needle
bar
as deeply as it will go,
with
the
long groove of
the
needle faces
the
left.
3.
Tighten
the
needle
set
screw
securely.
THREAD
* Cotton, synthetic or silk
thread
can
be used according to your purpose,
the
thickness
of
thread
is
up
to
#8
* Always use left
twisted
thread
for upper thread, but you
can
use
either
right
or
left
twisted
thread
for
lower
thread.
 Loading...