

Seeley BreezeAir ILL239-D, BreezeAir ILL1140-A Owner's Manual
(English) (EA, EXH, EZH)
OWNER’S MANUAL
Evaporative Cooler
AUTO COOL
PM
FAN
SPEED
ECONOMY
REMOTE CONTROL
ILL239-D
ILL1140-A
®

Hello and congratulations on
purchasing a Breezair Ducted Cooler
for your home.
Breezair coolers have been designed
to provide quiet, reliable and cool
comfort.
At Seeley International we
manufacture Breezair evaporative
coolers from the highest quality
materials, and we have designed the
product to provide many years of
economical, trouble free cooling.
Please take a few moments to read
these operating instructions, so that
the most can be gained from this
investment.
Breezair coolers are fitted with either
a Wall Mounted Thermostat Control or
a Remote Thermostat Control. Please
refer to the relevant section in this
manual for instructions on how to
operate either system. Also, please
be aware of the components and
features that are fitted to your
particular cooler.
®
®
®
®
Keep these instructions in a safe
place for future reference.
The appliance is not intended for use
by persons (including children) with
reduced physical, sensory or mental
capabilities, or lack of experience and
knowledge, unless they have been
given supervision or instruction
concerning the use of the appliance
by a person responsible for their
safety.
EFFECTIVE COOLING
Important Notes!
To provide efficient cooling or
ventilation the building must have
sufficient exhaust openings to the
outside of the building. To assist
air flow, open windows and doors
that are farthest from the outlet
vent in each room. In these rooms,
provide an exhaust opening about
2 times the vent size of the room.
Where the design of the building
prevents adequate exhaust,
consideration should be given to
the provision of mechanical
extractions, such as an exhaust
fan.
In areas where temperatures can
cause water supply pipes to
freeze, a drain down facility should
be provided during the installation.
This drain down facility must be
activated prior to freezing
conditions, to avoid possible
damage to the cooler components.
If the supply cord is damaged, it
must be replaced with a special
cord available from the
manufacturer or its service agents.
®
2
Evaporative Cooler
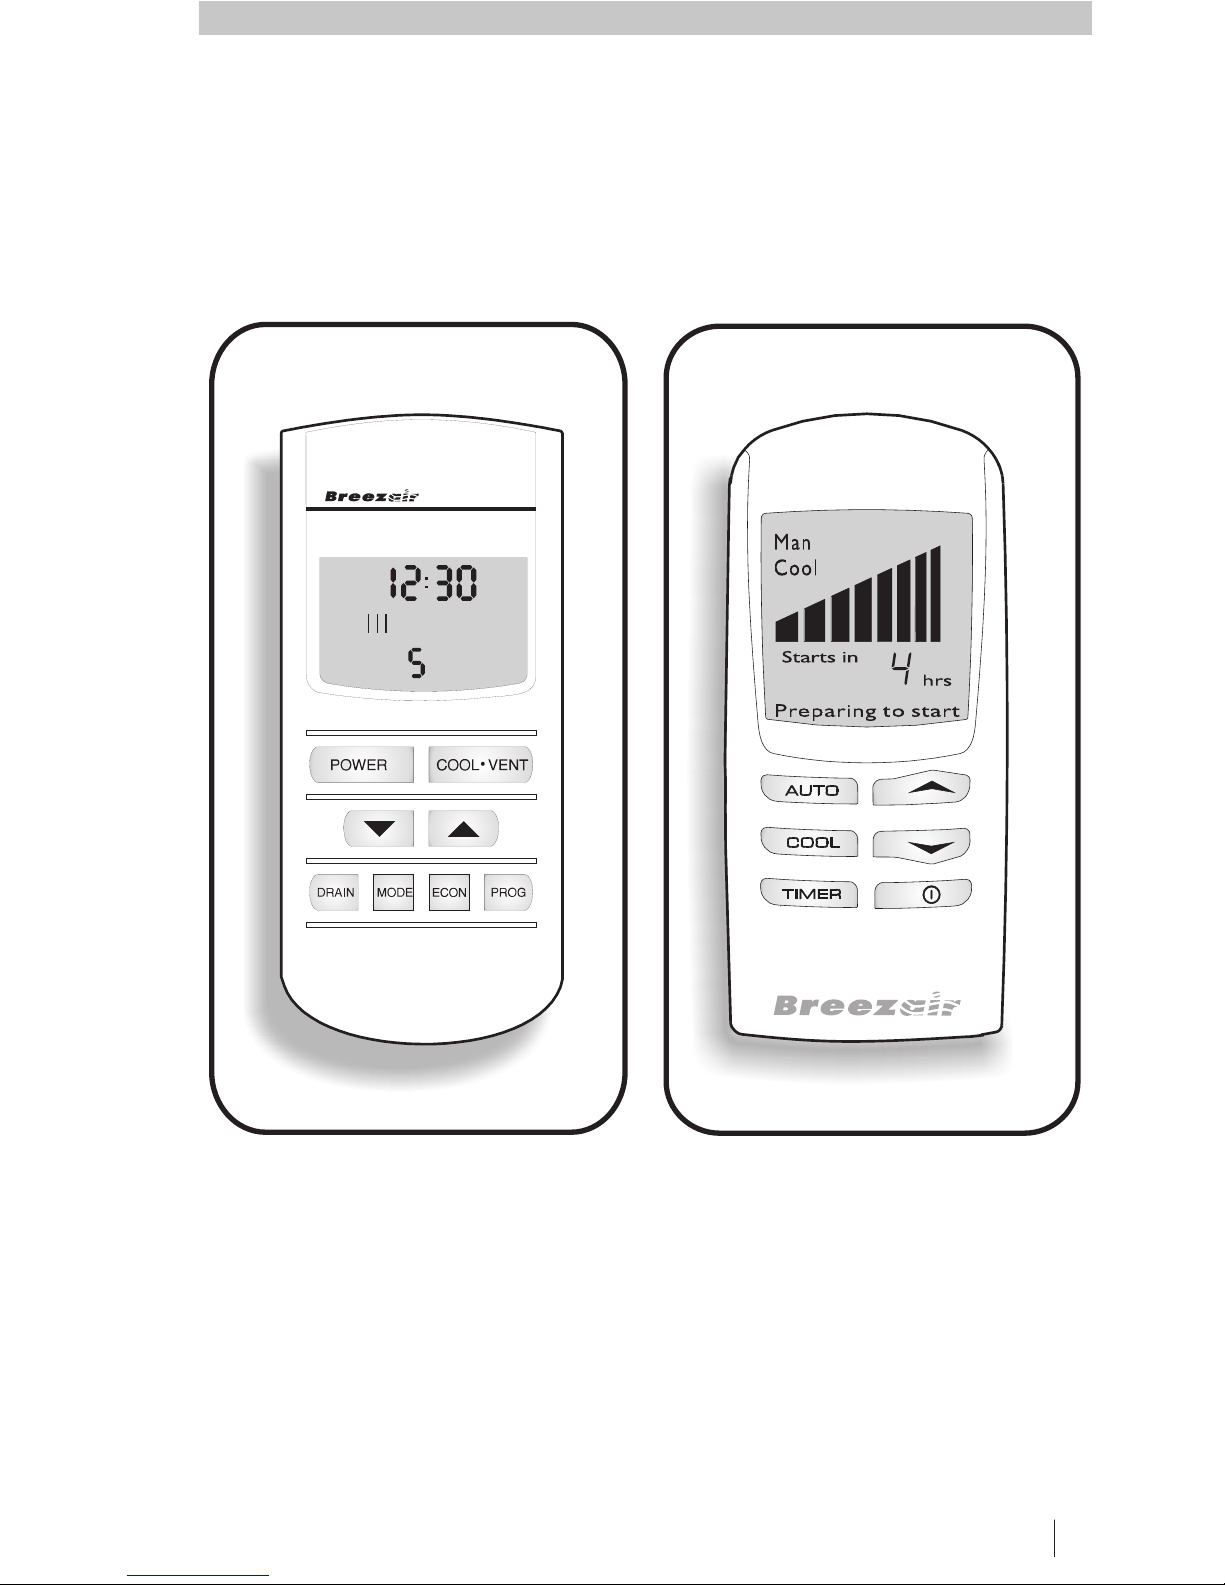
Wall Mounted Thermostat Control
(wall control)
Remote Thermostat Control
(remote control)
AUTO COOL
PM
FAN
SPEED
ECONOMY
REMOTE CONTROL
ILL239-D
ILL1140-A
SEELEY INTERNATIONAL – OWNER’S MANUAL 3

Remote Thermostat Control .............5
Wall Mounted Thermostat Control ..11
Bleed Funnel & Drain Valve ............15
Power Outages ...............................15
Seasonal Maintenance ...................16
Troubleshooting ..............................18
Service & Warranty.........................20
Evaporative Cooler
®
4
SETTING THE CLOCK
Set the clock on the remote
control before proceeding with
any other programming.
The clock can only be set with
the remote control switched OFF.
Hold the button down for
over 2 seconds, until the hour
flashes.
Use the and buttons
to change the hour. To change
minutes, press the button
again. Change the minutes using
the and buttons.
To lock in the time setting, and
enter the OFF state, press the
button. The display will stop
flashing.
The remote control is switched on
and off using the button.
The memory will store
The clock can be set to
either 12 or 24 hours (see page
10). If the clock is set to 12 hours
make sure that the AM/PM
displayed on the screen is
correct. AM/PM will change with
adjustment of the hour.
and use
the settings from when the cooler
was last used. Once the remote
control is on, you can choose
between MANUAL, AUTO and
AUTO TIMER modes by pressing
the button.
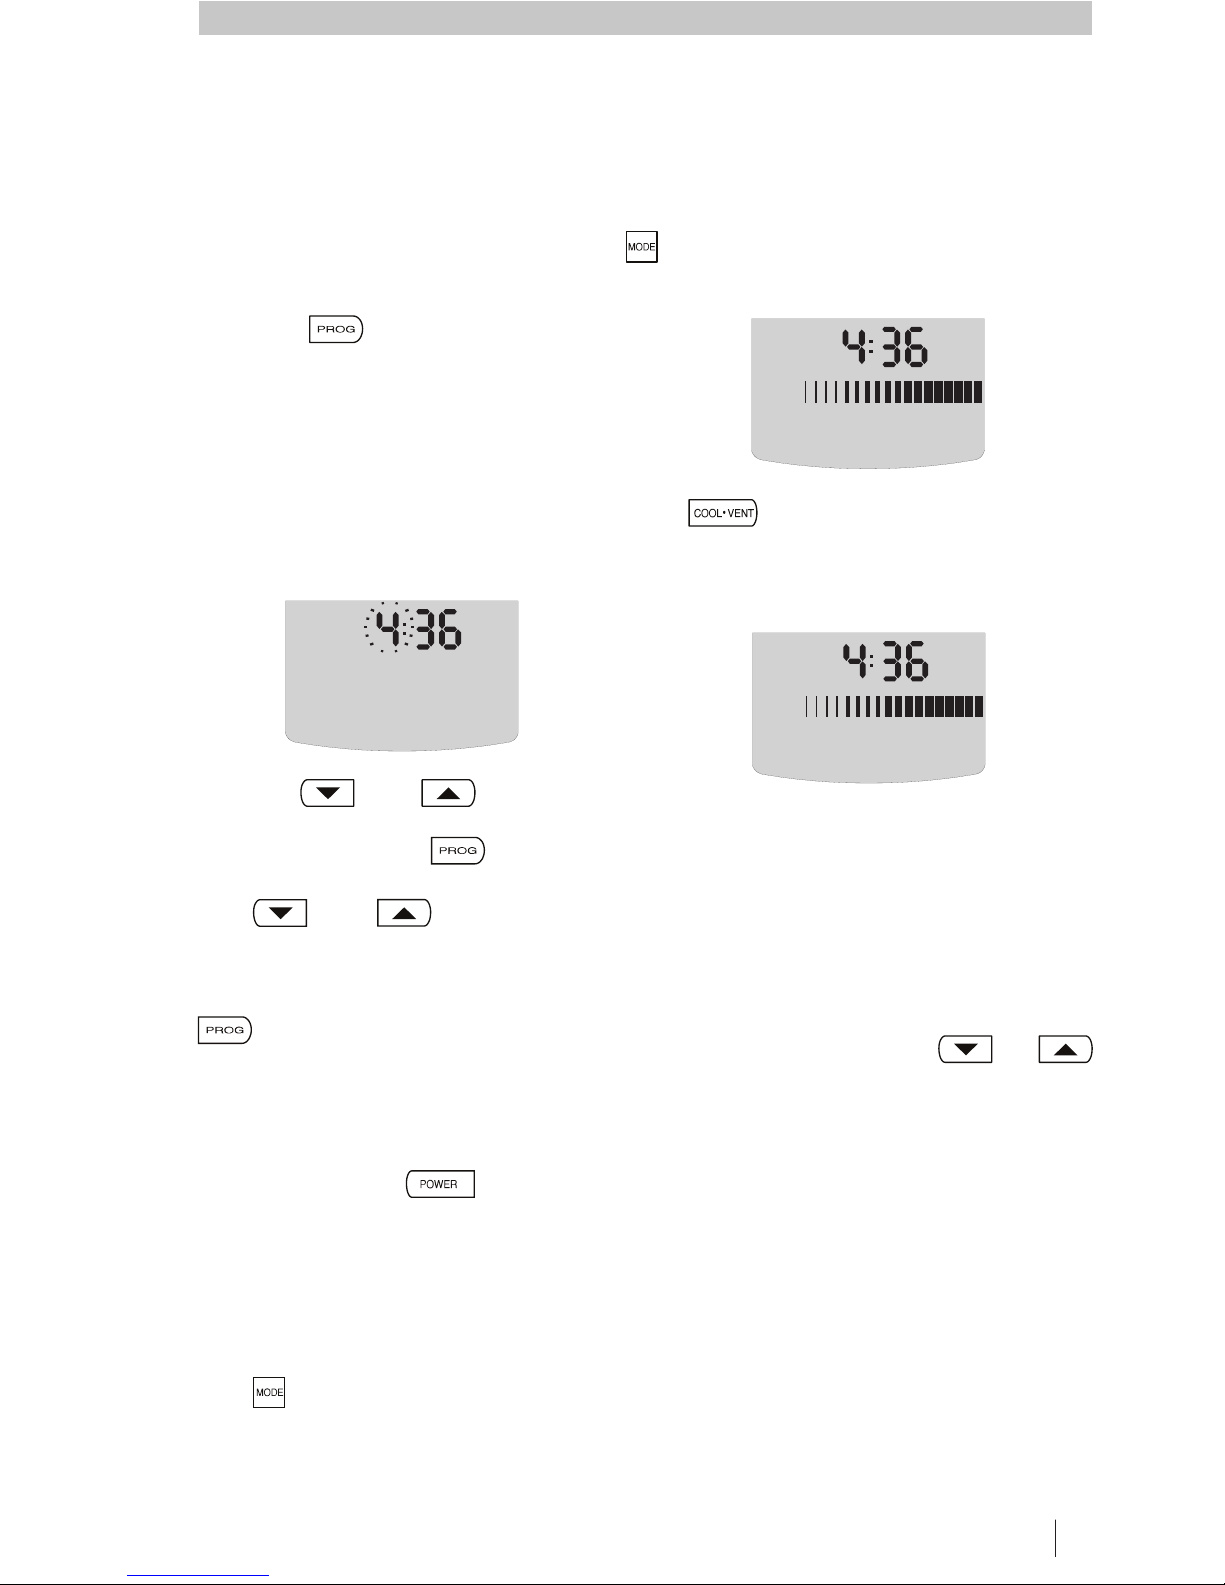
TURNING ON THE COOLER
MANUAL MODE
With the remote control ON, press the
button until MANUAL is shown in
the top left corner of the display.
The button is used to select
VENT (where fresh air is being
delivered without being cooled) or
COOL.
Once either COOL or VENT has been
selected, the remote control will
maintain a constant fan speed. This is
indicated by the bar graph in the centre
of the display.
To or the fan speed
required, press either the or
buttons.
decrease increase
MANUAL
COOL
FAN
SPEED
ILL1108-A
MANUAL VENT
FAN
SPEED
ILL1109-A
ILL1104-A
PM
SEELEY INTERNATIONAL – OWNER’S MANUAL 5
AUTO MODE
The remote control contains a
thermostat. In AUTO mode the cooler
is controlled automatically, based on
your pre- comfort level. The
cooler will adjust the fan speed,
switch between COOL and VENT and
turn itself off. However, the sequence
and regularity at which these settings
change will differ with each operation
of the cooler.
As the remote control senses room
conditions, the
heat
from direct sunlight or electrical
appliances. Likewise placing the
remote control in cupboards or
drawers or under cooling vents will
affect the cooler’s operation.
To set the AUTO mode press the
button until AUTO is displayed.
Ten levels of comfort are available
with the remote control. While in
AUTO mode pressing the and
buttons will adjust the level of
required comfort. The display
selected
comfort control
settings will be influenced by
will
show your selection by indicating a
level between 1 and 10. WARMER or
COOLER will be displayed on the
screen as settings are changed.
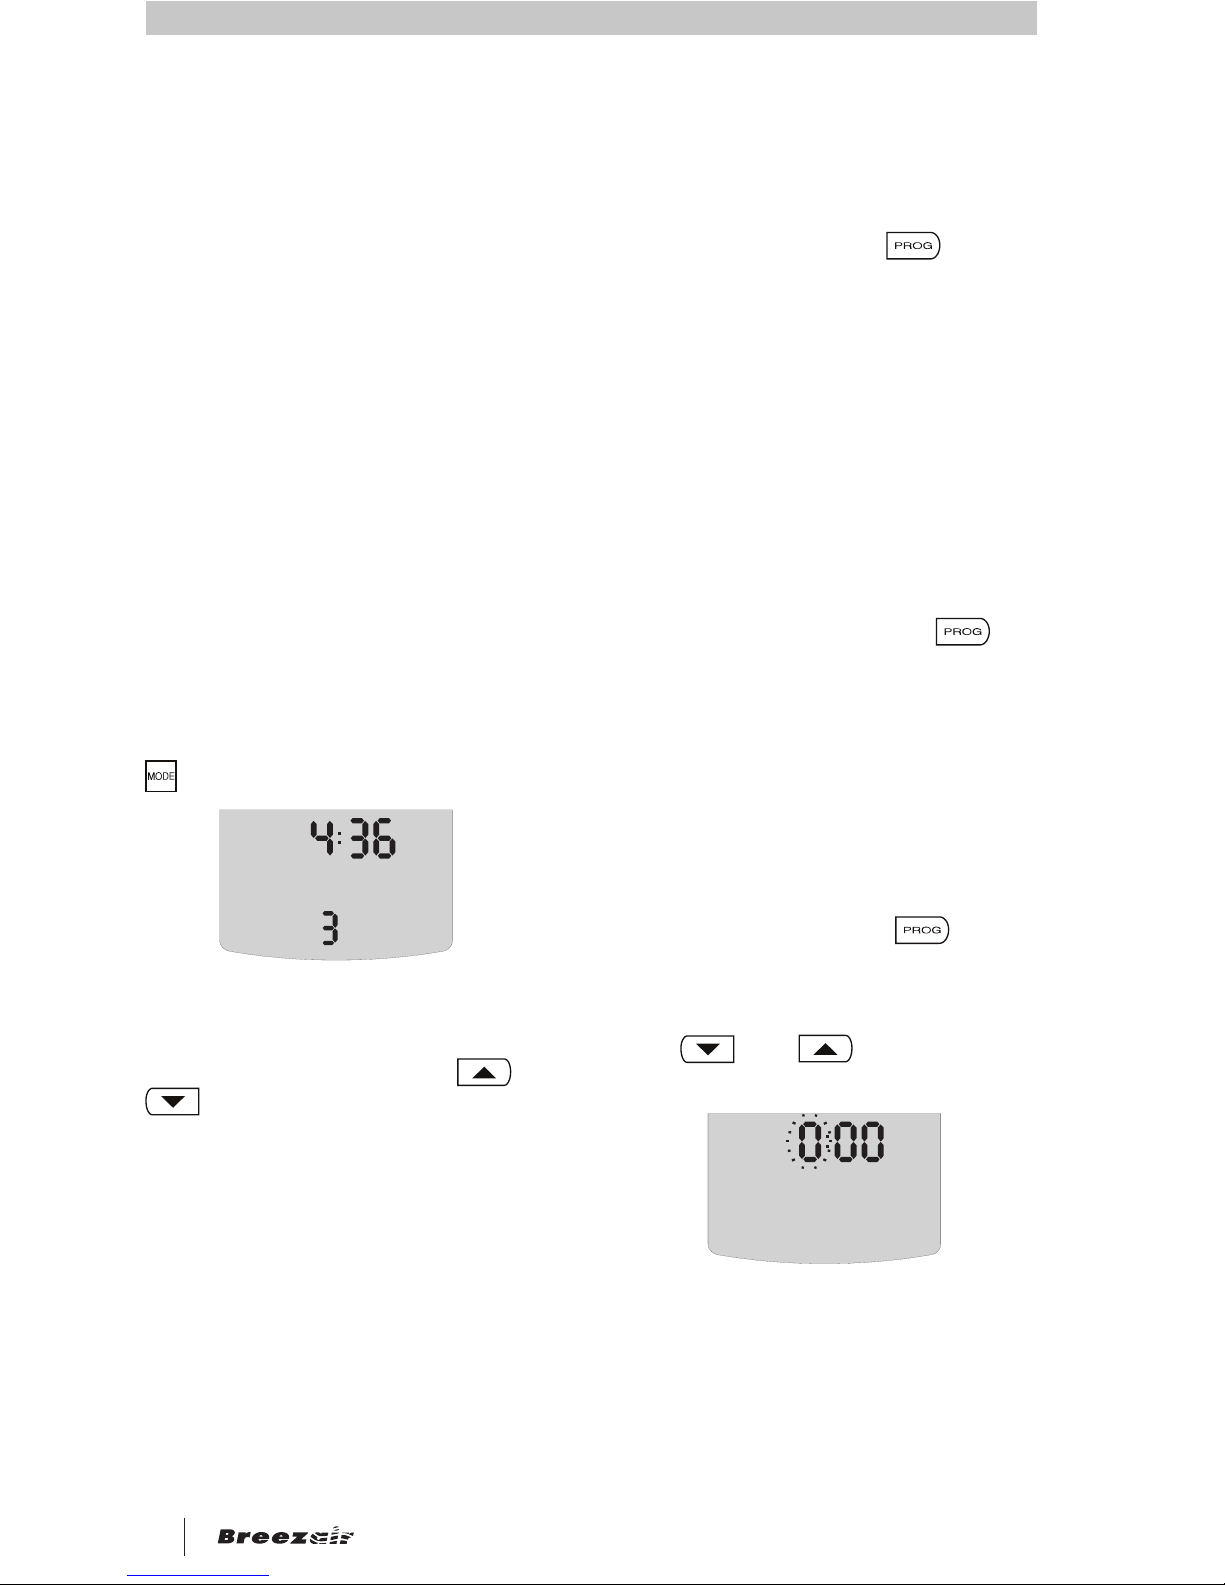
AUTO TIMER MODE
AUTO TIMER mode can be
selected by using the button.
Once the AUTO TIMER mode is
selected the cooler will only
operate during the programmed
time period.
Programming the timer must be
performed before AUTO TIMER
can be activated. This can be done
while in any mode, even when it is
OFF. There are 7 steps involved in
setting the AUTO TIMER.
NOTE: After pressing the
button the display will revert back
to the previous setting if no buttons
are pressed within 4 seconds.
To program the timer use the
following sequence:
(1) Setting the ON time hour
Begin by pressing the
button. The hour displayed will
start flashing and the word ON will
appear on the screen. Then use
the and buttons to
change the hour value.
AUTO
TIMER
ON
ILL1112-A
AUTO
FAN
SPEED
ILL1105-A
PM
®
6
Evaporative Cooler
 Loading...