

Page 1
Blu+
Blu+
for
for
VeriTracks 11
VeriTracks 11
https://v11.veritracks.comhttps://v11.veritracks.com
For 24/7 assistance, contact the STOP®Solutions Center
1-866-703-STOP (7867) | techsupport@stopllc.com
Page 2

Blu+®
Blu+ complies with Part 15 of the FCC Rules. Operation is subject to the following two conditions: (1) this device may not cause interference, and (2) this device must
accept any interference, including interference that may cause undesired operation of the device.
RF Exposure (SAR) Statement for Blu+ (S5E0114BLU07).
This equipment complies with FCC RF radiation exposure limits set forth for an uncontrolled environment. It was tested as an ankle worn device in accordance with
the required FCC RF Exposure procedures. The maximum SAR value reported is 3.080 W/Kg for Blu+ (S5E0114BLU07)
WARNING – Changes or modifications to these units not expressly approved by the party responsible for compliance could void the user’s authority to operate the
equipment.
BluBox™ & BluHome™
BluBox and BluHome comply with Part 15 of the FCC Rules. Operation is subject to the following two conditions: (1) this device may not cause interference, and (2)
this device must accept any interference, including interference that may cause undesired operation of the device.
RF Exposure Statement for BluBox™ (FCC ID S5EAA90548) and BluHome™ (FCC ID S5EBH0107A)
This equipment complies with FCC RF radiation exposure limits set forth for an uncontrolled environment. The antenna(s) used for this transmitter must be installed to
provide a separation distance of at least 20 cm from all persons and must not be co-located or operating in conjunction with any other antenna or transmitter.
WARNING – Changes or modifications to these units not expressly approved by the party responsible for compliance could void the user’s authority to operate the
equipment.
Battery Safety
The Blu+ Device contains a non-removable lithium-Ion battery. Do not attempt to remove the battery. Do not dispose of The Blu+ or the lithium-Ion battery in a fire.
The lithium-Ion battery might present a fire or chemical burn hazard if mistreated. Do not disassemble, crush, or puncture the lithium-Ion battery or the Blu+ Device.
Do not heat the battery or Blu Device above 140°F (60°C).
Please return the Device to Satellite Tracking of People LLC, 1212 North Post Oak Road, Suite 100, Houston, Texas 77055 for disposal otherwise only dispose of the
battery or Blu+ device in accordance with the laws and regulations in your area governing disposal of this type of battery.
Page 3

Canadian Compliance (Industry Canada) for Blu+
IC: 9086A-Blu07, MODEL NUMBER: Blu+
This Class B digital apparatus complies with Canadian ICES-003
The Blu+ Device has been designed to comply with applicable safety requirements for exposure to radio waves. The radio wave exposure guidelines employ a
unit of measurement known as the Specific Absorption Rate, or SAR. Tests for SAR are conducted according to RSS-102 with the Blu+ device transmitting at its
highest certified power level in all used frequency bands. The highest SAR value for the Blu+ when tested was 3.080 W/Kg. The Blu+ device is designed to be
ankle worn. Please follow the instructions included in the user guide for installation around the ankle.
This device complies with Industry Canada licence-exempt RSS standard(s). Operation is subject to the following two conditions: (1) this device may not cause
interference, and (2) this device must accept any interference, including interference that may cause undesired operation of the device.
Conformité du Canada (Industrie Canada) pour Blu+
IC: 9086A-Blu07, NUMÉRO DU MODÈLE: Blu+
Le présent appareil numérique de Classe B est conforme à la norme canadienne ICES-003.
L'appareil Blu+ a été conçu pour être conforme aux normes de sécurité applicables concernant l'exposition aux ondes radioélectriques. Les directives d'exposition
aux ondes radioélectriques utilisent l'unité de mesure connue sous le nom de Taux d'absorption spécifique ou TAS. Des tests de TAS ont étéexécutés
conformément à la norme RSS-102 avec l'appareil Blu+ émettant à son niveau de puissance certifié le plus élevé dans toutes les bandes de fréquences utilisées.
La valeur de TAS la plus élevée pour Blu+ pendant le test était de 3.080 W/Kg. L'appareil Blu+ a été conçu pour être porté à la cheville. Veuillez respecter les
instructions relatives à l'installation de l'appareil à la cheville stipulées dans le guide de l'utilisateur.
Le présent appareil est conforme aux CNR d'Industrie Canada applicables aux appareils radio exempts de licence. L'exploitation est autorisée aux deux conditions
suivantes : (1) l'appareil ne doit pas produire de brouillage, et (2) l'utilisateur de l'appareil doit accepter tout brouillage radioélectrique subi, même si le brouillage
est susceptible d'en compromettre le fonctionnement.
SÉCURITÉ DES PILES
Les appareils Blu+ contiennent une pile au lithium-ion non amovible. Ne pas tenter de retirer la pile. Ne pas jeter Blu+ ou la pile au lithium-ion dans un feu. La pile
au lithium-ion présente un risque d'incendie ou de brûlure chimique en cas de mauvais traitement. Ne pas désassembler, écraser ni percer la pile au lithium-ion ou
l'appareil Blu+. Ne pas chauffer la pile ou l'appareil Blu+ à des températures supérieures à 60 °C (140 °F).
Veuillez renvoyer l'appareil à Satellite Tracking of People LLC, 1212 North Post Oak Road, Suite 100, Houston, Texas 77055 U.S.A. pour élimination ou si vous
voulez vous charger vous-même de l'élimination de la pile ou de l'appareil Blu+, veuillez vous conformer aux lois et à la réglementation de votre région régissant la
mise au rebut de ce type de pile.
Page 4
Table of
Table of
Contents
Contents
OverviewOverview
EventsEvents
Device
Device
Preparation
Preparation
EnrollmentEnrollment
5 - 13
14 - 20
21
22 - 25
SchedulesSchedules
InstallationInstallation
SupervisionSupervision
UnenrollmentUnenrollment
26 - 28
29 - 32
33 - 39
40 - 41
4
Page 5

Blu+ Specifications
OverviewOverview
• 100%CellularTracking
• Confirmsthedateandtimeenrolleesenterandleavehome
• Blu+conductsallcommunications,evenwhentethered
• LocationVerificationoutsidethehomeviaGPSupto3timesperday
• 24/7immediatereportsofevents&violationsviacellularbracelet
• Includesstraptampers,charging,andBluboxevents
• Tamper‐resistantstrap
• Waterproof
5
Page 6

Blu+ Battery
• Blu+batterycapacityof8+days
• Onlyneedsone30‐minuterecharge perday
• Multi‐levelbatteryalertstoenrolleeandagent
• Low– Approx.10hoursleft
• Vibratestwicevery10minutesuntildead
• ImmediateReporttoVeriTracks
OverviewOverview
• Critical– Approx.6hoursleft
• ImmediateReport+Email/TextAlert
• Dead– Approx.20‐30minleft
• ImmediateReport+Email/TextAlert
6
Page 7

Blu+ Check-Ns
Createdate/timesensitiveGPSCheck‐N™locations,whicharepre‐approved
specificlocationsoutsideoftheenrollee’shome.
ExamplesofCheck‐Nsinclude:
Placeofemployment
Pre‐approvedappointments(medical,counseling,etc.)
Specialevents(graduation,wedding,familygatherings,etc.)
EnteraCheck‐NlateandBlu+immediatelygeneratesaviolation
7
notification
andreportsittoVeriTracks,whichthensendsittothe
assignedsupervisingagent.
ArrivalTimeswillreoccureveryweek.
Check‐Ntimesthatoverlapa24/7Bluboxscheduleareallowed.
OverviewOverview
Page 8

Blu+ and GPS
OverviewOverview
1GPSTrackpointPerMinute&10‐MinuteCallsareenabledfor:
Check-Ns* 30 minutes
*Tracking begins 15 minutes prior to scheduled arrival and up to 15
minutes after. Tracking will cease upon arrival or when the 30minute window ends (whichever occurs first).
Curfew Violations 30 minutes
Other Violations 60 minutes
Equipment tampering, Low Battery, Blubox Power Loss, etc.
8
Page 9
Blu+ and GPS
OverviewOverview
GPS on Demand
Request Location One call and one GPS
attempt, per request
Rapid Reporting Attempts GPS every minute
and calls every ten minutes
for 30 minutes, total
Request
Location
Rapid
Reporting
9
Page 10
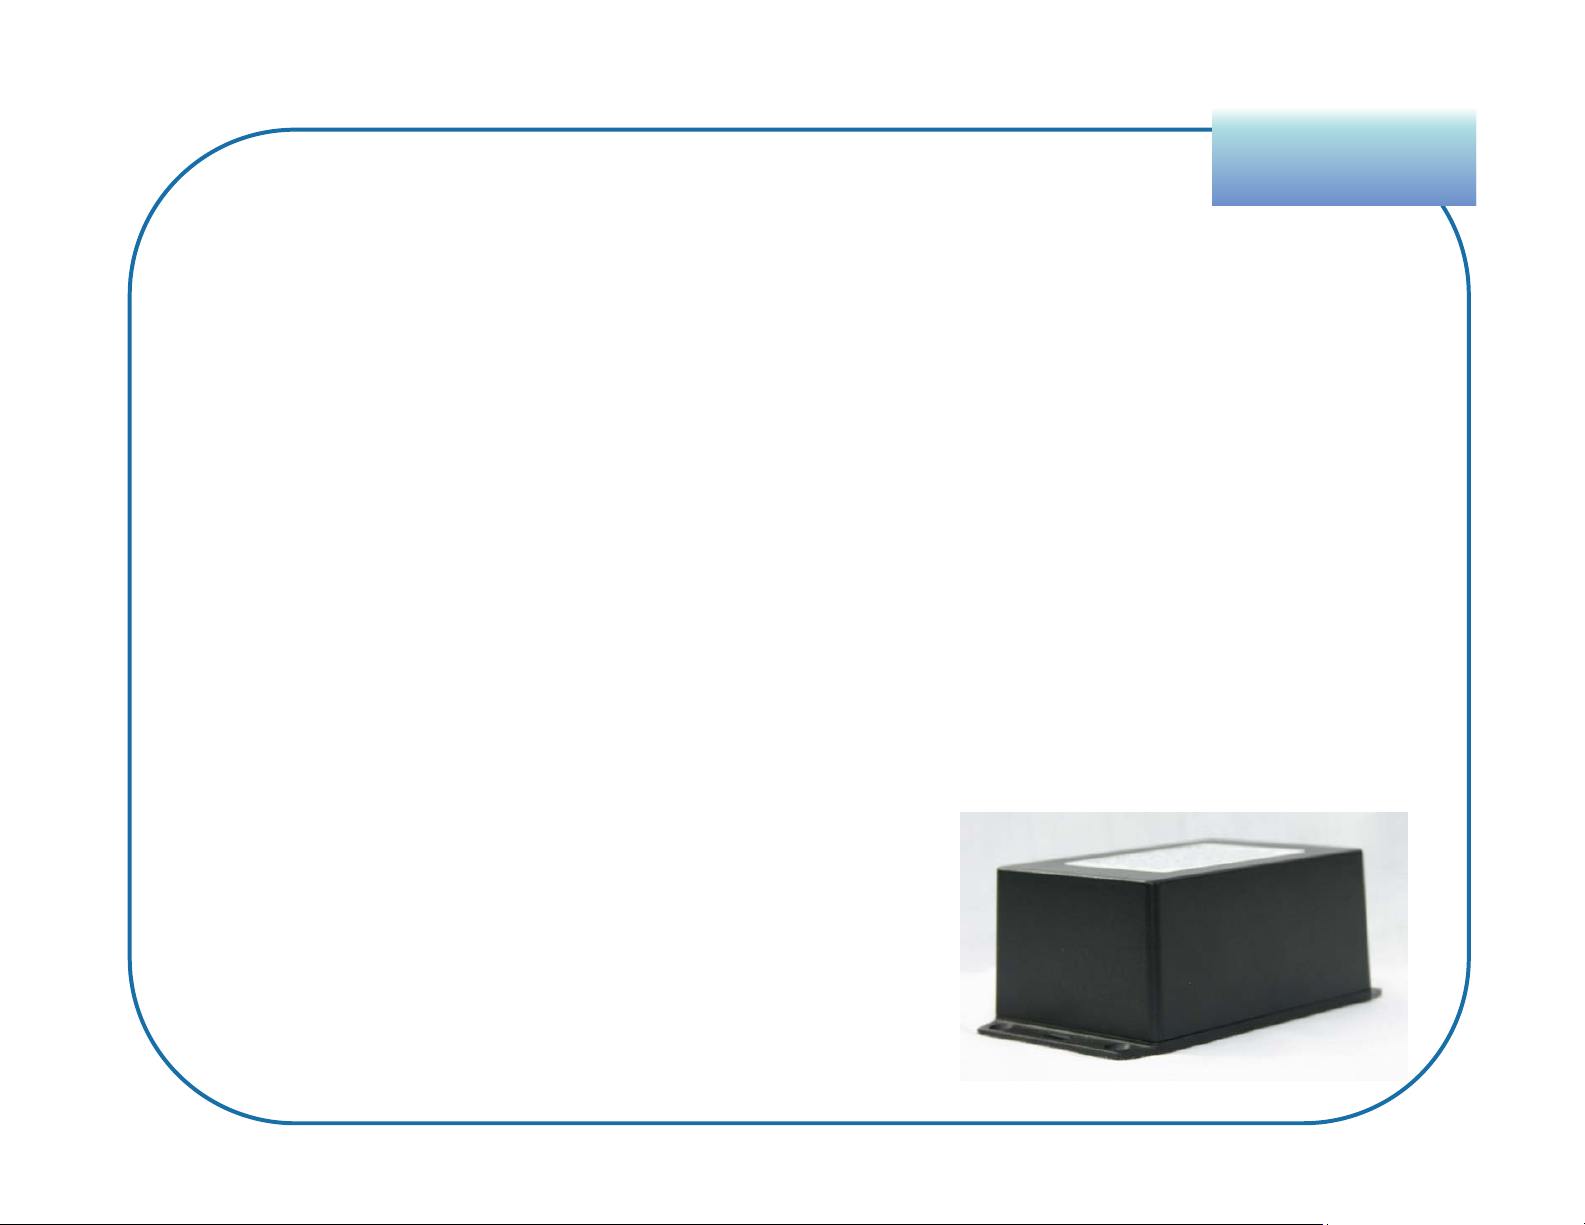
Blubox Specifications
OverviewOverview
• Home accessory (tether) to an Active Blu+
• RF provides positive confirmation that the enrollee is present
• Does not use a phone line; all activity is reported via Blu+ to VeriTracks
• Greenfield range of 300 feet (open space with no structural constraints)
Indoor environments (residential structures) may impact the maximum range
• Location Verification of the Blubox is
performed to confirm its placement
• Secure coded RF signal cannot be imitated
10
Page 11

How Blubox and Blu+ work when
OverviewOverview
grouped together
The Blubox emits an RF signal that when detected by the Blu+ causes it
to:
• Trigger an Enter (Blubox) event
• Go into a Blubox Powersave Mode if the following criteria is met:
– Blu+ can hear its Blubox
– Neither is in violation
– Blu+ can successfully contact VeriTracks to upload its data
• Constantly listen for the Blubox RF signal
11
Page 12

How Blubox and Blu+ work when
OverviewOverview
grouped together (cont’d)
• A Blu+ will come out of Powersave Mode if one of the following occurs:
– Blubox loss of RF signal
– Blubox Loss of power, movement, or Blubox tampering
– Any standard Blu+ violation
• If a Blu+ is out of Powersave mode, but in range of its Blubox, the Blu+
will still show Enter (Blubox)
12
Page 13

OverviewOverview
Special Considerations
Blu+ will enter its Blubox home without a valid GPS position, but only if
the Blubox location has been previously validated with a good GPS
position since the last Blubox alarm was cleared.
A Check-N’s arrival time can overlap the home curfew, but if at home
during curfew, GPS will not perform Check-N tracking. However, a
violation will be sent at the end of 30 minutes.
If the curfew is inactive and the Check-N is missed, Blu+ will be
tracked with GPS while at home.
The Blu+ has a special mode during the period after install to allow
offender to go home and plug their Blubox.
13
Page 14

Immediate Notifications
EventsEvents
1. Agents can be alerted to events by subscribing to notifications.
2. Events that happen in an instant provide one-time notifications, e.g.
Enrollee Check-In Successful (one notification sent, per event).
3. Other events can span a period of time. You will be notified of their start
with a message containing a positive (+) / in-progress status. An
additional message arrives with a negative (-) when the event closes.
Example of an open Blubox Curfew Violation:
Status
Event Start
Violation
PID
Agent Name
Enrollee Name
14
Page 15

Blu+ Events
EventsEvents
ENROLLEE Check-N
Enrollee arrived on time during the Check-N
window (at scheduled arrival time or within 15
SUCCESSFUL
minutes prior).
Enrollee either has no GPS during the Check-
ENROLLEE Check-N LOCATION
N window or their GPS shows them elsewhere. CHKINUNK
UNKNOWN
Enrollee arrived late, but within the Check-N
ENROLLEE Check-N LATE
window (within 15 minutes past the scheduled
ARRIVAL
arrival time).
Strap may have been tampered with. Event will
close only after 1) Agent rectifies the strap
MASTER TAMPER
connection issue and 2) Authorizes its closure
in VeriTracks.
ON CHARGER Duration of time on the charger
CHKINOK
CHKINLATE
+/-MTPR
LOW BATTERY Approximately 10 hours left
CRITICAL BATTERY Approximately 6 hours left +/-CBATT
DEAD BATTERY Approximately 20-30 minutes left +/-DBATT
PRESS BUTTON Status call/push button was pressed
15
Page 16

Blubox and Blu+ Events
EventsEvents
BluBOX AWAITING
LOCATION
CONFIRMATION
ENTER (BluBOX) Blu+ is in range of the Blubox. +/-ENTBB
BluBOX LOCATION
VALIDATED
BluBOX POWERSAVE
MODE
Blu+ ENROLLMENT
COMPLETE
Awaiting confirmation of the Blubox signal at the
correct address.
The Blubox location matches the designated Blubox
address in VeriTracks.
Blu+ and Blubox are in range of one another and
trust each other (all violations already reported or
closed). Blu+ is calling and acquiring GPS every 2
hours (active curfew) or 4 hours (inactive curfew).
Blubox has been plugged in, Blu+ and Blubox are in
range of one another, both trust each other (all
violations already reported or closed), and the
Blubox location is valid.
+/-BBLOC
BBLOCOK
B+ECOMP
BluBOX LOCATION NOT
VALID
BluBOX LOCATION
VERFICATION PERIOD
EXCEEDED
Blubox is not at the correct location. BBLOCNOT
Blubox location is unconfirmed (no GPS evident) BBLOCVER
16
Page 17

Blubox Events
BluBOX CURFEW START Curfew schedule has begun
BluBOX CURFEW LATE ARRIVAL Blu+ is not in range at start of curfew. +/-BBCUR
BluBOX CURFEW LEFT EARLY Blu+ left out of range during curfew. +/-BBCUR
Blubox notes its movement and emits a beep
along with its standard signal. Blu+ awakens and
BluBOX MOVEMENT
reports violation.
BluBOX POWER LOSS Blubox has been unplugged. +/-BBPOW
EventsEvents
+BBMOV
BluBOX LIGHT TAMPER
BluBOX MOVEMENT AND
LIGHT TAMPER
BluBOX POWER LOSS AND
LIGHT TAMPER
BluBOX POWER LOSS AND
MOVEMENT
Blubox is opened or damaged in a way that has
+BBTAMP
exposed the internal electronics to light.
(Combination Events)
+BBTAMP
17
Page 18

Blubox AWAY Events
EventsEvents
In addition to the standard Blubox events, Blubox also has the ability to
retain information about a Power Loss, Movement, and Tamper event
occurring while the Blu+ is out of RF range of the Blubox.
AWAY BluBOX POWER LOSS
AWAY BluBOX MOVEMENT
AWAY BluBOX LIGHT TAMPER
These events, especially AWAY BluBOX POWER LOSS AND
MOVEMENT, may indicate that an attempt to move Blubox to an
unauthorized location has taken place.
The time of the violation is still the time that the event was reported to
the Blu+. Therefore the time recorded for Away events will be the
approximately the same as the time of the next Enter.
18
Page 19

The Daily Report
The Daily Report is emailed to you each morning at 6:30 am with the
last 36 hours of events.
Part 1 - Enrollee Summary:
Report Run Date/Time
EventsEvents
Enrollment End Date listed in enrollee’s profile
Last report from BluTag as of the report run
19
Page 20

The Daily Report
Part 2 – Event Activity Summary
EventsEvents
Number of minutes
20
Page 21

Blu+ Preparation
PreparationPreparation
1. Turn on the device by placing it on its charger for at least 4 hours
before an installation.
2. Acquire GPS by giving the device a clear view of the sky for 45
minutes. The Blu+ will usually acquire GPS in the first few minutes,
but for optimal performance it needs to download the GPS almanac
data.
Important:
• Do not leave devices charging for more than two weeks while
awaiting installation.
• Avoid charging in the heat of direct sunlight. A piece of cardboard
can be used to reduce the effect.
21
Page 22

Tile
EnrollmentEnrollment
Navigating VeriTracks 11
Tiles
Menu Options
Tabs
Varying choices within each tile
22
Page 23

Creating an Enrollee Profile
EnrollmentEnrollment
1. Click the Enrollees
tile.
2. Click Add.
1
3. Fill in the required
fields:
• Primary ID
4
• First Name
• Last Name
4. Click Save.
2
3
23
Page 24

Adding the Residential Address
1. Below the completed profile, click the Address tab.
2. Click the Add.
3. In the Title box, enter a name for the address (e.g. Home).
4. Fill in the Street 1 box.
5. Type the City, State, and Zip code.
6. Click the Request Location button to map the address.
7. To move the address icon, drag it to the desired location.
8. Click Save.
EnrollmentEnrollment
24
Page 25

Adding the Check-N addresses
EnrollmentEnrollment
1. Below the completed profile,
click the Address tab.
2. Click the Add.
3. Click the Type drop-down and
choose Work or Other.
4. In the Title box, enter a name
for the address.
5. Fill in the Street 1 box.
6. Type the City, State, and Zip
code.
it to the desired location.
9. Click Save.
10.Repeat these steps for
additional Check-Ns.
7. Click the Request Location
button to map the address.
8. To move the address icon, drag
25
Page 26

Creating a Blubox Schedule
SchedulesSchedules
1. Within the Enrollees tile, select the enrollee’s profile.
2. Click the Schedules tab.
3. Click Add.
4. In the Schedule Target dropdown, select Blubox.
(If equipment has already been assigned, select the correct Blubox.)
5. Type a Description, e.g. Curfew, Workday, Lockdown, etc.
6. Select the Days of the Week to be scheduled.
7. In the Time boxes, select or type the time that the Blubox residence
is to be monitored (e.g. 6:00 pm – 6:00 am).
8. Click Set to confirm each time choice.
9. Click Save.
26
Page 27

Editing One or More Blubox Segments
SchedulesSchedules
Step 1: Remove the scheduled
days that will differ from the others
A. Click the Enrollees tile.
B. Select the enrollee’s profile.
C. Click the Schedules tab.
D. Select a schedule segment.
E. Click Edit to change it.
F. Clear the boxes for the days you
wish to schedule differently than
others.
Step 2: Create new schedules for
the days not like the others
A. Click the Enrollees tile.
B. Select the enrollee’s profile.
C. Click the Schedules tab.
D. Click Add.
E. See steps 5-9 of “Creating Blubox
Schedule.”
G. Click Save.
27
Page 28

Check-N Schedules
1. Within the Enrollees tile, select the enrollee’s profile.
2. Click the Schedules tab.
3. Click Add.
4. In the Schedule Target dropdown, select Blu+ Address.
5. Select the desired address from the resulting list below.
6. Type a Description, e.g. Curfew, Workday, Lockdown, etc.
7. Select the Days of the Week to be scheduled.
8. In the Check-N Time box, select or type the desired arrival time.
SchedulesSchedules
9. Click Set to confirm each time choice.
10.Click Save.
28
Page 29

Verify Blu+ Readiness
InstallationInstallation
Prior to assignment, Blu+ will regularly call, acquire GPS, and note its battery
level – allowing you to verify its readiness.
1. Click the Enrollees tile.
2. Select the enrollee’s profile.
3. Click the Device Assignments tab.
4. Click Change Assignment.
5. Type or select the desired device.
6. Check for the following:
a. Consistent and recent Contacts
b. GPS of 60% or greater is ideal
c. Most recent battery level of 4 volts or higher
7. If the above criteria has not been met, click Contact to research its
status.
29
Page 30

Blu+ Installation
InstallationInstallation
1. Locate the strap, bridge clips, strap clips, cutter, and cutting plate.
2. Lay the square hole of the bridge clip across the center of Blu+.
3. Firmly press down on the bridge clip to fully insert its legs.
4. Once fully inserted, the bridge clip will lay flush against the Blu+ surface.
5. Insert one additional bridge clip.
6. Inspect the ends of the strap, making sure each end is cut straight and on a
line (if necessary, re-cut each end, on a sizing line).
7. Attach a pair of clips to one end of the strap. The ends of the clips must align
evenly with the end of the strap (not shorter or longer).
8. Insert the clipped end of the strap into a wing of the tag. Pull slightly to
ensure that it is secure.
30
Page 31

Blu+ Installation (cont’d)
9. Make note of Blu+’s serial number.
10. Place Blu+ on the outside of the left ankle and wrap the strap around.
11. Insert two fingers inside the strap, opposite the device.
12. Look for the line on the strap that is two lines past the edge of Blu+.
13. Make a straight cut on the line, using STOP cutters only.
14. Insert the unclipped end into the wing to test the fit. Cut excess strap, if
necessary.
InstallationInstallation
15. Attach clips to the end of the strap and press firmly into the wing.
If the clipped end cannot be inserted without pulling or bending, the strap has
been cut too short. Do not attempt to use it as the clips may not fully attach to
each side of the wing, causing false tamper alerts.
15. Firmly pull the strap to check the fit.
31
Page 32

Assigning the Blu+ and Blubox
InstallationInstallation
1. Secure the device to the enrollee’s
leg.
2. In VeriTracks, click the Enrollees
tile.
3. Select the enrollee’s profile.
4. Click the Device Assignments
tab.
5. Click Change Assignment.
6. Type or select the desired Blu+.
7. Click the Next (arrow) button.
Location (where it will reside).
11.Type in the Verification Period (in
minutes) – the amount of time the
Enrollee has after the assignment
before they must have their Blubox
setup at its location.
12.Click the Save button.
8. Type or select the desired Blubox.
9. Click the Next (arrow) button.
10.Confirm or change the Blubox
32
Page 33

Verifying a Successful Device Assignment
SupervisionSupervision
1. Within the Enrollees tile, select the enrollee’s profile.
2. Click their Contact tab to verify if recent contacts were received.
3. Click their Events tab to confirm that there is not a Master Tamper.
Also, check that the following events have occurred:
33
Page 34

Viewing Trackpoints for an Enrollee’s Event
SupervisionSupervision
1. Within the Enrollees tile, select the enrollee’s profile.
2. Click their Events tab.
3. Click the Location icon for the event you wish to view.
3
4. You will be taken to the Events tile’s Map of the event, displaying up to 20
trackpoints before and after the event’s start. The event can be confirmed
here.
4
34
Page 35

Getting to Know the Dashboard
Click the Dashboard tab. The following options will be available:
SupervisionSupervision
FindEnrollees ViewEvents
NewNote
35
Page 36

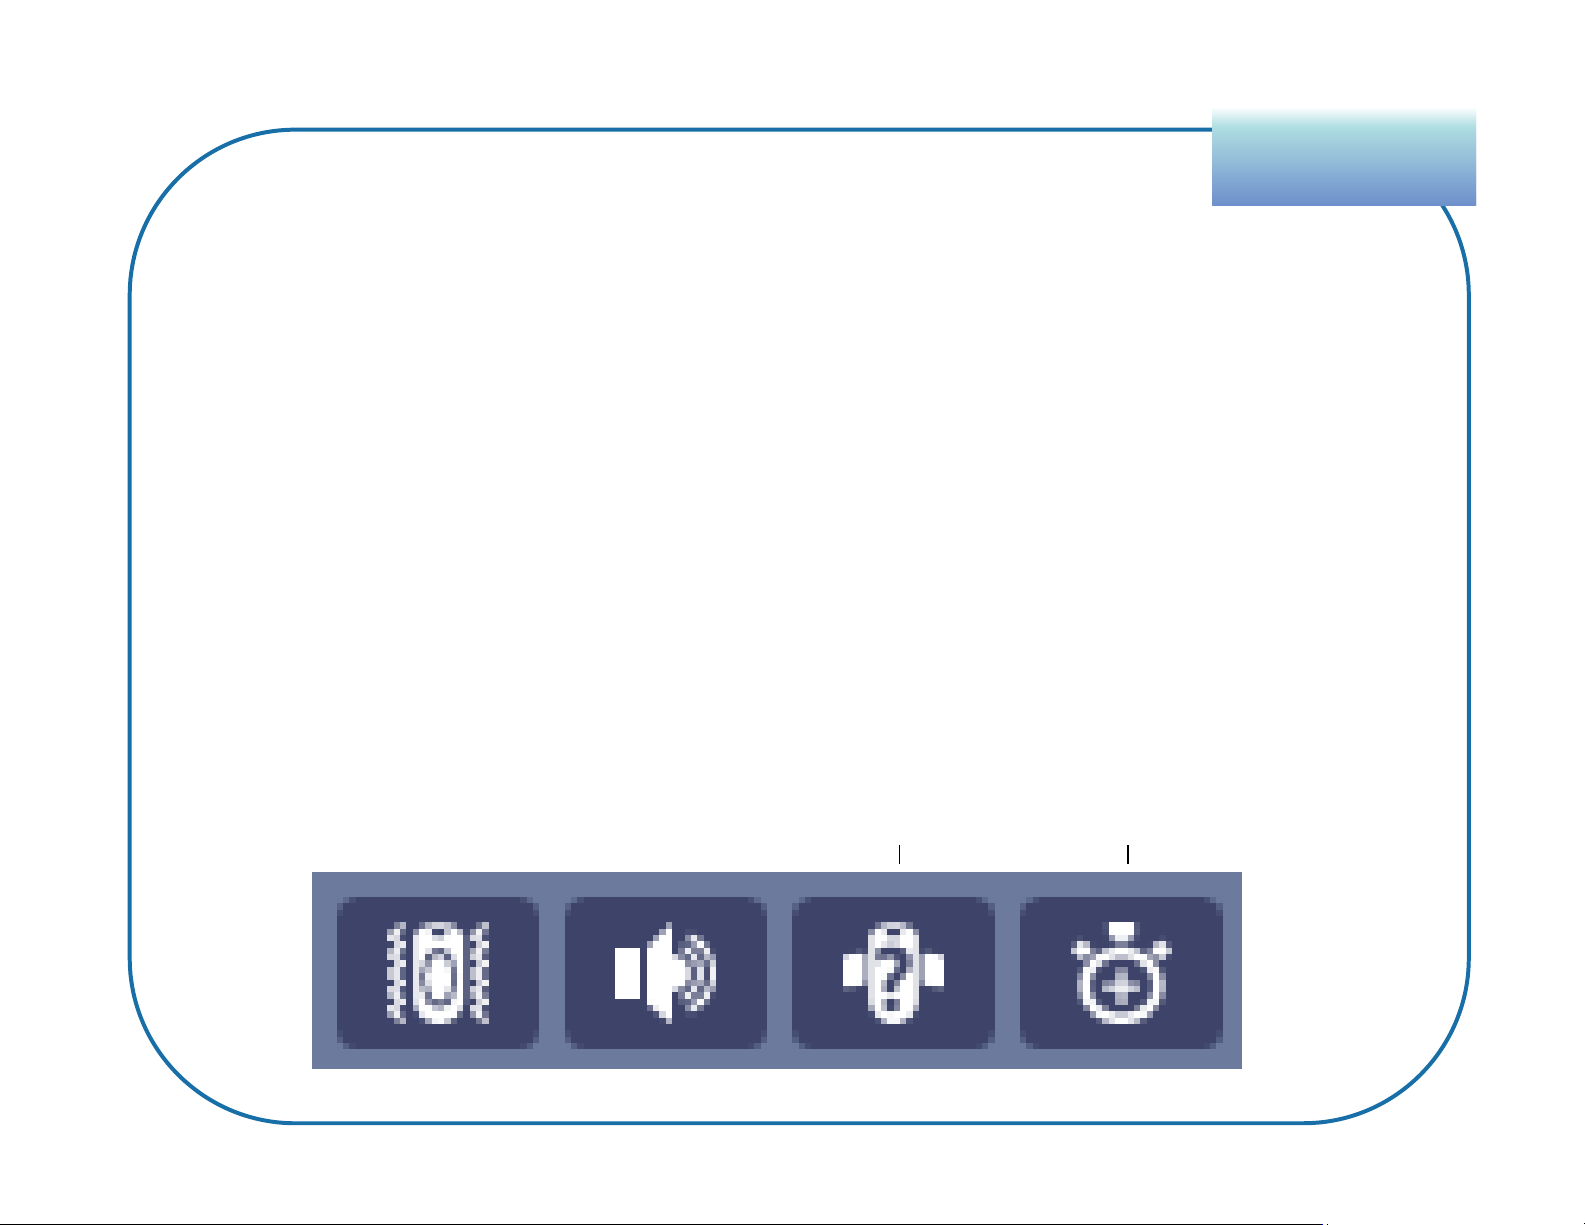
Getting to Know the Dashboard (cont’d)
Click the Dashboard tab. The following options will be available:
Buzz
Vibrate
SupervisionSupervision
RapidReporting
Request
Location
Dashboard
Display
Shortcutto
theProfile
tabwithin
the
Enrollees
tile
No openor
unconfirmed
orevents
Closedbut
unconfirmed
OR Confirmedbut
open
36
Page 37

SupervisionSupervision
Confirming Events from the Dashboard
1. From the Dashboard, select the enrollee.
2. Click the View Events.
3. Select the event(s) to be confirmed.
4. If desired, enter a Note that will attach to each selected event upon
confirmation.
5. Click Confirm.
2
3
4
5
37
Page 38

SupervisionSupervision
Changing the Dashboard Display
There are 4 views. Each displays an enrollee’s name, Primary ID, and risk
level.
General
Assigned Blu+ serial number. Most recent call and GPS dates/times. Last
battery level. Blubox communication status.
GPS only
Blu+ serial number, recent call and GPS dates/times, battery level, critical
violation status
Events Only
Number of notes and critical violation status
RF Only
Assigned Bluband number and RF range status
38
Page 39

Closing a Master Tamper
SupervisionSupervision
The Master Tamper events can be closed via the Events tab within the Enrollees tile.
1. In the Enrollees tile, locate the enrollee’s profile.
2. Click the Events tab below their profile.
3. Locate and select their Master Tamper event.
4. Click the Close button that appears above to end the event.
1
3
2
4
39
Page 40

40
Step 1: Unassign Blu+
1. Click the Enrollees tile.
2. Select the enrollee’s profile.
3. Click the Device Assignments
tab.
4. Click Unassign Devices.
5. In the Type list, click the arrow
to view and choose the
appropriate reason for
unassigning the device.
Step 2: Delete the Blubox Group
1. Click the Inventory tile.
2. Click the Blubox Groups tab.
3. Select the desired Blubox
Group.
4. Click the Delete button.
The group and Blubox
assignment will be deleted. The
Blubox will now be available for
a new assignment.
6. Click Save.
UnenrollmentUnenrollment
Page 41

Remove the Blu+ from the Enrollee
The following steps are to be completed after the unassignment.
41
1. Cut the strap in the middle, leaving
an equal amount on both sides.
2. Insert the flathead screwdriver
underneath one bridge clip and
pry it from the wing.
3. Repeat for the other bridge clip.
4. Pull the strap out of the tag.
5. Inspect all parts for signs of
tampering.
6. Clean the lens and surrounding
exist, and the unit is not needed
for evidence, place the device
back into inventory.
8. If you had to replace the strap or
device, repeat all preparation and
enrollment steps required for a
new enrollee (charge, GPS, install,
assign, verify GPS).
9. If you sense a problem with the
device, send it back to STOP.
area of any dirt build up.
7. If the enrollee has completed the
program, no signs of tampering
UnenrollmentUnenrollment
 Loading...