

Page 1

INSTALLATION MANUAL©
ST-LCDHD-18.5
Intelligent Mini Dome PTZ Color Camera
Copyright North American Cable Equipment, Inc.
Page 2
1
1 PREFACE
Thank you for purchasing this LED monitor! This manual will help you use all the extensive features of
your new monitor. Make sure the monitor was not damaged in transit. Should the monitor be damaged, do
not install it and contact your dealer. Check that you have all the accessories according to the manual.
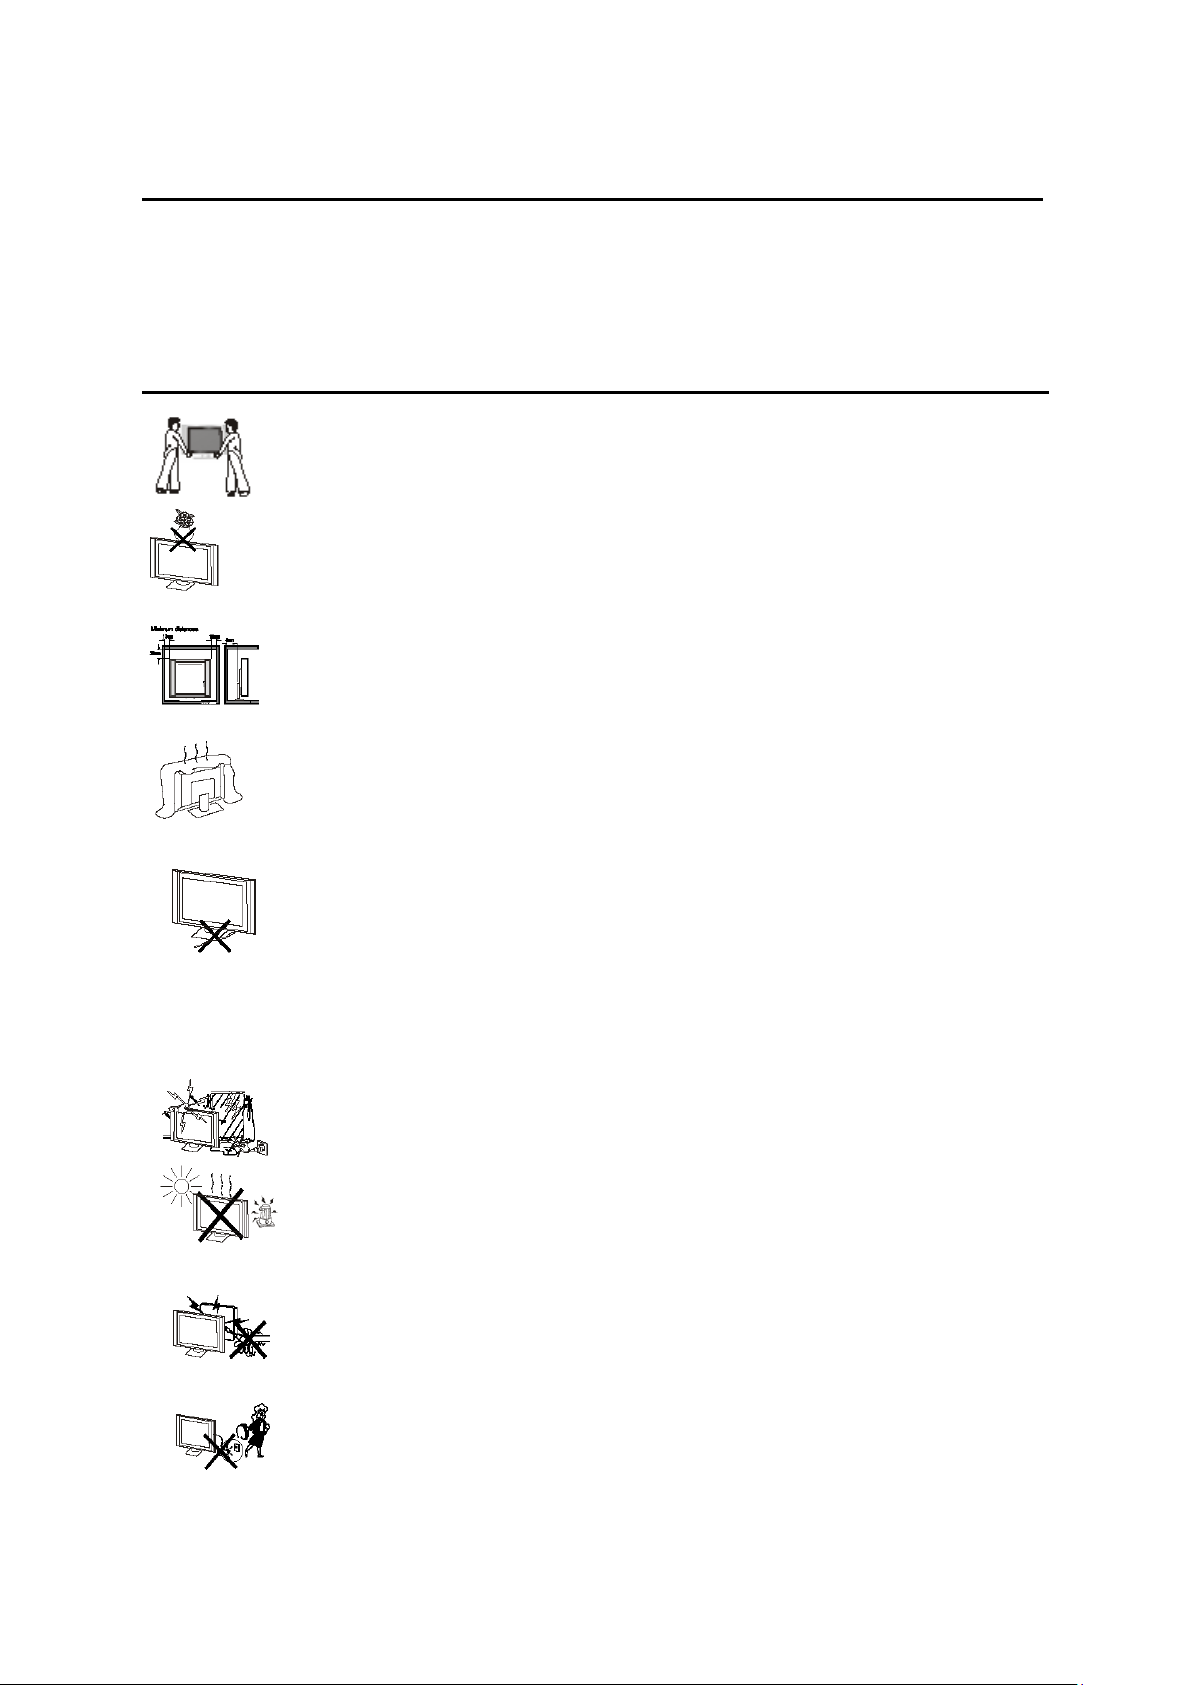
2 SAFETY PRECAUTIONS
Put the monitor on a stable surface.
Do not use the monitor with others fixtures than those provided or suggested by the
manufacturer.
Do not place anything on top of the monitor.
If you have a wall mount, check that it is steady.
Do not block or cover the ventilation openings on the monitor
Power source
The monitor must be plugged to an 110-120V outlet.
Connection cables
Power cord and cables must be properly routed and protected to prevent people from stepping
on them and/or causing the monitor to fall.
Heating sources and humidity
Keep the monitor dry and away from sources of humidity.
Keep the monitor away from heat sources.
Cleaning
Unplug the monitor before cleaning it. Do not use solvents or liquids to clean the monitor.
Only clean the monitor with a soft and dry cloth.
Caution
Unplug the monitor during electrical storms.
V1.0 6/19/13
Page 3

2
3 FRONT & BACK VIEW, REAR CONNECTIONS_______
1. TV/AV select
2. Menu key
3. Channel up/down
4. Volume up/down
5. Standby
6. Remote control sensor
Front View
Back View
Rear Connection
HDMI: HDMI input
PC: VGA PC video input
VIDEO1/2:BNC composite video input
VIDEO OUT:BNC composite video output
AUDIO: Composite audio input(audio:PC/VIDEO1/2)
EARPHONE: Headphone audio output
(The backview is only for your reference)
V1.0 6/19/13
Page 4

3
4 CONFIGURATION
4.1 PC SETTINGS
Press <MENU> key.
a) Press ▼ and enter PC SETTINGS menu. Press ▲ or ▼ key and select CONTRAST, BRIGHTNESS,
COLOR TEMP, SCALE, PICTURE OVERSCAN.
b) Press ◄ or ► key to access and adjust CONTRAST, BRIGHTNESS, COLOR TEMP, SCALE,
PICTURE OVERSCAN.
4.2 AUDIO SETTING
Press < MENU >, then press ► key
a) Press ▼, then enter AUDIO SETTINGS menu. Press ▲ or ▼ key to select BASS, TREBLE,
BALANCE, SOUND MODE, EQUALIZER, AVC, SOUND EFFECT.
b) Press ◄ or ► key to access and adjust BASS, TREBLE, BALANCE, SOUND MODE,
EQUALIZER, AVC, SOUND EFFECT.
V1.0 6/19/13
Page 5

4
4.3 OSD SETTING
Press <MENU> key, then press ► key
a) Press ▼, then enter OSD SETTINGS menu. Press ▲ or ▼ key to select SLEEP TIMER,
LANGUAGE, H-POSITION, V-POSITION, DURATION, HALFTONE, BLUE SCREEN, IMAGE
REVERSE, RESTORE.
b) Press ◄ or ► key to access and adjust SLEEP TIMER, LANGUAGE, H-POSITION,
V-POSITION, DURATION, HALFTONE, BLUE SCREEN, IMAGE REVERSE, RESTORE.
4.4 GEOMETRY SETTING
Press <MENU> key, then press ► key
a) Press ▼, then enter GEOMETRY Setting Menu. Press ▲ or ▼ key to select H-POSITION,
V-POSITION, CLOCK, PHASE, AUTO ADJUST.
b) Press ◄ or ► key to access and adjust H-POSITION, V-POSITION, CLOCK, PHASE, AUTO
ADJUST.
V1.0 6/19/13
Page 6

5
5 REMOTE CONTROL INSTRUCTIONS
Remote control instructions
1.STANDBY: Press to turn on/standby the TV set
2.℃: Temperature monitoring chip
3. MUTE: Mutes the audio
4. PICTURE: Set picture mode.
5. FREEZE: Freezes picture.
6. INPUT: Press to display the input source menu.
7. ◄►▲▼, MENU: Control the cursor in the menu
8. MENU: Displays the OSD menu.
9. VGA: Switches to VGA mode
10. YPBPR: no function
11. HDMI: Press it to turn to HDMI mode
12. AV: Switches to BNC VIDEO MODE
13. S-VIDEO: no function
14. DVI: no function
V1.0 6/19/13
Page 7

6
6 REMOTE CONTROLS SETUP
Issue
Troubleshooting
No signal
Please check that all cables and are correctly plugged in.
No color shades
Adjust the contrast, the color and the brightness
Double or multiple
display image
May be the result of an electrical wave disturb from other
TV, Computer and Game machine or Radio
Snow/static on the
screen
Please check that all cables are correctly plugged in all the
way.
The remote control
does not work
Please check the batteries order and alignment.
Check that the IR of the remote control is not hidden or
covered.
No sound
Make sure that the “Mute” button has not been pressed on
monitor or controller. Make sure all cables are correctly
plugged in.
a: Open the cover
b: Insert batteries. When inserting the batteries, make sure batteries are facing the right direction as per
“+”and “-”marks on the batteries and within the battery compartment
c: Replace the battery cover
6.1 BATTERY USAGE CAUTION:
To prevent battery leakage which may result in bodily injury or damage to the remote, please do as follows:
1. Install all batteries correctly, and as marked on the remote control.
2. Do not mix batteries :(OLD and NEW or CARBON and ALKALINE, etc.).
3. Remove batteries when the remote is not used for a long time
7 ACCESSORIES
1. One Remote Control
2 .Two Batteries 1.5V
3. One User Manual
8 TROUBLESHOOTING _______________
V1.0 6/19/13
Page 8
7
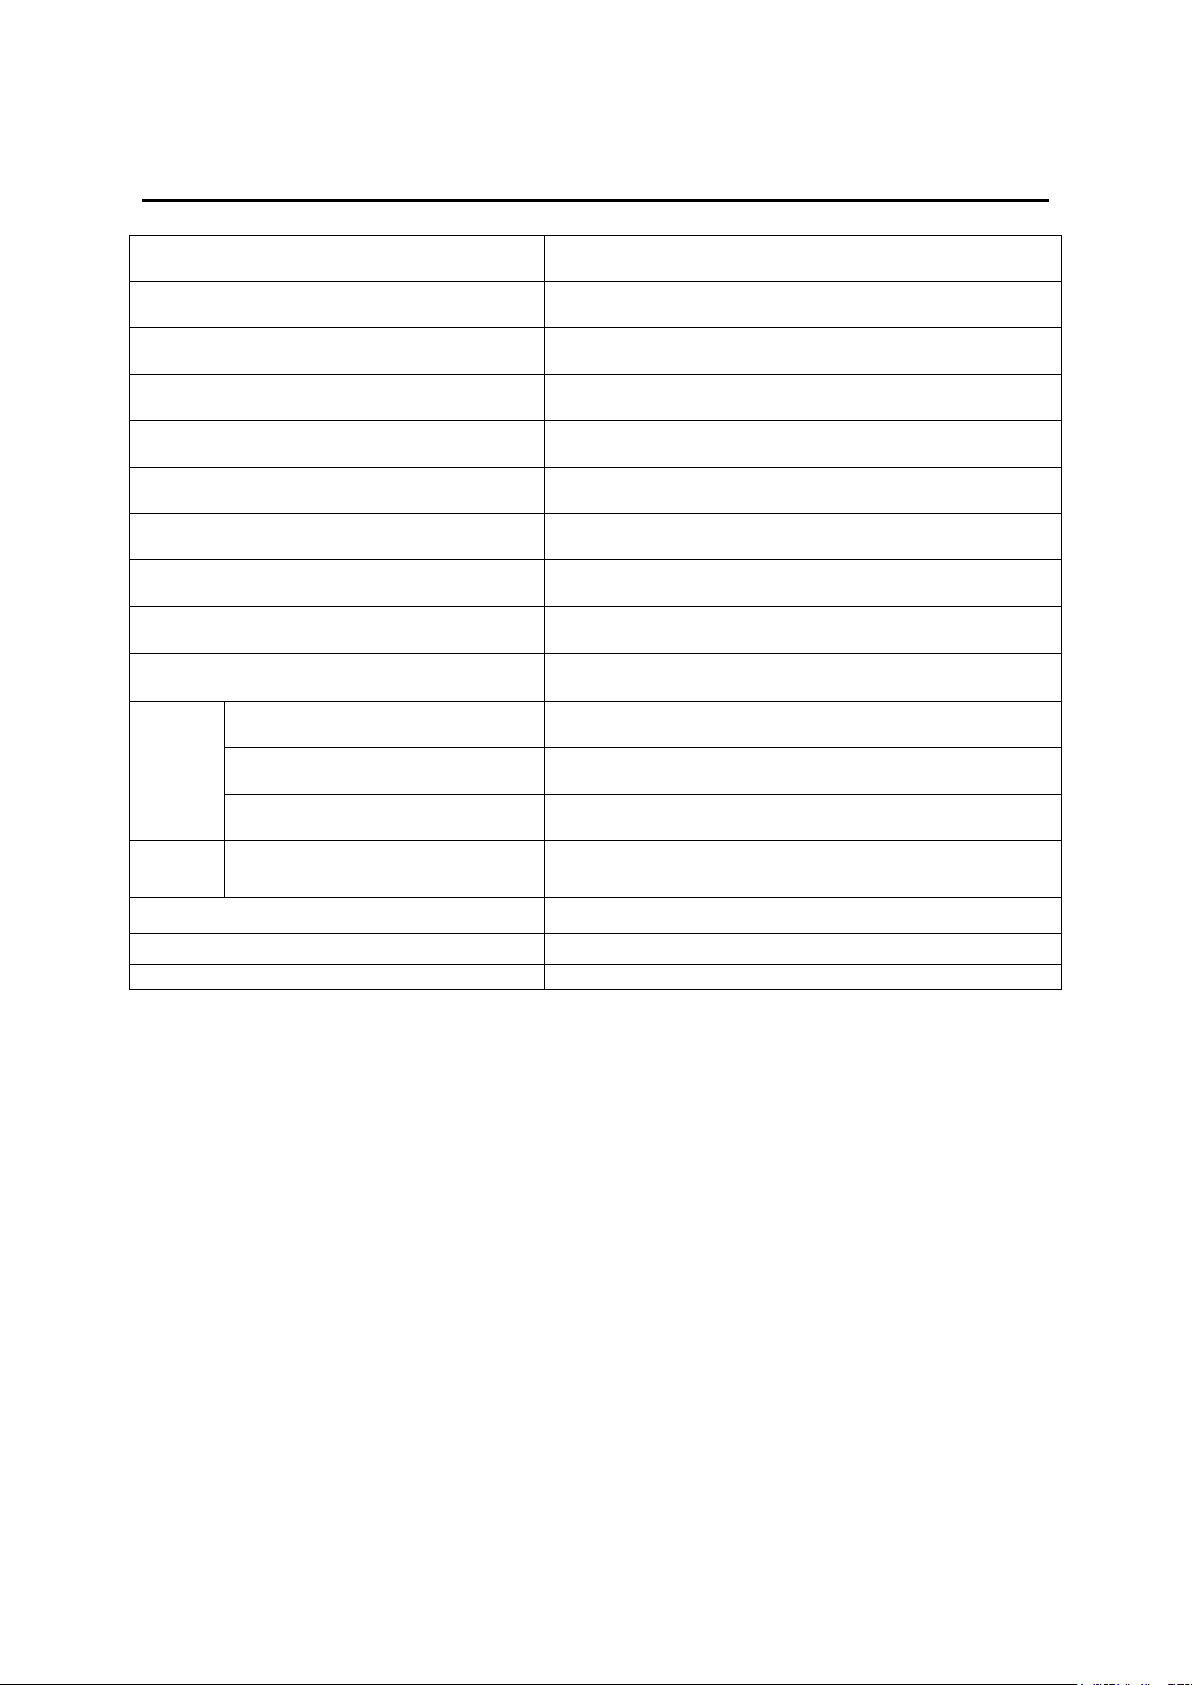
9 SPECIFICATIONS
Screen Size
18.5”
Display Type
TFT LED
Aspect Ratio
16:9
Power Source
110-120V
≤25W
TV System
PAL / SECAM
Video Input Format
PAL / NTSC/SECAM
Antenna Input
Standard antenna socket 75 Ω
Audio Output
L / R 3W*2
VGA Input Format
Standard VESA mode
Input
AV
Video:1.0Vp-p, 75Ω; Audio20kΩ; RCA
PC
Standard VESA mode
HDMI
MAX 1080P/60Hz
Output
VIDEO
CVBS: 1.0 Vp- p 75 Ω; RCA
Net Weight
3±1kg
Net Dimensions with stand
18.25” wide, 13” tall, 6” deep
Net Dimensions without stand
18.25” wide, 11.8” tall, 1.8” deep
V1.0 6/19/13
 Loading...