

Page 1
Manual
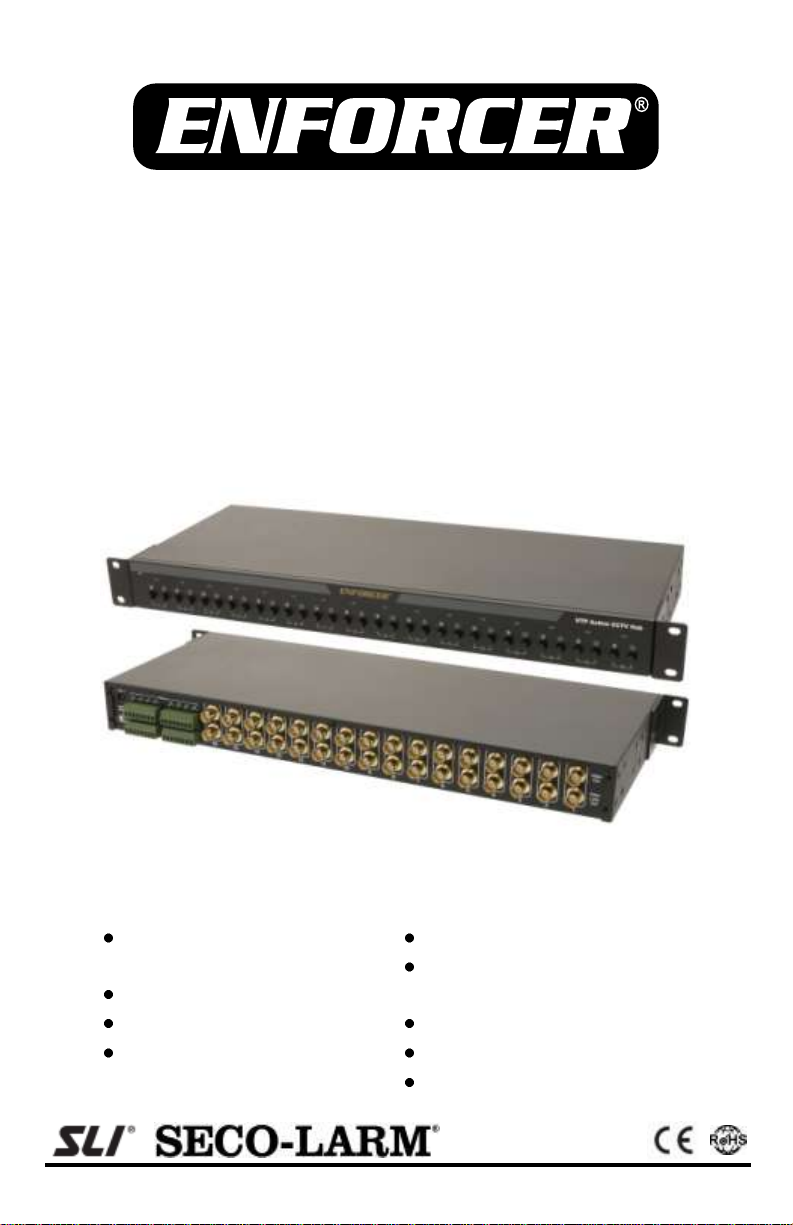
1U Rack-Mount 16-Channel
Active Balun Hub
EVT-AH16-VT2Q
Fits in standard IT racks
Adjustable contrast and
brightness at each port
12~24 VAC/VDC
Removable terminal blocks
Built-in video surge protection
Transmits up to 5,000ft
(1.5km) for color
16 Local loop out
32 Outputs total
Rack or wall mountable,
stackable
Note: Model numbers that end with “Q” or that have a round green “Q” sticker signify RoHS-compliant products.
Page 2

ENFORCER 1U RACK-MOUNT 16-CHANNEL ACTIVE VIDEO BALUN HUB
Table of Contents:
Introduction:
The ENFORCER EVT-AH16-VT2Q Rack-Mount 16-Channel Active Video Balun
Hub allows up to 16 color or monochrome CCTV cameras to be connected via
inexpensive CAT5e/6 unshielded twisted pair (UTP) cable to a DVR, video
switcher, or multiplexer. It cuts the cost and complexity of security networks by
eliminating the need to run expensive coaxial cable to multiple CCTV cameras
while transmitting color video signals up to 5,000ft (1.5km).
Features:
Compact 1U height fits most standard 19” equipment racks.
16 video inputs and 16 video outputs with 16 local loop out.
Active operation amplifies the video signal for excellent picture quality at
long distances.
Transmits color video signal up to 5,000ft (1.5km) using an active balun
transmitter and 3,940ft (1.2km) using a passive balun.
Uses low-cost Cat5e/6 unshielded twisted pair cable instead of costly
coaxial cable.
Adjustable contrast and brightness at each port.
Built-in video surge protection.
Blue LED at each port indicates video signal.
Power LED indicates whether the unit is powered.
Includes one 1.5A@12VDC adapter.
Gold-plated BNC connector.
Easy installation: Removable terminal blocks.
Perfect for use with DVRs.
Introduction .....................................
Features .........................................
Parts List ........................................
Specifications .................................
Overview ........................................
Shelf/Table Mounting......................
Wall Mounting ................................
Rack Mounting...............................
Wiring .............................................
Connecting to DVR,
Video Switcher or Multiplexer ........
Connecting to Ground....................
Adjusting the Image .......................
Cable Management .......................
Sample Application ........................
Troubleshooting .............................
2
2
3
3
3
4
4
4
5
5
6
6
6
7
8
2 SECO-LARM U.S.A., Inc.
Page 3

Parts List:
Rack-mount balun hub ...................................................................................
Cable management brackets ..........................................................................
M3x6 Cable bracket screws ...........................................................................
Mounting brackets ..........................................................................................
Rubber feet .....................................................................................................
Power adapter ................................................................................................
Ground wire ...................................................................................................
Manual ...........................................................................................................
Overview:
Video input ports
2-wire ports on removable terminal blocks
Video input cables
Unshielded twisted pair (UTP), Cat 2 or better
Video output ports
BNC connectors, each 1Vp-p, 75 ohms
Video output cables
Coaxial
Active to active range
5,000ft (1.5km)
Passive to active range
3,940ft (1.2km)
Video format
NTSC, PAL, SECAM
Power
Dual voltage: 12~24 VAC/VDC
(1.5A@12VDC power adapter included)
Surge protection
Video
Operating temperature
32°~131° F (0°~55° C)
Size
1U, 19”x611/16”x13/4” (482x170x44 mm)
Weight
5-lb (2.2kg)
Material
Steel cabinet, black matte finish
Specifications:
x1
x2
x4
x2
x4
x1
x1
x1
Power
LED
Contrast
Knob
Brightness
Knob
Status
LED
Video Out
port
Video Loop
port
Power input
12~24 VAC/VDC
Ground screw
Video In port
611/16”
(170mm)
13/4”
(44mm)
19” (482mm)
ENFORCER 1U RACK-MOUNT 16-CHANNEL ACTIVE BALUN HUB
SECO-LARM U.S.A., Inc. 3
Page 4

ENFORCER 1U RACK-MOUNT 16-CHANNEL ACTIVE VIDEO BALUN HUB
Shelf/Table Mounting:
1. Units may be stacked one on top of the
other, or with other equipment.
2. Make sure the rubber feet are firmly
attached to the mounting points on the
bottom of the unit.
Wall Mounting:
Rack Mounting:
1. Forward facing installation (for easy view of LED indicators)
a. Remove the mounting screws from the mounting points at the front of the unit.
b. Screw the mounting brackets onto the unit facing forward.
2. Backward facing installation (for easy access to wires)
a. Remove the mounting screws from the mounting points at the back of the unit.
b. Screw the mounting brackets onto the unit facing the back.
3. Find an appropriate unused 1U space in your equipment rack and screw the unit in place.
4. Leave at least 0.5U above and below the unit for ventilation.
Note: No rear support rails are needed. The unit can be fully supported using the
mounting brackets provided.
Equipment rack vertical support
1. Remove the mounting screws from
the mounting points.
2. Screw the mounting brackets on,
facing downward.
3. Use screws or bolts (not included) to
mount the unit in the desired location.
Note: Make sure that the screws/bolts
and mounting surface can support the
weight of the unit.
Mounting points
Mounting
bracket
Mounting
screws
(not included)
Mounting point
Rubber foot
4 SECO-LARM U.S.A., Inc.
Page 5

Wiring:
1. Connect the included 12VDC adapter to the EVT-AH16-VT2Q and to a power source.
2. Run a Cat 5e/6 UTP cable from each camera through the wall or through a conduit to
the EVT-AH16-VT2Q.
Note: If existing telecom or data UTP cables are available, they can be mixed and
matched with new cables. Running two or more cables together should not
affect the video signals.
3. Connect a video balun (use active transmitter for best results) to a pair of wires in the
UTP cable near the CCTV camera, and then plug the video balun into the camera.
Connect the matching pair of wires in the cable at the other end of the correct video-in
port on the back of the EVT-AH16-VT2Q.
Connecting to DVR, Video Switcher, or Multiplexer:
1. Run one coaxial cable (not included) from the Video Out or Video Loop port on the EVT-
AH16-VT2Q and connect it to the corresponding video-in port of the DVR, video
switcher, or multiplexer (not included).
2. Repeat the above as necessary until each used channel is connected to the DVR, video
switcher, or multiplexer.
EVT-AH16-VT2Q
DVR
Coaxial
cable
Cat5e/6
Using a Passive Balun
(EVT-PB1Q)
EV-2615-NKEQ
EV-2615-NKEQ
Using an Active Balun Transmitter
(EVT-TB1-42TQ)
ENFORCER 1U RACK-MOUNT 16-CHANNEL ACTIVE BALUN HUB
SECO-LARM U.S.A., Inc. 5
Page 6

ENFORCER 1U RACK-MOUNT 16-CHANNEL ACTIVE VIDEO BALUN HUB
Cable Management:
1. Screw the two included “G” brackets onto the mounting point on the rear of the unit with
the included M3x6 screws. Mount the brackets open end at the top.
2. Mount the brackets and route power cables in a way that best suits your installation. Be
sure to leave slack in the cable to ease future maintenance. Use cable ties (not
included) to reduce cable tension.
Cable tie
Cable management
“G” bracket
Adjusting the Image:
1. Locate the camera’s corresponding output on the front of the EVT-AH16-VT2Q.
2. Adjust the Contrast and Brightness adjustment knobs by hand.
Contrast
adjustment knob
Brightness
adjustment knob
Connecting to Ground:
To earth
ground
1. For best surge protection results, connect
the included ground wire to the ground
screw located on the back of the
EVT-AH16-VT2Q.
2. Connect the ground wire to earth ground.
(For example, a grounded metal conduit,
a cold water pipe, or a grounding rod.)
6 SECO-LARM U.S.A., Inc.
Page 7

Sample Application:
1. The EV-2615-NKEQ NVD Dome Camera is connected to the EVT-AH16-VT2Q
through the EVT-TB1-42TQ Active Balun Transmitter.
2. The EV-2615-NKEQ NVD Dome Camera is connected to the EVT-AH16-VT2Q
through the EVT-PB1Q Passive Video Balun.
3. A security monitor is connected directly to the EVT-AH16-VT2Q’s video output.
4. The EVT-AH16-VT2Q is connected to a DVR. The MVD-V1501-1Q VGA Extender
over Cat5e/6 connects to the DVR’s VGA output, allowing the connection of up to 5
more displays.
5. The EVT-AH16-VT2Q unit is mounted to a standard IT rack using rear mounting.
MVD-V1501-1Q
EVT-TB1-42TQ
Local display
EVT-AH16-VT2Q
DVR
3
Remote displays
2 1 5
EVT-PB1Q
Local display
4
ENFORCER 1U RACK-MOUNT 16-CHANNEL ACTIVE BALUN HUB
SECO-LARM U.S.A., Inc. 7
Page 8

ENFORCER 1U RACK-MOUNT 16-CHANNEL ACTIVE VIDEO BALUN HUB
Troubleshooting:
The screen is blank
Check that the Active Video Balun Hub is plugged in.
Check that the CCTV camera is powered up.
Check that the video cable connecting the camera to the hub is connected
properly.
Check that the cable(s) connecting the hub to the monitor, switcher, DVR, or
multiplexer are connected properly.
Double-check the connections to any passive or active baluns.
The screen image is dim
Clean the camera lens (using a soft, clean cloth).
Check that the camera light source is adequate.
Clean the camera dome (if applicable).
If the backlight control (BLC) DIP switch on the camera is set to OFF, try setting
it to ON.
The screen image is dark
Adjust the Brightness on the Active Balun Hub.
Check that the automatic electronic shutter (AES) DIP switch on the camera is
turned OFF.
The screen image has poor contrast
Adjust the monitor’s contrast knob.
Adjust the Contrast on the Active Balun Hub.
Change the position of the camera.
The screen image flickers
Change the position of the camera.
The screen image rolls
If multiple cameras are used, make sure the polarity of the power connections
is consistent.
The screen image is distorted
(24VAC only) If more than one camera is attached to the same power source,
adjust the other camera’s linelock sync.
Change the position of the camera.
The camera case is hot
Check that the correct power supply is in use.
IMPORTANT: Users and installers of this product are responsible for ensuring this product complies with all national, state,
and local laws and statutes related to monitoring and recording audio and video signals. SECO-LARM will not be held
responsible for the use of this product in violation of any current laws or statutes.
WARNING: Incorrect mounting which leads to exposure to rain or moisture inside the enclosure could cause a dangerous
electric shock, damage the device, and void the warranty. Do not open the case of this device, as there are no fieldserviceable components inside.
WARRANTY: This SECO-LARM product is warranted against defects in material and workmanship while used in normal
service for a period of one (1) year from the date of sale to the original consumer customer. Our obligation is limited to the
repair or replacement of any defective part if the unit is returned, transportation prepaid, to SECO-LARM. For complete
details regarding the SECO-LARM warranty, please contact SECO-LARM.
NOTICE: The information and specifications printed in this manual are current at the time of publication. However, the
SECO-LARM policy is one of continual development and improvement. For this reason, SECO-LARM reserves the right to
change specifications without notice. SECO-LARM is also not responsible for misprints or typographical errors.
Copyright © 2010 SECO-LARM U.S.A., Inc. All rights reserved. This material may not be reproduced or copied, in whole or
in part, without the written permission of SECO-LARM.
SECO-LARM® U.S.A., Inc.
16842 Millikan Avenue, Irvine, CA 92606
Tel: 800-662-0800/ 949-261-2999 Fax: 949-261-7326
Website: www.seco-larm.com
E-mail: sales@seco-larm.com
PITSW4
MiEVT-AH16-VT2Q_1003.docx
8 SECO-LARM U.S.A., Inc.
 Loading...