


Assembly
1. Cut out template above. Place template under left grinding wheel. Line up template with a square as shown. Center punch at two locating points. Predrill with 1/8 drill at the two punch marks. Fasten pedestal down using two #10 x 1" long wood screws and washers.
SQUARE TEMPLATE
GRINDING WHEEL
2. Assemble thumb nuts, springs, and washers to two #10-24 x 13/4 locating screws as shown. Place the assembly into the locating slots of pedestal and fasten with #10-24 square nuts.


DRILL FEEDING ASSEMBLY
3. Insert pivot bolt (% x 2½ long) thru swivel bracket as shown.
- Place drill feeding assembly thru swivel brackets top hole as shown. Fasten with washer, arm spacer, left lock arm and arm nut (%-16 hex).
- 5. Left arm needs to lock tight at 45° toward Cone Handle as shown. To change this angle, remove nut from left arm and rotate nut one hex clockwise or counter clockwise as needed. Retighten left arm, repeat above until left arm tightens at 45°. (This allows arm to loosen after being assembled to pedestal).
- Assemble pivot bolt thru slot in pedestal and rasten with washer, arm spacer, right lock arm, and arm nut (Holding pivot bolt in).
- Loosen left arm and swing cone to right (to stop) and retighten left arm. (drill feeding assembly is now parallel to swivel bracket). Rotate cone handle clockwise until witness mark is at the feed screw. Turn feed screw until cam shoulder is 1/8 from housing.
- Loosen right arm and swing cone up, guiding cone handle into tapered slot in base of pedestal. Retighten right arm


REMOVE NUT AND INDEX NUT ONE HEX

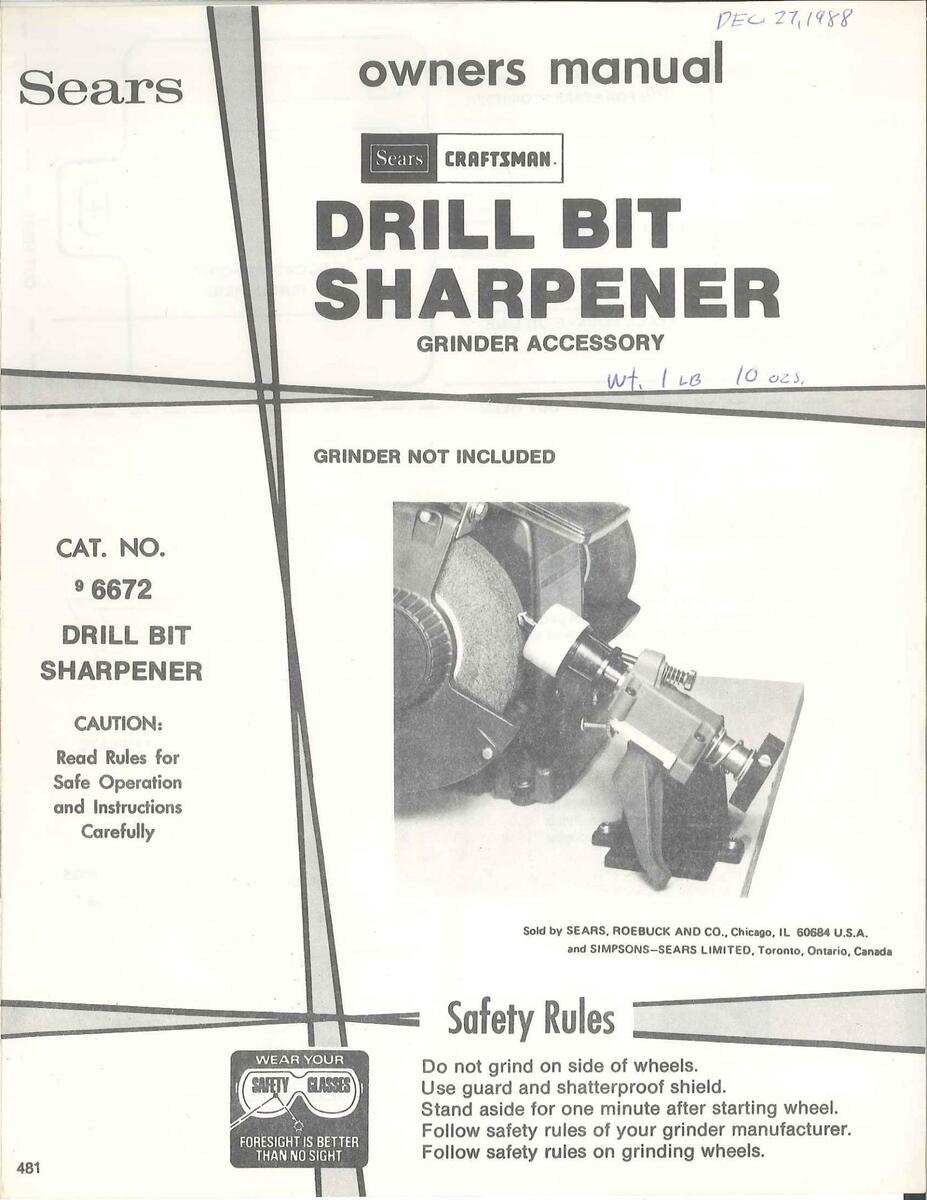
OPERATING INSTRUCTIONS

The grinding wheel should be dressed clean and straight for best results. (A dressing stick for this purpose is available at Sears stores and catalogue.)
DRESSING STICK MODEL 96491
9. We recommend you sharpen a 1/4" drill first. (with standard 59° point). Remove cone nut from cone. Take three grey jaws and three springs to make a collet assembly. Seat springs in holes of plastic on each side of jaws. Put collet assembly into cone, inserting the jaws into the keyways. (Keyways are inside cone). Place cone washer over shoulder of collet assembly. (this holds the three springs slightly compressed to allow cone nut to slip over) Replace cone nut. (three full turns)
- 10. Place a 1/4" drill in the collet. With the drill out past the collet. (approx. 3/4) Tighten the cone nut enough to hold the drill from falling but allows you to turn the drill.
- 11. Place gage flat on top of cone nut and up against the jaw which is in line with witness mark. (for 1/4" drill, tab of gage is toward drill and up, as shown) Slide and turn the drill farther into collet until cutting lip (at the outside diameter of drill) is at the top of gage. (keep gage flat on cone nut and against the jaw.) Drill is now set in proper location to the witness mark and cam. Gently tighten cone nut by holding cam with one hand and turning nut with the other hand. (Do not over tighten)
TO GAGE ALL SIZES OF DRILLS READ HELPFUL HINTS, STEP L.


The keyhole in the gage is to go over the head of the front locating screw for storage.

JAW WHICH IS IN LINE WITH WITNESS MARK
- 12. Loosen right arm, pull back, and swing drill feeding assembly until drill is about ¼" from the grinding wheel. Retighten right arm. Rotate the cone handle several times in clockwise direction to feel the cam rise and drop off. Stop with the feed screw at witness mark.
- 13. Loosen right arm. Swing and slide drill feeding assembly until drill is near the front of the grinding wheel (about 1/32"). Align drill lip straight up and down to the outside diameter of the grinding wheel. (drill lips are vertical) Tighten the right arm. Point of drill should be 1/8" from left side of grinding wheel. (Important dimension) If needed, loosen wood screws holding pedestal and adjust pedestal until point is 1/8" from edge of wheel and retighten wood screws.
- 14. Rotate cone handle twice to be sure drill does not touch grinding wheel. Stop with feed screw at low point of cam. (just dropped off)
- 15. Adjust both locating screws gently up against swivel bracket and lock with thumb nuts. (they are for bringing drill back to same relation to grinding wheel later)

The art of grinding is to hold the work at the exact angle (desired degree). Then move the work freely against the wheel, removing a slight amount of material at a time. By maintaining a well dressed wheel; grinding is a simple task.
16. A Final Check:
- Drill lip is lined up to wheel.
- Cone nut is snug.
- I can turn cone handle around and drill does not touch wheel.
- Feed screw is at low point of cam.
We recommend before grinding, read Helpful Hints.
Remove only a slight amount of material at a time to keep from heating up the cutting edge of the drill. By turning the feed screw 1/8" of one turn, .005 will be removed. (we recommend feeding .003 to .005 per cut.) Repeat these small cuts until the drill is sharp.
DO NOT LET THE DRILL SET ON THE GRINDING SURFACE. KEEP THE DRILL TURNING AND STOP ONLY WHEN CAM IS AT ITS LOW POINT.
YOU ARE NOW READY TO SHARPEN THE DRILL
TURN GRINDER ON, STEP ASIDE FOR ONE MINUTE FOR SAFETY.
17. Feed drill toward wheel with feed screw 1/8 maximum turn at a time) and rotate cone handle. (slow and even) When you think the end of the drill is cleaned up, turn the cone handle three times without feeding drill in. (this is sparking out the drill) With feed screw at low point of cam, turn grinder off. If the feed screw was turned more than one complete turn after gaging — you must regage and resharpen to get the correct web angle.
1/8 ON O.D.
1/8 OF ONE TURN ON FEED SCREW WILL FEED DRILL IN .005
- 18. When grinding wheel stops, loosen right arm and rotate drill point straight up. Examine cutting edge. If cutting edge and drill point are not cleaned up, rotate drill back to grinding wheel and locating screw will position drill. (repeat steps 16 and 17 until cutting lip and drill point are cleaned up).
- 19. Check web angle (approximately 130°). If this angle is not correct, regage and resharpen. (check helpful hints)
- 20. The heel of the drill must be relieved. Blacken the end of the drill. (so you can see when the heel is relieved.) Loosen right arm and rotate drill near grinding wheel, locating screws will position the drill as before. Tighten right arm. Rotate cone handle until drill lips are horizontal.
- 21. Loosen left arm and swing cone to the left until drill point is off the wheel. (corner of wheel should be halfway between drill point and drill outside diameter, as shown) Retighten left arm. By rotating cone handle and feeding drill in, the heel will be removed.
-
22. HELPFUL HINTS:
- A. If web angle is too much, drill was not gaged correctly (gage was not against jaw or drill turned while tightening cone nut)
If WEB ANGLE is too much (as shown above), loosen cone nut. turn drill slightly clockwise and resharpen.
B. If web angle is too little either the drill was not against the gage or drill turned while gaging or feed screw was turned in more than one complete turn after gaging.

If WEB ANGLE is too little (as shown above), loosen cone nut, turn drill slightly counter clockwise, and resharpen.
WEB ANGLE
This is a properly sharpened drill point with web angle at 130°.


HEEL CLEARANCE
(BE CAREFUL NOT TO FEED SO MUCH THAT THE CUTTING EDGE TOUCHES GRINDING WHEEL.)
-
C. Check the following if your drill does not cut good after sharpening.
- Inspect the cutting lip—did you dull the lip while relieving heel—if so resharpen.
- Check by placing cutting lip on the edge of a hole, as shown. (such as washer) if needed relieve heel. (step 20 & 21)

HEEL CLEARANCE
- D. Notice how the gage locates the drill lip to the jaw. Distance the drill sticks out past collet is to give wheel clearance and does not effect sharpening.
- E. Sharpening the drill on the fine grit wheel gives an excellent grind, but could result in burning the drill. We recommend a 60 grit or coarser wheel for good finish with lesschance of burning the drill.
- F. To drill very soft or very nard material, the drill point can be altered for best results. (as shown)
- G. A self centering wood point can be ground on a standard drill by dressing a 1/16 x 45° chamfer on the right edge of the wheel and relocating the drill sharpener at an angle to the wheel. (as shown)
- H. To adapt the drill bit sharpener to a grinder on a floor pedestal, you will need a rigid board between the grinder and pedestal. The board will serve as a work bench. A 19" x 12" board will allow you to mount the sharpener to either wheel. If you want clearance under one wheel, notch board to suit.
- I. Assemble the other collet assembly and store in the collet keeper.
Place collet assembly on the bench with taper up and push sleeve over the jaws.
- J. For magnetic. chucks, bolt pedestal to piece of steel.
- K. Gage is used in three different positions, depending on size of drill to be sharpened (as shown at right).


SOFT MATERIAL SUCH AS PLASTIC
HARD MATERIAL SUCH AS TOUGH STEEL

SELF CENTERING WOOD POINT


Gage with tab down against jaw for 3/8 to 1/2 dia. drills.

Gage with straight side against drill and jaw, for 1/4 to 3/8 dia. drills.
Gage with tab up for 1/8 to 1/4 dia. drills.
OTHER GRINDER ACCESSORIES
Always use the right wheel for the job. Sears has silicon carbide wheels to grind carbide and soft hardness wheels to grind high speed steel.
GRINDING WHEEL DRESSING STICK
Sears has this silicon carbide stone for dressing all grinding wheels.
CAT. NO. 96491
TOOL HOLDER ATTACHMENT
Use the tool holder attachment with any grinders to sharpen screw drivers, chisels, long blades, planer blades, and other tools.
CAT. NO. 919596

ROUTER BIT SHARPENER
Use with any bench grinder to sharpen high speed steel Router Bits.
CAT. NO. 96660

MASONRY BIT AND WOODBORING BIT SHARPENER

Use with any grinder to sharpen Masonry Bits and Wood Boring Bits.
CAT. NO.
96665


 Loading...