

Sears Craftsman 113.177905 Owner's Manual
i
f
Save This Manual
For Future Reference
SEARS
owner's
manual
MODEL NO.
113.177905
I
Serial
Number.
Model and serial
numbers may be found
on the handle. You
should record both
model and serial
numbers in a safe place
for future use.
FOR YOUR
SAFETY
READ ALL
INSTRUCTIONS
CAREFULLY
_., J
CRRFTSMRN®
16 GALLON
FULL BLOWING
WET/DRY VAC
• assembly
• operating
• repair parts
Sears, Roebuck and Co., Hoffman Estates, IL. 60179 U.S.A.
Part No. SP6267 Printed in U.S.A.
FULL ONE YEAR WARRANTY
ON CRAFTSMAN WET/DRY VACS
If within one year from the date of purchase, this Craftsman Wet/Dry
Vac falls due to a defect in material or workmanship, Sears will repair it,
free of charge.
If this Craftsman Wet/Dry Vac Is used for commercial or rental pur-
poses, this warranty coverage applies for only 90 days from date of
purchase.
WARRANTY SERVICE IS AVAILABLE BY SIMPLY CONTACTING THE
NEAREST SEARS SERVICE CENTEPJDEPARTMENT THROUGHOUT
THE UNITED STATES.
This warranty applies only while this product is used in the United States.
This warranty gives you specific legal rights, and you may also have
other rights which vary from state to state.
Sears, Roebuck and Co., D817 WA, Hoffman Estates, IL. 60179
IMPORTANTSAFEW INSTRUCTIONS
Safety is a combination of common
sense, staying alert and knowing how
your vac works. Read this manual to
understand the vac.
Safety Signal Words
DANGER: means if the safety information
is not followed someone will be seriously
injured or killed.
WARNING: means if the safety informa-
tion is not followed someone could be
seriously injured or killed.
CAUTION: means if the safety informa-
tion is not followed someone may be
injured.
When using your Wet/Dry Vac, follow basic
safety precautions including the following.
WARNING-Toreduce
the risk of fire, electric shock, or
Injury:
Read and understand this owner's manual
and all labels on the Wet/Dry Vac before
operating. Use only as described in this
manual. To avoid personal injury or dam-
age to Wet/Dry Vac, use only Sears
Craftsman recommended accessories.
Sparks inside the motor can ignite flam-
mable vapors or dust. To avoid fire or
explosion:
• Do not vacuum, or use this Wet/Dry
Vac, near flammable or combustible
liquids, gases, or explosive dusts, such
as gasoline or other fuels, lighter fluid,
cleaners, oil- based paints, natural
gas, hydrogen, coal dust, magnesium
dust, grain dust, or gun powder.
• Do not use Wet/Dry Vac as a sprayer.
Do not vacuum anything that is burning or
smoking, such as cigarettes, matches, or
hot ashes.
Do not vacuum fireplace soot or ash. This
is a very fine dust which will not be cap-
tured by the filter and may cause damage.
To avoid health hazards from vapors or
dusts, do not vacuum toxic materials.
Do not use or store near hazardous matedals.
To avoid electric shock, do not expose to
rain. Store indoors.
Do not allow Wet/Dry Vac to be used as a
toy. Close attention is necessary when
used by or near children.
Do not use this Wet/Dry Vac with a torn fil-
ter or without the filter installed except
when vacuuming liquids as described in
the operation section of this manual.
Do not leave Wet/Dry Vac when plugged
in. Unplug from outlet when not in use and
before servicing. Turn off Wet/Dry Vac
before unplugging.
2
Toavoidinjuryfromaccidentalstarting,
unplugpowercordbeforechangingor
cleaningfilter.
Do not unplug by pulling on cord. To
unplug, grasp the plug, not the cord.
Do not use with damaged cord, plug or
other parts. If your Wet/Dry Van is not
working as it should, has missing parts,
has been dropped, damaged, left out-
doors, or dropped into water, return itto a
Sears Service Center.
Do not pull or carry by cord, use cord as
handle, close a door on cord, or pull cord
around sharp edges or corners. Do not
run Wet]Dry Vac over cord. Keep cord
away from heated surfaces.
Do not handle plug or the Wet]Dry Van
with wet hands.
Do not put any object into ventilation
openings. Do not vacuum with any venti-
lation openings blocked; keep free of dust,
lint, hair or anything that may reduce air
flow.
Keep hair, loose clothing, fingers, and all
parts of body away from openings and
moving parts.
To avoid falls, use extra care when clean-
ing on stairs.
This Wet/Dry Vac is double-insulated,
eliminating the need for a separate
grounding system. Use only identical
replacement parts. Read the instructions
for Servicing Double-Insulated Wet/Dry
Vacs before servicing.
Observe the following warnings that
appear on the motor housing of your Wet/
Dry Vac.
"_ OUBLE INSULATED u
GROUNDING NOT REQUIRED
WHEN SERVICING USEONLY
IDENTICAL REPLACEMENT PARTS
WARNING: To reduce the rlsk of
electrlc shock - do not expose to
rain. store indoors.
WARNING: For your own safety, read
and understand owner's manual. Do
not plck up hot ashes, coals, toxlc,
flammable or other hazardous mate-
rials. Do not use around explosive
liquids or vapors.
SAVE THESE INSTRUCTIONS
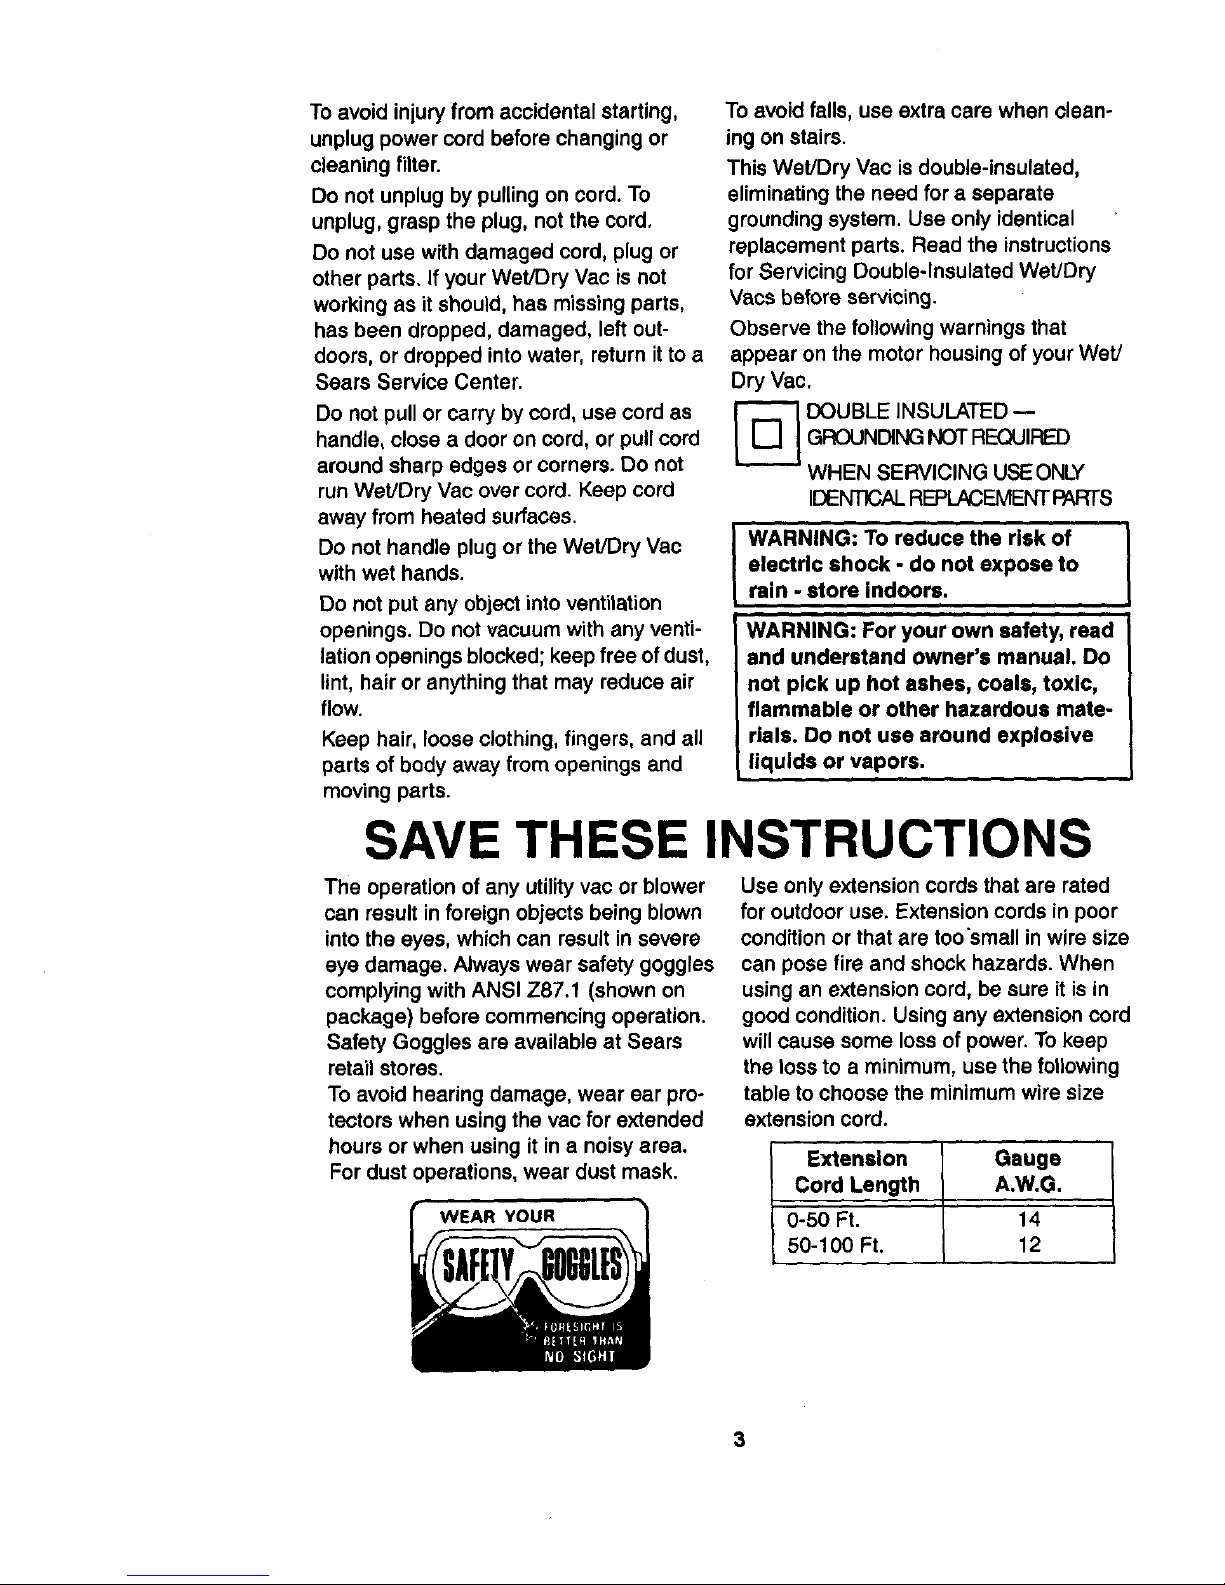
The operation of any utility vac or blower
can result in foreign objects being blown
into the eyes, which can result in severe
eye damage. Always wear safety goggles
complying with ANSI Z87.1 (shown on
package) before commencing operation.
Safety Goggles are available at Sears
retail stores.
To avoid hearing damage, wear ear pro-
tectors when using the van for extended
hours or when using it in a noisy area.
For dust operations, wear dust mask.
Use only extension cords that are rated
for outdoor use. Extension cords in poor
condition or that are too'small in wire size
can pose fire and shock hazards. When
using an extension cord, be sure it is in
good condition. Using any extension cord
will cause some loss of power. To keep
the loss to a minimum, use the following
table to choose the minimum wire size
extension cord.
Extension Gauge
Cord Length A.W.G.
0-50 Ft. 14
50-100 Ft. 12
3
Introduction ....
This Wet/Dry Vac is intended for house-
hold use only.
IMPORTANT NOTE
Please Read Carefully
Static Shocks Are Common - In dry
areas or when the relative humidity of the
air is low. To reduce the frequency of
static shocks in your home the best rem-
edy is to add moisture to the air with a
console humidifier.
Owner's Manual Contents
Item Page
Warranty Information ............................. 2
Safety Instructions ................................. 2
Introduction ............................................ 4
Unpacking and Checking
Carton Contents ............................. 4
Assembly ............................................... 5
Operation ............................................... 8
Maintenance ........................................ 10
Repair Parts ........................................ 12
Unpacking and Checking Carton Contents u
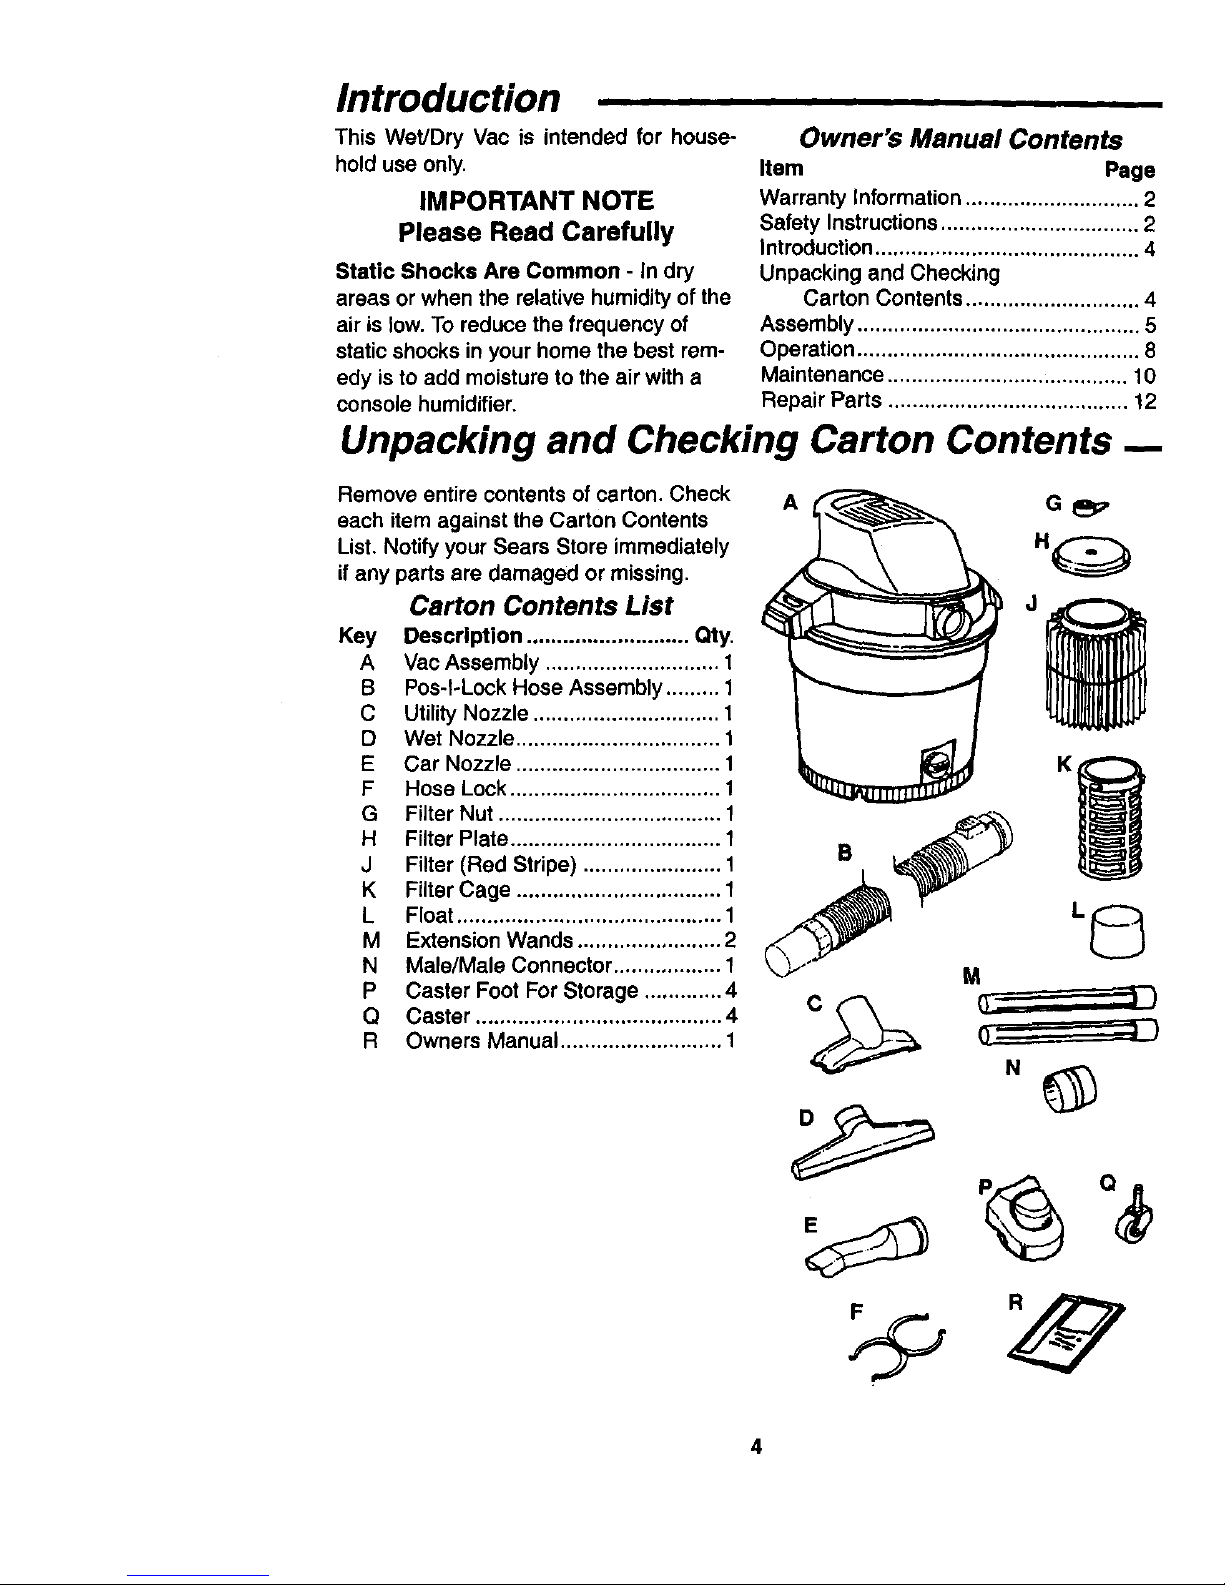
Remove entire contents of carton. Check
each item against the Carton Contents
List. Notify your Sears Store immediately
if any parts are damaged or missing.
Carton Contents List
Key Description ........................... Qty.
A Vac Assembly ............................. 1
B Pos-I-Lock Hose Assembly ......... 1
C Utility Nozzle ............................... 1
D Wet Nozzle .................................. 1
E Car Nozzle .................................. 1
F Hose Lock ................................... 1
G Filter Nut ..................................... 1
H Filter Plate ................................... 1
J Filter (Red Stripe) ....................... 1
K Filter Cage .................................. 1
L Float ............................................ 1
M Extension Wands ........................ 2
N Male/Male Connector .................. 1
P Caster Foot For Storage ............. 4
Q Caster ......................................... 4
R Owners Manual ........................... 1
A
G_.
B
4
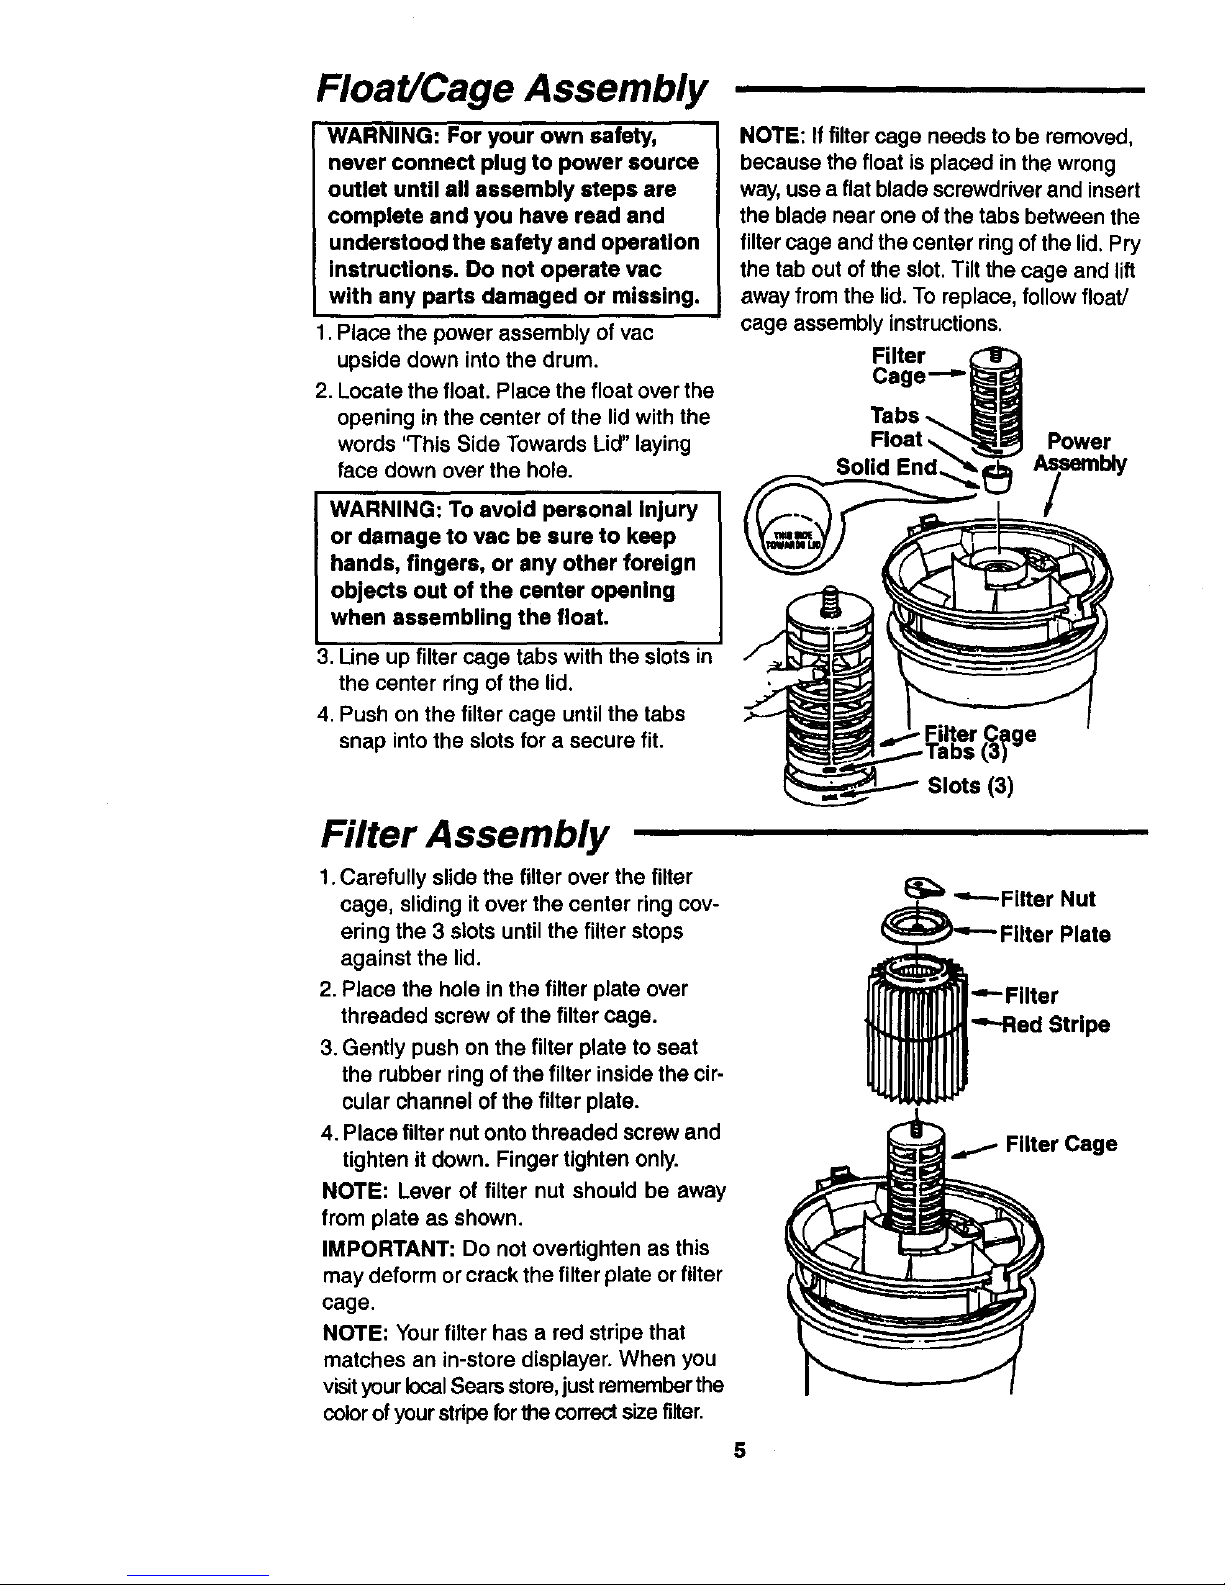
Float/Cage Assembly
WARNING: For your own safety,
never connect plug to power source
outlet until all assembly steps are
complete and you have read and
understood the safety and operetlon
instructions. Do not operate vac
with any parts damaged or missing.
1. Place the power assembly of vac
upside down into the drum.
2. Locate the float. Place the float over the
opening in the center of the lid with the
words "This Side Towards Lid" laying
face down over the hole.
WARNING: To avoid personal Injury
or damage to vac be sure to keep
bands, fingers, or any other foreign
objects out of the center opening
when assembling the float.
3. Line up filter cage tabs with the slots in
the center ring of the lid.
4. Push on the filter cage until the tabs
snap into the slots for a secure fit.
Filter Assembly
1. Carefully slide the filter over the filter
cage, sliding it over the center ring cov-
ering the 3 slots until the filter stops
against the lid.
2. Place the hole in the filter plate over
threaded screw of the filter cage.
3. Gently push on the filter plate to seat
the rubber ring of the filter inside the cir-
cular channel of the filter plate.
4. Place filter nut onto threaded screw and
tighten it down. Finger tighten only.
NOTE: Lever of filter nut should be away
from plate as shown.
IMPORTANT: Do not overtighten as this
may deform or crack the filter plate or filter
cage.
NOTE: Your filter has a red stripe that
matches an in-store displayer. When you
visityour local Sears stem, just remember the
color of your stripe for the correct size filter.
NOTE: If filter cage needs to be removed,
because the float is placed in the wrong
way, use a flat blade screwdriver and insert
the blade near one of the tabs between the
filter cage and the center ring of the lid. Pry
the tab out of the slot. Tilt the cage and lift
away from the lid. To replace, follow float/
cage assembly instructions.
Filter
Cage---=-
Float • Power
Solid End
- Filter _ge
(3)
----Filter
_-Red Stripe
Filter Cage
5
 Loading...