

Sears 917.25410 Owner's Manual
-
~
'(, I
OWNERS
MANUAL
MODEL NO.
917.25410
-
Sears
I
Caution:
Read Rules for
Safe Operation
and Instructions
Carefully
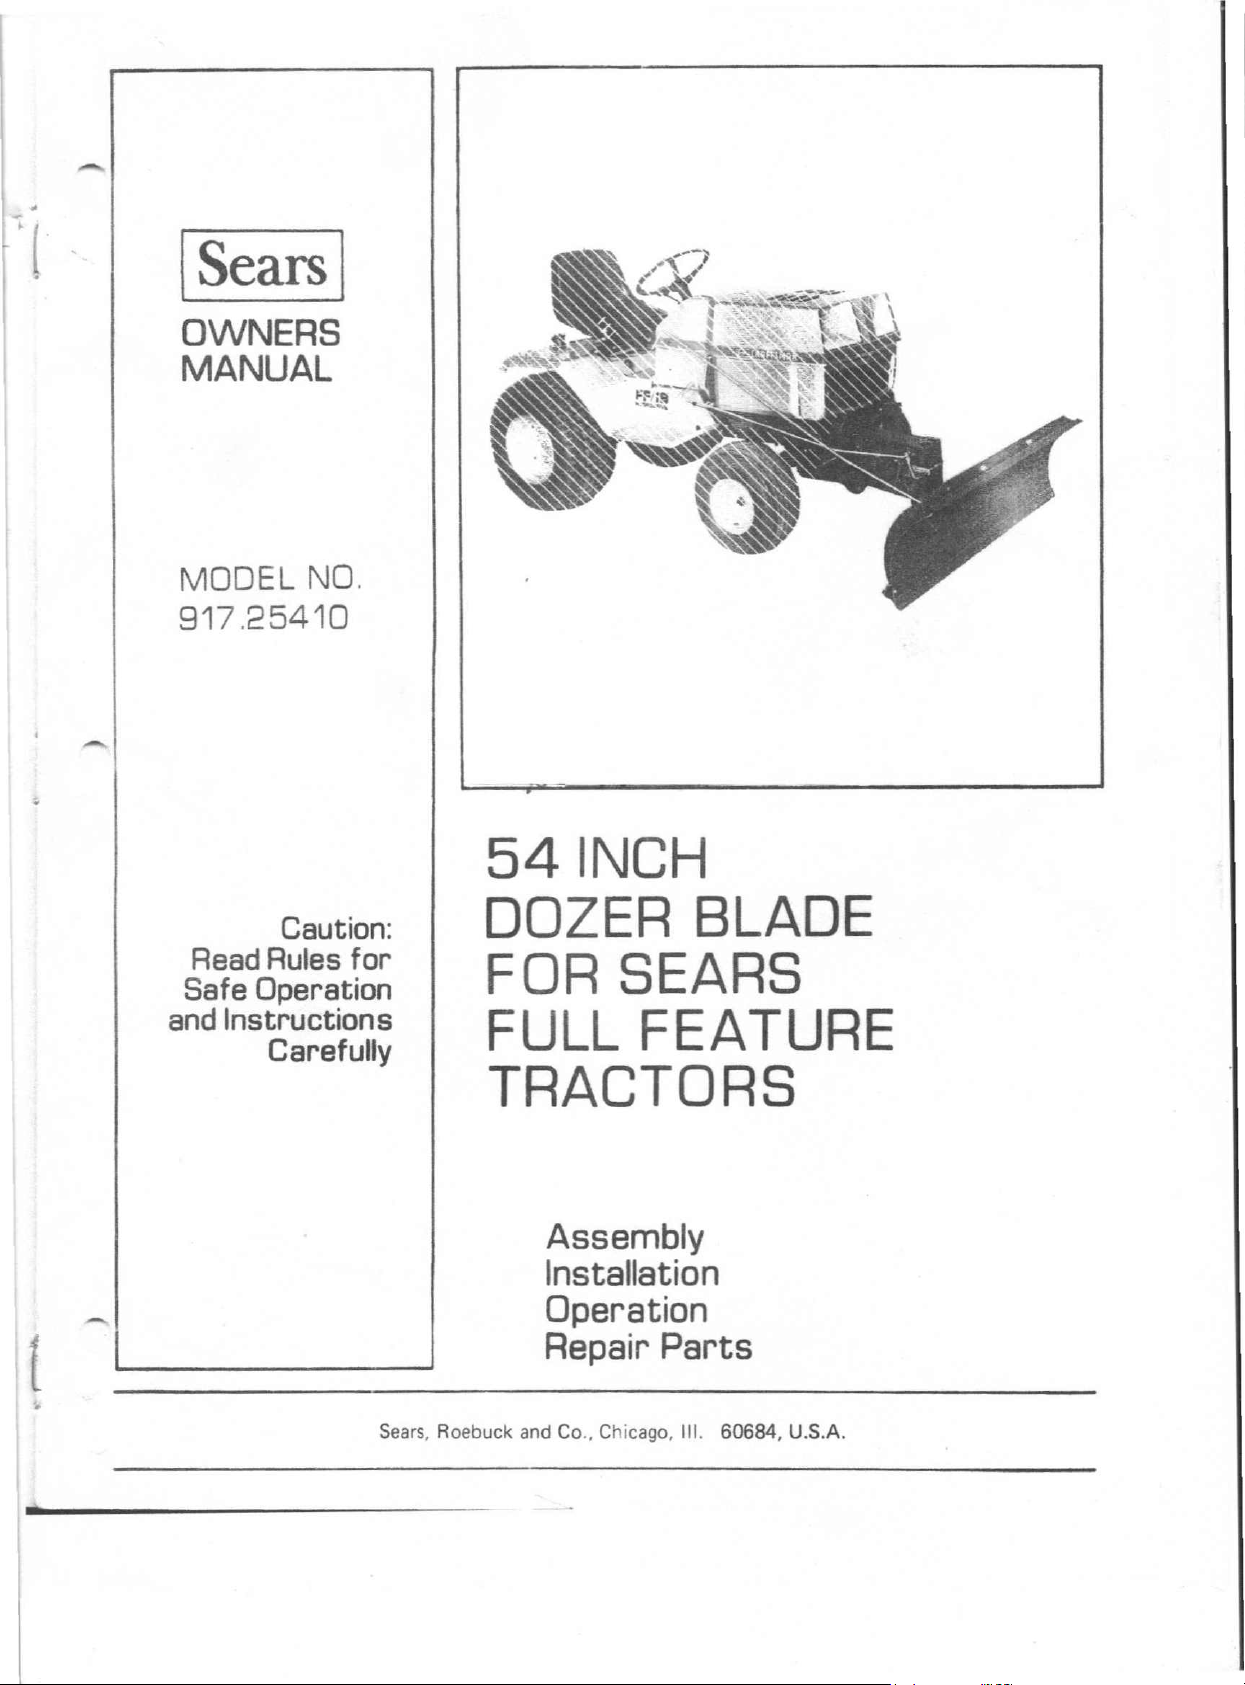
54 INCH
DOZER BLADE
FOR SEARS
FULL FEATURE
TRACTORS
Assembly
Installation
Operation
Repair Parts
Sears, Roebuck and Co.. Chicago, III. 60684, U.S.A.
WARRANTY
FULL ONE YEAR WARRANTY
For one year from date of purchase, Sears will repair any defect in material or workmanship in this tractor attach·
ment, at no charge.
If the tractor attachment is used for commercial or rental purposes, this warranty applies for only thirty days from
date of purchase.
Warranty service is available at your home, at no charge, by simply contacting your nearest Sears store or Service
Center throughout the United States.
This warranty gives you specific legal rights, and you may also have other rights which vary from state to state.
SEARS ROEBUCK AN::> CO.
Chicago, II. 60684
RULES FOR SAFE OPERATION
1.
Know the controls and how to stop quickly. READ THE
OWNER'S MANUAL.
2.
Do not allow children to operate the vehicle. Do not allow
adults to operate it without proper instruction.
3. Do not carry passengers. Keep children and pets a safe dis-
tance away.
4.
Always wear substantial footwear. Do not wear loose fitting
clothing that could get cauaht in moving parts.
5.
Keep your eyes and niind on your tractor, blade and the
area being dozed. Don't let other interests distract you.
6.
Do not attempt to operate your tractor when not in drivers
seat.
7. Always get on or off your tractor from the operators left
hand side.
8.
Disengage all attachment clutches and shift into neutral
fore attempting to start the engine.
9.
Disengage power to attjiChments and stop the engine
fore leaving the operator s position.
10. Stop the engine and disconnect spark plug wire(s) from
spark plug(s) before cleaning, making an adjustment or
repairs.
11. Disengage power to attachments when transporting or not
in use.
·12. Take all possible precautions when leaving the vehicle
attended, suchasdisengaging the power-take-off, lowering
the attachments, shifting into neutral, setting the parking
brake, stopping the engine, and removing the key.
13. Do not stop or start sugdenly when going uphill or down-
hill (not greater than 15 ); never across the face.
14. Reduce speed on slopes and make turns gradually to pre-
vent tipping or loss of control. Exercise extreme caution
when changir.g direction on slopes.
15. Do not shift gears while going up or down slopes. Choose a
gear low enough to negotiate the slope without stopping
and shifting gears. To reduce speed, move throttle lever
to slow.
16.
Stay alert for holes in the terrain and other hidden hazards.
17. Do not drive too close to creeks, ditches and public high·
ways.
18. Exercise special care when dozing around fixed objects
in order to prevent the blade from striking them. Never
deliberately run tractor or blade into or over any foreign
object.
19. Never shift gears until tractor comes to a stop.
un-
Sears Tower
BSC 41·3
be-
be-
31. Do not change the engine governor settings or overspeed
32. When using the vehicle with dozer, proceed as follows:
20. Use care when pulling loads or using heavy equipment.
a. Use only approved drawbar hitch points.
b. Limit loads to those you can safely control.
c. Do not turn sharply. Use care when backing.
d.
Use counterweight or wheel weights when suggested in
this owner's manual.
21. Watch out for traffic when crossing or near roadways.
22. When using any attachments, don't allow anyone near
the vehicle while in operation.
23. Handle gasoline with care- it is highly flammable.
a. Use approved gasoline containers.
b. Never remove the cap of the fuel tank or add gasoline to
a running or hot engine, or fill the fuel tank indoors.
Wipe up spilled gasoline.
c. Open doors if the engine is run in the garage· exhaust
fumes are dangerous. Do not run the engine indoors.
24. Keep the vehicle and attachments in good operating con-
dition, and keep safety devices in place.
25. Keep all nuts, bolts and screws tight to be sure the equip-
ment is in
sate
working condition.
26. Never store the equipment with gasoline in the tank inside
a building where fumes may reach an open flame or spark.
Allow the engine to cool before storing in any enclosure.
27. To reduce fire hazard, keep the engine free of grass, leaves
. or excessive grease.
28. Except for adjustment; DO NOT operate Engine if air
cleaner or cover directly over carburetor air intake is re-
moved. Removal of such part could create a fire hazard.
29. DO NOT OPERATE WITHOUT A MUFFLER OR TAM·
PER WITH THE EXHAUST SYSTEM. Damaged mufflers
or spark arresters could create a fire hazard. Inspect period-
ically and replace if necessarv.
30.
The vehicle and attachments should be stopped and inspect-
ed for damage after striking a foreign object, and the dam-
age should be repaired before restarting and operating the
equipment.
the engine.
a. Doze only in daylight or in good artificial light.
b. Check the blade mounting bolts for proper tightness at
frequent intervals.
-
LOOK FOR THIS SYMBOL TO POINT OUT IMPORTANT
A
SAFETY PRECAUTIONS. IT MEANS - ATTENTION!
BECOME ALERT! YOUR SAFETY IS INVOLVED.
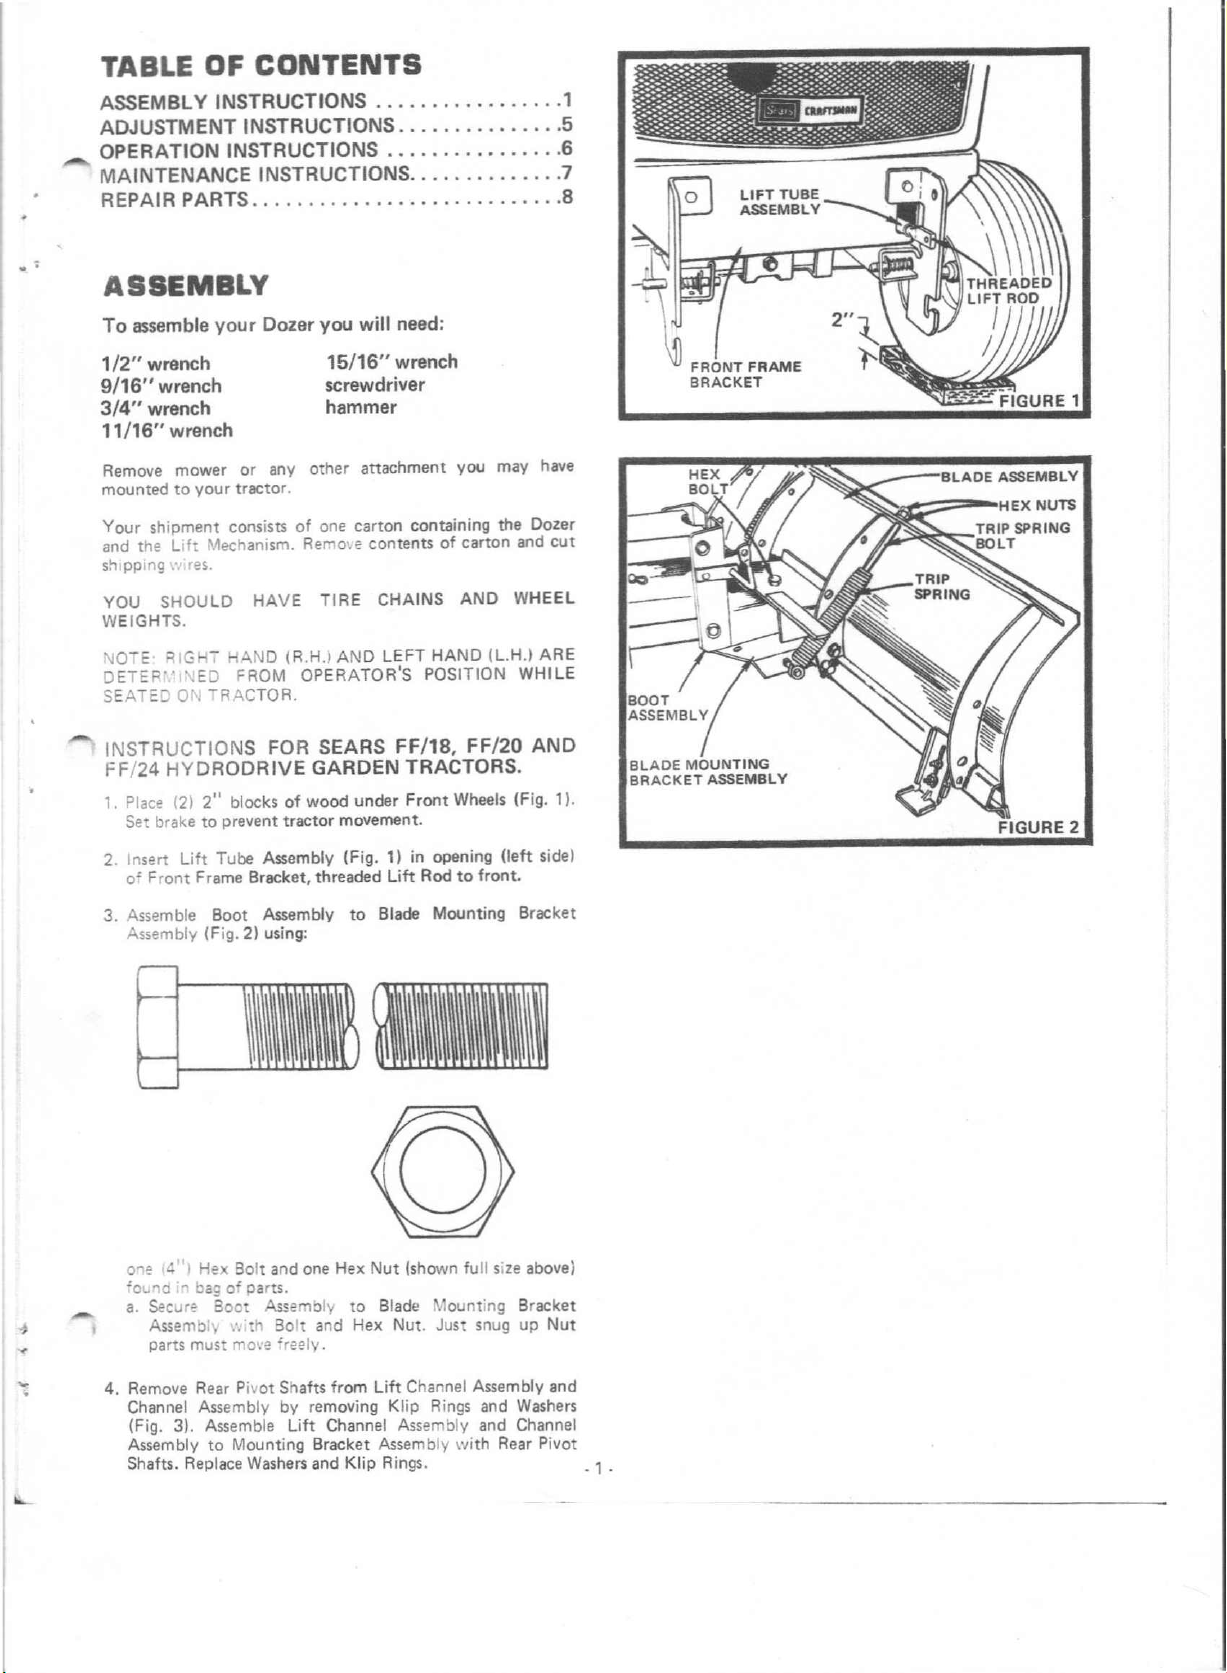
TABLE OF CONTENTS
ASSEMBLY INSTRUCTIONS 1
ADJUSTMENT INSTRUCTIONS ...••..........
OPERATION INSTRUCTIONS ....•.....•.....
MAINTENANCE INSTRUCTIONS
REPAIR PARTS ...............•.•...... , ..• 8
-
.
5
6
7
ASSEMBLY
To assemble your Dozer you will need:
1/2" wrench
9/16"
wrench
3/4"
wrench
11/16"
Remove mower or any other attachment you may have
mounted to your tractor.
Your shipment consists of one carton containing the Dozer
and the Lift Mechanism. Remme contents of carton and cut
s~'lIppingv:res.
YOU SHOULD HAVE TIRE CHAINS AND WHEEL
WEIGHTS.
NO-i: RIGHi nAND (R.H.1 AND LEFT HAND (L.H.) ARE
DETER':I~,ED FROM OPERATOR'S POSITION WHILE
SEATED
INSTRUCTIONS FOR SEARS FF/18, FF/20 AND
-
FF/24 HYDRODRIVE GARDEN TRACTORS.
1. Place (2) 2" blocks of wood under Front Wheels (Fig. 1).
2. Insert Lift Tube Assembly (Fig. 1) in opening (left side)
3. Assemble Boot Assembly to Blade Mounting Bracket
wrench
o»
TRACTOR.
Set brake to prevent tractor movement.
o~ Front Frame Bracket, threaded Lift Rod to front.
Assembly (Fig. 2) using:
15/16"
screwdriver
hammer
wrench
BLADE
BRACKET ASSEMBLY
on'? ~ ) Hex Bolt and one Hex Nut (shown full size above)
fou
1"10 ..,
baga'parts.
Assemblyv.'th Bolt and Hex Nut.
parts must move freely .
JUSt
....
.
a. Secure Boot Assembly to Blade Mounting Bracket
4. Remove Rear Pivot Shafts from Lift Channel Assembly and
Channel Assembly by removing Klip Rings and Washers
(Fig. 3). Assemble Lift Channel Assembly and Channel
Assembly to Mounting Bracket Assembly with Rear Pivot
Shafts. Replace Washers and Klip Rings. . 1 .
snug up Nut

5. Assemble Lift Link to Mounting Bracket Assembly Arm
and Lift Channel Assembly Arm (Fig. 3) using:
o
two Washers, two Retainer Springs (shown full size above)
and one Lift Link found in bag of parts.
6. Insert Mounting Pins of Dozer Mounting Bracket Assembly
into Hitch Slots (Fig. 3).
7. Assemble Dozer Mounting Bracket Assembly to Front
Hitch Assemblies (Fig. 3) using:
a
0
d
o
o
one Retainer Spring (shown full size above and one Mount-
ing Rod found in Tube of Mounting Bracket Assembly.
a. Insert Mounting Rod thru holes of Front Hitch Assem-
blies and Dozer Mounting Bracket Assembly. Secure
with Retainer Spring (Fig. 3 - Inset).
8. Attach
3· Insetl using:
one Clevis Pin, one Washer and one Retainer Spring (shown
full size above) found in bag of parts.
a. Place Lift Rod on L.H. side of Mounting Bracket Assern-
-2- Inset).
Lift
Rod to Mounting Bracket Assembly Arm (Fig.
bly Arm. Insert Clevis Pin thru Rod and Arm. Place
Washer over Pin and secure with Retainer Spring (Fig. 3 .
 Loading...