

Page 1
CUSTOMER S E RVICE INFORMATIO N
Victory Land Group, Inc
1350 Munger Rd
Bartlett, IL 60103
WEB: http://www.victorylandgroup.com
PHONE: 1-800-933-0527
FAX: 1-630-540-7099
8:30 am to 5:00 pm CST, Mon. thru Fri.
EMAIL: help@victorylandgroup.com
ASSEMBLY INSTRUCTIONS
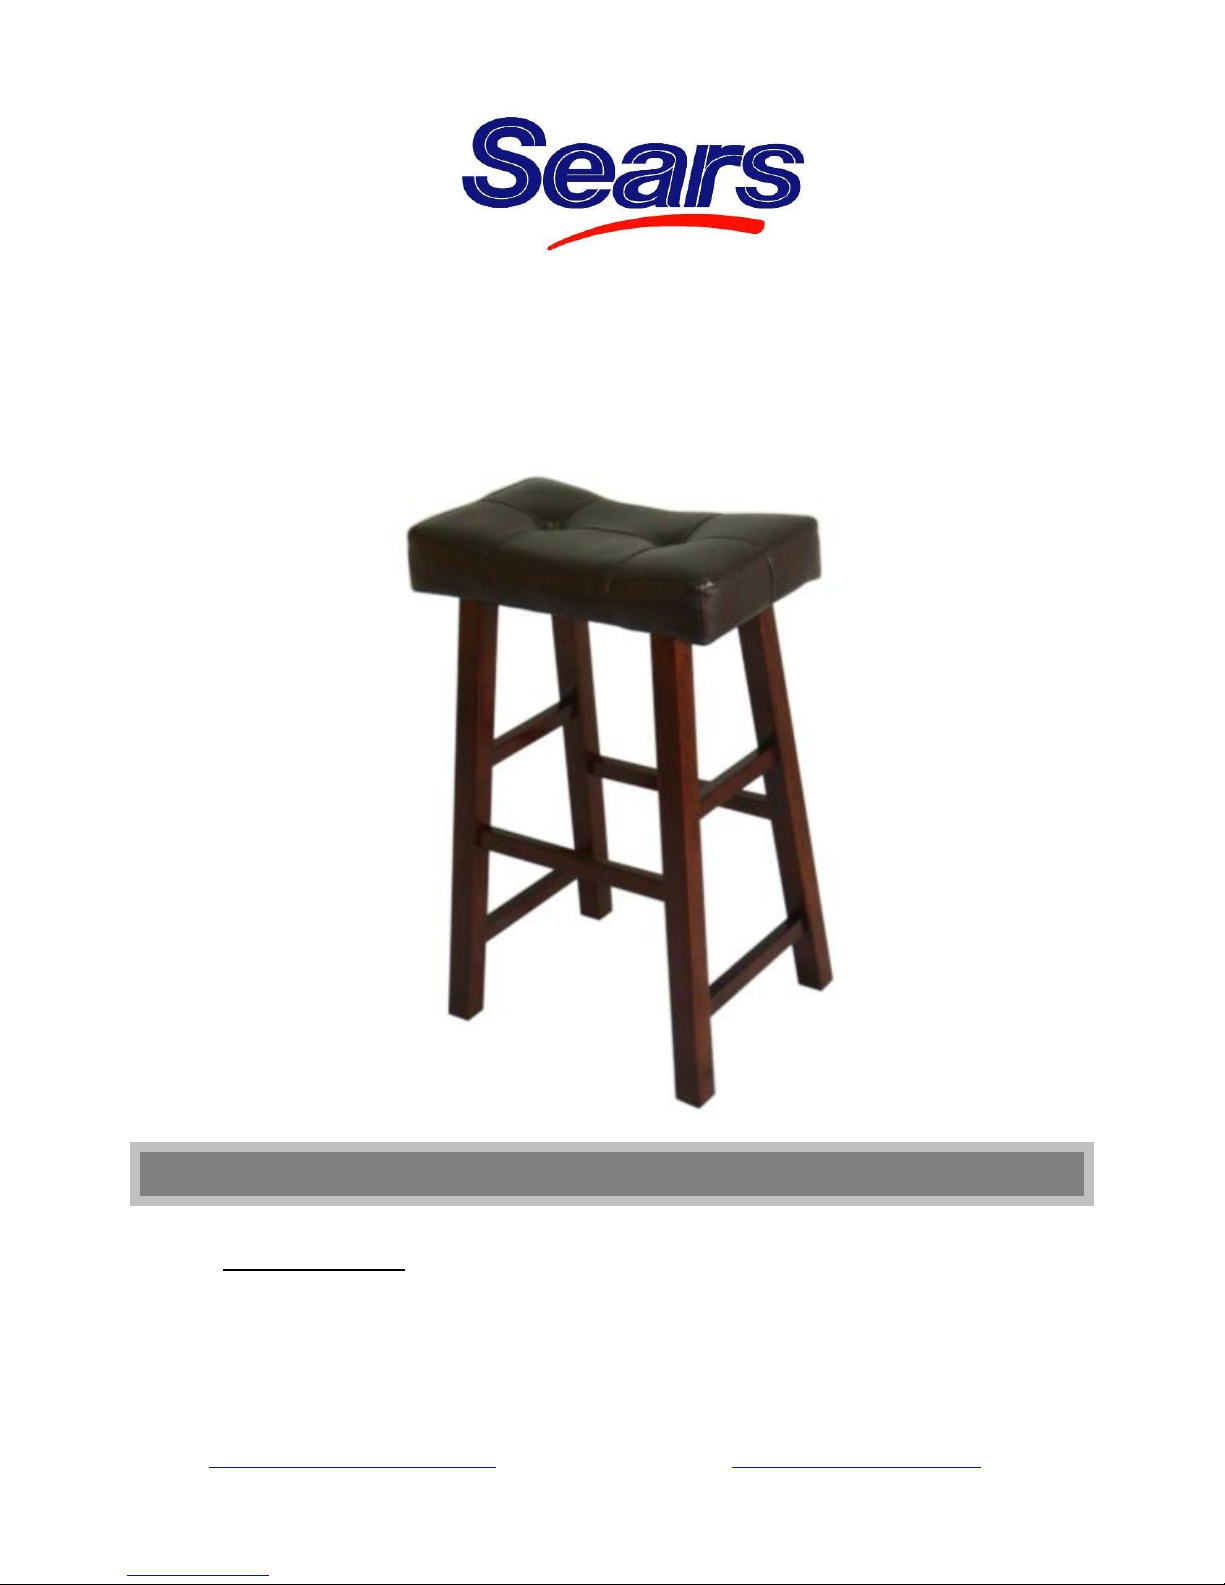
24IN Padded Saddle Stool
Sears Stock # 29033 VL Stock #07-1582-S
Please do not return to the store. Contact VLG using the below information
should you need to order any missing or replacement hardware.
Page 2

1. Use the long end of the allen wrench to fasten allen bolts loosely and quickly.
2. Use the short end of the allen wrench for final tightening.
The wood glue is used to secure the wood dowels to various
wood parts during assembly. Please use caution, and follow the
instructions below, when attaching the dowels into the holes:
a. Fill hole with wood glue approx 1/4 full.
b. Slowly push dowel into the hole.
c. Wipe away any excess wood glue.
1
2
1
2
3
Please make sure you have all parts before beginning assembly. Please wait until all steps
are completed before tightening bolts.
GENER AL I N F OR M AT I ON &TIPS
MAXIMUM R EC O MM E ND E D W E IGH T CAPAC I TY
A Phillips head screwdriver is necessary for assembly. It’s not
included in hardware list.
1. Maximum weight capacity per stool is 250 pounds.
1. Please read the assembly instructions prior to assembling the chair.
2. To avoid damage, assemble the chair on a non-abrasive surface such as carpet.
3. Make sure all bolts are tightly fastened before the chair is used.
4. This chair is not for commercial use.
! WARNING: After a few days of initial assembly and chairs have acclimated
to new environment, retighten all hardware. Periodically check
and retighten the screws every few months.
1 | Pa g e
Page 3

A. Seat Cushion
B. Leg Frame
C. Crossbar
QTY: 1 pc
QTY: 2 pcs
QTY: 2 pcs
1. Allen Bolt
2. Flat Washer
3. Spring Washer
QTY: 4 pcs
QTY: 4 pcs
QTY: 4 pcs
4. Screw
5. Allen Wrench
6. Wood Glue
QTY: 4 pcs
QTY: 1 pc
QTY: 1 bottle
PARTS AN D H AR DWAR E LI ST
2 | Pa g e
Page 4

AS SE MB LY I N S TR U C TI O NS
a B C
C
B
C
B
1. Place a leg frame (B) upside down on a non-abrasive surface such as carpet. Attach two
crossbars (C) to the leg frame (B) by inserting the crossbar into the holes on the leg frame
(B) as pictured (a) & use wood glue (6) to secure crossbars (C) to the leg frames (B).
Note: The small holes on the bottom of the crossbars must face the bottom
of the stool.
2. Repeat the same above steps by attaching the second leg frame to the crossbar as shown.
a b c C C B B
A
3. Place seat cushion (A) upside down on a non-abrasive
surface such as carpet. Attach leg frames (B) to the seat
cushion (A) by inserting the wood dowels on the top of
leg frame into the holes on the bottom of seat cushion as
pictured (a) & Use wood glue (6) to secure the wood
dowels to the seat top.
4. Secure the leg frame to the seat cushion using four allen
bolts (1), four flat washers (2) and four spring washers
(3) as pictured (b). Tightly fasten the allen bolts with allen
wrench (5)
5. Secure the crossbars (C) to the leg frames (B) using four
screws (4) as pictured (c). Tightly fasten the screw with
Phillips screw driver (not included).
6. Turn stool upright. The Padded Saddle Stool is now
ready for use.
a&b
c
B A A
B 5 1 3 2 4 C
B
Wood Dowel
Diagram #1
Diagram #2
3 | Pa g e
 Loading...