

Page 1
INSTRUCTIONS FOR:
COMPRESSOR BELT DRIVE 1.5 HP
OIL FREE 24ltr, 50ltr, 90ltr
MODEL No's: SAC03224,SAC03250,SAC03290
Thank you for purchasing a Sealey product. Manufactured to a high standard this product will, if used according to these instructions and
properly maintained, give you years of trouble free performance.
IMPORTANT: PLEASE READ THESE INSTRUCTIONS CAREFULLY. NOTE THE SAFE OPERATIONAL REQUIREMENTS, WARNINGS, AND
CAUTIONS. USE THIS PRODUCT CORRECTLY, AND WITH CARE FOR THE PURPOSE FOR WHICH IT IS INTENDED. FAILURE TO DO SO
MAY CAUSE DAMAGE AND/OR PERSONAL INJURY AND WILL INVALIDATE THE WARRANTY.
1. SAFETY INSTRUCTIONS
1.1. ELECTRICAL SAFETY
WARNING! It is the responsibility of the owner and the operator to read, understand and comply with the following:
You must check all electrical products, before use, to ensure that they are safe. You must inspect power cables, plugs, sockets and any
other connectors for wear or damage. You must ensure that the risk of electric shock is minimised by the installation of appropriate safety
devices. A Residual Current Circuit Breaker (RCCB) should be incorporated in the main distribution board. We also recommend that a
Residual Current Device (RCD) is used. It is particularly important to use an RCD with portable products that are plugged into a supply
which is not protected by an RCCB. If in any doubt consult a qualified electrician. You may obtain a Residual Current Device by contacting
your Sealey dealer.
You must also read and understand the following instructions concerning electrical safety.
1.1.1. The Electricity at Work Act 1989 requires all portable electrical appliances, if used on business premises, to be tested by a qualified
electrician, using a Portable Appliance Tester (PAT), at least once a year.
1.1.2. The Health & Safety at Work Act 1974 makes owners of electrical appliances responsible for the safe condition of those appliances
and the safety of the appliance operators. If in any doubt about electrical safety, contact a qualified electrician.
1.1.3. Ensure that the insulation on all cables and on the appliance is safe before connecting it to
the power supply. See 1.1.1 and 1.1.2 and use a Portable Appliance Tester.
1.1.4. Ensure that cables are always protected against short circuit and overload.
1.1.5. Regularly inspect power supply cables and plugs for wear or damage and check all
connections to ensure that none are loose.
1.1.6. Important: Ensure that the voltage marked on the appliance matches the power supply
to be used and that the plug is fitted with the correct fuse - see fuse rating at right.
1.1.7. DO NOT pull or carry the appliance by the power cable.
1.1.8. DO NOT pull the plug from the socket by the cable.
1.1.9. DO NOT use worn or damaged cables, plugs or connectors. Have any faulty item repaired
or replaced immediately by a qualified electrician. When an ASTA/BS approved UK 3 pin
plug is damaged, cut the cable just above the plug and dispose of the plug safely.
Fit a new plug according to the following instructions (UK only).
a) Connect the GREEN/YELLOW earth wire to the earth terminal ‘E’.
b) Connect the BROWN live wire to the live terminal ‘L’.
c) Connect the BLUE neutral wire to the neutral terminal ‘N’.
d) After wiring, check that there are no bare wires, that all wires have been correctly connected, that the cable outer
insulation extends beyond the cable restraint and that the restraint is tight.
Double insulated products, which are always marked with this symbol , are fitted with live (brown) and neutral (blue) wires only.
To rewire, connect the wires as indicated above - DO NOT connect either wire to the earth terminal.
1.1.10. Products which require more than 13Amps are supplied without a plug. In this case you must contact a qualified electrician to ensure
that a suitably rated supply is available. We recommend that you discuss the installation of an industrial round pin plug and socket
with your electrician.
1.1.11. If an extension reel is used it should be fully unwound before connection. A reel with an RCD fitted is preferred since any appliance
plugged into it will be protected. The cable core section is important and should be at least 1.5mm², but to be absolutely sure that the
capacity of the reel is suitable for this product and for others which may be used in the other output sockets, we recommend the use
of 2.5mm² section cable. If extension reel is to be used outdoors, ensure it is marked for outdoor use.
1.2. GENERAL SAFETY INSTRUCTIONS
WARNING! This compressor must only be serviced by an authorised agent.
Familiarise yourself with the application and limitations of the compressor.
Ensure the compressor is in good order and condition before use. If in any doubt do not use the unit and contact an electrician/service
agent.
Before moving, or maintaining the compressor ensure it is unplugged from the mains supply and that the air tool is disconnected.
Use the compressor in a well ventilated area and ensure it is placed on a firm surface.
Keep tools and other items away from the compressor when it is in use, and keep area clean and clear of unnecessary items.
Keep children and unauthorised persons away from the working area.
DANGER! DO NOT direct the output jet of air towards people or animals.
WARNING! If an electrical fuse blows, ensure it is replaced with an identical fuse type and rating.
DO NOT dis-assemble compressor for any reason. This unit must only be checked and serviced by an approved service agent.
DO NOT use the compressor outdoors or in damp or wet locations.
DO NOT operate within the vicinity of flammable liquids, gases or solids.
DO NOT touch compressor cylinder head as it may be hot and will remain so for some time after shutdown.
DO NOT use this compressor to perform a task for which it has not been designed.
DO NOT leave the compressor running unattended.
DO NOT operate the compressor whilst under the influence of drugs, alcohol or other intoxicating medication.
DO NOT cover the compressor or restrict air flow around the machine whilst operating.
DO NOT allow anyone to operate the compressor unless they have received full instructions.
When not in use, store the compressor carefully in a safe, dry, dust free, childproof location.
When the compressor is not in use, it should be switched off, disconnected from the mains supply and the air drained from
the tank.
© Jack Sealey Limited
Original Language Version
Original Language Version
FUSE RATING: 13AMP
SAC03224,SAC03250,SAC03290 ISSUE:3(SP) 11/11/13
Page 2
NOTE: This appliance is not intended for use by persons (including children) with reduced physical, sensory or mental capabilities or lack of
experience and knowledge, unless they have been given supervision or instruction concerning the use of the appliance by a person responsible
for their safety. Children should be supervised to ensure that they do not play with the appliance.
2. INTRODUCTION & SPECIFICATION
Aluminium
app lications . Oil free, single piston pump is belt driven by a 1.5hp motor and xed to a vertical type tank, saving space around the workshop.
Precision welded receiver tank manufactured to meet Pressure Vessel Directive 2009/105/EC. Fitted with fully automatic pressure cut-out switch
and air regulator with gauge. Supplied with handle and wheels (SAC03050 & SA03290) for easy manoeuvrability. Fitted with ASTA/BS approved
non-rewirable plug.
cylinder with cast iron lining gives reduced weight and improved resistance to wear. Suitable for general purpose workshop
Model No: .................................SAC03224 .............SAC03250 ....................SAC03290
Motor Output: ..............................1.5hp .................1.5hp ............................1.5hp
Voltage/Phase ..............................230V - 1ph .............230V - 1ph .....................230V-1ph
Rated Supply: ..............................13A...................13A............................... 13A
Air Displacement cfm(ltr/min): ..................5.6(158) ...............5.6(158) ........................5.6(158)
Maxiimum Free Air Delivery cfm(ltr/min) . . . . . . . . . . 3.32(94) ...............3.32(94) ........................3.32(94)
Maximum Pressure: .........................116psi/8bar ............116psi/8bar...................116psi/bbar
Receiver Capacity: ..........................24ltr ..................50ltr ..............................90ltr
Dimensions (W x D x H) ......................415 x 415 x 500mm......430 x 455 x 710mm .....430 x 455 x 1035mm
Weight: ...................................15.8kg ................23.4kg ............................35kg
3. PREPARATION
3.1. Remove compressor from packaging and inspect for any shortages or damage. If anything is found to be missing or damaged, contact
your supplier.
3.2. If wheels and/or feet are not fitted to compressor, fit them using the appropriate nuts, bolts and washers supplied.
3.3. Confirm that the mains voltage corresponds with the voltage shown on the compressor data plate.
4. OPERATION
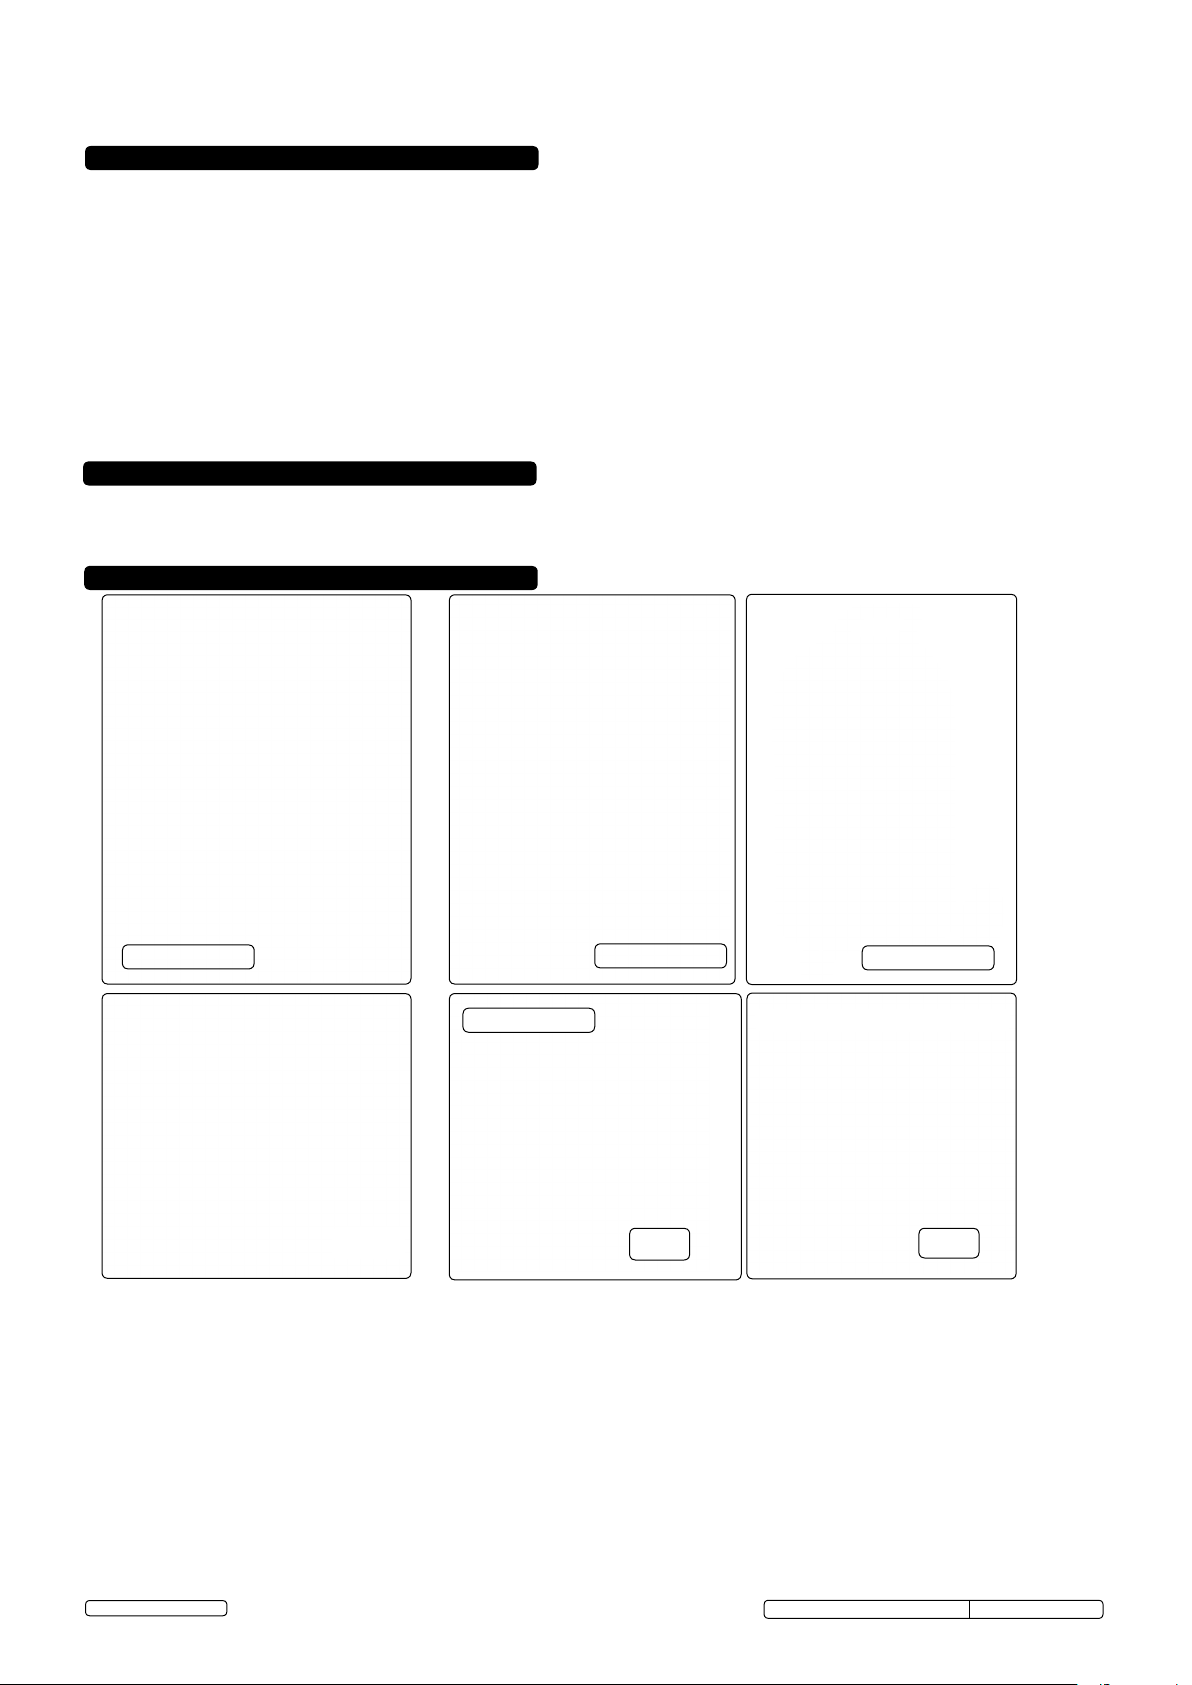
SAC03224
SAC03224
g.1
WARNING! Ensure that you have read, understood and apply Section 1 safety instructions.
4.1. The compressor should be located and operated in a position that allows good air circulation around the unit. Locate the compressor
in a convenient position for the work to be undertaken. Ensure that it is standing on a stable and level surface. Ensure the feet/wheels
are in direct contact with the surface.
4.2. Attach the required air tool to the air outlet. (fig1.B)
4.3. Plug the mains plug into a mains electrical socket, but do not switch the compressor on until the workpiece and air tool are fully
prepared.
4.4. Switch on the unit by pulling the red On/Off switch outwards(fig 1.A).
4.5. The output pressure is regulated by the pressure regulator. (fig 1.C). Turn the regulator knob clockwise to increase pressure to
the required level and vice-versa.The setting can then be retained by tightening the red locking ring below the knob.
When the compressor is not being used, set the regulated pressure to zero so as to avoid damaging the regulator.
4.5.1. The right-hand pressure gauge (fig 1.E) indicates the pressure inside the main tank. The left-hand gauge (fig.1.D) indicates the
pressure supplied to the air equipment. The pressure switch stops the motor when the maximum tank pressure is reached and
restarts it when pressure falls below the minimum threshold - approximately 2bar (29psi) less than the maximum pressure.
SAC03250
SAC03290
SAC03250,SAC03290
g.2 g.3
g.1
© Jack Sealey Limited
Original Language Version
SAC03224,SAC03250,SAC03290 ISSUE:3(SP) 11/11/13
Page 3
WARNING! DO NOT tamper with, or adjust, the pre-set pressure switch or safety valve.
4.5.2. Should there appear to be any loss of efficiency when using the compressor, ensure first that the air tool is clean and functioning
properly. If the air tool is satisfactory then refer to the trouble shooting guide.
4.6. DO NOT leave the compressor running for any length of time with the air tool attached, but not being used. If there is a pause in the
work, switch the compressor off. If the motor over-heats, the thermal cut-out will operate and cut the motor out. When the temperature
has returned to normal, the motor will re-start automatically.
4.7. These compressors are designed with a 30% duty cycle. This means that the machines should not be used for more than 20 minutes
continuously, with a rest period of 40 minutes.
4.8. If the operating note of the compressor changes, there may be a blockage within the tool, or the air hose may be pinched. The unit
should be switched off immediately, and the source of the blockage investigated and eliminated, before re-starting.
4.9. When work is complete, switch the compressor off by pushing the red On/Off switch inwards.
4.9.1. Operate the air tool to clear any pressure left in the air hose.
4.9.2. Disconnect the air tool from the compressor.
4.9.3. Open the drain tap at the bottom of the tank (figs.2 & 3) briefly to release any trapped moisture. This helps prevent corrosion on the
inside of the tank. Close drain tap.
4.10. If it is intended to store the compressor away, allow it to cool before storing it carefully in a safe, dry, dust free, childproof location.
5. MAINTENANCE & TROUBLESHOOTING
Before carrying out any maintenance, switch compressor off, unplug it from the mains electricity supply, depressurise the
tank and allow unit to fully cool down.
5.1. Keep the compressor clean and free of dust. Do not use cleaning agents. Wipe the compressor using a slightly dampened cloth and
blow it over with compressed air, if available.
5.2. Ensure that the ventilation openings are clear. DO NOT allow any extraneous material to enter the unit via any of the ventilation
openings.
5.3. To help prevent corrosion to the tank, drain it on a regular basis by opening the drain tap at the bottom of the tank, after draining
ensure the drain tap is fully closed.
5.4. To examine the internal condition of the tank: unplug from the mains supply, release
pressure by means of the drain tap. Remove drain tap from tank and inspect by using an
borescope inserted through the drain tap boss.
5.5. The troubleshooting guide below is intended to give an indication of the type of fault
which may develop with the compressor over a long period of service. The chart is
not intended as a guide on how to repair the fault, it is recommended that the
compressor is returned to an authorised service agent for rectification of serious faults.
5.6. IMPORTANT WARNING Air contaminants taken into the compressor will affect optimum performance.
Example: Body ller dust or paint overspray will clog the pump intake lter and may
cause internal damage to pump/motor components. Please note that any parts damaged
by any type of contamination will not be covered by warranty.
g.4
Fault
Reduction in performance. Frequent start-up.
Low pressure values.
The compressor stops, then restarts
automatically after a few minutes.
Possible Cause
Excessive air consumption, leaks from
the couplings and/or pipes.
Tripping of the thermal cutout due to
overheating of the motor.
Air tool requires higher spec. compressor.
Check / replace the seals of the fitting.
Clean the air vents and ensure the work area is
ventilated. Do not over-run the compressor's duty
Remedy
cycle.
Air leakage from the valve of the pressure
switch (fig.4) whilst the compressor is off.
Pressure switch valve, due to wear or dirt
on the seal, does not perform correctly.
Unscrew the head of the valve, clean the valve seat
and the rubber disc (replace if worn).
Reassemble and tighten carefully.
The compressor does not stop and the safety
valve is tripped.
Irregular functioning of the compressor or
broken pressure switch.
Switch off compressor and contact
Authorised Service Agent.
Environmental Protection.
Recycle unwanted materials instead of disposing of them as waste. All tools, accessories and packaging should be sorted,
taken to a recycle centre and disposed of in a manner which is compatible with the environment.
Equipment. When the product is no longer required, it must be disposed of in an environmentally protective way. Contact your
Dispose of this product at the end of its working life in compliance with the EU Directive on Waste Electrical and Electronic
WEEE Regulations.
local solid waste authority for recycling information.
Parts support is available for this product. To obtain a parts listing and/or diagram, please log on to www.sealey.co.uk,
email [email protected] or phone 01284 757500.
NOTE: It is our policy to continually improve products and as such we reserve the right to alter data, specifications and component parts without prior notice.
IMPORTANT: No liability is accepted for incorrect use of this product.
WARRANTY: Guarantee is 12 months from purchase date, proof of which will be required for any claim.
INFORMATION: For a copy of our latest catalogue and promotions call us on 01284 757525 and leave your full name and address, including postcode.
© Jack Sealey Limited
Sole UK Distributor, Sealey Group,
Kempson Way, Suffolk Business Park,
Bury St. Edmunds, Suffolk,
IP32 7AR
Original Language Version
01284 757500
01284 703534
SAC03224,SAC03250,SAC03290 ISSUE:3 (SP) 11/11/13
www.sealey.co.uk
Web
email
 Loading...