

Sealey SA92.V3 Instruction Manual
INSTRUCTIONS FOR:
AIR TYRE BUFFING KIT
MODEL No: SA92.V3
Thank you for purchasing a Sealey product. Manufactured to a high standard, this product
will, if used according to these instructions and maintained properly, give you years of
trouble free performance.
IMPORTANT: PLEASE READ THESE INSTRUCTIONS CAREFULLY. NOTE THE SAFE OPERATIONAL REQUIREMENTS,
WARNINGS & CAUTIONS. USE THE PRODUCT CORRECTLY AND WITH CARE FOR THE PURPOSE FOR WHICH IT
IS INTENDED. FAILURE TO DO SO MAY CAUSE DAMAGE AND/OR PERSONAL INJURY AND WILL INVALIDATE THE
WARRANTY. KEEP THESE INSTRUCTIONS SAFE FOR FUTURE USE.
Read Instruction
Manual
Wear Eye
Protection
Wear Ear
Protection
ü Follow all workshop safety rules, regulations, and conditions when using the buffing kit.
r WARNING! Disconnect from air supply before changing accessories or servicing.
ü Maintain the buffing kit in good condition and replace
1. SAFETY INSTRUCTIONS
any damaged or worn parts. Use genuine parts only.
Unauthorised parts may be dangerous and will
invalidate the warranty.
r WARNING! Check correct air pressure is maintained
and not exceeded. We recommend 90psi.
ü Keep air hose away from heat, oil and sharp edges.
Check air hose for wear before each use and ensure
that all connections are secure.
ü Wear approved safety eye/face shield, ear defenders,
and hand protection.
r WARNING! Due to the possible presence of asbestos
dust from brake linings, when working around vehicle brake systems we recommend you wear
suitable respiratory protection.
ü Maintain correct balance and footing. Ensure the floor is not slippery and wear non-slip shoes.
ü Keep children and non essential persons away from the working area.
û DO NOT use the buffing kit for a task it is not designed to perform.
r WARNING! DO NOT use buffing kit if damaged or thought to be faulty.
(Contact Service Agent).
û DO NOT use buffing kit unless you have been instructed in its use by a qualified person.
û DO NOT carry the buffing kit by the air hose, or yank the hose from the air supply.
û DO NOT operate buffing kit if you are tired or under the influence of alcohol, drugs or
intoxicating medication.
û DO NOT carry buffing kit with your hand on the power trigger in order to avoid unintentional
starting.
û DO NOT direct air from the air hose at yourself or others.
ü When not in use disconnect from air supply and store in a safe, dry, childproof location.
© Jack Sealey Limited
Original Language Version
SA92.V3 Issue:1 - 15/09/15
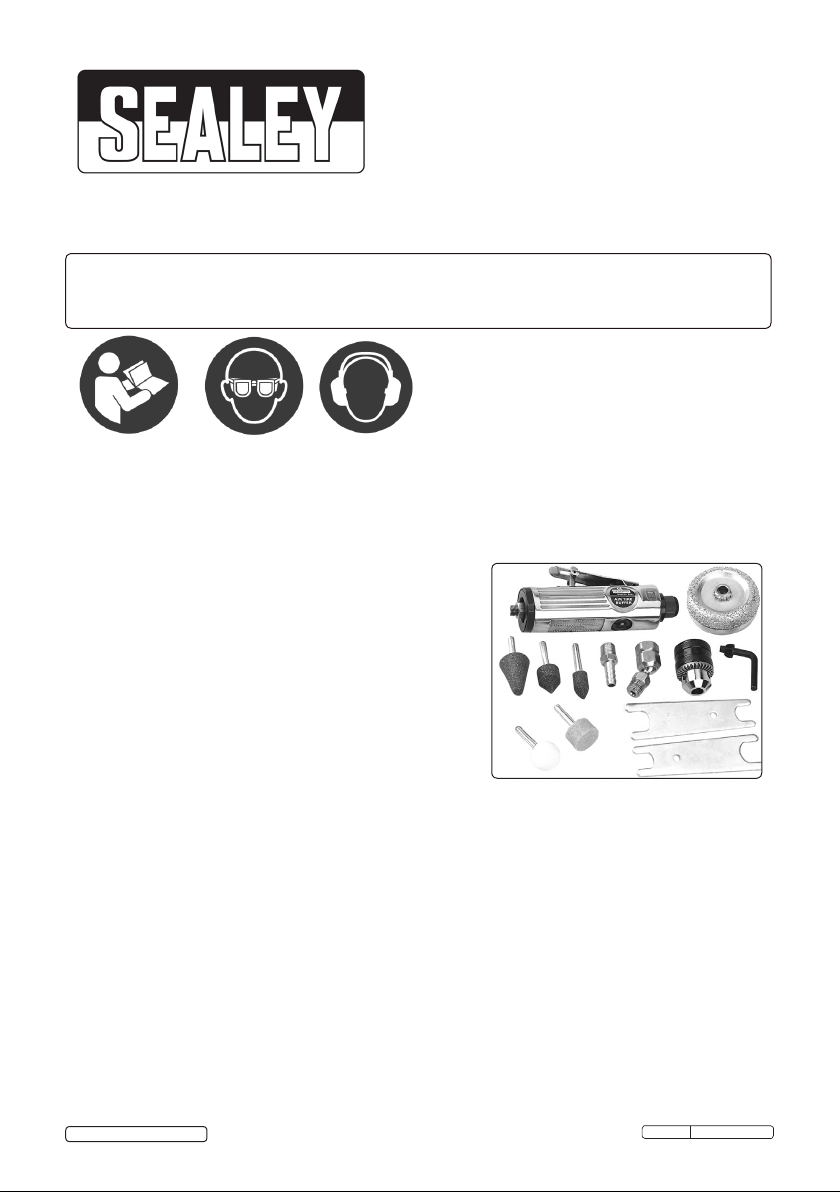
2. INTRODUCTION & SPECIFICATIONS
Composite cased air motor with selection of 6mm shanked grinding points, 10mm drill chuck and
tyre buffing cone. Kit also includes spanners, chuck key and air hose adaptors.
Chuck size ................. 10mm Vibration .............. 1.47m/s²
Operating pressure............90psi Uncertainty .............0.74m/s²
Weight ................... 0.76kg Sound Pressure .......89.7dB(A)
Air inlet size .............. 1/4” BSP Sound Power ........100.7dB(A)
Air consumption .............. 5cfm Free speed...........20000rpm
3. PREPARING BUFFING KIT FOR USE
3.1. Air Supply
3.1.1. Ensure buffer air valve (or trigger) is in the "off" position before connecting to the air supply.
3.1.2. You will require an air pressure of 90psi, and an air flow according to specification.
3.1.3. r WARNING! Ensure the air supply is clean and does not exceed 90 psi while operating
the buffer. Too high an air pressure and unclean air will shorten the product life due to
excessive wear, and may be dangerous causing damage and/or personal injury.
3.1.4. Drain the air tank daily. Water in the air line will damage the buffing kit.
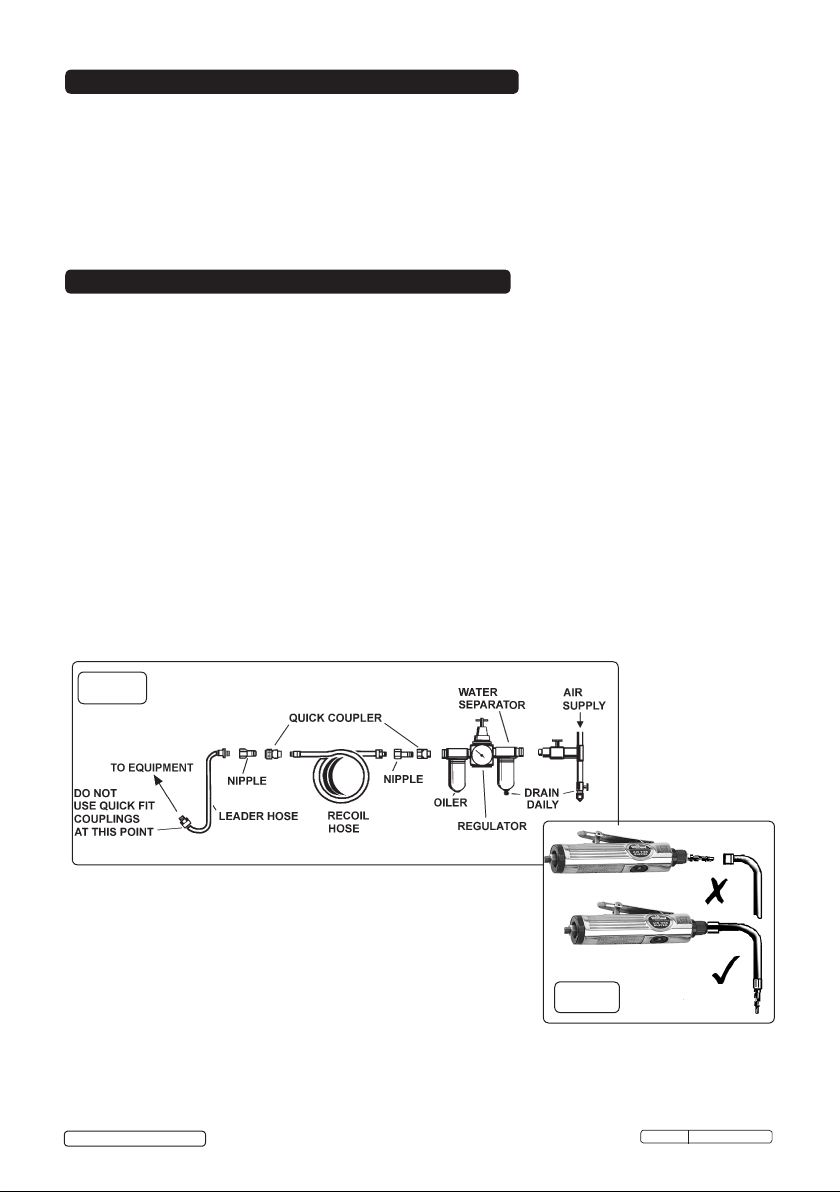
3.1.5. Clean air inlet filter weekly. Recommended hook-up procedure is shown in fig 1.
3.1.6. Line pressure should be increased to compensate for unusually long air hoses (over 8
metres). The minimum hose diameter should be 1/4” I.D. and fittings must have the same
inside dimensions.
3.1.7. Keep hose away from heat, oil and sharp edges. Check hose for wear, and make certain
that all connections are secure.
3.2. Couplings.
Vibration may cause failure if a quick change coupling is connected directly to the buffing kit. To
overcome this, connect a leader hose to the buffing kit. A quick change coupling may then be used
to connect the leader hose to the air line recoil hose. See fig 1 & 2.
fig 1
© Jack Sealey Limited
Original Language Version
fig 2
SA92.V3 Issue:1 - 15/09/15
 Loading...