

Page 1
INSTRUCTIONS FOR:
HEAVY DUTY 170MM POLISHER
Model No
Thank you for purchasing a Sealey product. Manufactured to a high standard this product will, if used according to these instructions
and properly maintained, give you years of trouble free performance.
IMPORTANT: PLEASE READ THESE INSTRUCTIONS CAREFULLY. NOTE THE SAFE OPERATIONAL REQUIREMENTS, WARNINGS AND
CAUTIONS. USE THIS PRODUCT CORRECTLY AND WITH CARE FOR THE PURPOSE FOR WHICH IT IS INTENDED. FAILURE TO DO SO
Y CAUSE DAMAGE AND/OR PERSONAL INJURY AND WILL INVALIDATE THE WARRANTY. RETAIN INSTRUCTIONS FOR FUTURE USE.
MA
: ER1700P
1. SAFETY INSTRUCTIONS
1.1. ELECTRICAL SAFETY
p WARNING! It is the users responsibility to check the following:
You must check all electrical equipment and appliances to ensure they are safe before using. You must inspect power supply leads,
plugs and all electrical connections for wear and damage. You must ensure the risk of electric shock is minimised by the installation of
appropriate safety devices. An RCCB (Residual Current Circuit Breaker) should be incorporated in the main distribution board.
We recommend that an RCD (Residual Current Device) is used with all electrical products. It is particularly important to use an RCD
with portable products that are plugged into an electrical supply not protected by an RCCB. If in doubt consult a qualified electrician.
You may obtain a Residual Current Device by contacting your Sealey dealer. You must also read and understand the following
instructions concerning electrical safety.
1.1.1. The Electricity At Work Act 1989 requires all portable electrical appliances, if used on business premises, to be tested by a qualified
person, using a Portable Appliance Tester (PAT), at least once a year.
1.1.2. The Health & Safety at Work Act 1974 makes owners of electrical appliances responsible for the safe condition of the appliance and
the safety of the appliance operator. If in any doubt about electrical safety, contact a qualified electrician.
1.1.3. DO ensure that the insulation on all cables and the product itself is safe before connecting to the mains power supply. See 1.1.2.
above and use a Portable Appliance Tester (PAT).
1.1.4. DO ensure that cables are always protected against short circuit and overload.
1.1.5. DO regularly inspect power supply, leads, plugs for wear and damage and all power connections to ensure that none is loose.
1.1.6. DO check that the voltage marked on the product is the same as the electrical power supply to be used, and check that all fused
plugs are fitted with the correct capacity fuse.
1.1.7. DO NOT pull or carry the powered appliance by its power supply lead.
1.1.8. DO NOT pull power plug from socket by the power cable.
1.1.9. DO NOT use worn or damage leads, plugs or connections. Immediately replace or
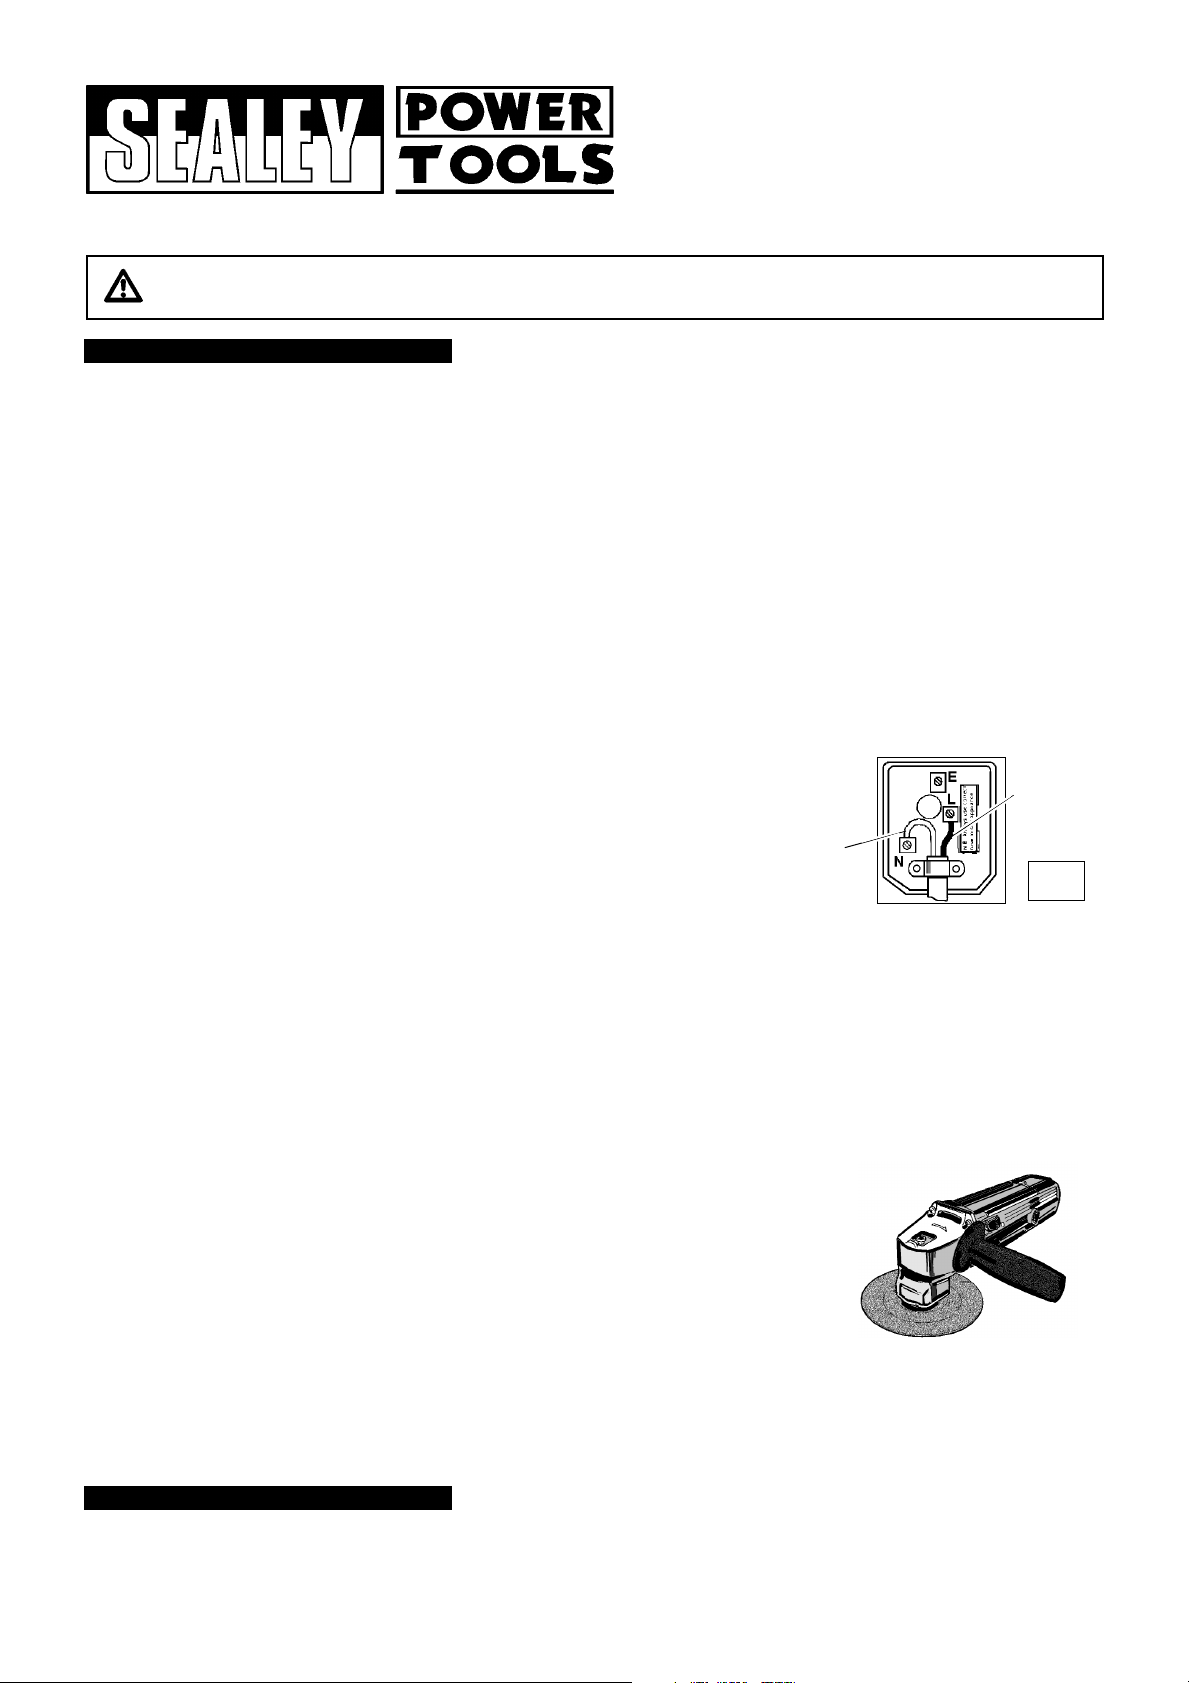
repair by qualified persons. A U.K. 3 pin plug with ASTA/BS approval
is fitted. In case of damage, cut off and fit a new plug according to the following
instructions (UK only - see diagram).
Ensure the double insulated polisher is correctly wired to a three-pin plug.
a) DO NOT connect to the earth terminal E.
b) Connect the BROWN live wire to live terminal L.
1.1.10. If you use the polisher outdoors and you need an extension cable, ensure that it is marked for outdoor use.
1.2. GENERAL SAFETY
3 Disconnect the polisher from the mains power before changing accessories, servicing, or performing any maintenance.
3 Maintain polisher and discs in good condition. Check moving parts and alignment. If necessary use an authorised service agent.
3 Replace or repair damaged parts. Use recommended parts only. Unauthorised parts may be dangerous and will invalidate the warranty.
3 Keep the polisher clean for best and safest performance.
3 Wear approved safety goggles, ear defenders, appropriate dust mask, if polisher generates dust, and safety gloves.
3 Remove ill fitting clothing. Remove ties, watches, rings and other loose jewellery and contain long hair
3 Use polisher in a suitable work area, keep area clean, tidy and free from unrelated materials, and ensure adequate lighting.
3 Maintain correct balance and footing. DO NOT over-reach and ensure the floor is not slippery. Wear non-slip shoes.
3 Secure unstable workpieces with a clamp, vice or other adequate holding device and ensure th
3 Use only approved polishing discs and only use the normal polishing surface.
3 Before use, check polishing disc to ensure that it is not damaged. If in doubt do not use the disc.
3 Polishing discs must be securely attached before use.
3 Keep children and unauthorised persons away from the work area.
7 DO NOT operate the polisher if any parts are missing or the polisher is damaged.
7 DO NOT use the polisher for a task it is not designed to do and DO NOT use it as a fixed tool.
7 DO NOT operate polisher where there are flammable liquids or gases.
7 DO NOT get the polisher wet or use in damp or wet locations.
7 DO NOT switch the polisher on whilst the disc is in contact with the workpiece.
7 DO NOT cover the polisher air vents. To do so will overheat the machine.
p WARNING! DO NOT use this machine to drive circular saw blades or grinding discs.
7 DO NOT hold unsecured work in your hand and DO NOT touch
7 DO NOT leave the polisher running unattended and DO NOT lay the polisher down whilst running.
7 DO NOT operate the polisher when you are tired or under the influence of alcohol, drugs or intoxicating medication.
3 When not in use switch off polisher, remove plug from power supply and store in safe, dry, childproof area.
c) Connect the BLUE neutral wire to the neutral terminal N.
the polishing disc whilst operating, or whilst plugged i
Blue
Neutral
wire
.
e polisher is gripped with both hands.
nto the mains power
Brown Live
wire
5 AMP
Fuse
.
2. DESCRIPTION
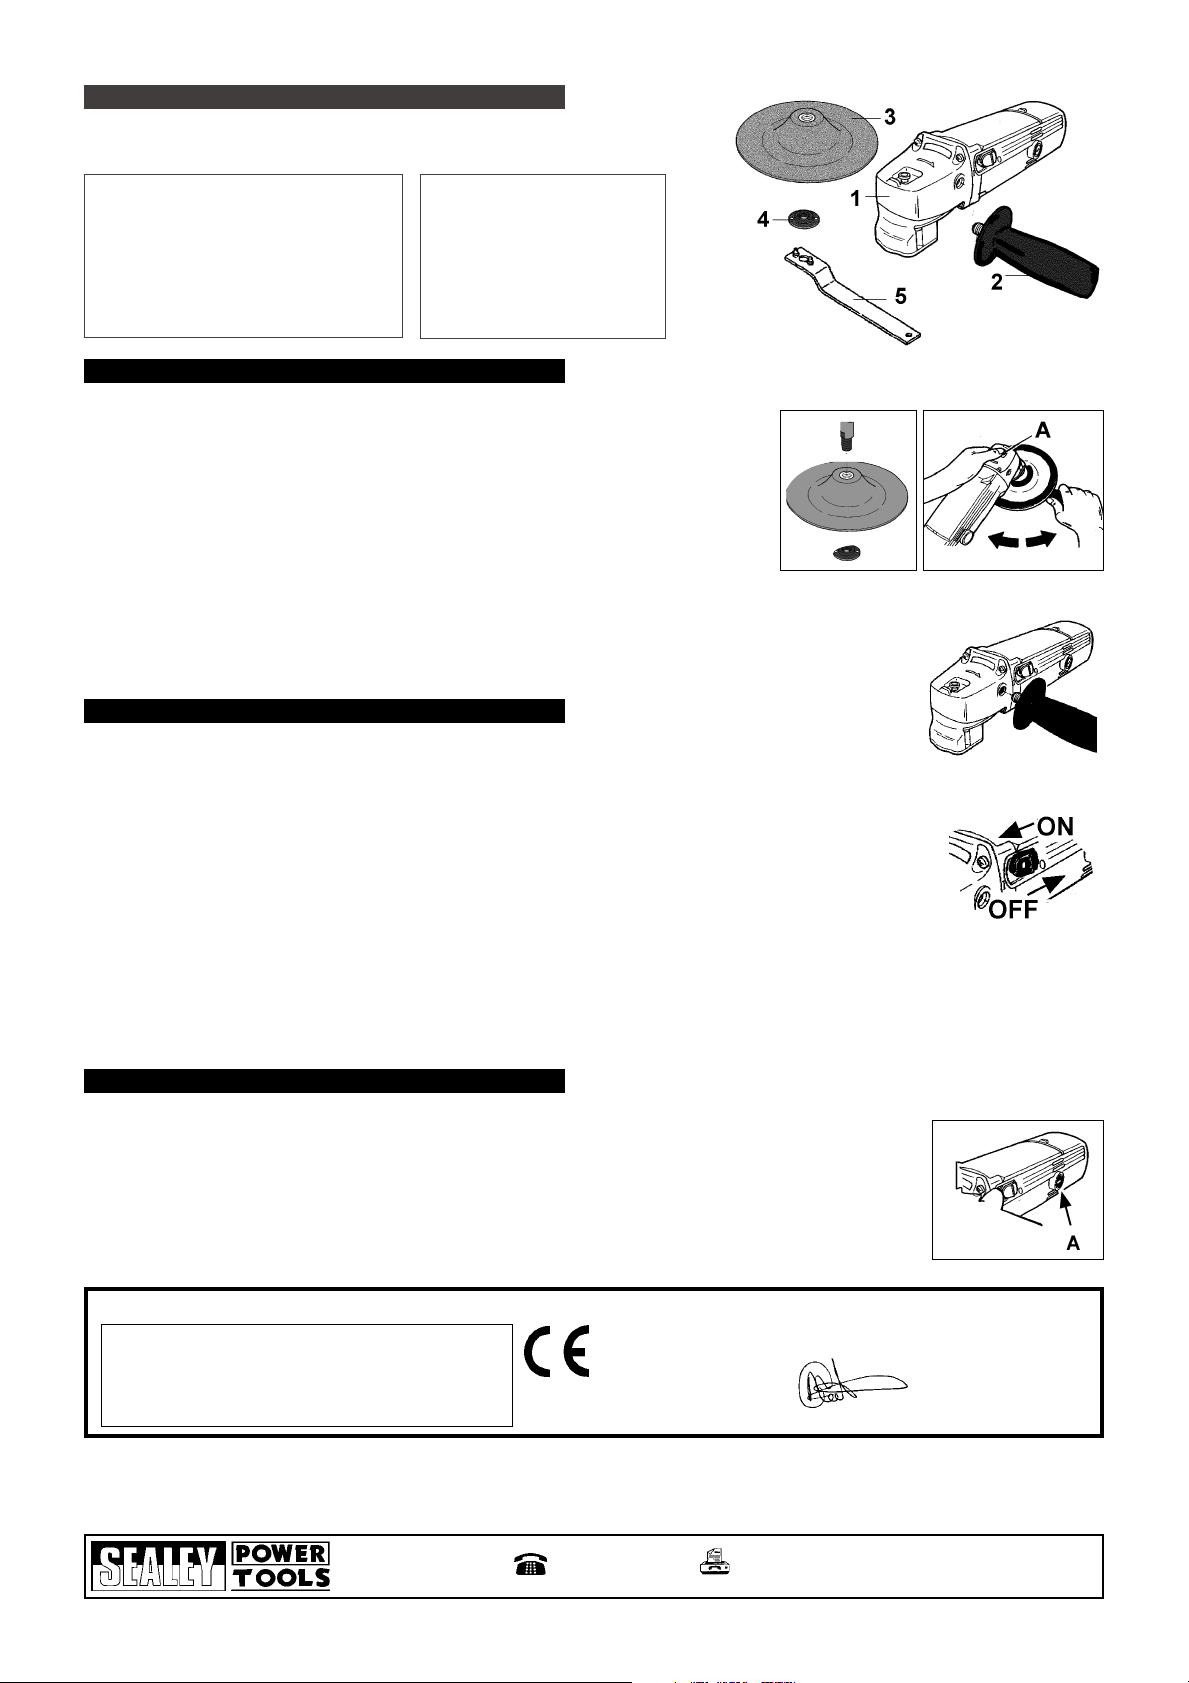
The ER 1700P is a low speed tool and as such is not fitted with a safety guard. This machine is suitable for smoothing, applying abrasive paste,
cleaning rusted surfaces, polishing and finishing numerous surfaces with absolute precision. Always use the accessory most suited to the type
of task and surface you are to work on and ensure the accessories are recommended for use with this tool.
Accessories available through your Sealey dealer are: Rubber and nylon backing plates, lambswool pads, resin buffers.
ER1700P - 0016 - (3) - 230501
Page 2
3. PACKAGE CONTENT & SPECIFICATION
Remove items from packing and identify parts against fig 1. Check to ensure they
are in good condition. If any part is damaged contact your supplier immediately.
fig 1
SPECIFICATIONS
Power . . . . . . . . . . . . . . . . . . .800W
No load speed . . . . . . . . . . .1700rpm
Shaft thread . . . . . . . . . . . .M14 x 2.0
Weight . . . . . . . . . . . . . . . . . .1.96kg
Sound pressure level . . . . .88.7dB(A)
Sound power level . . . . . . .95.6dB(A)
4. ASSEMBLY
p WARNING! ensure the polisher is unplugged from the mains power supply before assembling.
4.1. Fitting Backing Pad
4.1.1. Screw the rubber backing pad (fig 2) on the centre spindle ensuring the funnel shape
flange is facing toward the machine head.
4.1.2. To secure pad, screw on the lock nut (with flange facing in toward the pad).
4.1.3. Stop the spindle from turning by pushing in and holding the stop button (fig 3.A).
4.1.4. Lock backing pad into place by tightening lock nut with the wrench (fig 3).
4.1.5. When complete, release the locking button and check that it has sprung back to its initial position.
p WARNING! DO NOT use backing pads that are damaged or thought to be damaged.
Once mounted on the polisher, test the pad before use by facing the polisher in a safe direction (point away from yourself, others and vulnerable
items) and run for a short time.
s DANGER! The use of damaged pads is dangerous and may cause personal injury.
4.2. Hand Grip
The hand grip gives better control. Screw into appropriate hole on left or right hand side of the head (fig 4).
CONTENT LIST
1. Main body.
2. Handle grip.
3. Rubber backing pad.
4. Lock nut.
5. Pin wrench.
fig 2
fig 3
fig 4
5. OPERATING INSTRUCTIONS
p WARNING! Ensure polisher is unplugged from the mains power supply before changing accessories.
Check that the polisher switch is not in the ON position.
Before polishing ensure you are wearing approved safety goggles, ear defenders, appropriate dust mask, if polisher generates dust,
and safety gloves and that all other safety instructions in Section 1 are followed carefully.
5.1. Preparation
5.1.1. Fit the backing pad according to 4.1. and position handle grip conveniently for the task.
5.1.2. Fit polishing bonnet (not supplied) to backing pad and then plug polisher into the mains power supply.
5.2. ON/OFF Switch
Switch is spring loaded into Off position for positive cut-off and reduced possibility of accidental starting (fig 5).
5.2.1. Once plugged into the mains power supply start the polisher by pushing the switch forward.
5.2.2. To switch machine off press down rear of switch. The machine will stop and the switch will be in the safez position.
5.3. Polishing
The key to effective polishing is controlling the pressure and surface contact between the disc and the workpiece.
DO NOT switch the polisher on whilst the bonnet is in contact with the workpiece. Bring the rotating bonnet to the workpiece.
5.3.1. Allow the polisher to reach full speed before starting to polish.
5.3.2. When work is finished, unplug the polisher from the mains power supply, clean and store in a safe, dry, childproof area.
fig 5
6. MAINTENANCE
p WARNING! Ensure the polisher is disconnected from the mains power supply before attempting any maintenance.
6.1. Cleaning
Keep polisher ventilation slots clean and free from obstruction
the vents to clear any internal dust (safety goggles must be warn when undertaking this process). Keep
outer case of polisher clean and free from grease. DO NOT wash with water or use solvents or abrasives.
6.2. Changing the brushes
6.2.1. Remove the two brush caps, one from each side of the polisher (fig 6.A).
6.2.2. Remove the brushes, replace with a new set and refit brush caps.
Declaration of Conformity We, the sole importer into the UK, declare that the product listed below is in conformity with the following standards and directives.
HEAVY DUTY 170mm POLISHER
Model ER1700P
73.23/EEC Low Voltage Directive
89/336/EEC EMC Directive
NOTE: It is our policy to continually improve products and as such we reserve the right to alter data, specifications and component parts without prior notice.
IMPORTANT: No responsibility is accepted for incorrect use of this product.
WARRANTY: Guarantee is 12 months from purchase date, proof of which will be required for any claim.
INFORMATION: For a copy of our latest catalogue and promotions call us on 01284 757525 and leave your name and address, including post code.
Sole UK Distributor,
Sealey Group,
Bury St. Edmunds, Suffolk.
s. If available, blow compressed air into
fig 6
The construction file for this product is held by the Manufacturer and may
be inspected, by a national authority, upon request to Jack Sealey Ltd.
Signed by Mark Sweetman
For Jack Sealey Ltd. Sole importer into the UK of Sealey Power Tools.
01284 757500
01284 703534
E-mail: sales@sealey.co.uk
Date 27th April 2001
ER1700P - 0016 - (3) - 230501
Page 3

PARTS LIST FOR:
HEAVY DUTY 170MM POLISHER
Model No
Original Date: 270498
Version No: 1
Date Modified: 270401
: ER1700P
Item Part No. Description
1
2 ER1700P/02 Locking pin
3 ER1700P/03 Spring
4
5 ER1700P/05 Brass bushing
6 ER1700P/06 Retaining ring
7
8 B/608ZZ Ball bearing
9
10 ER1700P/10 Needle bearing
11 ER1700P/11 Screw 4x15
12
13 ER1700P/13 Spindle gear
14 ER1700P/14 Retaining ring
15
16 ER1700P/16 Bearing cover
17 B/6000ZZ Bearing
18
19
20 ER1700P/20 Screw 4 x 20
21 ER1700P/21 Nut
22
23
24 ER1700P/24 Bearing cover
25 ER1700P/25 Screw 4 x 12
26 ER1700P/26 Bearing box
27 ER1700P/27 Armature, 230V
28 B/608ZZ Ball bearing
29 ER1700P/29 Screw 4 x 65
30 ER1700P/30 Field coil, 230V
31 ER1700P/31 Motor housing
32 ER1700P/32 Switch lever
33 ER1700P/33 Carbon brush holder
34 ER1700P/34 Carbon brush (pair)
35 ER1700P/35 Brush holder cap
36
37
38
39
40 ER1700P/40 Strain relief
41 ER1700P/41 Screw 4 x 12
42
43 ER1700P/43 Spring
44 ER1700P/44 Cord guard
45
47 ER1700P/47 Rear cover
48 ER1700P/48 Screw 4 x 60
49 ER1700P/49 Side handle
50 ER1700P/50 Lock nut wrench
51 PTC/BP7/M14 Backing pad
52 ER1700P/52 Lock nut
53 ER1700P/53 EMC parts
54 ER1700P/54 EMC parts
55 ER1700P/55 Terminal block
ER1700P/01 Locking cap
ER1700P/04 Gear housing
ER1700P/07 Spiral bevel gear
ER1700P/09 Gear box
ER1700P/12 Woodruff key
ER1700P/15 Helical gear
ER1700P/18 Key
ER1700P/19 Spindle
ER1700P/22 Pinion gear
B/6000ZZ Ball bearing
ER1700P/36 Switch base
ER1700P/37 Screw 4 x 12
ER1700P/38 Switch
ER1700P/39 Screw 3.5 x 8
ER1700P/42 Switch pull rod
ER1700P/45 Screw 4 x 12
01284 757500
Sole UK Distributor,
Sealey Group,
Bury St. Edmunds, Suffolk.
01284 703534
E-mail: sales@sealey
.co.uk
 Loading...