

Page 1
Page 2

FreeAgent Pro for the Macintosh
Contents
Getting Started ............................................................................................................ 1
Using the Mac Reformatting Tool ........................................................... 1
Installing the FreeAgent Software ......................................................... 3
Safely Ejecting Drives .................................................................................. 8
Managing Your Drives ........................................................................................... 9
Updating Your Software ............................................................................. 9
Reading the LED Status Indicators ...................................................... 11
Using Backup & Restore ..................................................................................... 13
Registering Memeo LifeAgent ............................................................... 13
Restoring Files .............................................................................................. 14
Getting Help with Memeo ....................................................................... 14
Using the Internet Drive ..................................................................................... 16
Signing Up for Memeo ............................................................................... 16
Managing Utilities ................................................................................................... 17
Adjusting the Drive Lights ...................................................................... 17
Running Drive Diagnostics ...................................................................... 17
Uninstalling the FreeAgent Software ................................................. 19
Index ................................................................................................................................. 22
i
Page 3
Getting Started
The FreeAgent™ Pro software offers these features:
• Backup & Restore to protect your data
• An Internet Drive for remote access and file sharing
• Utilities to control your drive lights and drive diagnosis
The FreeAgent Pro software is loaded on your drive. Because the software is configured
for a Windows operating system, your drive and the software must be prepared for
installation on your Macintosh.
Using the Mac Reformatting Tool
FreeAgent Pro for the Macintosh
The Mac Reformatting tool automatically prepares the Drive Manager software for
installation on your Macintosh,
To use the Mac Reformatting Tool,
Step 1. Connect your drive to your computer.
A FreeAgent Drive icon appears on your desktop:
Step 2: Double-click the FreeAgent Drive icon.
The FreeAgent Drive Finder window opens:
Figure 1: FreeAgent Drive Finder
Using the Mac Reformatting Tool 1
Page 4
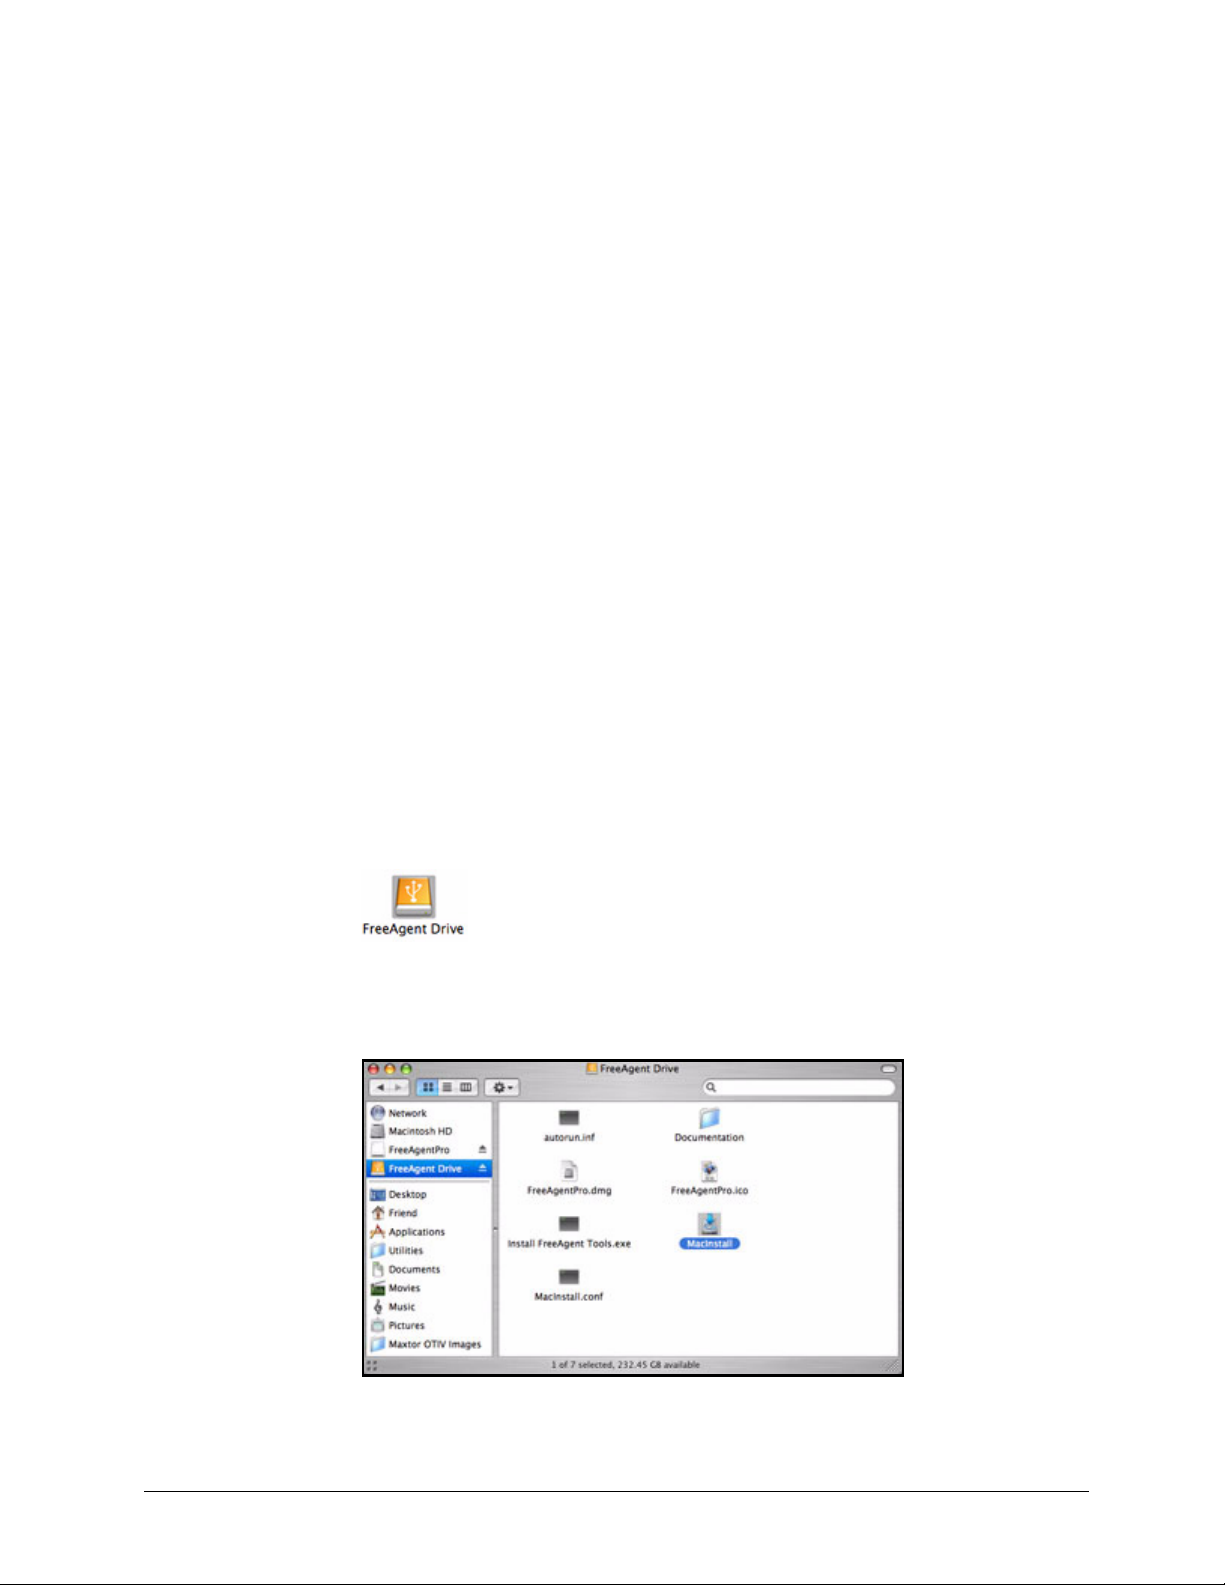
The FreeAgent Drive Finder window contains the Mac Reformatting Tool.
Step 3: Double-click the MacInstall icon.
The Mac Reformatter window opens:
FreeAgent Pro for the Macintosh
Figure 2: Mac Reformatter
Step 4: After you’ve read the description of what the Reformatting tool does,
(a) Make a copy of any data currently stored on the drive that you want to save.
(b) Click Reformat to reformat the drive for a Macintosh.
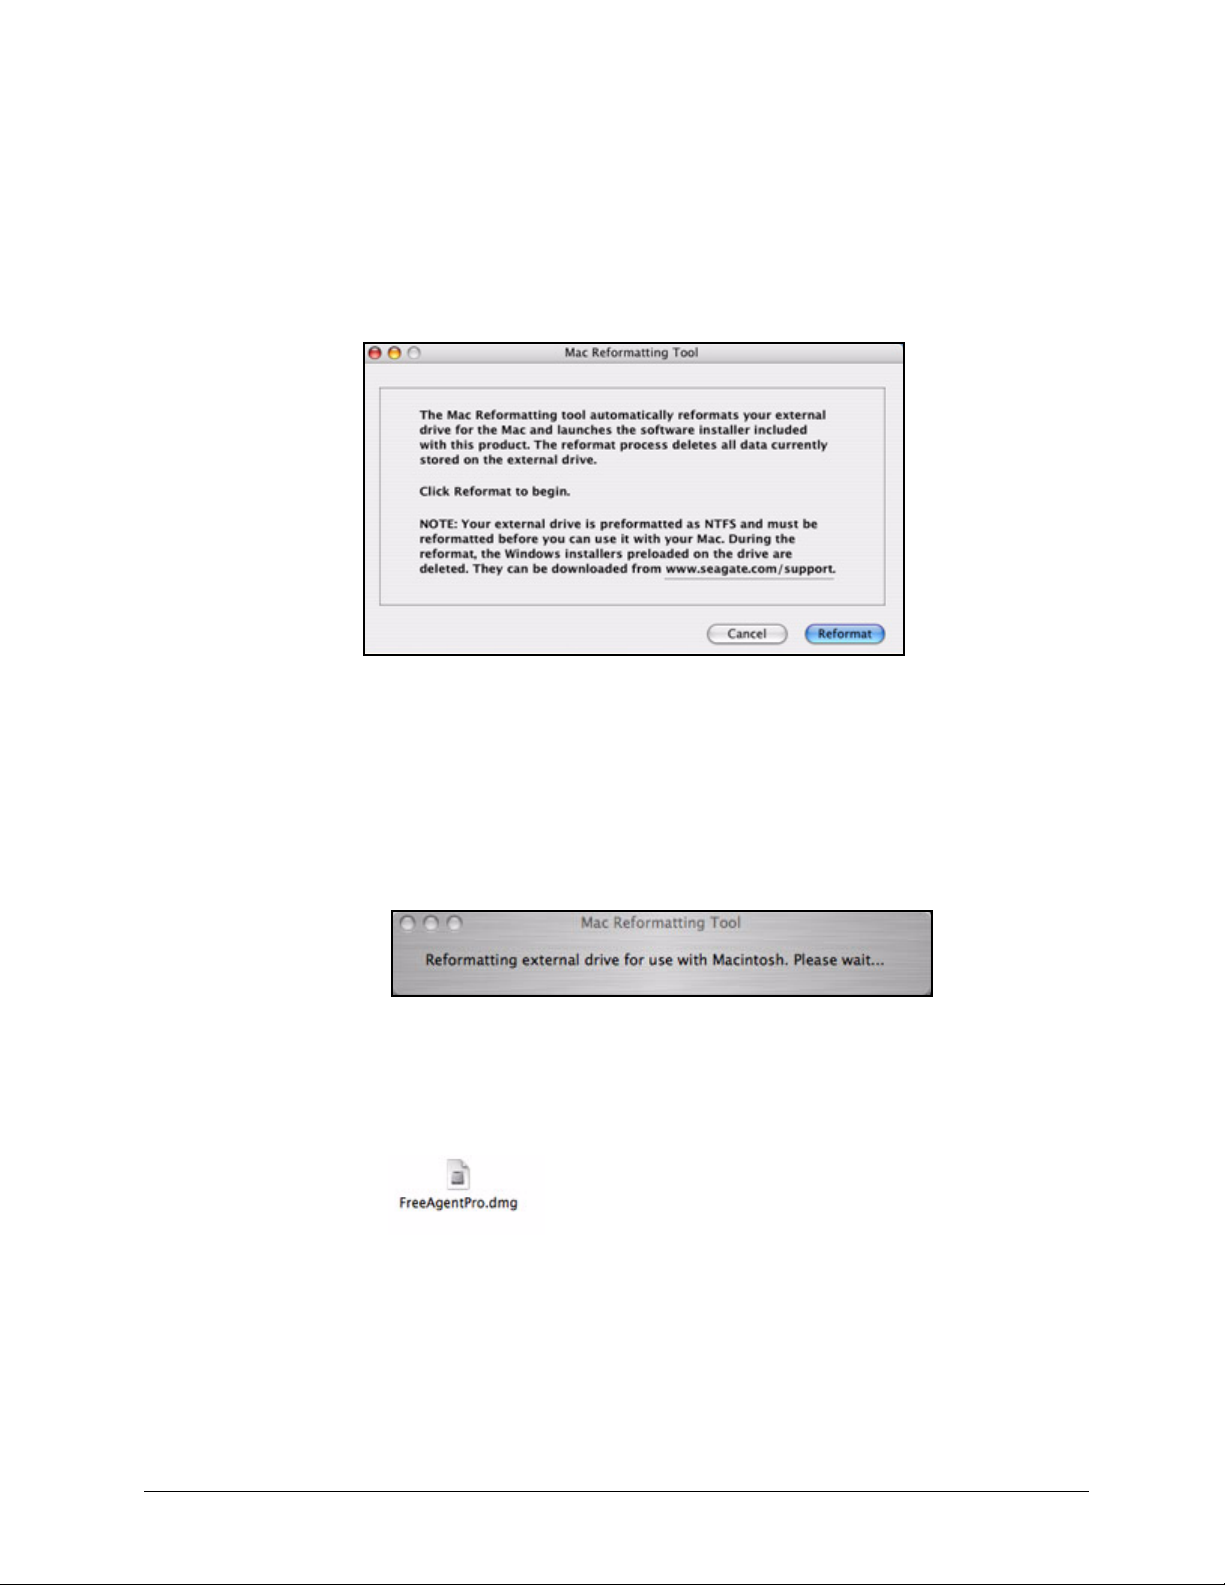
The remainder of the software preparation is automatic. Here’s what you see:
• The drive is dismounted and reformatted:
Figure 3: Reformatting In Progress
• When the reformat is complete, the FreeAgentPro.dmg file appears on your
desktop:
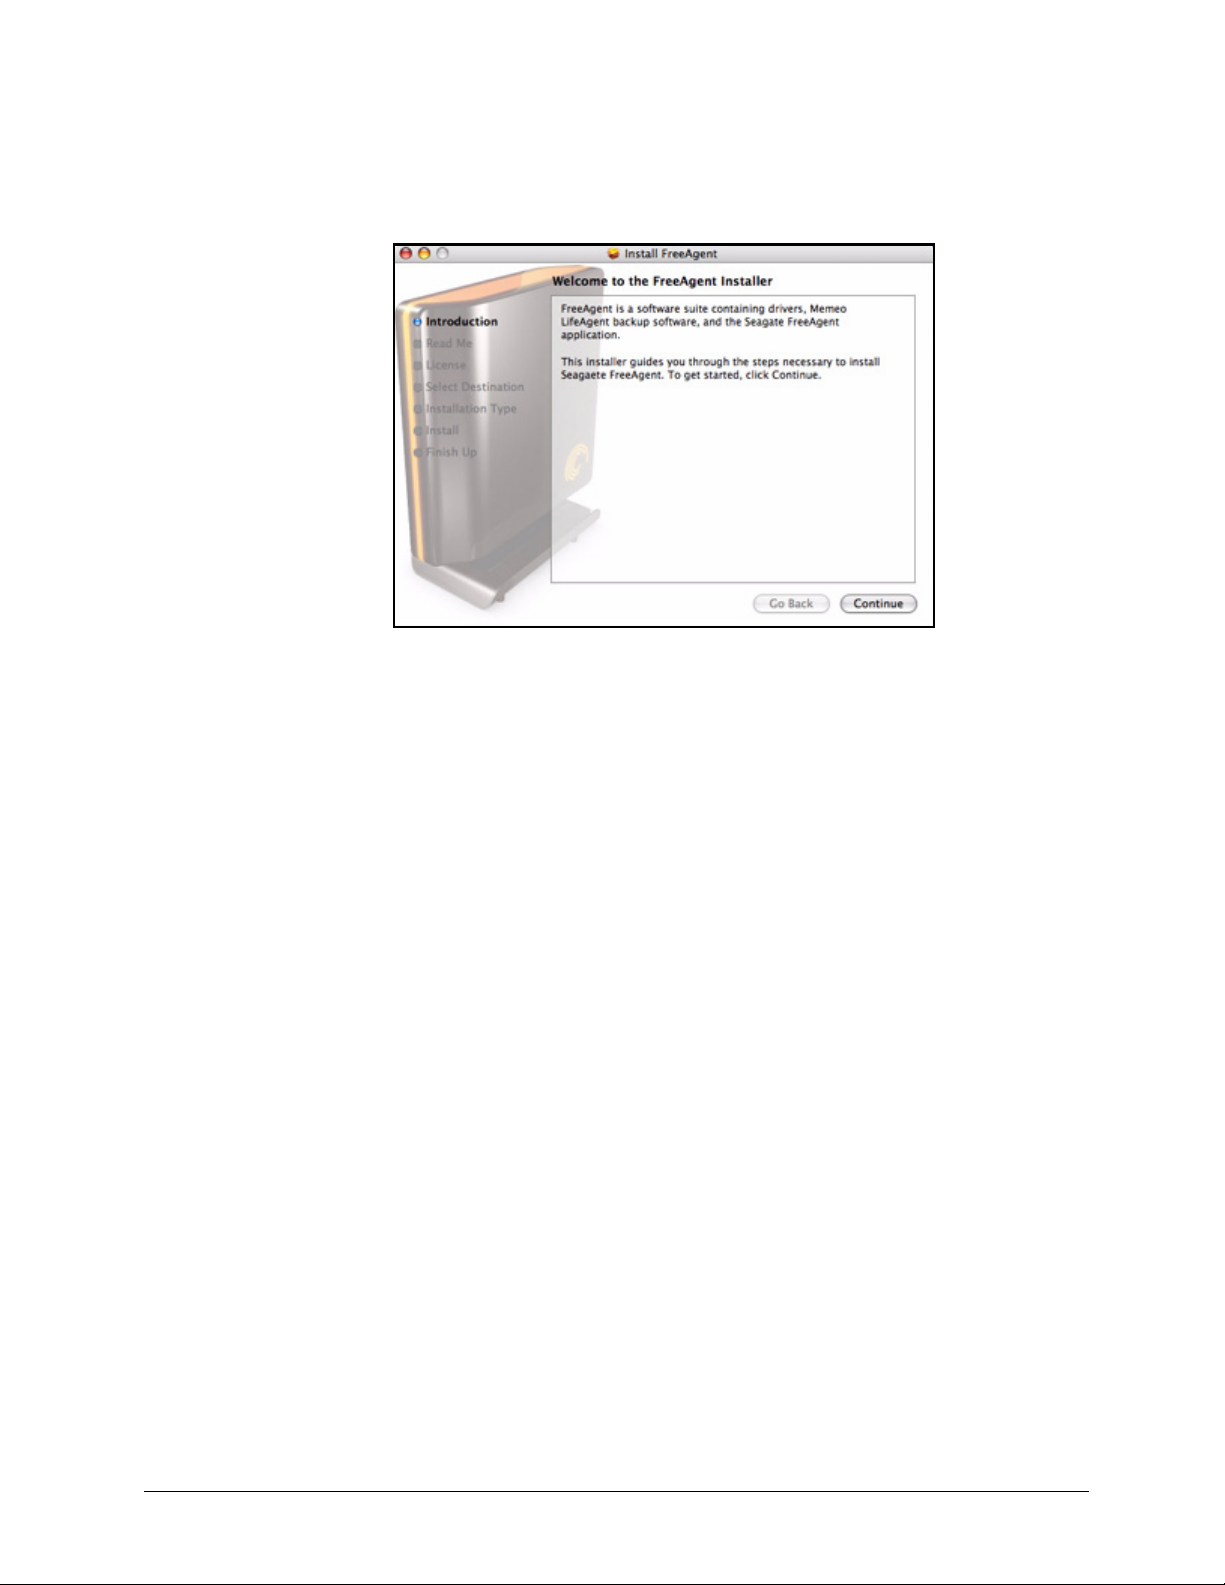
• The FreeAgent Installer Welcome window opens:
Using the Mac Reformatting Tool 2
Page 5
‘
Figure 4: Welcome
FreeAgent Pro for the Macintosh
Installing the FreeAgent Software
The FreeAgent Pro software and the Memeo LifeAgent™ software that powers the Backup
& Restore are already loaded on your FreeAgent drive and ready to be installed on your
computer.
To install the software,
Step 1. In the Welcome window, click Continue.
The Read Me window opens:
Installing the FreeAgent Software 3
Page 6

Figure 5: Read Me
FreeAgent Pro for the Macintosh
Step 2: When you’ve read the information, click Continue.
The License Agreement window opens:
Figure 6: License Agreement
Step 3: Click Continue to agree to the terms of the agreement.
A sheet requires your agreement to continue the installation:
Installing the FreeAgent Software 4
Page 7
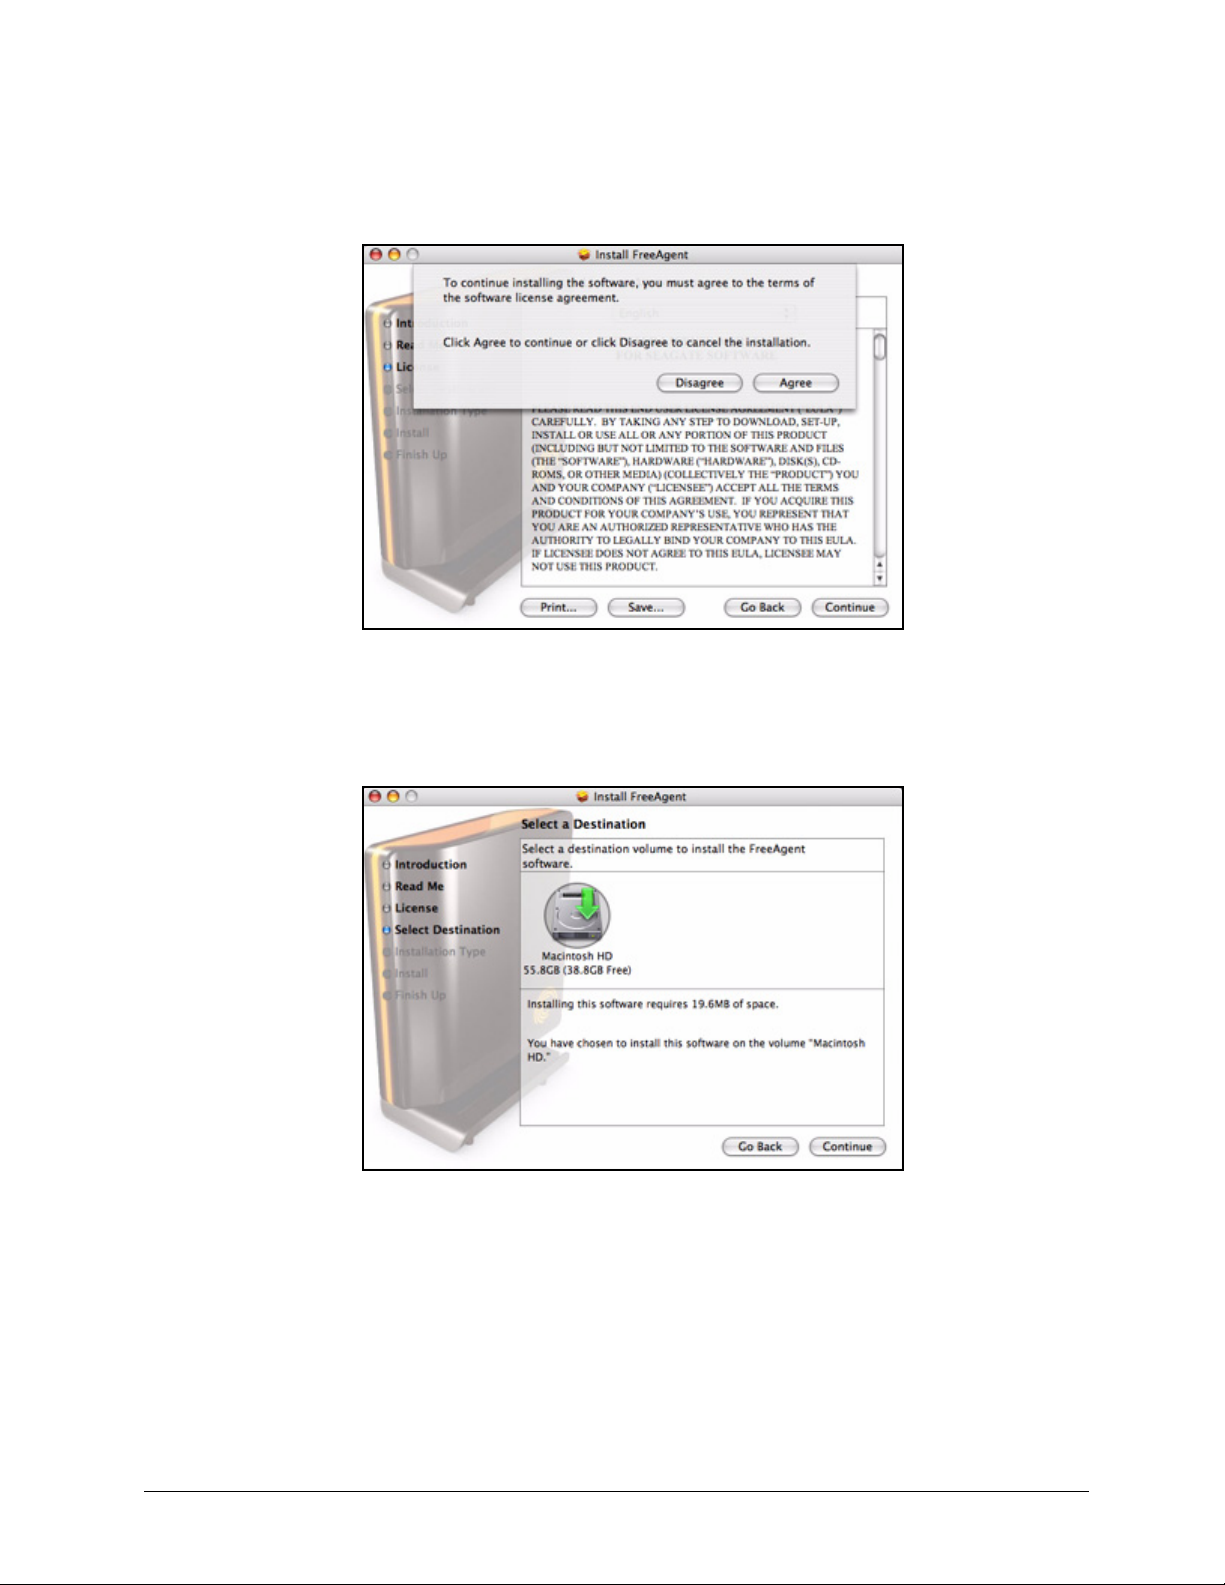
Figure 7: License Agreement Confirmation
FreeAgent Pro for the Macintosh
Step 4: Click Agree in the sheet.
The Select a Destination window opens:
Figure 8: Destination
Step 5: Select your Macintosh hard drive and click Continue.
Note: The software can be installed only on the boot volume.
The Easy Install window opens:
Installing the FreeAgent Software 5
Page 8
FreeAgent Pro for the Macintosh
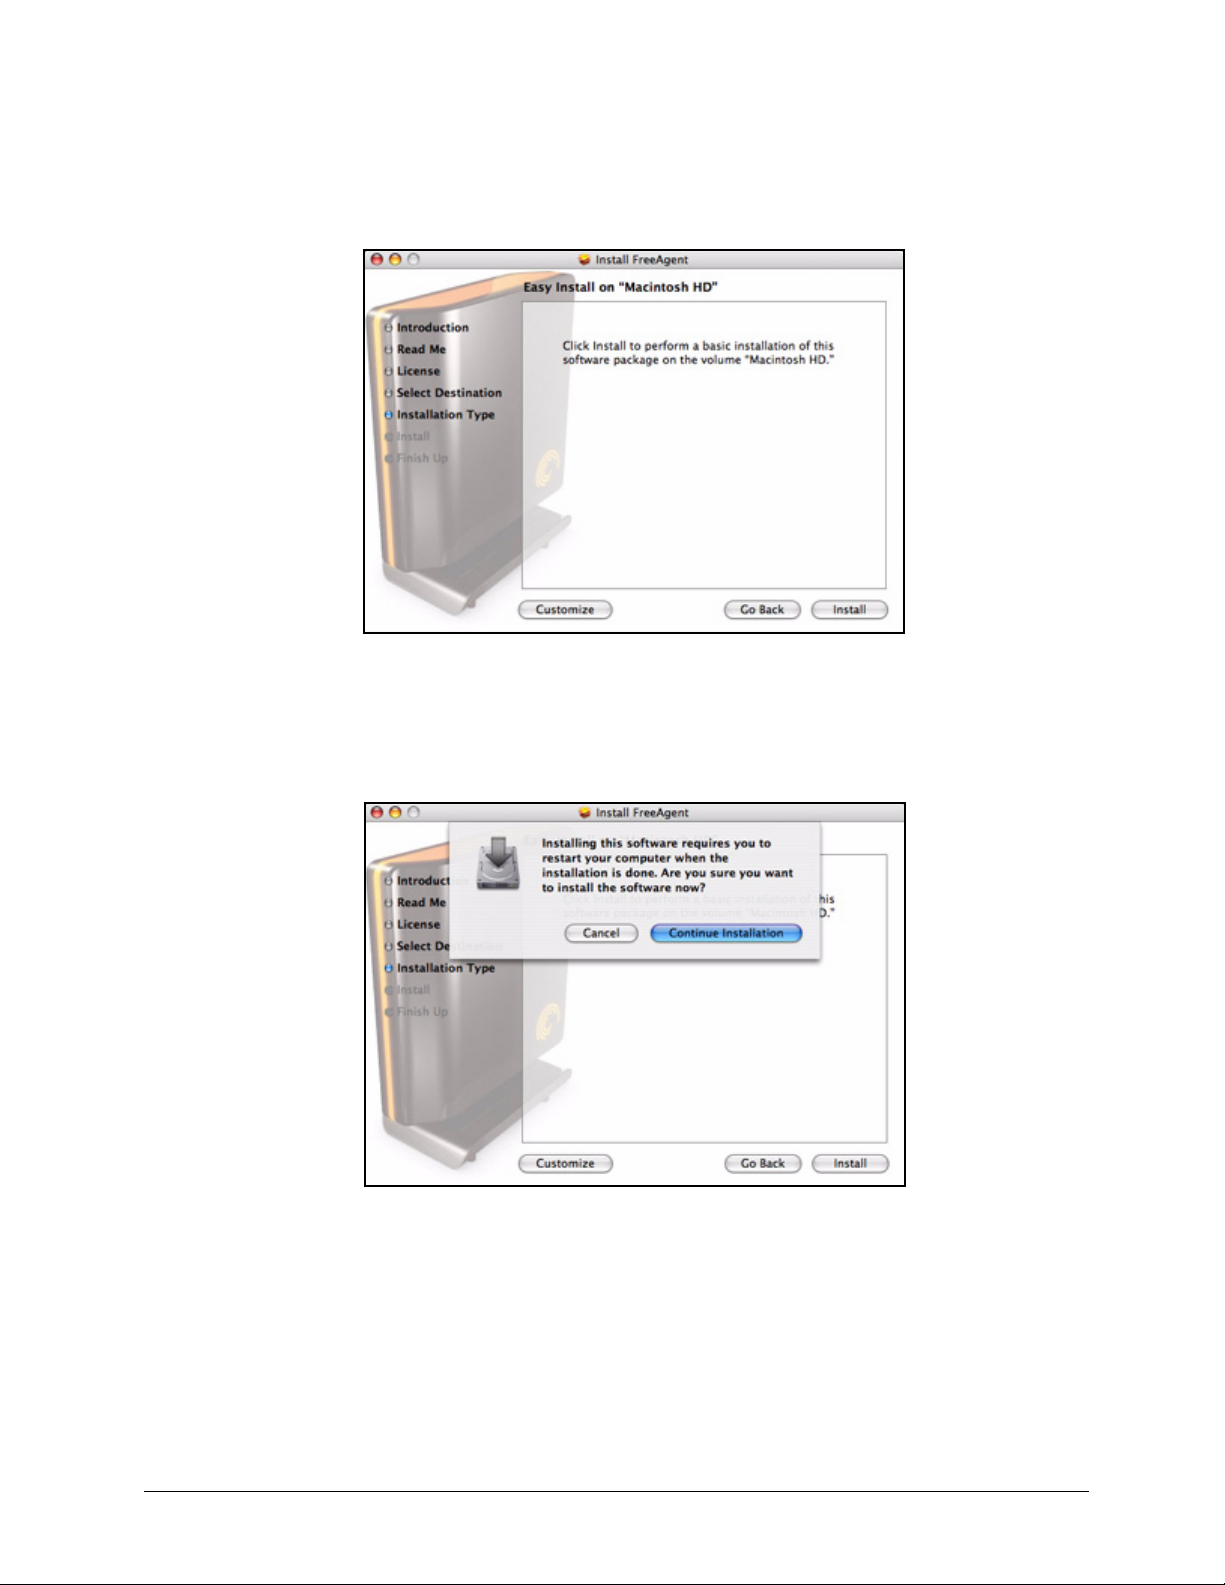
Figure 9: Installation Type
Step 6: Click Install.
A sheet warns that you’ll have to restart your computer:
Figure 10: Restart Warning
Step 7: Click Continue Installation in the sheet.
A progress bar informs you of the progress of the installation:
Installing the FreeAgent Software 6
Page 9

Figure 11: Installing Drive Manager
FreeAgent Pro for the Macintosh
When the installation is complete, a Restart window opens:
Figure 12: Restart
Step 8: Click Restart to restart your computer and complete the installation.
When your computer has restarted, a FreeAgent icon appears on your desktop:
Step 9: Double-click the FreeAgent icon to open the FreeAgent Tools application:
Installing the FreeAgent Software 7
Page 10

Figure 13: Drive Manager Applications
FreeAgent Pro for the Macintosh
Safely Ejecting Drives
It’s important that you follow the correct procedure to eject your drives from your computer
so that data is not lost or corrupted during the process.
To safely eject a drive,
Step 1. Click on the desktop icon of the drive to be disconnected and drag it to the Trash
icon.
Step 2: When the Trash icon changes to an Eject icon, release the drive icon with your
mouse:
Step 3: After the drive icon disappears from your desktop, disconnect the power supply
and the USB connection to your drive.
Safely Ejecting Drives 8
Page 11

Managing Your Drives
The Your Drives view provides a central point from which to manage your FreeAgent™
drives. It displays all FreeAgent devices connected to your computer:
FreeAgent Pro for the Macintosh
Figure 14: Your Drives
The tabs across the top of the view allow you to access your drive features and manage
drive utilities.
Note: External drives are automatically detected and listed in the Your Drives list. It can take
several seconds for the Drive Manager software to detect your device. If your device
doesn’t appear, make sure it’s properly connected and turned on.
Updating Your Software
The Software Update feature automatically informs you each month of whether your
software is up to date. However, you can manually check to see if an update is available or
you can turn off the automatic Software Update feature.
Note: You can check manually for software updates or turn off Software Update from any view.
To manually check for updates or turn off Software Update,
Step 1. In the menu bar, go to FreeAgent > Check for Updates.
Updating Your Software 9
Page 12

Figure 15: Check for Software Updates
FreeAgent Pro for the Macintosh
The Software Update window opens.
If an update is available, a Software Update window allows you to download it:
Figure 16: Software Update Available
Step 2: Click OK to download the software update.
A progress bar indicates the status of the download:
Figure 17: Software Update Progress
When the software update has downloaded, the Install Wizard Welcome window
opens.
Updating Your Software 10
Page 13

FreeAgent Pro for the Macintosh
Step 3: Follow the steps in the Install Wizard to install the update.
If your software is up to date, a Software Update window informs you of that:
Figure 18: Software Up To Date
Reading the LED Status Indicators
Your FreeAgent drive has two LED status indicators to keep you informed about the status
of the drive:
Figure 19: Drive LEDs
Table 1: LED Activity States
LED Descriptions State
Perimeter: Flashing rapidly
Activity: Off
Perimeter: Shining steadily/bright
Activity: Off
Reading the LED Status Indicators 11
Drive fault
Power on; no data activity
Page 14

Table 1: LED Activity States (Continued)
LED Descriptions State
Perimeter: Shining steadily/bright
Activity: Pulsing slowly
Perimeter: Shining steadily/dim
Activity: Off
FreeAgent Pro for the Macintosh
Data activity
Asleep
Reading the LED Status Indicators 12
Page 15

FreeAgent Pro for the Macintosh
Using Backup & Restore
The Backup & Restore feature is powered by the Memeo LifeAgent™ software included
with your FreeAgent™ drive. This feature allows you to back up folders on your network,
Flash Drives, and iPods; back up over the Internet; and use Shutterfly to share photos over
the Internet.
Registering Memeo LifeAgent
You must register your Memeo LifeAgent software before you can use it. To complete the
registration, you need the Product Key attached to the Quick Start Guide in your FreeAgent
drive shipping carton.
Note: An Internet connection is required to register Memeo LifeAgent.
To register your Memeo LifeAgent software,
Step 1. Open the FreeAgent application.
Step 2: Click the Backup & Restore tab
The Backup & Restore view opens:
Figure 20: Backup & Restore
Step 3: Click Open Now to open the Memeo LifeAgent registration window.
Step 4: Follow the directions provided to register your Memeo LifeAgent software and use
it to back up files.
Registering Memeo LifeAgent 13
Page 16

Restoring Files
To restore files backed up with Memeo LifeAgent,
Step 1. Click the Backup & Restore tab
The Backup & Restore view opens:
FreeAgent Pro for the Macintosh
Figure 21: Backup & Restore
Step 2: Click Open Now to open the Memeo LifeAgent window.
Step 3: Follow the directions provided to use Memeo LifeAgent to restore backed up files.
Getting Help with Memeo
The FreeAgent Backup & Restore feature is provided by Memeo. For technical help with
Memeo procedures and functions, refer to the Memeo LifeAgent User Guide.
To access the Memeo LifeAgent User Guide,
Step 1. Click the Backup & Restore tab
The Backup & Restore view opens:
Restoring Files 14
Page 17

Figure 22: Backup & Restore
FreeAgent Pro for the Macintosh
Step 2: Click Open Now to open the Memeo LifeAgent window.
Step 3: In the menu bar, go to Help > Memeo LifeAgent Help:
Figure 23: Memeo LifeAgent Help
The Memeo LifeAgent User Guide opens in your web browser.
Getting Help with Memeo 15
Page 18

FreeAgent Pro for the Macintosh
Using the Internet Drive
The Seagate Internet Drive, powered by Memeo, provides password-protected space on
Seagate servers so you can access your files from any computer and share them with
others.
Signing Up for Memeo
You must sign up for the Seagate Internet Drive using the Product Key attached to the
Quick Start Guide in your FreeAgent drive shipping carton.
To sign up for and use the Internet Drive,
Step 1. Click the Internet Drive tab.
The Internet Drive view is displayed:
Figure 24: Internet Drive
Step 2: Click Open Now to open the Seagate Memeo Internet Drive window.
Step 3: Follow the directions provided to sign up for and use the Internet Drive.
Signing Up for Memeo 16
Page 19

Managing Utilities
The Utilities view allows you to adjust the lights on your FreeAgent™ drive and to run drive
diagnostics.
Adjusting the Drive Lights
The lights on your FreeAgent drive pulse to indicate drive activity and status. You can turn
these lights off if you wish.
Step 1. Click the Utilities tab.
The Utilities view is displayed:
FreeAgent Pro for the Macintosh
Figure 25: Utilities
Step 2: Use the Display Status & Activity Lights checkbox to turn the drive lights on and
off.
Running Drive Diagnostics
You should run a diagnostic on your on your FreeAgent drive regularly as part of general
maintenance. The diagnostic determines hard disk integrity and can help troubleshoot
potential problems with disk surface, partitioning, and drive recognition. The diagnostic
utility performs its tests without affecting the data on your drive.
Adjusting the Drive Lights 17
Page 20

To run a drive diagnostic,
Step 1. Close all open files located on the FreeAgent drive.
Step 2: Click the Utilities tab.
The Utilities view opens:
FreeAgent Pro for the Macintosh
Figure 26: Utilities
Step 3: Click Test Now.
A status bar indicates the progress of the diagnostic:
Figure 27: Diagnostic Progress
When the test is complete, the Utilities view displays the results:
Running Drive Diagnostics 18
Page 21

Figure 28: Drive Diagnostic Results
FreeAgent Pro for the Macintosh
If the drive encounters an error during testing, the diagnostic displays an error
code with instructions to contact Seagate for service and support.
Uninstalling the FreeAgent Software
To uninstall the FreeAgent software,
Step 1. Go to Applications > FreeAgent > FreeAgent Uninstaller and double-click the
Uninstaller icon:
Figure 29: FreeAgent Uninstaller
The FreeAgent Uninstall Welcome window opens:
Uninstalling the FreeAgent Software 19
Page 22

FreeAgent Pro for the Macintosh
Figure 30: Uninstall Welcome
Step 2: Click Continue.
A window asks if you want to save your current Memeo LifeAgent Backup Plans:
Figure 31: Saving Backup Plans
Step 3: Decide whether to save your current Backup Plans and click the appropriate
button.
An Uninstall Successful window informs you when the Uninstall is complete:
Uninstalling the FreeAgent Software 20
Page 23

Figure 32: Uninstall Complete
FreeAgent Pro for the Macintosh
Uninstalling the FreeAgent Software 21
Page 24

Index
A
Adjusting the Drive Lights 17
B
Backup & Restore 13
Getting Help with Memeo
Registering Memeo LifeAgent
Restoring Files
G
Getting Help with Memeo 14
Getting Started
Installing the FreeAgent Software
Safely Ejecting Drives
Using the Mac Reformatting Tool
14
1
14
8
FreeAgent Pro for the Macintosh
13
3
1
I
Installing the FreeAgent Software 3
Internet Drive
Signing Up for Memeo
M
Managing Your Drives 9
Memeo
R
Registering Memeo LifeAgent 13
Restoring Files
Running Drive Diagnostics
S
Safely Ejecting Drives 8
Signing Up for Memeo
U
Uninstalling the FreeAgent Software 19
Updating Your Software 9
Using the Mac Reformatting Tool
Utilities
Adjusting the Drive Lights
Running Drive Diagnostics
16
16
13, 16
14
17
16
1
17
17
17
22
 Loading...