

SCTechOne SCT-FIDO02,Touch xWallet User Manual
2018. 03
TouchWallet
User Guide
SCTechOne, Inc.

1
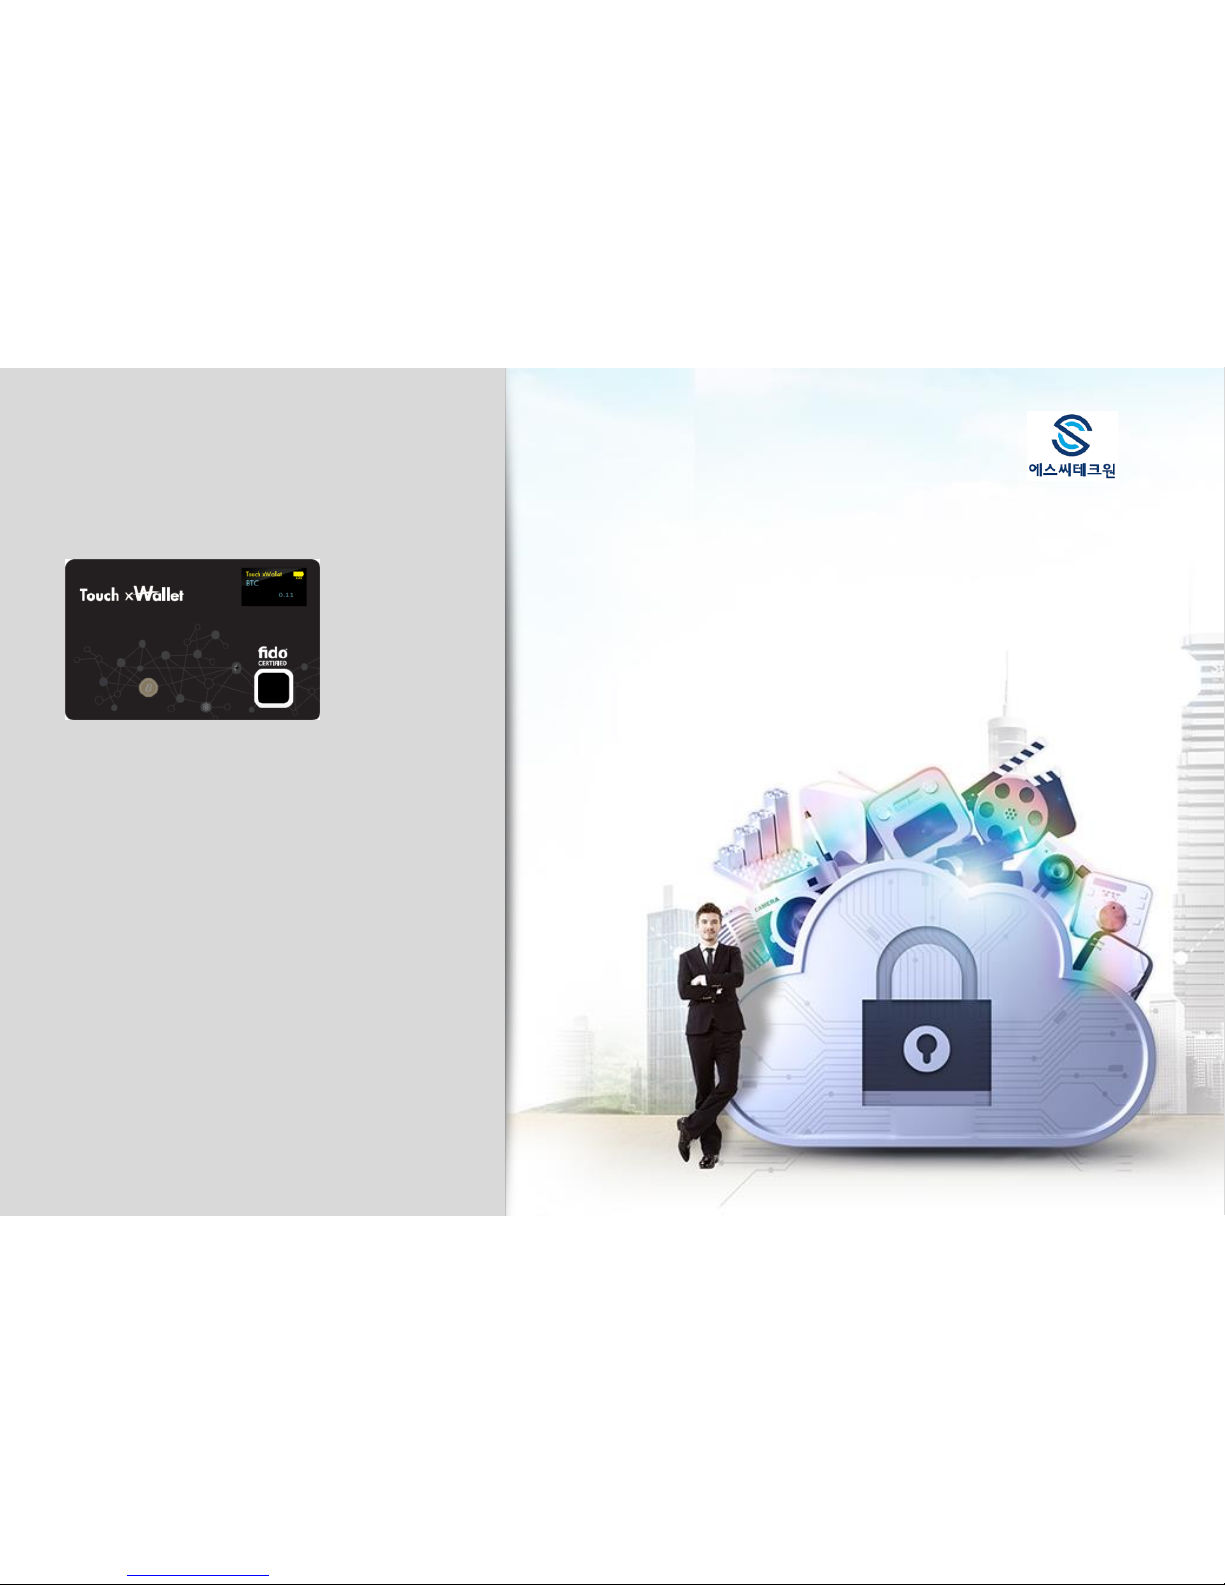
TouchWallet
Product Look and Dimension
1
2
3
Display
Finger Sensor
Power Sensor
Power Sensor
▪ On finger sensor bezel, the power sensor allows to turn the device
On/Off with finger touch (for more than 1 second).
Finger Sensor
▪ With registered fingerprint, verifies finger authentication and
unlocks the TouchWallet.
▪ With registered fingerprint, behaves as a navigational pad.
Display
▪ Uisng E-Ink, displays menu and battery charge.
Charge Port
▪ With built-in Micro-Usb charge, charges using a smartphone
charger (During charge: Thunderbolt, After charge: Battery bars).
1
2
3
4
Dimension Explanation
Device Name/Model Finger-Authenticated Cryptocurrency Hardware Electronic Wallet (Touch xWallet / SCT-FIDO02)
SmartCard IC(SE)
Native COS, Built-In Financial IC Security Chip, Fingerprint Template, Stores important information as public key certificates, Smart OTP,
Support for FIDO Authenticator
NFC Support ISO14443 Type A/B
Bluetooth Support BLE(Bluetooth Low Energy), Data communication with BLE-supported device (Smart Phones, PC, etc)
Fingerprint With finger sensor, finger-authenticated verification, Unable to use besides yourself
Display E-Ink Display
Battery Built-in 160mAh 4.2V rechargeable battery (Not replaceable)
Charge Port Built-in micro-usb port allows charging with smart phone charger, Complete charge in 20 minutes
Size(mm) 86*54*3mm
Charge Port
(micro-usb)
4
2
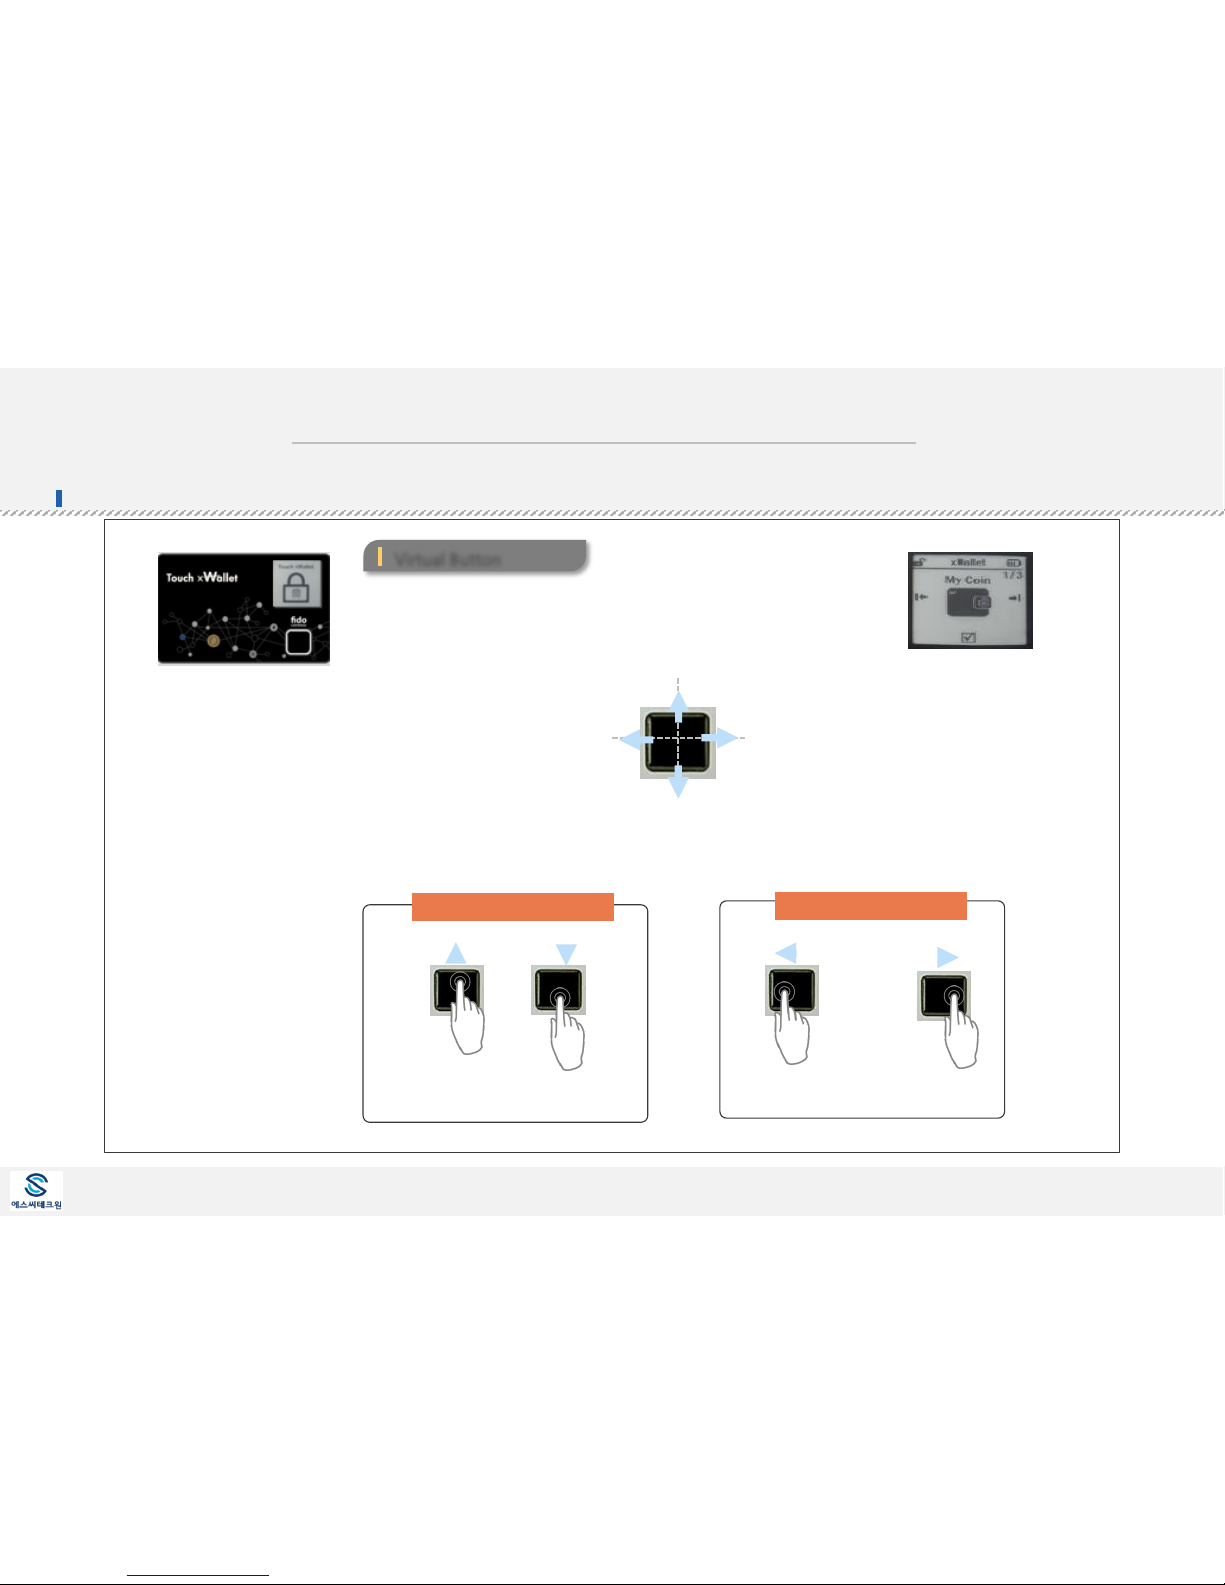
TouchWallet Start (1/4)- Virtual Button Usage
▪ After successful fingerprint registration, xWallet (SC,NFC, BLE
communication and other features) becomes active.
▪ After successful fingerprint registration, the fingerprint sensor works as
a “Virtual Button”, and takes the role of Up/Down/Left/Right navigational
key.
▪ All “Feature Menus” can be selected with navigational key by touching
Up/Down/Left/Right area of the finger sensor.
** Finger Sensor Tip) Without conscientiously touching the edges of finger
sensor, just touch about half the area of the sensor.
Virtual Button
[Main Menu Selection Key]
[Sub-Menu Selection Key]
Finger Sensor
Previous Key
Select Key
TouchWallet
Next Key
Previous Key
Down
Up
Right
Left
3
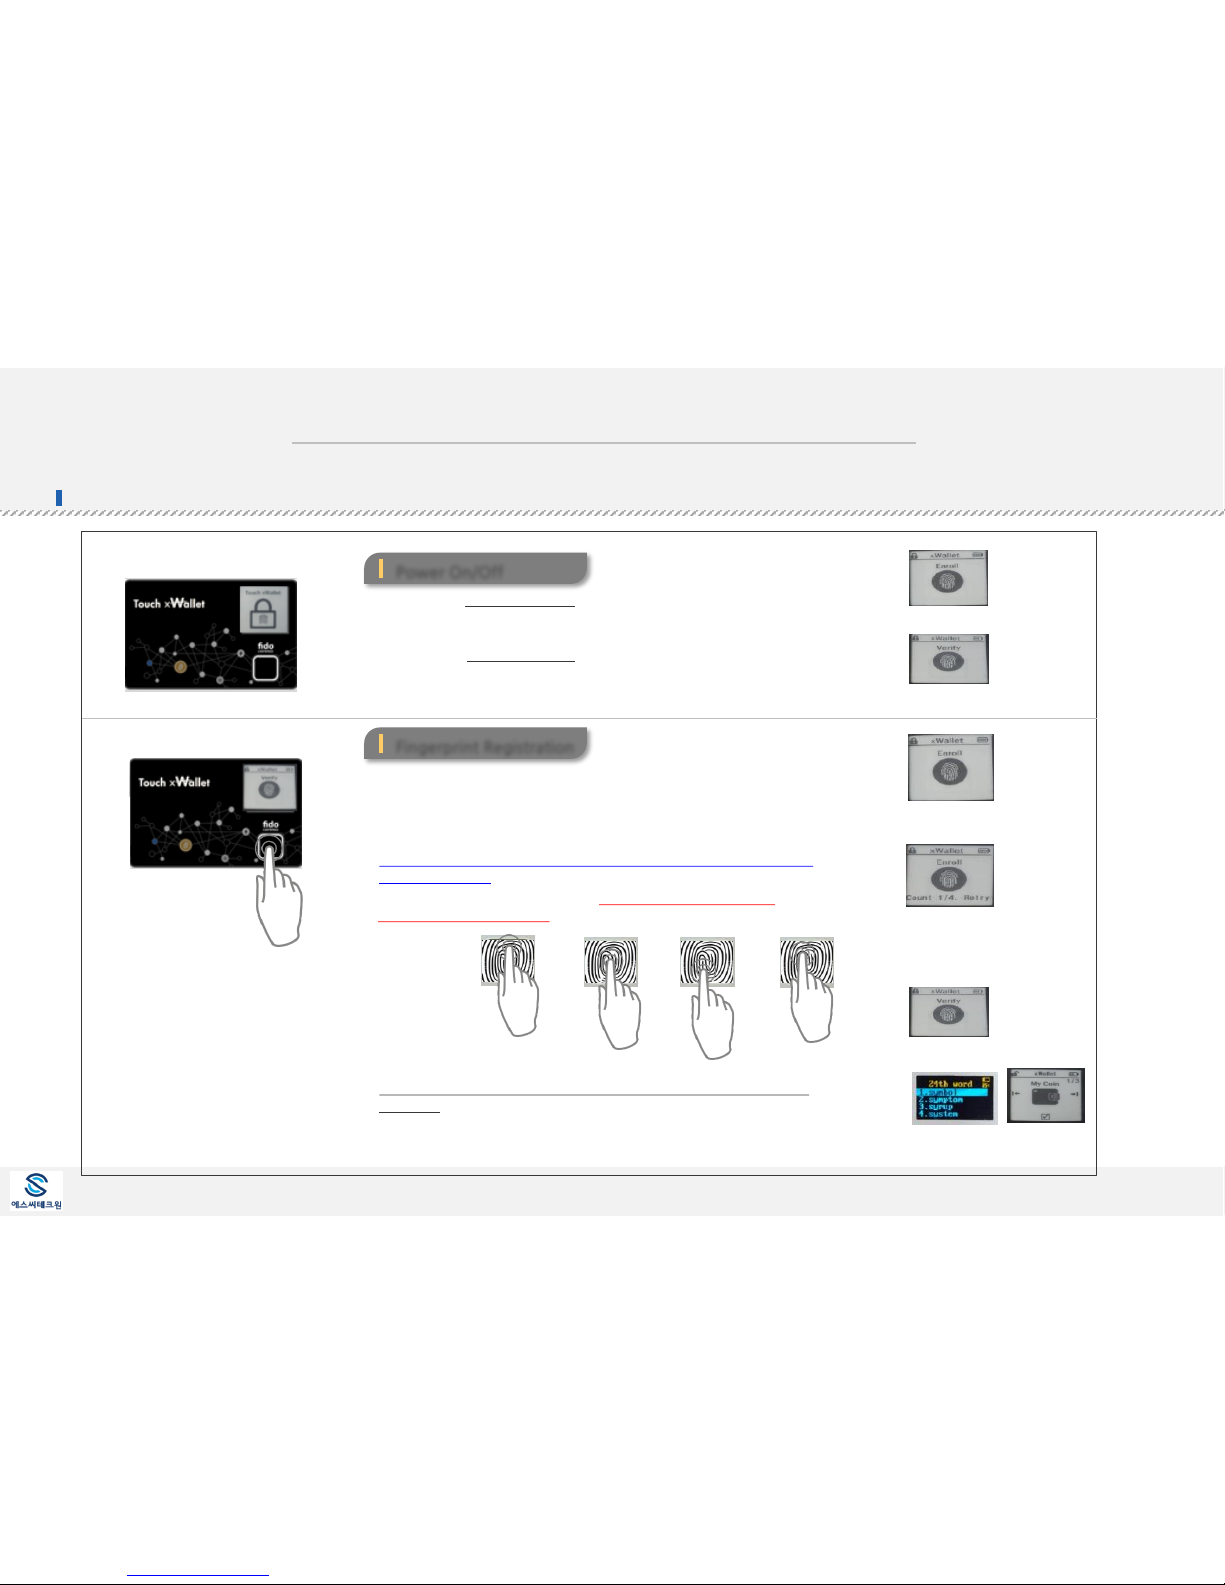
▪ Power On : With xWallet Off, touch the entire finger sensor for about
1 second with a finger.
▪ Power Off : With xWallet On, touch the entire finger sensor for about
3 seconds with a finger.
** With xWallet On, the power turn off automatically after 1 minute.
TouchWallet Start (2/4) – Power On/Off, Fingerprint Registration
Power Off
▪ At “initial use (without fingerprint registration) or fingerprint reset,” you
will need to perform a new fingerprint registration.
▪ When the power is On touching the finger sensor, “Enroll Finger”
message is displayed. Begin registration by touching the finger sensor.
▪ With repeated fingerprint touch, “Progress ¼“ registration progress
message appears.
** Usage Tip : As shown below with varying fingerprint location, register for
the total of 4 full fingerprints.
▪ When fingerprint scanning is complete, “Verify Finger? Message is
displayed.
▪ After successful fingerprint verification, “Success” message is displayed,
Then, “Main Menu” is displayed.
▪ When failed, “Fail” message is displayed. Just retry the verification.
Power On
Power On/Off
Fingerprint Registration
[Without Registered Fingerprint, Power On Display]
[With Registered Fingerprint, Power On Display]
¼ session
2/4 session ¾ session
4/4 session
TouchWallet
[Fingerprint Registration Ready]
[Begin Fingerprint Registration]
[Fingerprint Verification Ready]
[Fingerprint Verification Complete]
 Loading...