

Page 1
Concerning SCOTT AV-3000® Facepieces
DATE: January 8, 2008
TO: All Users of SCOTT AV-3000® Facepieces
SOME USERS OF AV-3000 F ACEPIECES HA VE REPORTED SEP ARA TION OF THE HEAD HARNESS
FROM THE FACEPIECE AT THE RUBBER ATTACHMENT TAB. SEPARATION OF THE TAB MAY
RESUL T IN EXPOSING THE USER TO THE A TMOSPHERE THE RESPIRA TOR WAS INTENDED TO
PROTECT THE USER AGAINST.
Carefully review this entire notice before taking action.
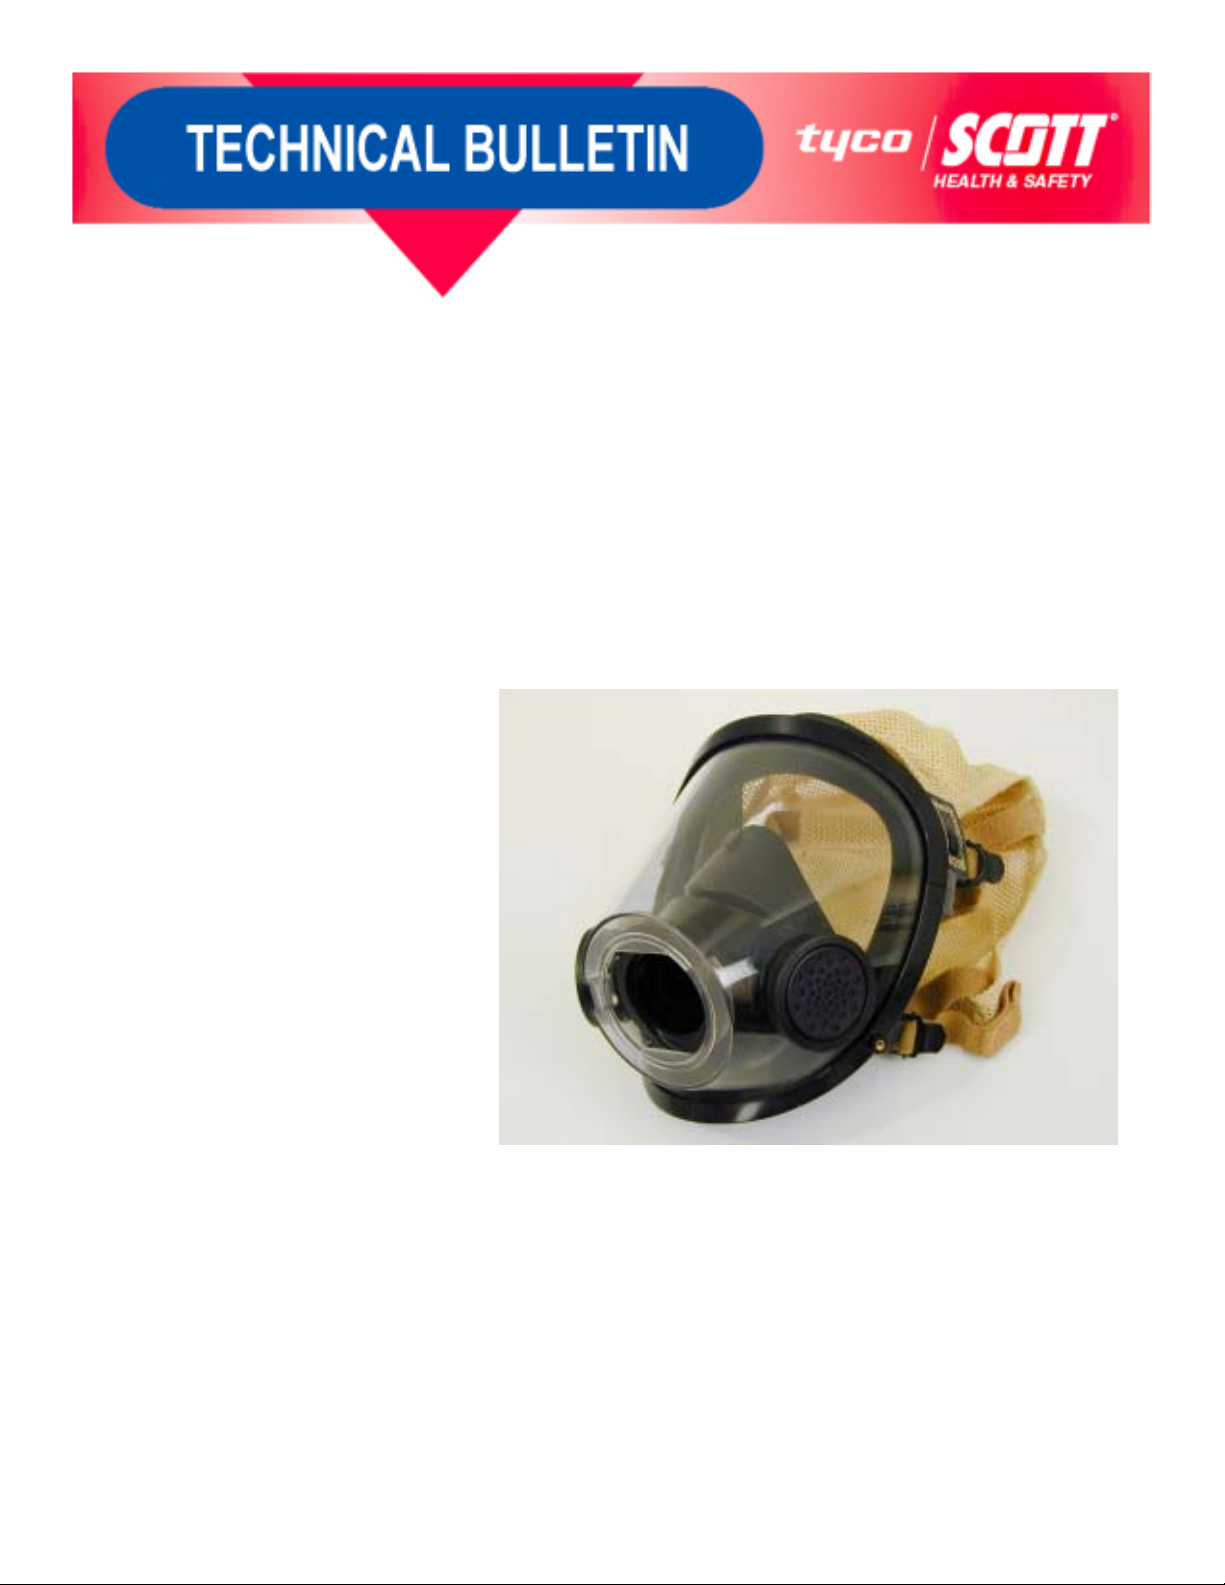
SCOTT has learned that some AV-3000 facepieces have separated at the rubber tab which connects
the head harness to the facepiece seal and lens.
FIGURE 1
AV-3000 Facepiece
Based on laboratory testing, the force needed to damage the faceseal is well beyond what is needed
to properly don a facepiece and achieve a good face-to-facepiece seal. As a result, most users have
not experienced damage to their equipment. To achieve a good face-to-facepiece seal, the AV-3000
facepiece requires less tension on the head harness straps than some of the other SCOTT Facepiece
Models. This may lead some users to over tighten the straps on the AV-3000 facepiece.
Because reducing the potential of any risk begins with basic procedures, SCOTT is reminding users to
follow the steps in the Operation and Maintenance instructions regarding donning the facepiece. Prior
to donning your facepiece, inspect your respirator as discussed in your organized respiratory protection
program or as discussed in the Operations and Maintenance instructions originally supplied with your
respirator . Additional copies of the Operations and Maintenance instructions are available from SCOTT
upon request.
Page 1 of 4 H/S 6678
Page 2
DONNING THE AV-3000 FACEPIECE
To begin use of respirator, don the facepiece (i.e., place facepiece on face and obtain a proper seal) as
follows:
1. Examine the facepiece assembly to be certain the nose cup inhalation valves are installed, the
nose cup is correctly positioned inside the face seal chin cup, and nose cup is properly seated
between the flanges of the voicemitter ducts.
2. Adjust the head straps to the full outward position.
3. Hold the head harness out of the way with one hand while placing the facepiece on the face with
the other hand.
NOTE
ENSURE THAT THE CHIN IS PROPERLY LOCATED IN THE CHIN POCKET OF THE FACEPIECE.
4. Pull the head harness over the head and ensure that straps are lying flat against the head and
neck with no twists.
NOTE
IF THE F ACEPIECE IS EQUIPPED WITH A RUBBER HEAD HARNESS, POSITION THE TOP CENTER
OVER THE CROWN OF THE HEAD. MAINTAIN THE HEAD HARNESS IN THIS POSITION WHILE
TIGHTENING THE STRAPS.
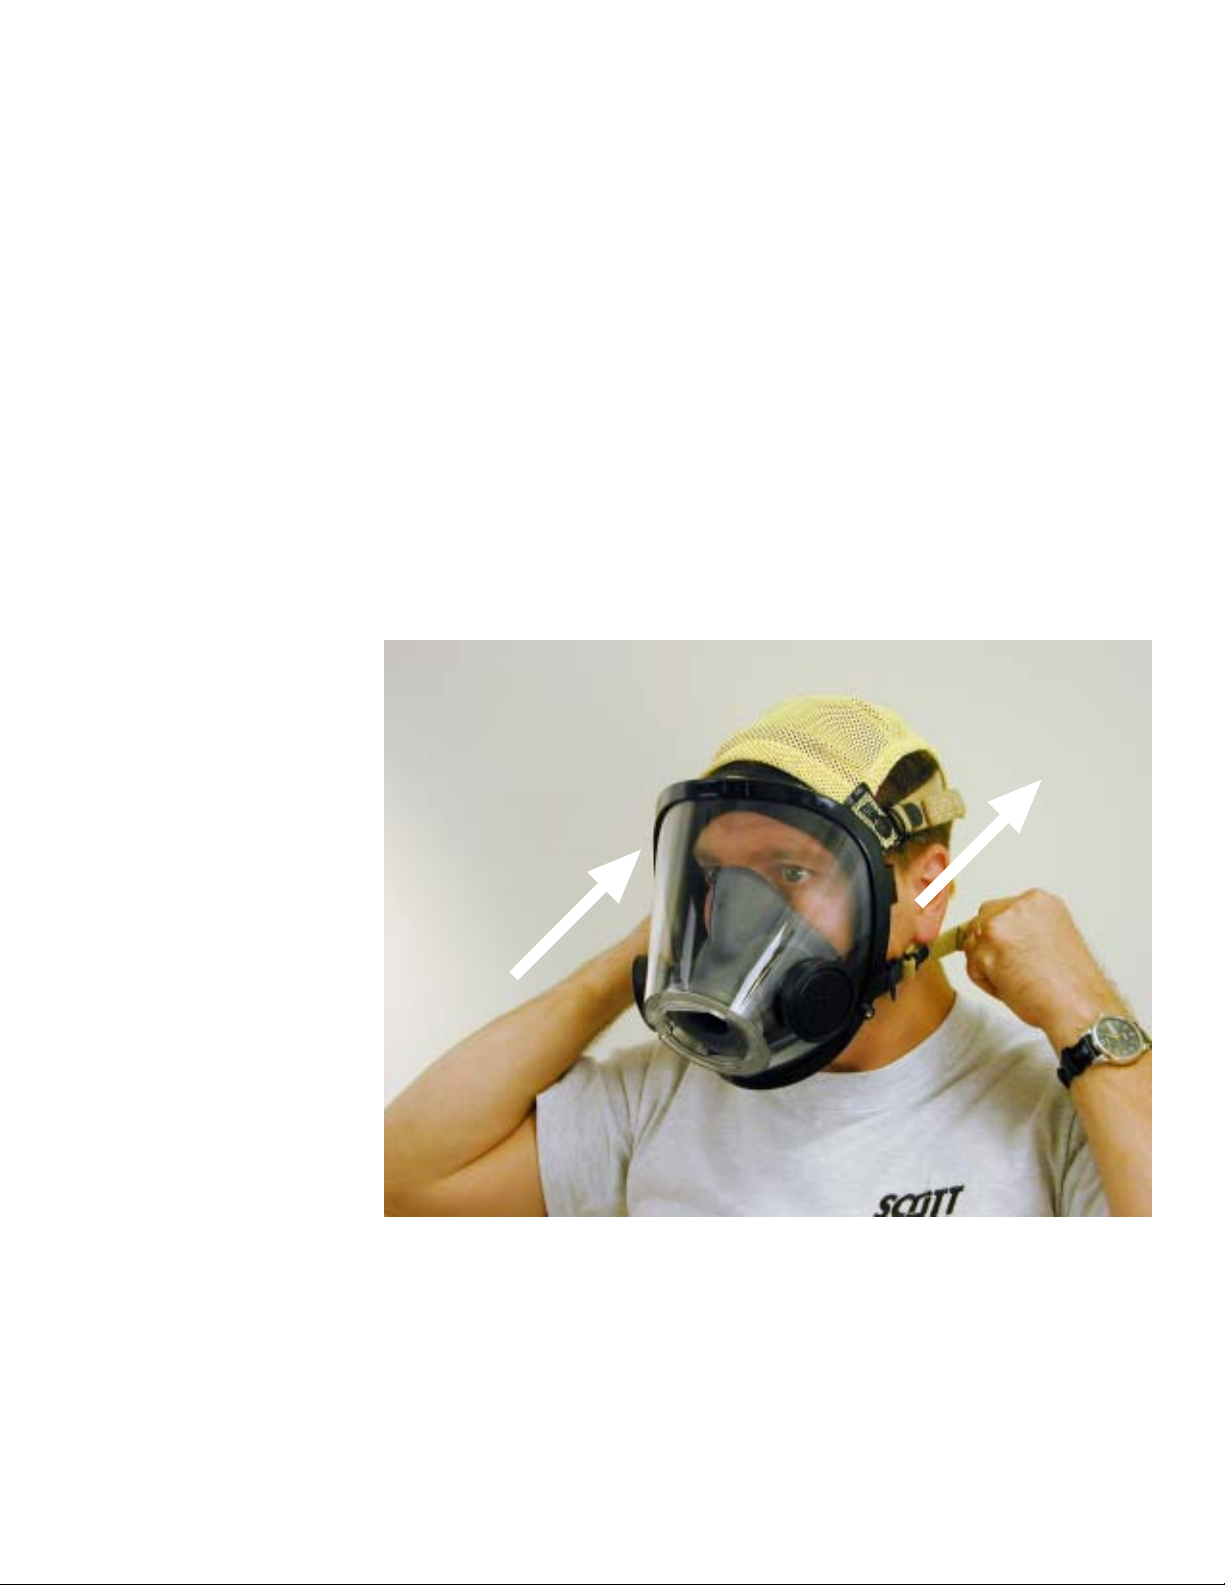
5. Tighten the neck straps by pulling the two lower strap ends toward the rear of the head.
PULL TOWARD
REAR OF HEAD
FIGURE 2
PULLING THE TWO
LOWER STRAPS
6. Verify that the head harness is lying flat against the back of the head by stroking the harness
using one or both hands. Retighten neck straps.
Page 2 of 4 H/S 6678
Page 3

7. Adjust the temple straps by pulling the two upper strap ends toward the rear of the head. Use
caution pulling temple straps as over tightening may cause discomfort.
PULL TOW ARD
REAR OF HEAD
FIGURE 3
PULLING THE TWO
UPPER STRAPS
8. Retighten the neck straps if required. Note, on subsequent use by the same wearer , release and
retightening of the temple straps may not be required.
9. With facepiece sealed to face, check face to facepiece seal and placing your hand over the
regulator port on the front of the facepiece, then inhaling and listening for air leaks, and exhaling
and listening for air leaks.
If leakage of air is detected during either of the above procedures, remove the facepiece and
repeat donning steps 1 through 8 above. If a user seal check is unsatisfactory either per the user
instructions above or the OSHA fit testing process, the use of Mask Seal Kit P/N 805655-01 is
required. The Mask Seal Kit is provided with the full facepiece. Refer to the INSTALLATION AND
USE INSTRUCTIONS, SCOTT P/N 89462-01, included with the Mask Seal Kit. This is a NIOSH
approved kit to enhance the fit of the facepiece. If leakage persists, do not use the respirator.
10.Put on, or replace, helmet or other required protective head gear and put on or properly position
and close any required protective clothing such as turn out gear . The user of the respirator must
make certain that any protective head gear, helmet or protective clothing does not interfere with
the use of the respirator and that the head can move freely without dislodging the facepiece or
disturbing the face to facepiece seal.
When donning the facepiece the user should only pull hard enough to secure the facepiece to the
head and achieve a good face to facepiece seal. To achieve a good face-to-facepiece seal, the AV-
3000 facepiece requires less tension on the head harness straps than some of the other SCOTT
Facepiece Models. This may lead some users to over tighten the straps on the AV-3000 facepiece. If
you have any questions regarding donning a facepiece to achieve a good facepiece seal, contact the
administrator of your organized respiratory protection program.
REPORTING PROBLEMS
If a separation or other damage occurs, do not use the facepiece. Remove the facepiece from
service in accordance with your respiratory protection program. If you have experienced a problem
with the AV-3000 Facepiece and need replacement information, contact SCOTT at 1-800-247-7257
(or 704-291-8300 outside the continental United States).
Page 3 of 4 H/S 6678
Page 4

Health & Safety Products
Monroe Corporate Center
PO Box 569
Monroe, NC 28111
Telephone 1-800-247-7257
FAX (704) 291-8330
www.scotthealthsafety.com
Copyright © 2008, SCOTT, All Rights Reserved
Page 4 of 4 H/S 6678
 Loading...