

Scotsman MXG Series,MXG 438 A/W,MXG 638 A/W,MXG 938 A/W,MXG 328 A/W,MXG 428 A/W Technical Service Training

TECHNICAL SERVICE TRAINING
Welcome to another Scotsman technical service presentation
This one will cover the electronic MXG series Ice Cube Machines
MXG SERIES
CUBERS
MXG SERIES

MXG 328 A/W
Max. Ice Production = 150 Kg/24h*
* 10/10°C= Air & Water Inlet Temperature
NEW MXG SERIES

MXG 428 A/W
Max. Ice Production = 195 Kg/24h*
* 10/10°C= Air & Water Inlet Temperature
NEW MXG SERIES

MXG 438 A/W
Max. Ice Production = 195 Kg/24h
*10/10°C = Air & Water Inlet Temperature
NEW MXG SERIES

MXG 638 A/W
Max. Ice Production = 340 Kg/24h
*10/10°C = Air & Water Inlet Temperature
NEW MXG SERIES

MXG 938 A/W
Max. Ice Production = 400 Kg/24h
*10/10°C = Air & Water Inlet Temperature
NEW MXG SERIES

TOPICS
On the next slides are shown the following steps by steps
procedures:
• UNPACKING
• INSTALLATION
• START UP AND OPERATIONAL CHECKS
• OPERATING PRINCIPLES and COMPONENTS
• MAINTENANCE
• SERVICE ANALYSIS
NEW MXG SERIES

UNPACKING
NEW MXG SERIES

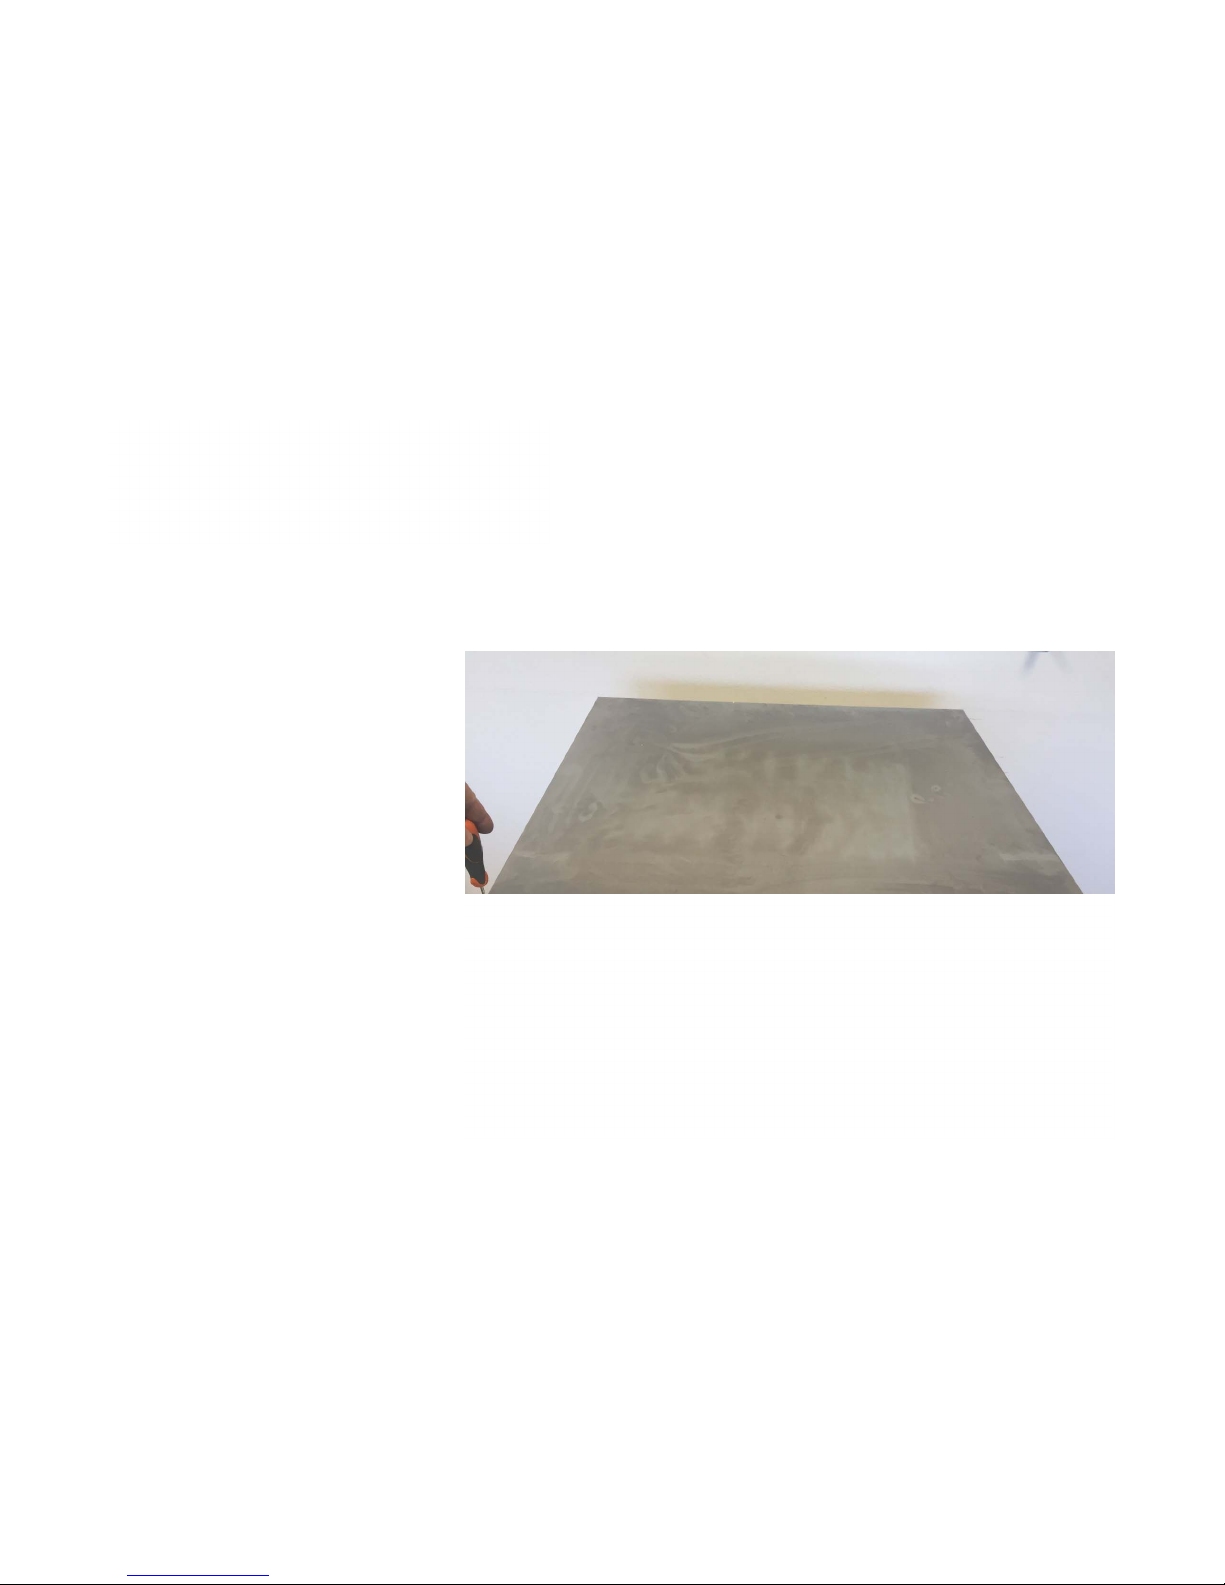
The machines are supplied
in a carton box secured by
two plastic strips to a
wooden base. Check first
the outside conditions of
carton box and wooden base
then cut the two plastic
strips, remove the tape and
then the carton box.
UNPACKING
NEW MXG SERIES

Slip away – remove
plastic strip
UNPACKING
NEW MXG SERIES

Remove front panel
air filter (AC version
only)
UNPACKING
NEW MXG SERIES

Remove front panel
screws and the
panel
UNPACKING
NEW MXG SERIES
Remove top panel
screws and the
panel
UNPACKING
NEW MXG SERIES

Remove I/R bracket
installation
instruction and
water inlet and
outlet hoses
UNPACKING
NEW MXG SERIES

Remove side
panels screws and
the panels
UNPACKING
NEW MXG SERIES

UNPACKING
NEW MXG SERIES
…..unscrew
the unit
frame from
the wooden
base….

The Modular Cuber machines
require for the installation the
use of a companion storage
bin to store the ice produced.
Perfect “matching” storage
been are:
SB 193 – 322 for MXG 328-428
SB 393 – 530 for MXG 438-638-938
UNPACKING
NEW MXG SERIES

Due to design reason MXG
series can not be stacked:
• Ice chutes not aligned
• Not enough space for
Service over the bottom unit
top evaporator
• Not possible to remove
bottom unit front panel
UNPACKING
NEW MXG SERIES

INSTALLATION
NEW MXG SERIES

After having installed the
ice maker on top of chosen
bin, remove polystyrene
block form ice chute top
and remove the ice chute.
locate I/R and its bracket,
release the same from
clamps
INSTALLATION
NEW MXG SERIES
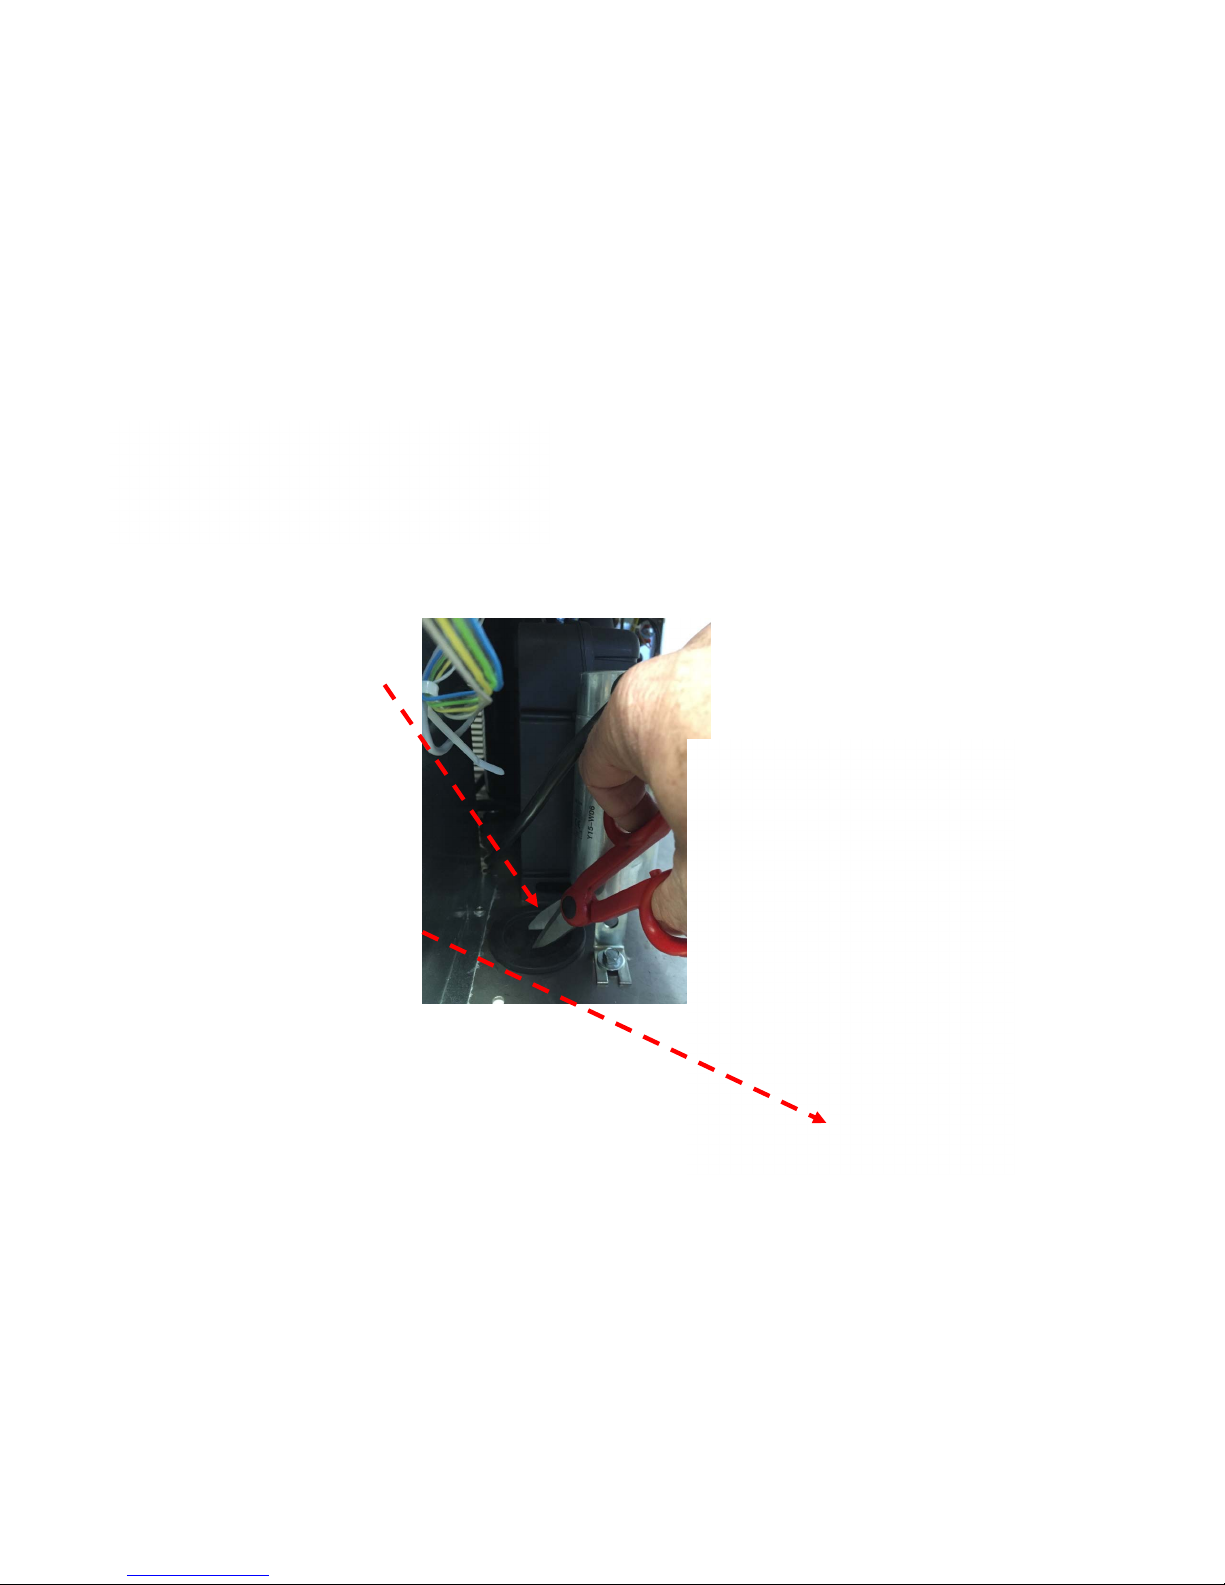
Cut the unit base
gasket , pass the
I/R sensor through
the same reaching
the inner bin area.
INSTALLATION
NEW MXG SERIES

Fix the IR
by
supplied
screws to
related
bracket
INSTALLATION
NEW MXG SERIES
Fix IR bracket at
ice chute
discharge area by
stainless steel
screw
INSTALLATION
NEW MXG SERIES
Once installed optical level
sensor, re-install ice chute
previously removed paying
attention to hang the same
to its hook rim point.
INSTALLATION
NEW MXG SERIES
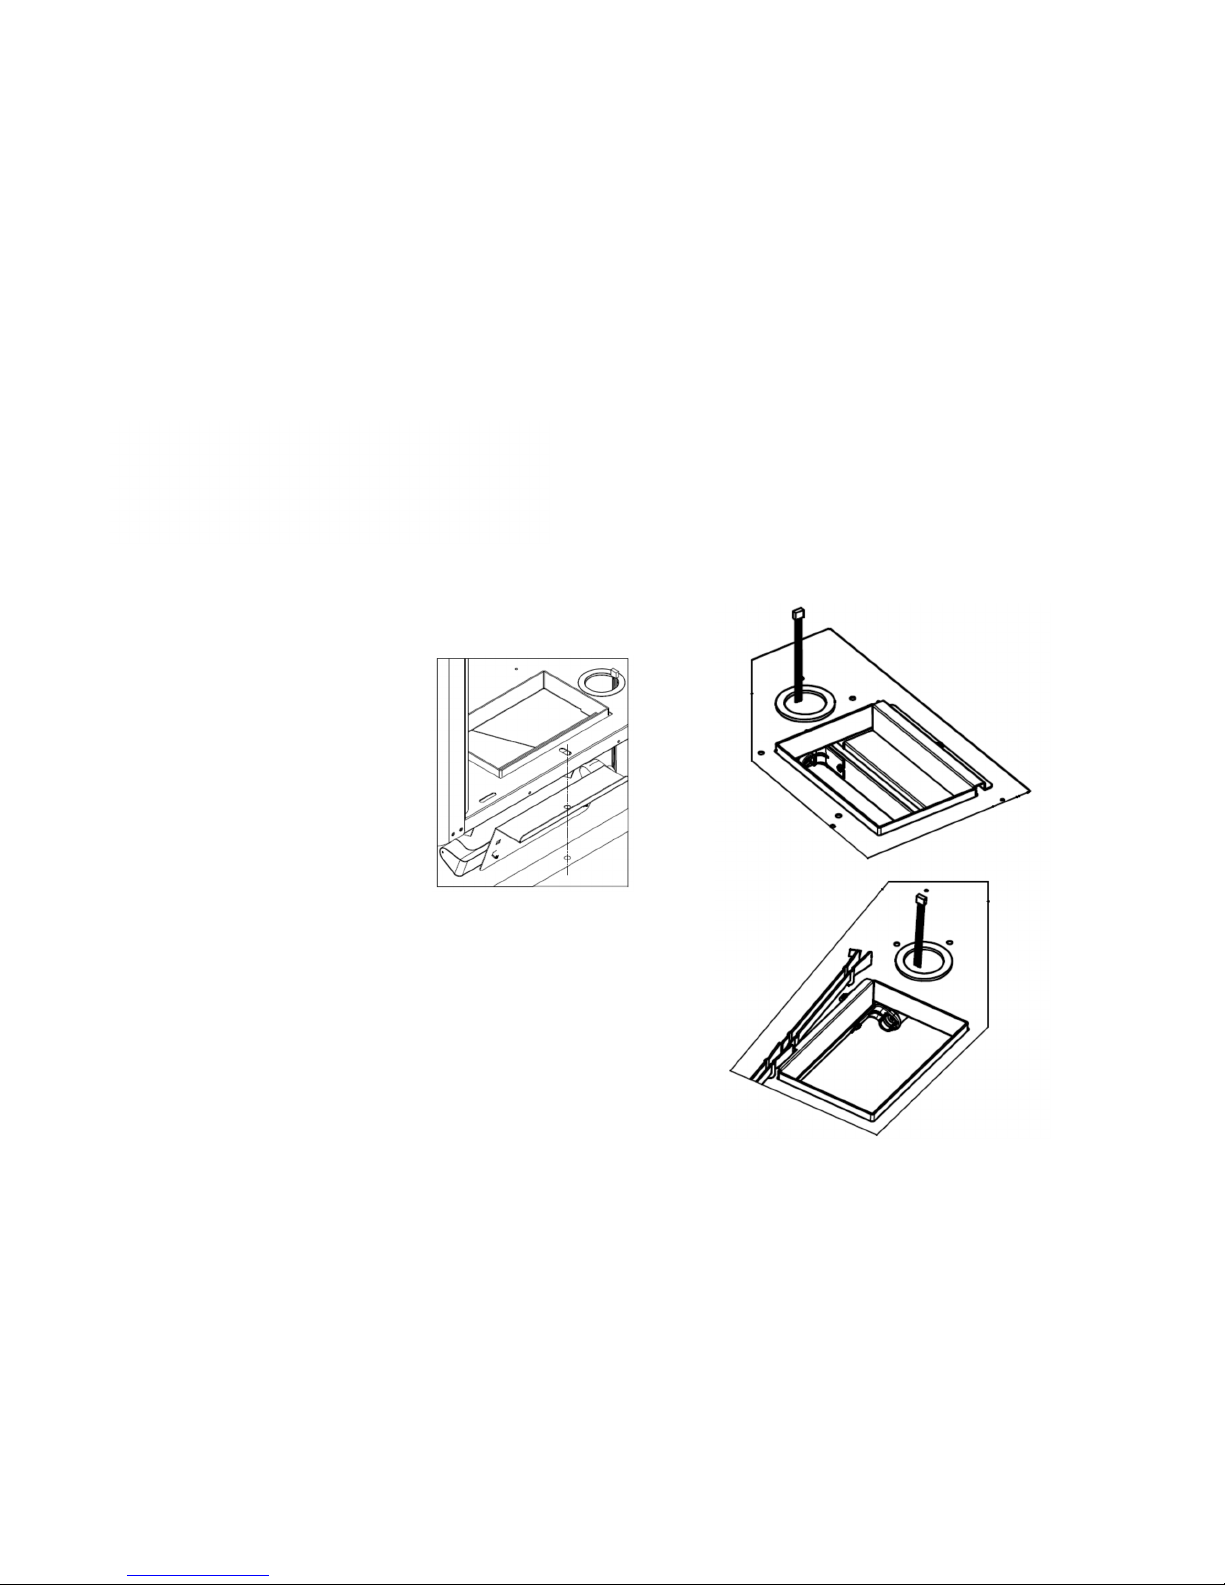
Note different
location
according to
MXG models
INSTALLATION
NEW MXG SERIES
MXG 328-428-438-938
MXG 638

Check the data plate
of the machine
located on the rear
panel for correct
voltage as well as
for the proper
wiring/fuse size.
Remember that all
machines require a
solid earth wire.
INSTALLATION
NEW MXG SERIES

Check for the correct water and ambient conditions that
should be:
• Min. ambient temperature 10ºC (50F)
• Max. ambient temperature 40ºC (100F)
• Min. water temperature 5ºC (40F)
• Max. water temperature 35ºC (90F)
• Min. water pressure 1 bar (14 PSI)
• Max. water pressure 5 bar (70 PSI)
INSTALLATION
NEW MXG SERIES

Adequate space must
be left for proper water
and electrical
connections on the rear
side of the machine. A
minimum clearance of
15 cm on both sides for
best routing air.
INSTALLATION
NEW MXG SERIES
Min. space 15 cm
NEW MXG SERIES
Air
filter
Air
filter
INSTALLATION
328 – 428 - 438 air flow
NEW MXG SERIES
Air
filter
INSTALLATION
638 air flow
Air
filter
 Loading...