

Page 1
INSTALLATION GUIDE
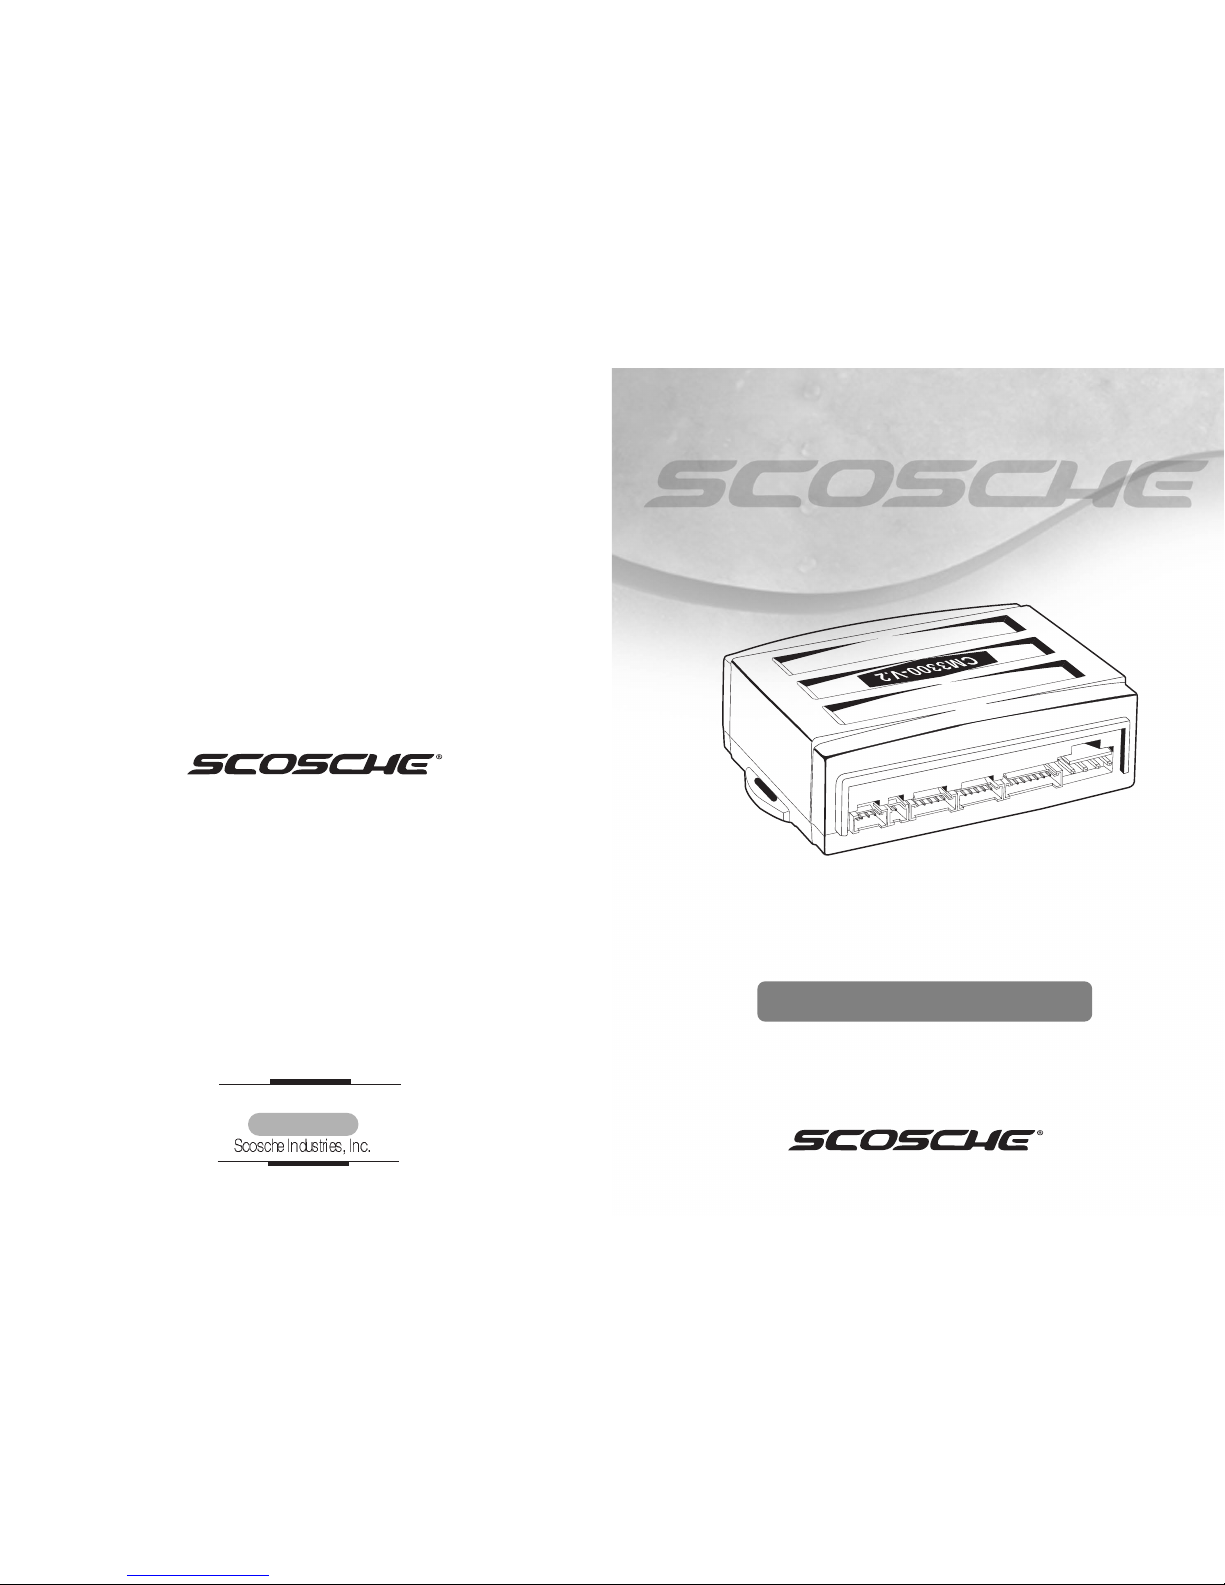
CM3300
INSTALLATION GUIDE
A CONTROL MODULE
CM3300
CM3300
Page 2

Page 2
TABLE OF CONTENTS
Page 3
Wiring Diagram
Installation of Antennas and RPS
Option Programming for Four Button Remotes
Remote - Pager Programming Menu Options
Page 4
Page 5
Page 6
Page 7
Page 3

Page 5
(-)
Output for Parking Lights : Some vehicles, such
as Jeep, have negative Parking lights.
An Aux output is a 5sec pulse that can be changed to Latch.
See Programming Options.
Starter Kill supplies a negative 250mA output when the system is armed.
Dome Light Supervision : Dome light is turned on for one minute
after unlock. If you program Dome Light Rearm option, the
Black/White wire of CN2 supplies a ground pulse before Lock.
The Dome Light Rearm Option is to simulate opening the door
and pressing the factory lock button for factory arming.
The sequence for the Rearm pulse : pulse when armed (locked).
The sequence for the Disarm pulse : a pulse when disarmed(unlocked).
Installation of Antennas and RPS
The antennas have been calibrated for
horizontal installation at the left-top corner
of the windshield. Different installation
may adversely affect the
transmitting distance.
RPS
Wiring Diagram
Page 4
(-)
(+)
Tx Antenna Date Cable
Rx Antenna Data Cable
LED (- )
(+)
RPS Sensor
(-)
(+) Siren Output
(+) Parking Light
12V Constant
Ground
(- ) 250mA Parking Light
(- ) 250mA Horn Output
(- ) 250mA Aux1
(- ) 250mA Aux2
(- ) 250mA Starter Kill
(+) Ignition Sensing Input
(- ) 250mA Dome Light Output
(- ) 250mA Rearm Output
(- ) 250mA Disarm Output
(- ) Hood Pin Sensing
(- ) Trunk Pin Sensing
(- ) Door Pin Sensing
(+) Door Pin Sensing
(- ) Optional Trigger 2
nd
Stage
(- ) Optional Trigger 1
st
Stage
(+)
(- ) 250mA Trunk Output
(- ) 250mA 2
nd
Pulse Unlock
(- )250mA Unlock Output
(- ) 250mA Lock Output
(-)
(- ) LED
(+) LED
(-)
2
nd
Stage Dual-Shock
(+)
1
st
Stage Dual-Shock
Page 4

Page 6
Page 7
Feature
Door Lock / Unlock Pulse Duration
Driver’s Priority Unlock
Double Pulse Unlock
Dome Light Factory Rearm
0.8 sec
OFF
OFF
OFF
2.5 sec
ON
ON
ON
Factory Default
Setting - Button
Optional
Setting - Button
Remote-Pager Programming Menu Options
This feature unlocks the driver s side door lock with the first unlock pulse.
A second unlock pulse is need to unlock the rest of the car doors.
In order for this feature to operate, the installer must use the
2
nd
Unlock Wire (Light Blue wire of Connector 4). Isolate the driver s door actuator from
the rest of the other doors. Call us for technical support if you are not sure about
this.
1. Enter programming by pressing:
a. The (lock) button, and the (unlock) button simultaneously until the parking lights
flash once. This is Menu 1.
b. The (lock) button, and the (start/stop) button simultaneously until the parking
lights lash once. This is Menu 2.
2.
Press the (trunk) button and the (start/stop) button simultaneously unti the
parking lights flash, the number of times equal to the option you would like to change.
For example, if it were the 5th option in the menu that you would like
to change, you would press the (trunk) and (start/stop) buttons simultaneously five
times.
3. Wait a few seconds, and the parking lights will flash the number of times
corresponding to the option number you are about to modify. If the number of times
the lights flash does not correspond with the option you want to change, wait a few
seconds and the siren/horn will sound, signaling that you have exited programming
mode. After the siren/horn sounds, you can retry the process from the beginning.
4. Immediately after the parking lights stop flashing from step 3, press:
a. The (lock) button for the factory default setting. The parking lights will flash once.
b. The (unlock) button for the optional setting. The parking lights will flash twice.
You will need to perform these steps for each option you would like to change.
Option Programming For Four Button Remotes With
Separate Lock & Unlock Buttons
Programming 4 Button Remote
ICON
(I+II)-
(I+IV)-
(IV)
( I )
( II )
( III )
Programming Menu 1
Programming Menu 2
Option Selection
Factory Setting
Optional Setting
Default Setting Selection
Page 5

With this option, Panic mode becomes Anti-Jacking mode.
The differences between Panic mode and Anti-Jacking mode are :
Feature
N/A
N/A
Passive Locking, too
No Passve Locking
Remote
controller
OFF
OFF
0.5 Sec
0.5 Sec
30 Sec
ON
ON
Latch
Latch
60 Sec
Factory Default
Setting - Button
Optional
Setting - Button
Programming
Method
Passive Arming
Anti-jacking
Ignition Controlled Door Lock
Aux 1 Output
Aux 2 Output
Siren Duration
Feature
Non using of Channel
Expander module
When Option 2-9 is on
Non using of Passive
Mode with remote
Using of Channel
Expander module
Using of Passive
Mode with remote
Channel Expander
Passive Arming with the
Channnel Expander
Option
Programmer
(CM3 -Series)
OFF ON
Programming
Method
Page 8 Page 9
With this option, the doors will lock after the ignition is turned on and unlock
when the ignition is turned off.
You can program the duration between 1 to 99 seconds.
You can program the “Latch Mode” also.
Setting
Contents
2-9
Off
Pluse
Latch
Pluse
Latch
On
1-99,
Latch
1-99,
Latch
If you need more than 2 Aux outputs, you can interface the CM3000 with
Channel Expander for 7 Aux outputs. If you take this Channel Expander option
and you turn on the Passive setting of the SC2W900FMR, the four buttons of the
SC2W900FMR operate these 7 outputs instead of normal button functions such
as arm/disarm or start/stop. Refer to the manual of the Channel Expander.
If you take the Channel Expander option of 2-9, the Passive setting of the
remote will change the button functions to operate of the Channel Expander.
The Passive setting of the remote will no longer work as the Passive Arming
function. Therefore, if you need both Channel Expander and Passive Arming
function, you need to choose this option.
Panic Mode
IV for 2 seconds
1.5 minutes
Starter-Kill
Activated immediately
N/A
Button
Siren
Installation required
Starter Kill
Ignition Kill
Anti-Jacking Mode
IV for 2 seconds
1.5 minutes
Ignition-Kill
N/A
Activated immediately if key is not on.
If key is on, activated in 30 seconds after
pressing the Button
Page 6

Page 11Page 10
In order to decrease the chirping volume of the siren, cut the loop located on
the siren.
In order to the shock sensor sensitivity, turn the screw located on the
sensor clockwise. In order to decrease the sensitivity, turn the screw located
on the sensor counter-clockwise. Turning the screw just a small amount can
make a big difference so make sure you recheck the sensitivity after each adjustment.
Setting
AUX No.
2-9
On
Access to passive mode through a remote
Non setting of passive mode
Setting of passive mode
Button
II
Button
III
All outputs are connecting with
Channel Expander through AUX1.
Button
I
Button
II
Button
II
Button
III
AUX 1,
AUX 2
Button
III
Button
IV
Button
II-
Button
III-
Button
IV-
off
 Loading...