

Scosche FT4276B,FT4276WB Installation Manual
Installation Complete
INSTALLATION GUIDE Kit Assembly
4
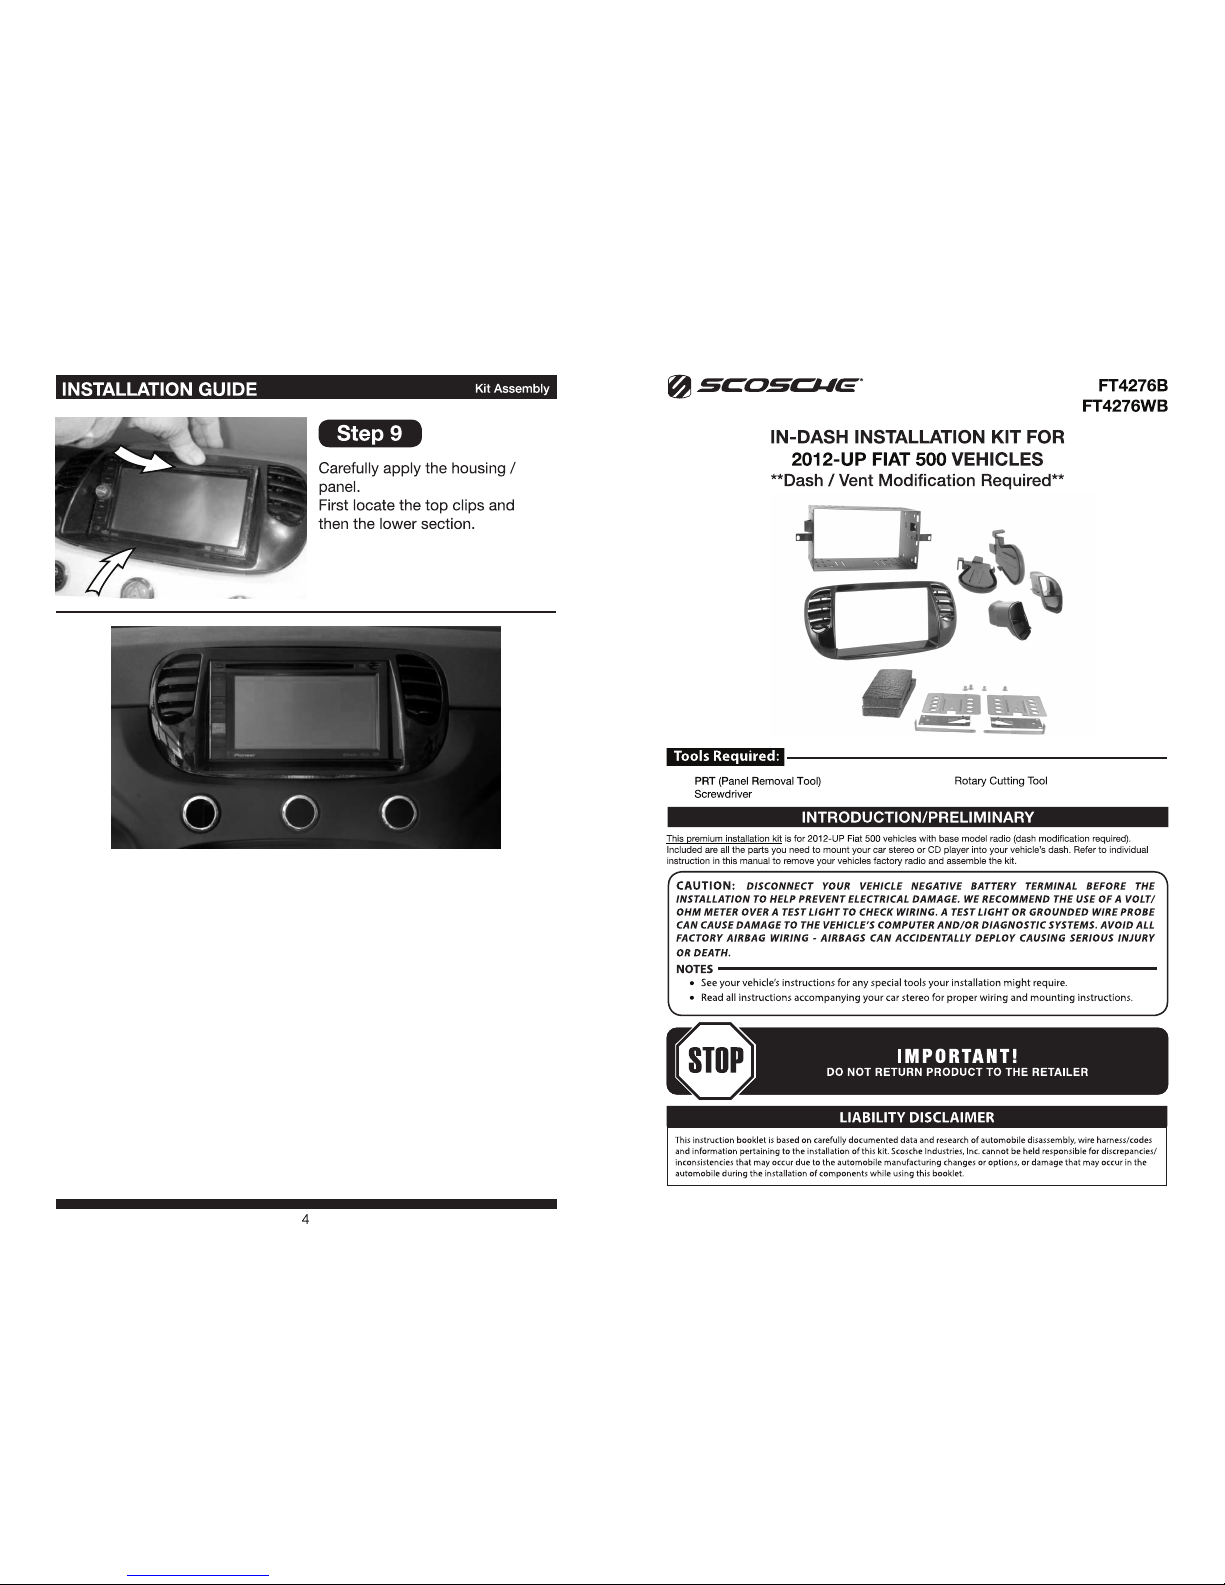
Step9
Carefully apply the housing /
panel.
First locate the
top
clips and
then the lower section.
IN-DASH INSTALLATION KIT FOR
2012-UP FIAT 500 VEHICLES
**Dash I Vent
Modification Required**
Tools Required:
PRT (Panel Removal Tool)
Screwdriver
Rotary
Cutting
Tool
INTRODUCTION/PRELI Ml NARY
FT4276B
FT4276WB
This premium installation kit is
for
2012-UP Fiat 500 vehicles with base model radio (dash modification required).
Included are all
the
parts you need
to
mount
your car stereo
or
CD
player into your vehicle's dash. Refer
to
individual
instruction in this manual
to
remove
your
vehicles factory radio and assemble the kit.
CAUTION: DISCONNECT
YOUR
VEHICLE
NEGATIVE
BATTERY
TERMINAL
BEFORE
THE
INSTALLATION
TO
HELP
PREVENT
ELECTRICAL
DAMAGE.
WE
RECOMMEND
THE
USE
OF A VOLT/
OHM
METER
OVER A TEST
LIGHT
TO
CHECK
WIRING. A
TEST
LIGHT
OR
GROUNDED
WIRE
PROBE
CAN
CAUSE
DAMAGE
TO
THE
VEHICLE'S
COMPUTER
AND/OR DIAGNOSTIC
SYSTEMS.
AVOID
ALL
FACTORY
AIRBAG
WIRING -
AIRBAGS
CAN
ACCIDENTALLY
DEPLOY
CAUSING
SERIOUS
INJURY
OR
DEATH.
NOTES--------------------------
•
See
your vehicle's instructions
for
any special tools your installation
might
require.
•
Read
all instructions accompanying your car stereo
for
proper wiring and
mounting
instructions.
IMPORTANT!
DO NOT RETURN PRODUCT TO THE RETAILER
LIABILITY DISCLAIMER
This
instruction booklet
is
based
on carefully documented data and
research
of
automobile disassembly, wire
harness
/codes
and
information pertaining to the installation
of
this kit.
Scosche
Industries,
Inc.
cannot
be
held responsible for discrepancies/
inconsistencies that
may
occur due to the automobile manufacturing
changes
or options, or damage that
may
occur in the
automobile during the installation
of
components while using this booklet.

(1 3/8”)(1 3/8”)
INSTALLATION GUIDE Disassembly
Step 1
Remove the original radio and
air-vent cover.
Step2
Remove the original air ventilation shafts.
Step3
Without removing it, cut the front
~
,.
Before - - .
·r~
~1-:
, ,
of
the airvent duct as shown. It is
recomended
to
place the sleeve
to
fmlHa•
~
I ,
-
.,..._
~
the opening
to
check the placement
before the final cut.
Step4
Insert the paddles
(A)
into the
cut ducts, using the
"U"
section
to
guide the correct possition.
Remove backing paper and the
stick the foam block
(B) in the
center position as shown.
2
FT4276B/FT4276WB 01/16
INSTALLATION GUIDE Kit Disassembly/Assembly
Step5
Locate the sleeve
(C)
in
position,
ensuring correct alignment to the
~oam
block and screw, as shown.
Step 7
Mount and adjust brackets to allow
Double DIN radio to sit Flush
in
kit
opening
Sample Images Only
3
Step 7
Insert the DOUBLE
DIN
radio into the sleeve until the
springs click and engage fully.
Step8
Using a screwdriver,
or
similar,
push the paddles against the
sides
of
the Double
DIN
radio
unit
to
ensure correct airflow
from ventilation system
FT
4276B/FT 4276WB
01
/16
 Loading...