

Scitec 60010S,6003S,6005S User Manual
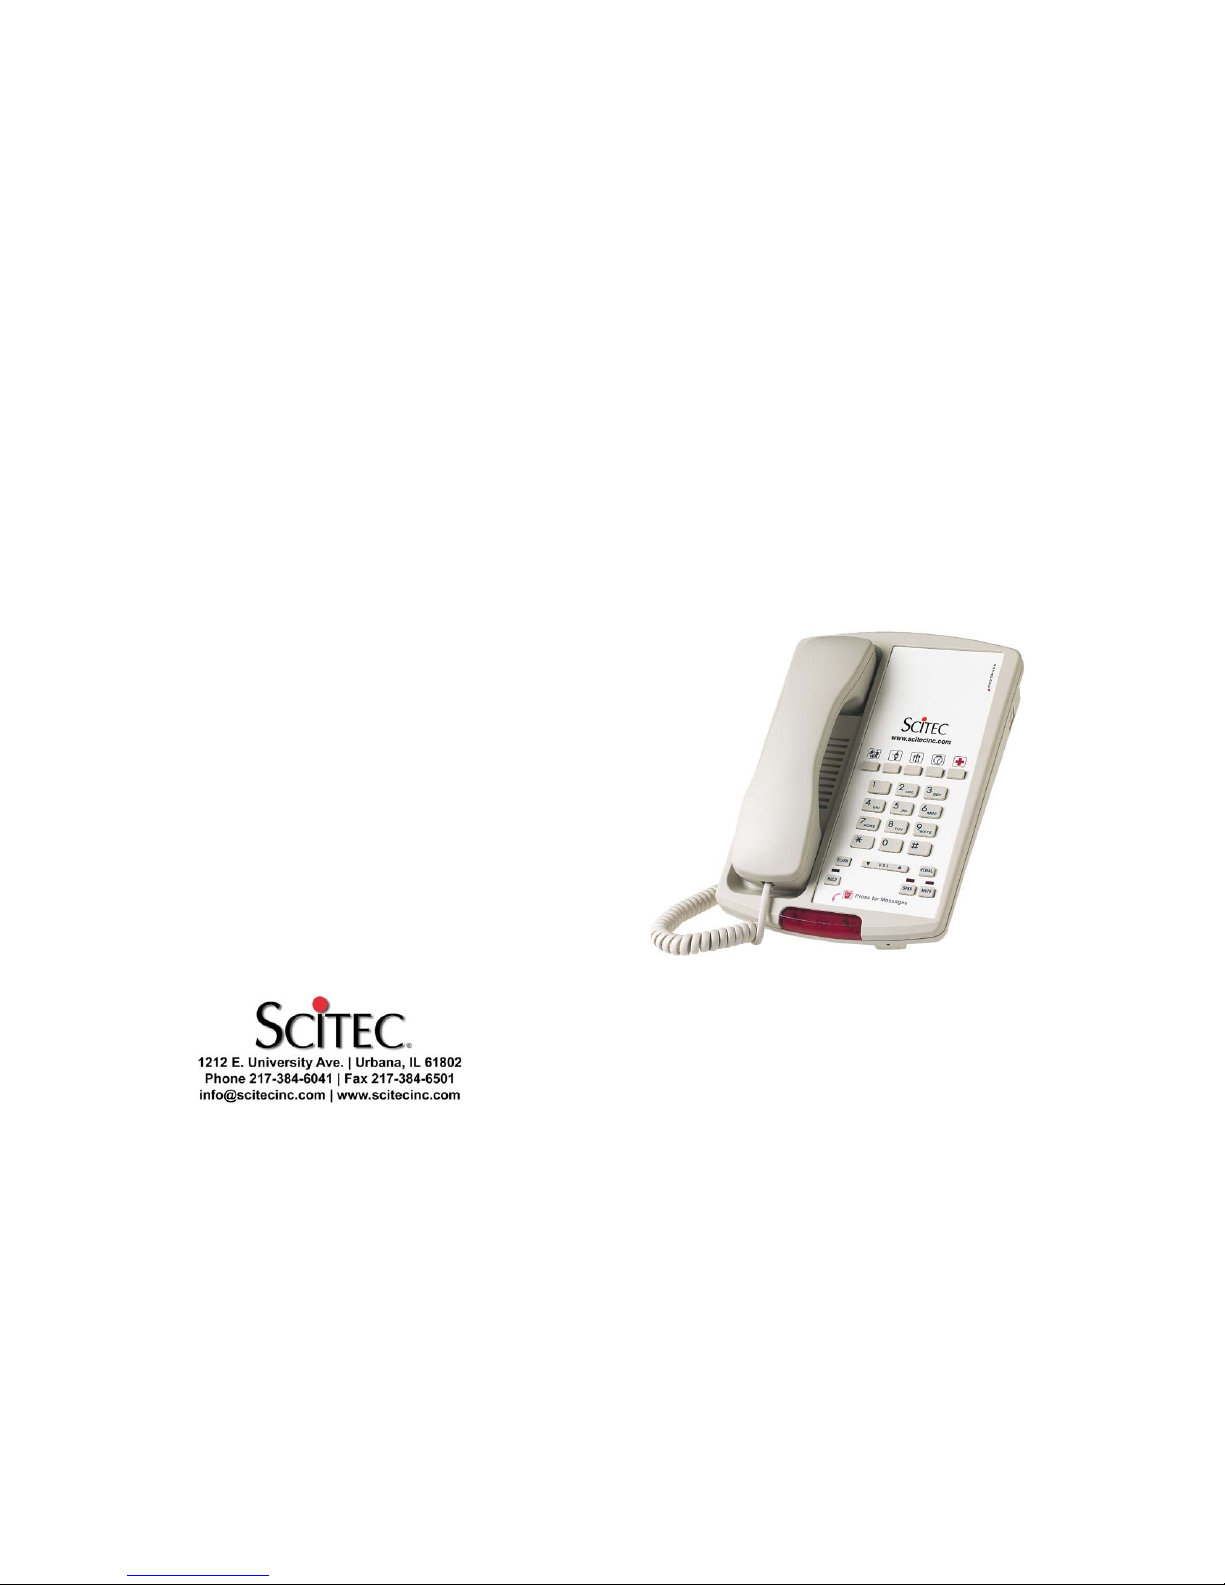
600 Series Telephone
User Guide
Single-Line Models
6003S, 6005S, 60010S

Unpacking your telephone:
This package should contain the following:
• Telephone base unit
• Handset
• Coiled handset cord
• Straight line cord
Features:
1. Message waiting light and visual ringing indicator under [SiTouch]
key Standard format is NEON/90V. Optionally available MWL format
is Lucent/low voltage. [SiTouch] key is also a programmable memory
key that activates the speakerphone when pressed.
2. Memory Keys Up to 3, 5, or 10 user programmable speed-dial keys.
16 digit storage capacity per key, including [FLASH] and [PAUSE].
3. FLASH key provides a 600ms (0.6 seconds) flash time.
4. PAUSE key provides a 3.6 seconds pause.
5. HOLD key for “local hold”. Each press of [HOLD] toggles the hold
mode and “HOLD LED” (located immediately above [HOLD] key) on or
off
6. REDIAL key. Automatically hangs up for 1 second before redialing
for convenient “one touch” redialing to busy numbers.
7. STORE key for programming speed-dial keys (located underneath the
faceplate).
8. MUTE key: To control the microphones in both speakerphone and
handset. Each press of [MUTE] toggles the microphones and the
“MUTE LED” (located immediately above [MUTE] key) on or
off. Whenever the “MUTE LED” is illuminated, all microphones are
OFF, and you will be able to hear the party at the other end of your call,
but they will not be able to hear you.
9. SPKR key: To set the hands-free speakerphone function on or off,
“SPKR LED” (located immediately above [SPKR] key) will light up or
turn off correspondingly.
10. Ringer volume control: Adjust ringer volume from LOW to HIGH.
11. Volume control Key steps through the four available handset and
speakerphone volume levels [Normal – Medium – High - Highest].
12. Dataport Provides convenient access to the telephone line for
connecting a modem, fax, or answering machine.
13. Hearing aid compatible handset
14. Handset Holder – Clip above the handset used to temporarily hold up
the handset without hanging up in wall mount applications.
.
Installation:
The Aegis 600-3S-5S-10S telephones are designed for use behind
a registered PBX system. The telephone user or system installer must
supply an RJ-11 modular wall jack to connect this telephone to the PBX
system. The PBX “station port” type must be “Industry Standard Analog” or
“POTS.” This telephone cannot be used with “digital” PBX station ports.
To install telephone, first snap supplied coiled handset cord into the jack on
the end of handset. Then place the handset in its cradle. Connect the free
end of the coiled handset cord to the jack on LEFT SIDE of the telephone
body, marked with a “handset” symbol. This jack is closer to the front of the
telephone.
Next, take supplied straight modular cord and insert it into jack on
the REAR of telephone. Connect the other end of this cord to telephone
system wall jack. Lift the handset. A dial tone should be heard.
 Loading...