

Scansonic S12,S8 Owner's Manual

H I F I L O U D S P E A K E R S
S12
02
06
08
OWNER’S MANUAL
TROUBLESHOOTING
LIMITED WARRANTY

S12
H I F I L O U D S P E A K E R S
Introduction
Thank you for choosing Scansonic loudspeakers, we hope they
will bring you many years of enjoyment.
Please read this manual fully before unpacking and installing
the product.
Carton contents
During production and packing we have carefully checked and
inspected this subwoofer.
After unpacking please check for any damage from transport.
We recommend that you keep the original cartonbox and
packing material for any future shipping.
In the cartonbox you will find:
1 Input cable, RCA phono type
Loudspeaker installation
The subwoofer requires connection to the mains power supply,
so for your safety it is important that you read both this manual
and the amplifier manual before connecting.
Subwoofer positioning
Variations in placement of your loudspeakers can produce
dramatic differences in the way music sounds. No listening
rooms are the same and therefore we encourage you to spend
some time experimenting with which placements work best in
your listening room. Position of subwoofers are however less
critical compared with full-range loudspeakers because the low
frequencies reproduced by a subwoofer are difficult to locate
in the room. Trust your ears and be willing to experiment freely.
You can start with our basic recommendations.
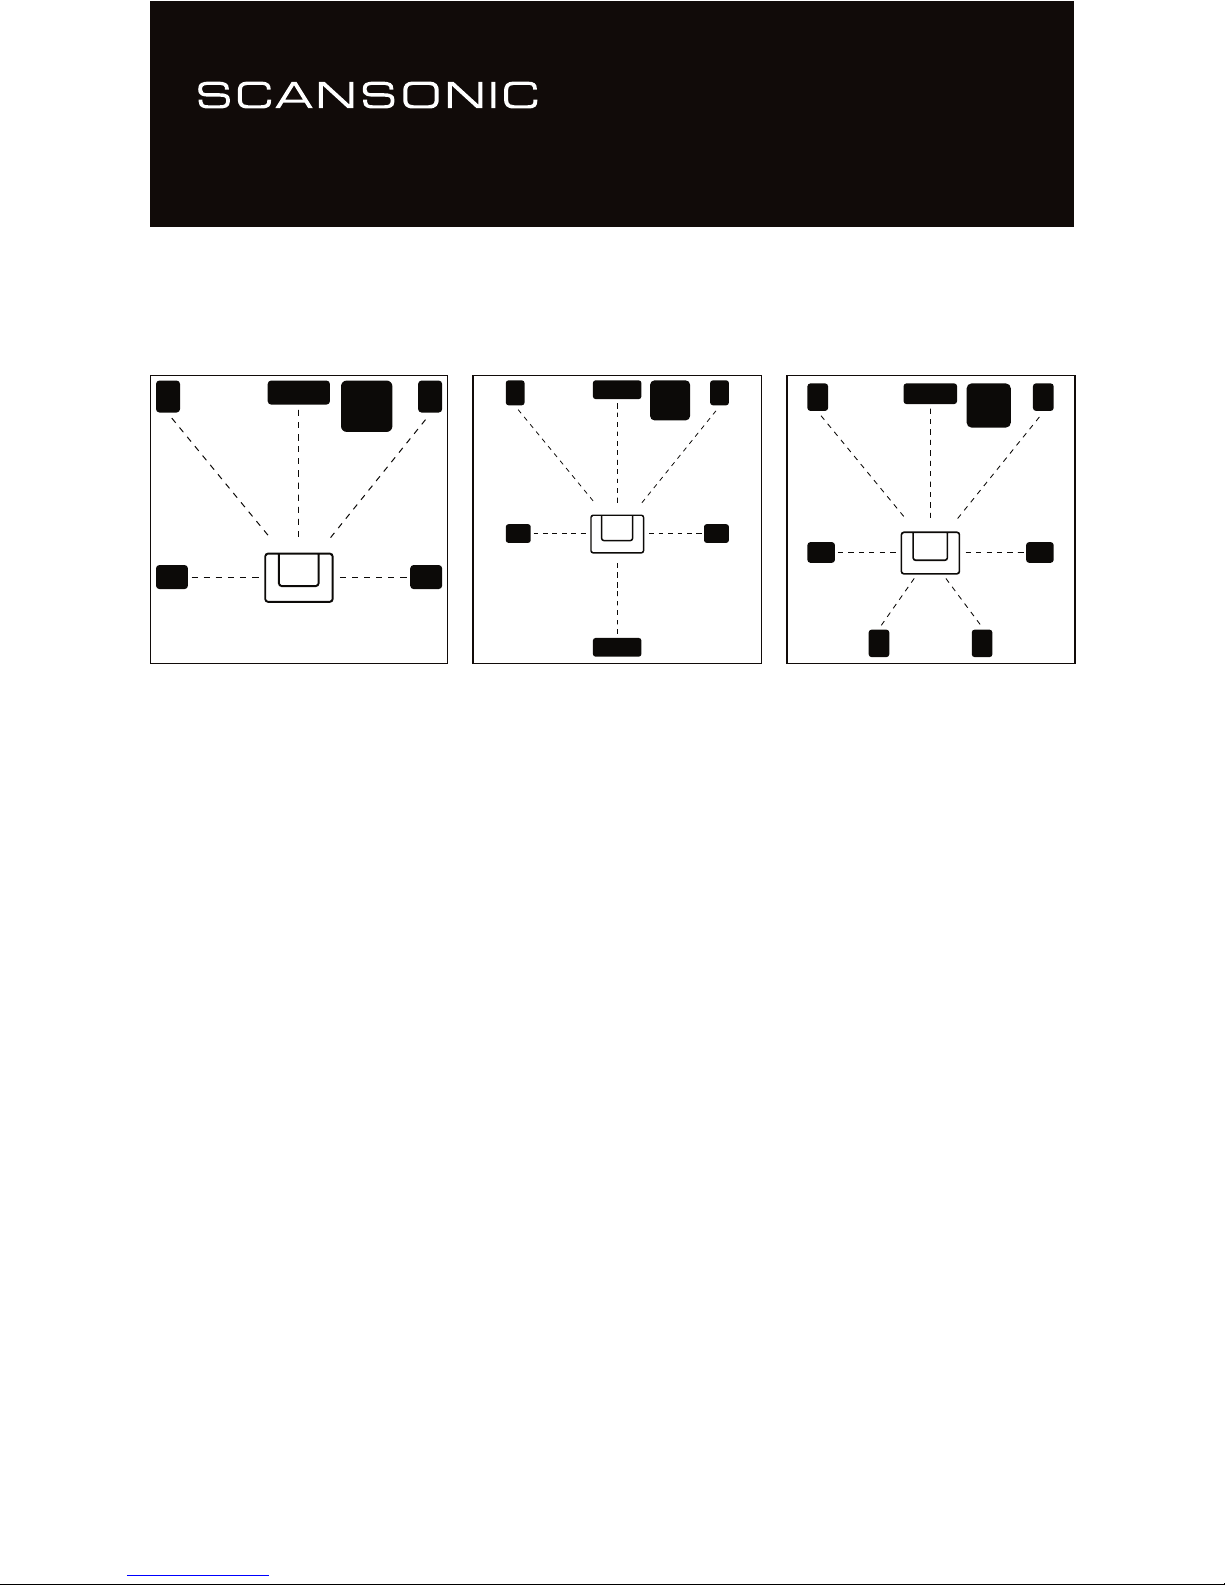
To begin with, the subwoofer should be positioned between the
TV and one of your front loudspeakers. Fig. 1 - 3.
Connecting your subwoofer
We recommend that you read the manual of your amplifier or
AV-receiver carefully before connecting your subwoofer.
First switch off amplifier and all equipment when connecting
your subwoofer.
Connect the subwoofer input IN (5) and your amplifiers SUB out
with the enclosed RCA phono cable.
Connect the subwoofer net cable (3) to the mains voltage ,
and push the POWER ON/OFF button (1) to ON position, the
indicator lamp POWER LED (6) will now glow green and the
subwoofer is active and ready to be used. Fig. 4.
The Scansonic S12 subwoofer has a built-in AUTO STANDBY
function and after approximately 5 minuttes without any input
signal the subwoofer will automatically switch off, and the
indicator lamp POWER LED (6) will glow red. When an input
signal is detected the subwoofer will become active and the
indicator lamp POWER LED (6) will glow green.
Setting volume, frequency, bass extension and phase
The volume, frequency, bass extension and phase (controls
8, 9, 10 and 11) can be adjusted on the rearpannel, and we
recommend that you adjust the setting of these controls to
your liking – try with different music and films. If you want more
detailed informations on these control functions, we invite you to
visit our homepage www.scansonic.dk.
Running-in period
We recommend a running-in time of your new Scansonic S12
subwoofer of approximately 15-20 hours at normal listening
level before you decide on the final positioning and controls
settings of the subwoofer . During the running-in time the drive
units will settle in and perform as intended.
Care and cleaning
We don’t recommend use of any solvents or cleaners on
Scansonic S12 lacquered cabinets, the cabinet surface usually
only requires dusting or cleaning with a soft cloth (do not use
water).
The grille fabric may be cleaned with a normal clothes brush or
vacuumed carefully with the grille detached from the cabinet.
Avoid touching the woofer drive unit, and do not use the
subwoofer as a coffee or drinks table (risk of water being spilled
into the subwoofer).
Disconnect the subwoofer from the mains supply if taken out of
use for a longer period.
Environmental information
Scansonic S12 subwoofer comply with international directives
on the Restriction of Hazardous Substances (RoHS) in
electrical and electronic equipment and the disposal of Waste
Electrical and Electronic Equipment (WEEE) - the crossed bin
symbol indicates compliance and that the products must be
appropriately recycled or processed in accordance with these
directives.
Ow ne r ’s m an ua l
H I F I L O U D S P E A K E R S
S12
sub
sub
sub
fig. 1 surround 5.1 fig. 2 surround 6.1 fig. 3 surround 7.1
 Loading...