

Scansonic CASINO 3501 User Manual


1
THANK YOU
Thanks you for choosing Scansonic product. Please read the following information carefully before starting to use
your CASINO 3501.
IMPORTANT SAFETY INSTRUCTIONS
Do not remove any fixed covers as this may expose dangerous voltages.
Unplug this device during lightning storms or when unused for long periods of time.
Make sure there is sufficient ventilation for the device. Do not block or cover the ventlation holes, especially with
cloth or paper. There must be a minimun gap of 10 cm between objects to the side, to the rear and above the
device.
Only clean the device using a dry cloth. Do not use any cleaning agents or chemical solvents when cleaning, as
these could damage the surface of the device.
To reduce the risk of fire or electric shock, do not expose the device to rain or moisture.
Always refer to a qualified specialist for any maintenance or repair work.
The device should not continue to be operated if there is visible damage to the mains cable. A damage cable
should not be repaired, but must be replaced.
Batteries are easily swallowed by young children. Do not allow the children to play with the unit. Dispose of used
batteries in an environmentally friendly manner.
Avoid extremes of temperature, either hot or cold, place your product well away from heat sources such as
radiators or gas/electric fires. Don’t use this device in tropical climates.
Naked flames such as candles and night lights should not be placed on or near the unit.
Damage to hearing can occur with consistent exposure to high volume when using headphones. Always check the
volume level before inserting headphones into your ears.
Please note - Because DAB digital radio is a developing technology, station availability can change without notice.
As new multiplexes and transmitters are turned on, new stations will begin transmitting and new
post codes will be able to receive DAB digital radio. Conversely, some DAB radio stations may
disappear without notice.
INSTRUCTIONS FOR DISPOSAL
This symbol on the product or in the instructions means that your electrical and electronic
equipment should be disposed at the end of its life separately from your household waste.
There are separate collection systems for recycling in the EU.
For more information, please contact the local authority or your retailer where you purchased
the product.
ACCESSORIES
Cable Instruction Manual Rubber Feet (4PCS)
Cable – Connect the AC power cable into the AC Input socket at the back of the unit and then connecting to
AC230V~50Hz house.
Instruction Manual – An operating procedure and precautionary information for the unit.
Rubber Feet (4PCS) – Stick at the bottom of the unit.
2
MODEL: CASINO 3501 DAB+ / FM Radio
DAB+ / FM MONO PORTABLE RADIO
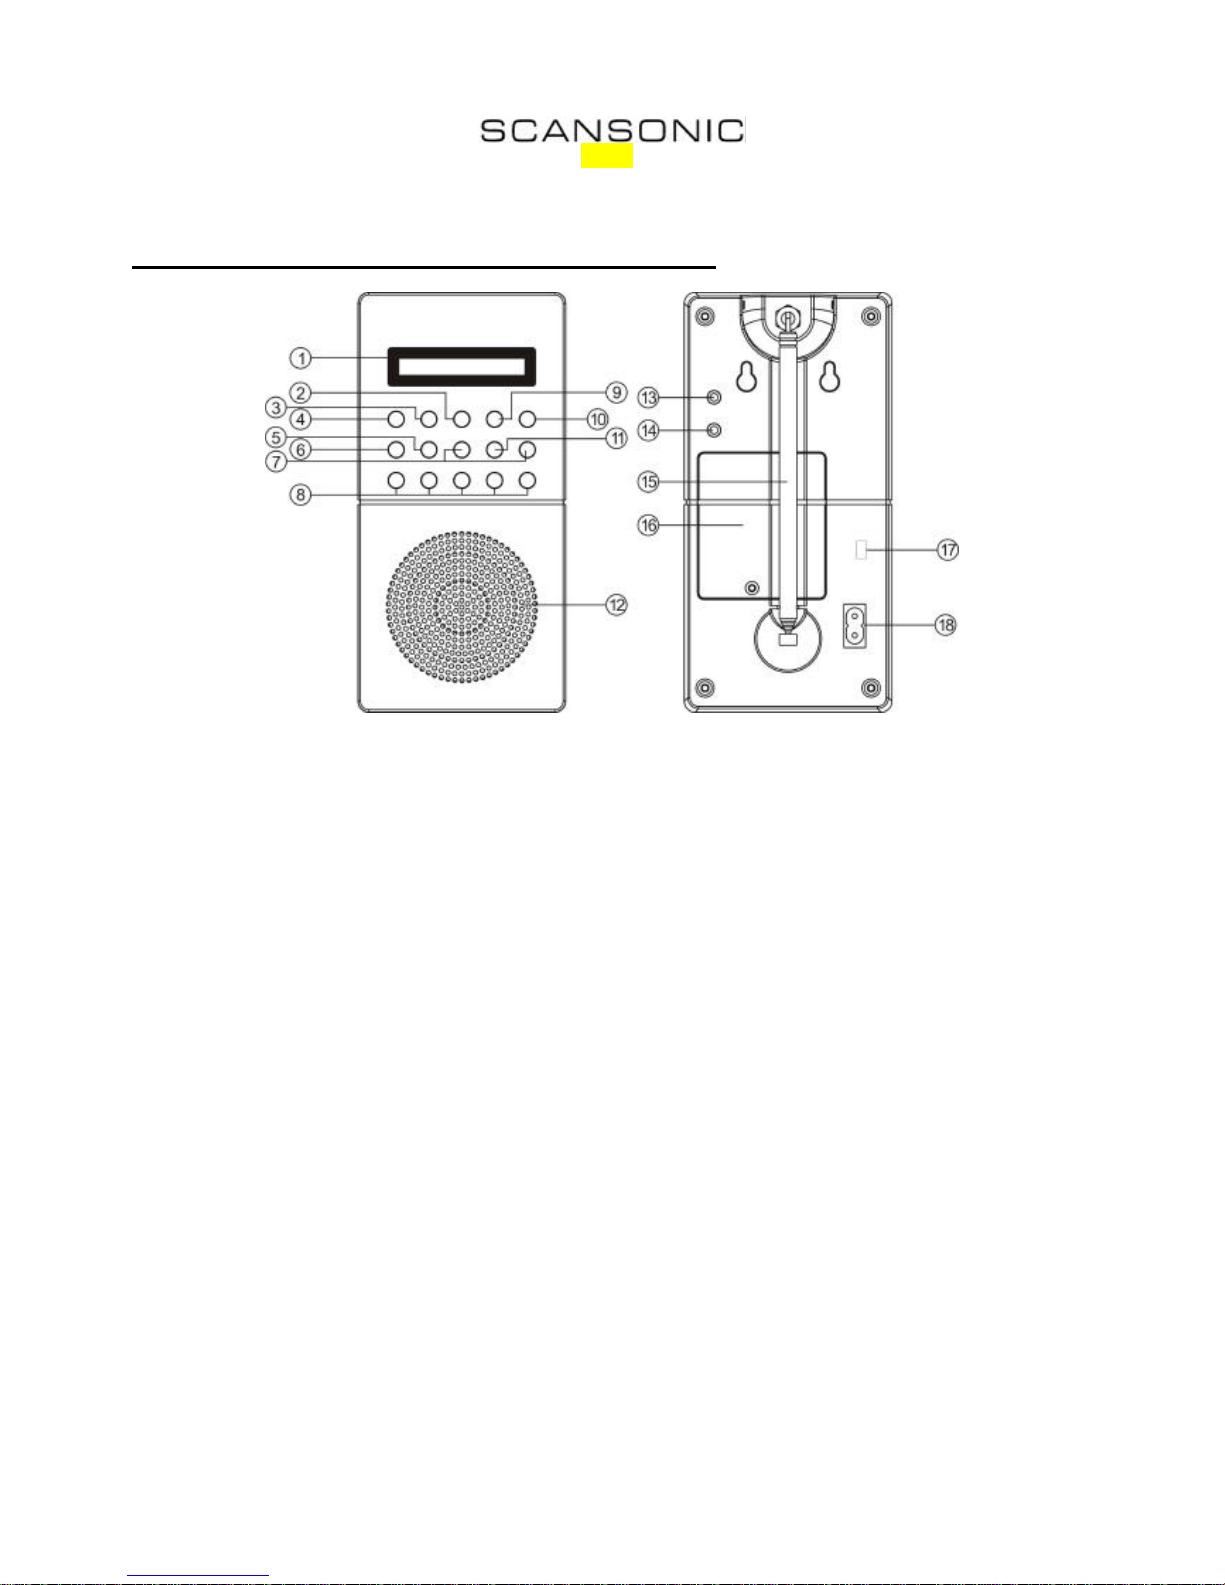
LOCATION OF CONTROLS AND INDICATORS
Diagram of Back and Front Panel.
FRONT PANEL
1. LCD
DISPLAY
- Full dot matrix LCD display with black backlight.
2. INFO/SCAN
- (DAB) Long press and hold the “INFO/SCAN” button for 2 seconds to scan full all the DAB
ensembles
- (FM) Long press and hold the “INFO/SCAN” button for 2 seconds to scan the FM band
and stops once a station is detected.
- (DAB / FM information) Press and release “INFO/SCAN” to cycle through the DAB / FM
information, which shown on the bottom of the display e.g. scrolling text / time and date /
program type.
3. MODE
- Press “MODE” button to switch between DAB, FM and Aux Input.
4. STANDBY
- Press “STANDBY” button, the unit will be turned ON to the last mode.
- Press this “STANDBY” again to standby the unit.
- Long press and hold to turn off the unit.
- Press and release “STANDBY” to turn on the unit.
5. MENU
- Press and release “MENU” button to cycle through the different setup options, press
“SELECT” to select an option.
(DAB mode) - Press “MENU” button to cycle through the Clock Set, Sleep Set, Full
Scan and Time Update options.
- Long Press and release “MENU” button to cycle through the DAB
setting mode, it including the Manual Tune, System Reset, Software
version number.
(FM mode) - Press and release “MENU” button to cycle through the FM setting
mode, it including the Clock Set, Sleep Set and Time Update options.
- Long press and release “MENU” button to cycle through the setting
mode, it including the System Reset and Software version number.

3
6. ALARM
- Press “ALARM” button to show the current Alarm setting.
- Long press “ALARM”, “UP” / “DOWN” and then “SELECT” to setup the alarm time & date,
alarm volume level and wake up source.
7. UP & DOWN
- Press “UP” / “DOWN” button to view the current menu selection
(DAB) Cycle through the available station, push “SELECT” button to confirm selection
and start the DAB broadcast.
(FM) Manual tune FM frequency, push “UP”/”DOWN” button step by step to select
the active frequency range.
(All setting modes) Press and hold “UP”/”DOWN” button to the next available
station.
8. P1/P2/P3/P4/P5
- Press “P1”/”P2”/”P3”/”P4”/”P5” to recall the preset stations.
- Press and hold “P1”/”P2”/”P3”/”P4”/”P5” (DAB/FM) to save the current broadcasting
station into that preset key memory. It has 5 DAB and 5 FM preset memory
9. VOL-
- Press “VOL-“ button to decrease the volume, Volume level from 0 to 20
10. VOL+
- Press “VOL+“ button to increase the volume, Volume level from 0 to 20
11. SELECT
- Press “SELECT” button to select the highlighted menu item
12. Main
Speaker
- 3” speaker drive is built-in
BACK PANEL
13. A
UX IN
Socket
- Connect a stereo or mono audio source to the AUX IN socket i.e. iPod, MP3 Player, CD
player... etc
14.
PHONES Soc
ket
- Connect a headphone to this 3.5mm headphone socket to listen the unit. Inserting plug
automatically mutes the internal loudspeaker.
15.
Adjustable
Antenna
- Adjust this adjustable antenna and position it for best DAB or FM reception .
- In Strong FM signal location(s), reduce the length of antenna until better reception.
- If FM reception is unsatisfactory, turn the unit slightly until reaching the best reception.
- Retract the antenna when using/connecting the AUX IN or not using the unit
16.
Battery
Compartment
- 1 pack rechargeable batterypack can be installed into the battery compartment.
Rechargeable battery is not included.
17.
Battery On
/Off
- Turn ‘ON’ the battery switch to connect the batteries power
- Turn ‘OFF’ the battery switch to cut off the batteries power when not using the unit.
18.
AC
IN~
- Connect a power cord into this AC power socket and the other end of power plug in the
power plug into AC230V~50Hz power source for AC power supply.
4
SCANSONIC
Scan Services
Quick Scan
Service N/A
???_ _ _ _ _ _
10
C
BBC Music
Playing
Classics
LocalRadio
TlkSport
Select
TlkSport
...now talking to...
21
Services
Found
Scan Services
Full Scan
???_ _ _ _ _ _
Scan Services
Quick Scan
OPERATING INSTRUCTIONS
GETTING STARTED – DAB OPERATION
? Carefully extend the adjustable antenna
? Switch ‘ON’ the ‘DC’ switch to connect to the batteries power.
? Press and hold ‘STANDBY’ to turn on the unit, the LCD display will display the brand
name “SCANSONIC“ for few seconds, and then the date and time clock will be auto
setting from the transmitted DAB radio signal. It usually takes for few seconds.
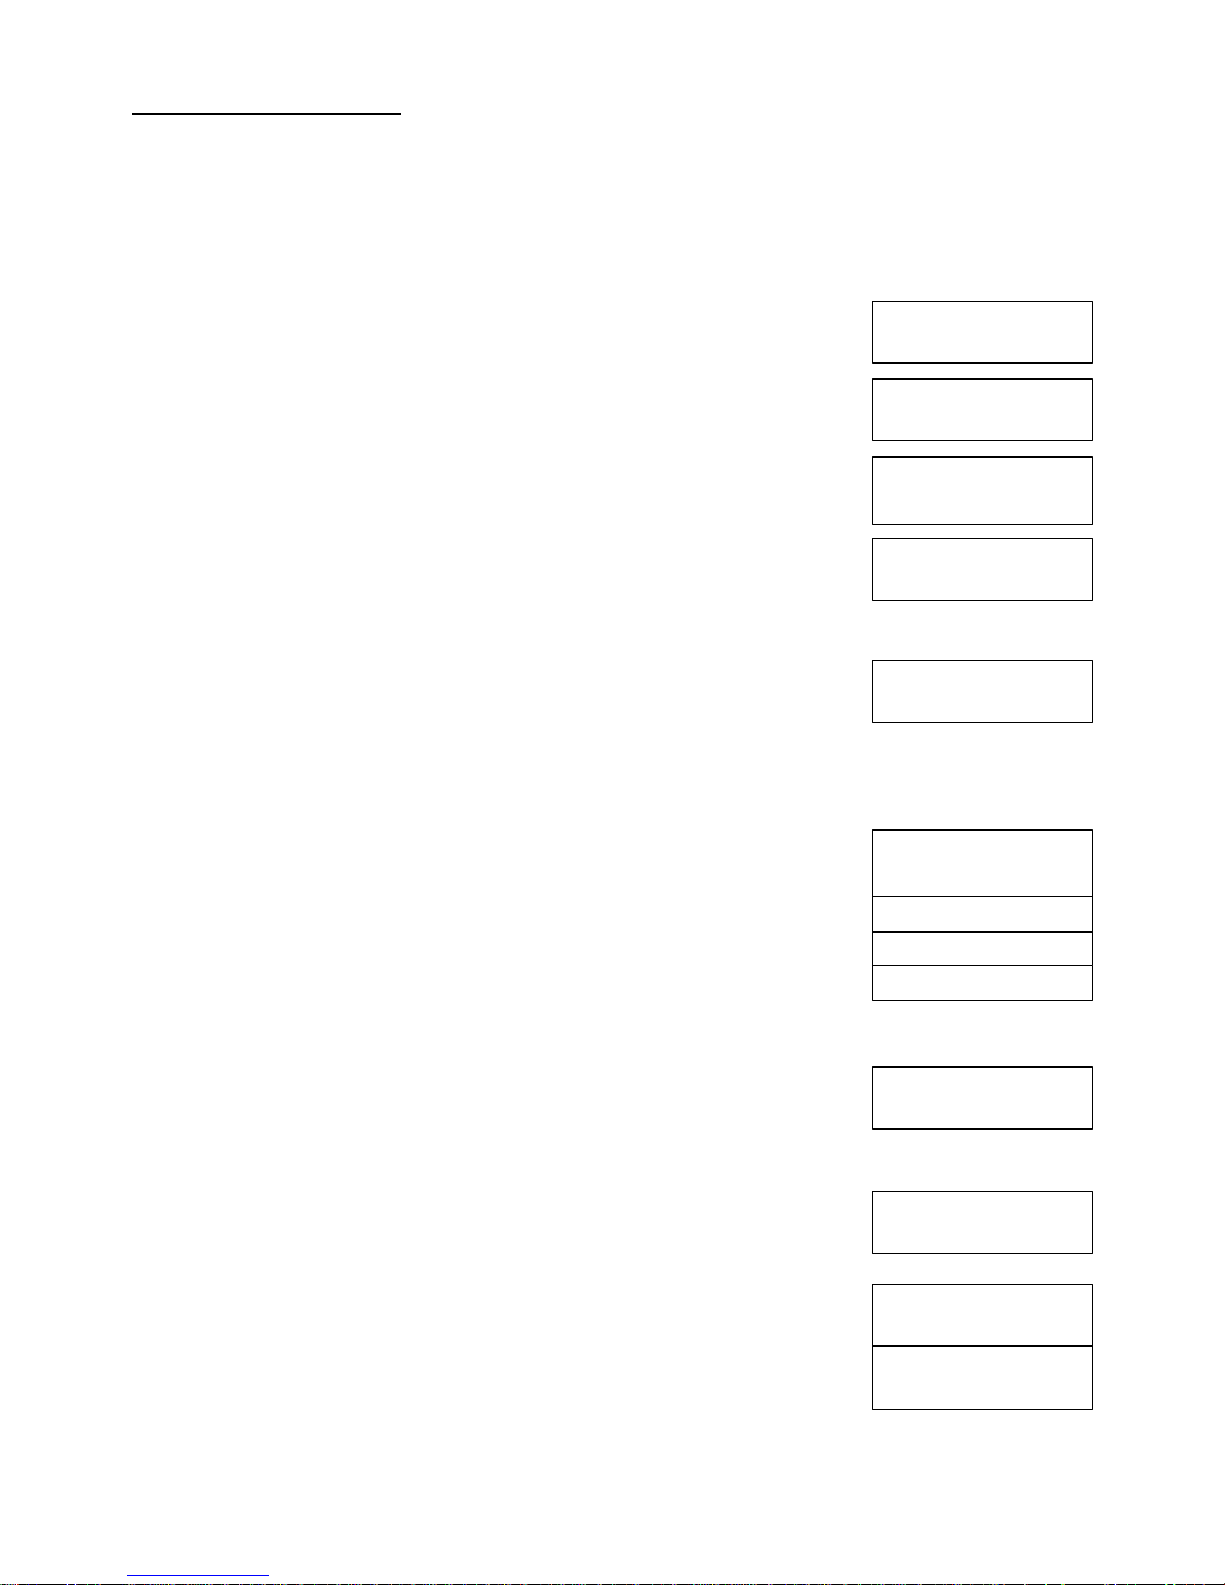
THE FIRST TIME SWITCH ON THE UNIT
When this is the first time switch on the unit, it will be automatically connected to the
DAB digital stations and perform scanning. The display will show ‘Quick Scan…’. In
the other words, if the radio has been used before, the last used station will be
selected.
? During the quick scanning, the solid bar graph will be display to indicating progress
of scanning until it 100% finished tuning.
? When the available stations are found, the numbers of stations will show on the
LCD display. The radio will select the first service on the list. All available stations
will be displayed alphanumerically.
NO STATIONS AVAILABLE
If there is no service on the service list after the scan has completed, an information
message will be displayed ‘SERVICE N/A’.
You may need to relocate your radio to a position giving better reception and perform
another scan again or to tune the radio manually.
DAB MODE
DAB AUTO TUNE
Your DAB radio tunes and sets up with minimal effort. All available frequencies are
automatically picked up by the radio. When you turn on the radio, it will perform
quick scan.
All available stations will be displayed alphanumerically.
DAB STATION SELECTION
? Press ‘UP’/ ‘DOWN’ buttons to cycle through the stations in the list.
The station names will appear once at a time on the bottom line of display.
? Press ‘SELECT’ button to choose the station on the list you want to listen to.
? Press ‘VOL+’ / ‘VOL-‘ to adjust to the desired level
DAB SCAN
As time passes, new stations may become available. Check out the new stations
proceed as follows
QUICK SCAN – Press ‘INFO/SCAN’ button to perform a local QUICK SCAN of the DAB
Band III frequencies. As new stations are found the station counter on
the display and the stations will be added to the list.
FULL SCAN – Press ‘MENU’ button to cycle through the list and press ‘SELECT’ button
to choose FULL SCAN, it will perform a full scan of the entire DAB Band III
frequencies. As new stations are found the station counter on the righthand side of display will increase and stations will be added to the list.
5
Signal strength high
????????_ _
Signal strength low
?? _ _ _ _ _ _ _
Talk Sport
Preset 02 Saved
TalkSport
Preset 02 Free
<TalkSport >
BBC News
Playing
<LocalRadio >
<Classics >
Manual Tune
<5A 174.928MHz>
<5B 176.64MHz >
<5C 178.35MHz
>
MANUAL DAB TUNING
The Manual DAB Tuning allows you
? Determine the best position of antenna and the best radio reception for the
unit.
? Tune directly to the various DAB Band III Channels under a best possible
signal
? Update station list
? Long press ‘MENU’ button to cycle through the menu until reach MANUAL TUNE,
and then press ‘SELECT’ button
? Press ‘UP’ / ‘DOWN’ buttons to scroll through the available channel numbers and press ‘SELECT’ button
? NOTE: The selected channel will be automatically update into the station list as above
? NOTE: The current listened station will be stopped once press ‘SELECT’ button
The Signal strength bar will be appeared on the first line.
The selected channel number and associated frequency will be appeared on the
second line.
? When the signal strength is low, the underscore meter will shows the
minimum Signal strength needed for good DAB reception.
? The solid bars will go up and down, showing you the changing Signal
strength as you adjust the aerial and radio position. More solid bars refer
to the high signal strength.
? In order to get the best signal strength, adjust the antenna and radio
position for better reception.
? Press ‘SELECT’ button after finishing the above adjustment and turn off the signal strength bar.
Then, the radio will return to the previously listened station and the stations from the ensemble
just added will be available in the station list.
? NOTE: the radio will also return to previously listened station if no any button is pressed for about 5
seconds
If no station is found
? Check the FM antenna to ensure it is fully extended and move the radio to a different location.
? Press and hold the ‘INFO/SCAN’ button (for over 2 seconds) for auto-scanning again.
? If this fails, you may in an area with no digital radio coverage.
Please visit sites, e.g. http://www.bbc.co.uk/digitalradio, for checking the coverage.
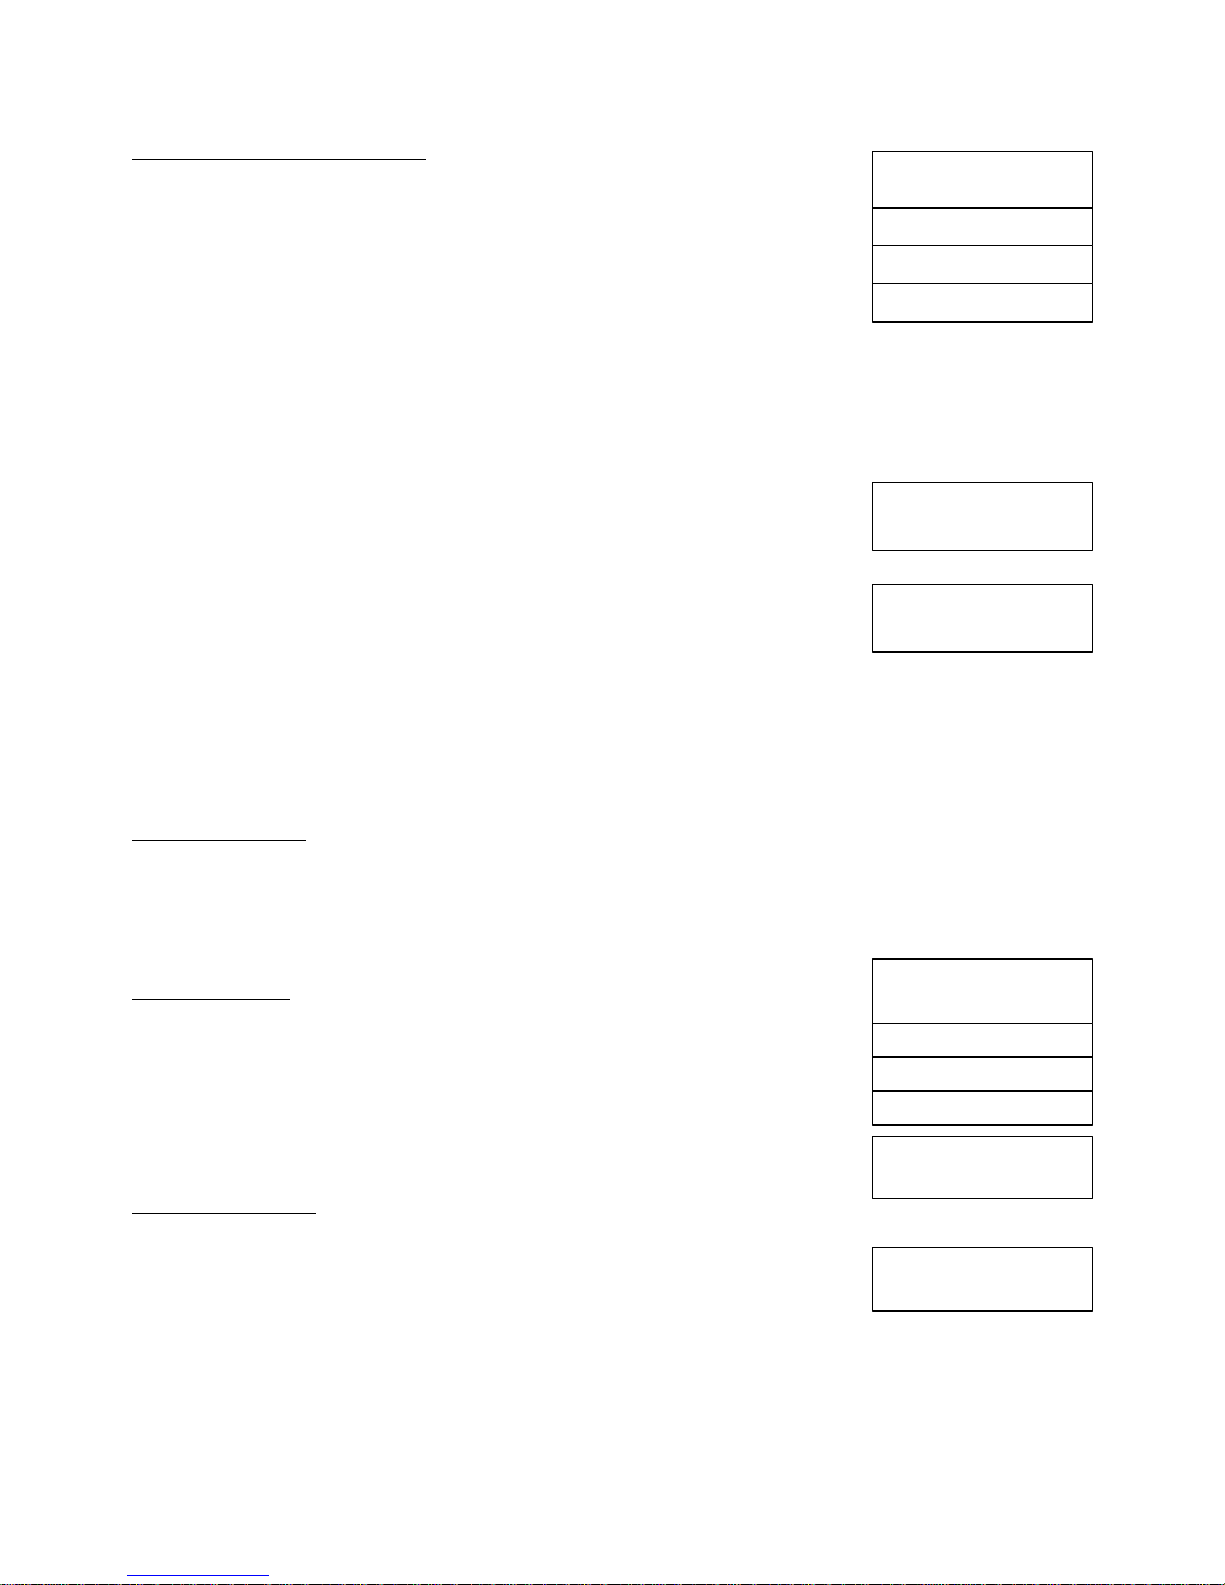
LISTENING TO PRESET STATIONS
Saving the stations
You can store both 5 FM presets and 5 DAB presets on the same preset keys.
? Tune to the station that you want to save.
? Press and hold one of the presets, e.g. ‘P2’ button until the message “RESET 02
SAVED” is displayed .
? Repeat the above step and save other preferred stations into other presets,
‘P1’ or ‘P3’ or ‘P4’ or ‘P5’.
Loading preset station
? When listen to radio, press ‘P1’or ‘P2’ or ‘P3’ or ‘P4’ or ‘P5’ buttons to switch to
the preset station
? NOTE: The first time you switch your new radio ON, or straight after a
SYSTEM RESET (see page 8) there will be no preset station saved.
The message ‘PRESET FREE’ will appear one at a time on the bottom line of LCD
display.
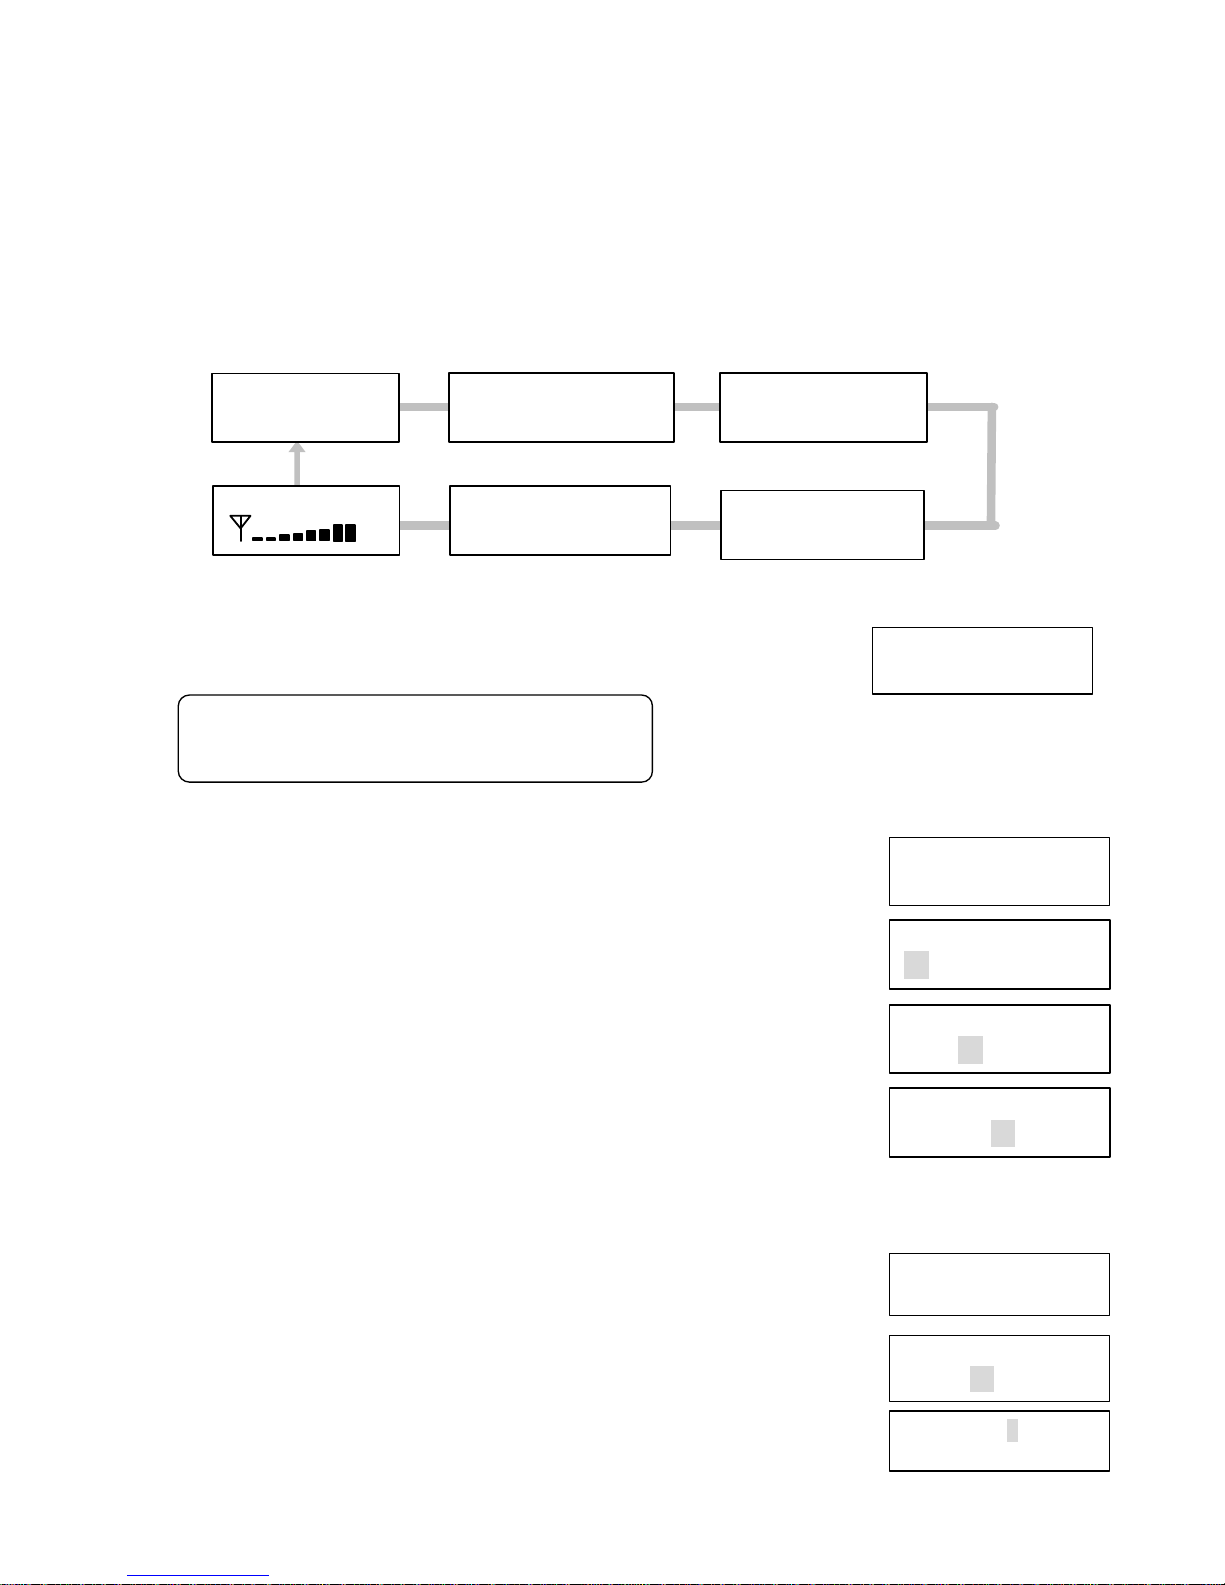
DAB DISPLAY MODE
DAB display mode allows you to view different information of the broadcast data. The second line of text on the
LCD display will show any one of the followings six information:
6
BBC
Customer VBI1.1
BBC
Sleep Set
Sleep
30Min
BBC
s BBC
Ensemble
BBC
Clock Set
Clock Setting
24H 00:00
Clock Setting
24H 00:00
Clock Setting
24H 00:00
? Press ‘INFO/SCAN’ button and cycle through the in formation displayed on the bottom line of the LCD display.
? Ensemble name: The name of the ensemble (Channel number) in which the current service is found.
? Time and Date: The time and Date obtained from the current multiplex, this will be updated in every
minute approximately
? Bit-rate & the audio status: The bit rate (kbps) and the audio status (Mono or Stereo) of the current
service.
? DLS: Scrolling text accompanying the audio, where available, from the service provider. The text will be
continually scrolled along the bottom line. This text may include current song playing, text numbers for
competitions, etc.
? Program type: A description of the type of the content being broadcast by the service, e.g. ‘Pop music’
? Signal Strength: The signal strength of the current ensemble
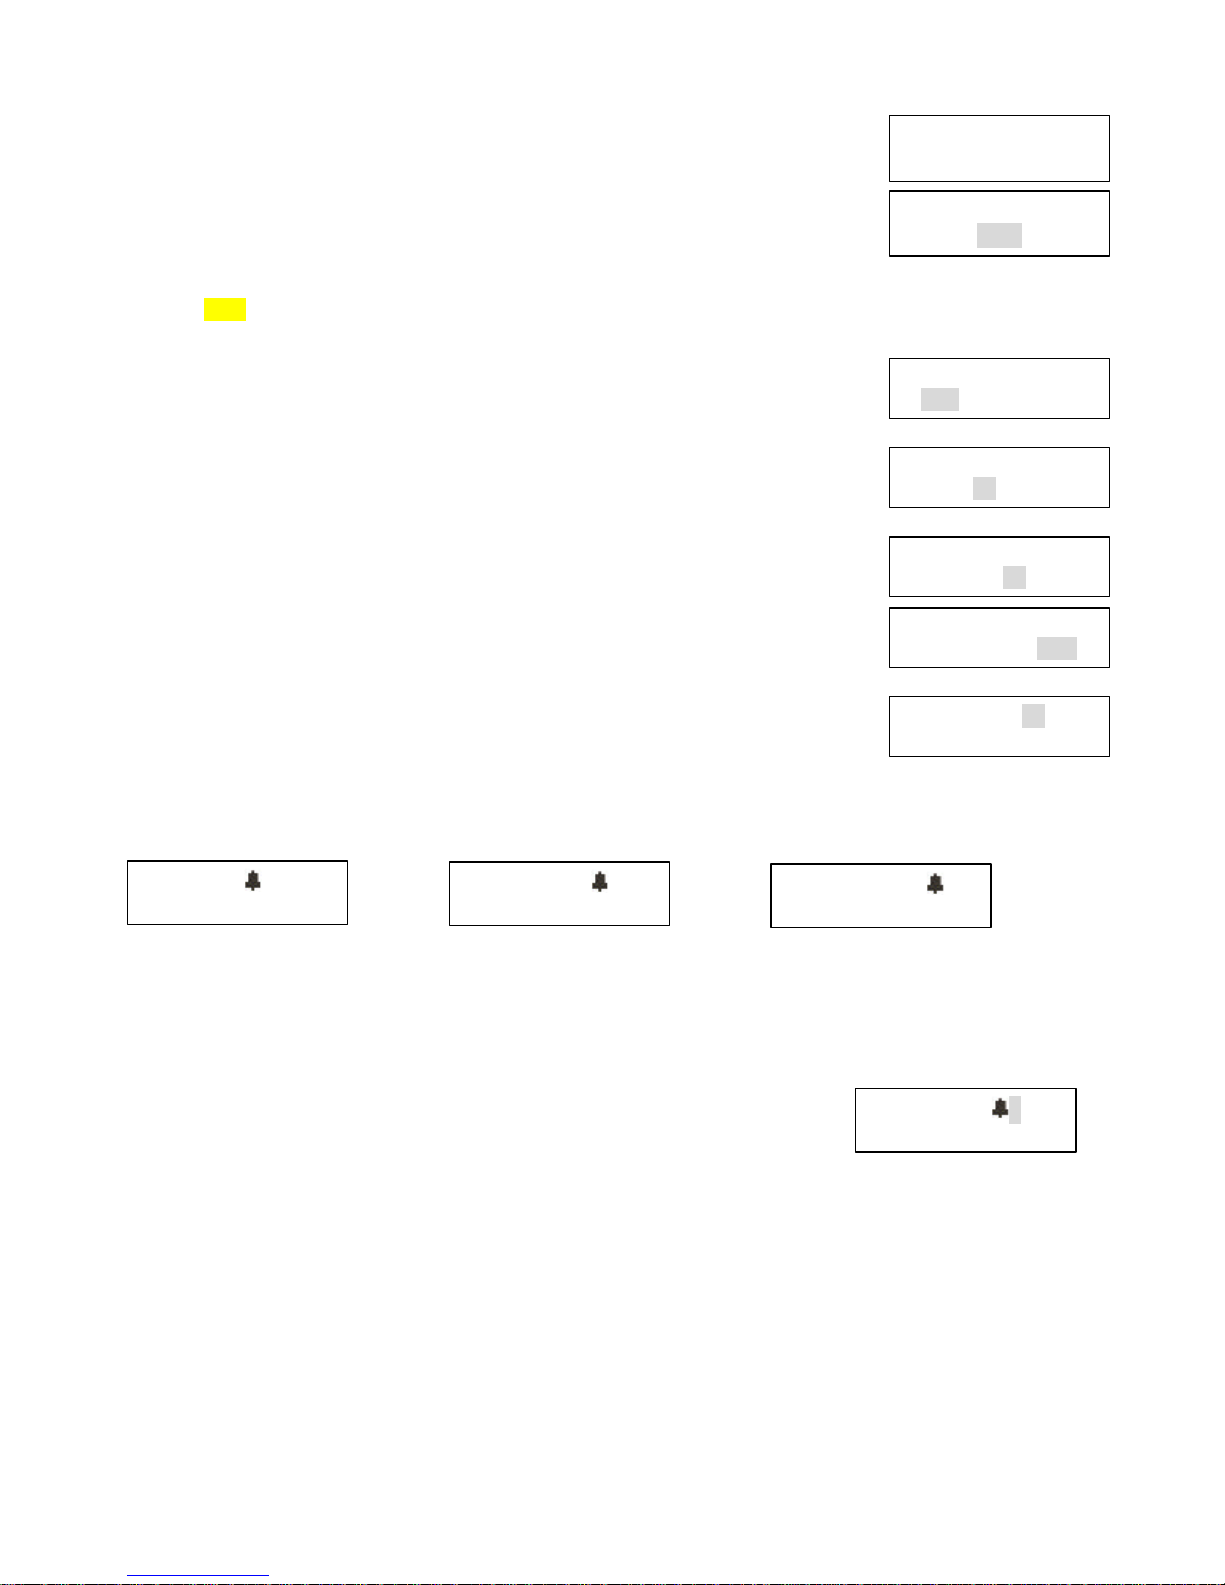
SOFTWARE VERSION
? Long press ‘MENU’ and cycle through it until the software version number is
displayed.
The LCD screen will show the version of software that has been used in this unit.
CHOOSING A CLOCK MENU
The first time switch on the unit, the clock & date will be automatically set from the
transmitted with the DAB radio signal.
Alternatively, you can set the clock & date to show a time different from the local time
zone.
Or, you need to set the clock & date manually when no DAB signal.
To set the Clock, go into the clock setting menu by following:
? Press ‘MENU’ button to choose Clock Set, then press ‘SELECT’ button
The LCD display will show the hour “12” is flashing
? Press ‘UP’/’DOWN’ button to choose the HOUR display format “12”H or “24”H, then
press ‘SELECT’ button
The LCD display will show the “00” is flashing
? Press ‘UP’/’DOWN’ button to set HOUR, then press ‘SELECT’ button
The LCD display will show the “00” is flashing
? Press ‘UP’/’DOWN’ button to set MINUTE, then press ‘SELECT’ button
To show the new time and date, press the “STANDBY’ button.
SETTING the SLEEP TIMER
The sleep timer switches your radio into standby after a number of minutes.
? To set/change the sleep timer
? Press ‘MENU’ button to cycle through the SLEEP SET setting and press ‘SELECT’
The LCD display will show Sleep, and the “30” Min is flashing
? Press ‘UP’/’DOWN’ button and press ‘SELECT’ to set the MINUTE
It has OFF / 15minute / 30 minute / 45 minute / 60 minute for selection
? The LCD display will show the “S” after the sleep timer is set
To cancel the sleep timer, enter into the SLEEP SET again and ‘UP’/’DOWN’ button to
select OFF to cancel the sleep timer.
To exit from the menus at any times, press the
‘MENU’ button again, or simply leave all controls
untouched for a few seconds.
BBC
BBC Ensemble
BBC
12:30 01/01/2009
BBC
Stereo 128kbPS
BBC
Pop Classic
BBC
BBC Music
BBC
7
24
H Alarm
10
OFF
00:00
DAB
BBC
Time Update
Auto Update
DAB
24
H Alarm
10
OFF
00
:00
DAB
24
H Alarm
10
OFF
00:
00
DAB
24
H Alarm
10
OFF
00:00
DAB
24
H Alarm
10
OFF
00:00
DAB
BBC
BBC Ensemble
87.50 MHz
Auto(Mono)
87.50 MHz Z
Auto(Mono)
00: 59: 58
00/00/0000
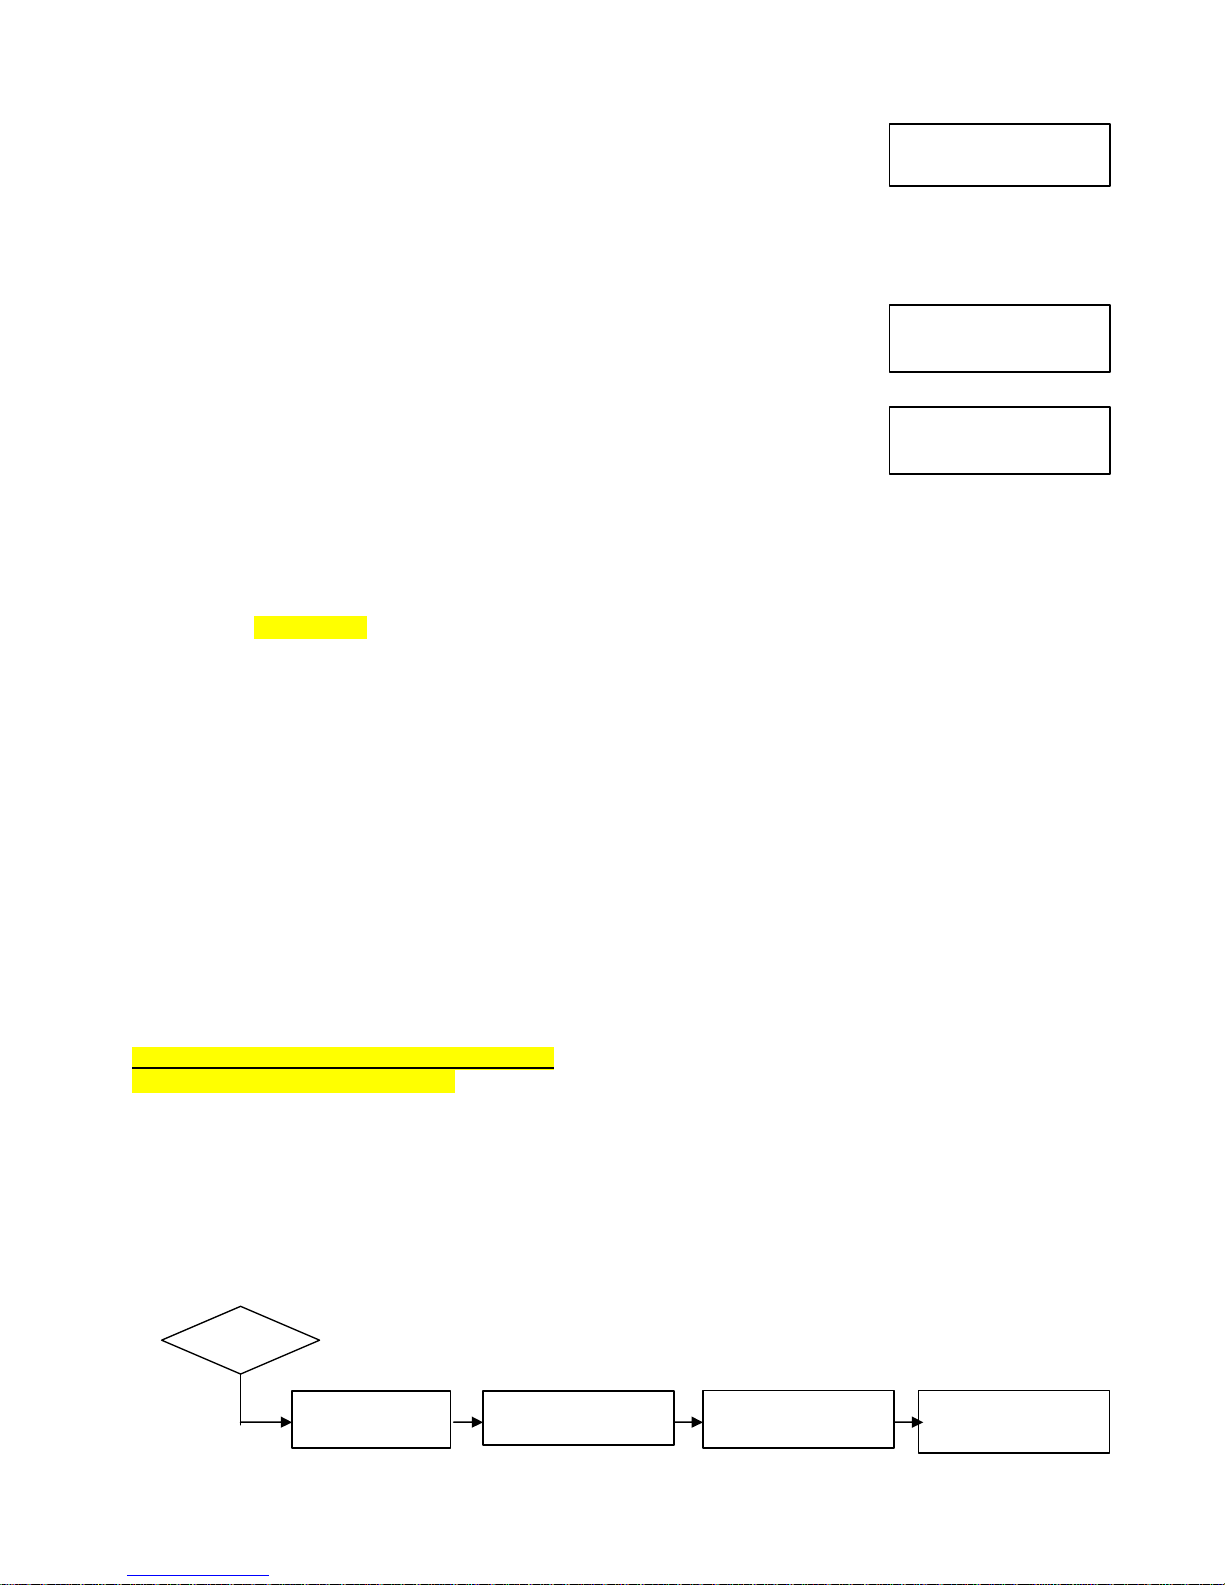
TIME UPDATE
Set the TIME Auto Update from either DAB/FM mode or NO UPDATE.
Press ‘MENU’ button to choose TIME UPDATE, press ‘SELECT’ button
Press ‘UP’/’DOWN’ button to choose the mode source DAB/FM/NO UPDATE and press
‘SELECT’ button
The LCD display will show the selection mode e.g. “DAB” is flashing.
SET ALARM
CASINO 3501 has a daily alarm, which switches the radio on and tunes to the station you have chosen or sounds a
tone. To set or change and alarm:
? Long press ‘ALARM’ button to enter to the alarm setting, then press ‘UP’/’DOWN’
and ‘SELECT’ button to switch the alarm “ON”
The LCD display will show “OFF” is flashing
? Press ‘UP’/’DOWN’ and ‘SELECT’ button to set HOUR
The LCD display will show the time with the “00” is flashing
? Press ‘UP’/’DOWN’ and ‘SELECT’ button to set the MINUTE
The LCD display will show the time with the “00” is flashing
? Press ‘UP’/’DOWN’ and ‘SELECT’ button to set the DAB or FM radio alarm or
BUZZER alarm.
The LCD display will show the alarm type e.g. “DAB” is flashing
? Press ‘UP’/’DOWN’ and ‘SELECT’ button to set the ALARM VOLUME LEVEL,
The LCD display will show the alarm volume level with “10” is flashing
The LCD screen will confirm your settings by return the LCD display content to the previous listened station.
DAB station FM radio Buzzer
TURN OFF BUZZER/DAB/FM ALARM
Press ‘STANDBY’ button twice to turn off the alarm, the unit will go back to the STANDBY mode.
? NOTE: Without pressing any button, the buzzer will be automatically turned off after 59 minutes. And
then LCD display content will go back to the previous listened station / display mode.
TO SET THE SNOOZE ALARM
When an alarm is sounding, press ‘STANDBY’ button to silence the alarm for 5
minutes (the default snooze time). After 5 minutes, the alarm will sound again.
The letter ‘Z’ will appear beside the bell.
To cancel the snooze function, press ‘STANDBY’ button twice. The unit will go back to the STANDBY mode.
VIEW THE ALARM SETTING
? Press ‘ALARM’ to view the alarm setting that have been set
? NOTE: To adjust the alarm setting, repeat the steps on SET ALARM menu.
FM MODE
? Press ‘MODE’ button to cycle through the menu until reach FM mode.
The first time you turn on to FM radio, it will start at ’87.5MHz’, otherwise, it will tune to the last listened station.
8
96.65
MHz
Preset 02 Saved
96.65
MHz
Auto (Mono)
96.65
MHz
Preset 02
FM TUNING
You can MANUALLY TUNE or AUTO- TUNE to a FM station.
? Press ‘UP’ / ‘DOWN’ buttons to manually tune the FM frequencies step by step.
? Press and hold ‘INFO/SCAN’ button to start the AUTO-TUEN and SCAN to next
available station with good signal.
? Press ‘VOL+’ / ‘VOL-‘ button to adjust to the desired level
Moving the antenna or radio to improve signal strength and reception.
FM PRESETS
You can store both 5 FM presets and 5 DAB presets on the same preset keys.
? Tune to the FM station that you want to save.
? Press and hold one of the preset button, e.g. ‘P2’ button until the message ‘PRESET
02 SAVED’ is displayed
? Repeat the above step and save other preferred stations into other presets,
‘P1’ or ‘P3’ or ‘P4’ or ‘P5’
To listen the preset station, press the preset key ‘P1’ or ‘P3’ or ‘P4’ or ‘P5’.
AUX INPUT MODE
Make sure that devices such as CD player, MP3 player or an iPod is connected to the AUX- IN Socket at the back of
this unit.
? Press ‘MODE’ button to cycle through the menu until reach Aux Input mode
? Press ‘VOL+’ / ‘VOL-‘ to adjust to the desired level
Remark: To gain optimal volume levels and sound performance, adjust the output volume level on both the source
device and on CASINO 3501 itself.
PHONE SOCKET
A 3.5mm Headphone socket located at the back of the unit is provided for use with either headphones or an
earpiece. Inserting a plug automatically mutes the internal loudspeaker.
? WARNING: Always check the volume level before inserting headphones into your ears. (Headphones
not included)
BACKLIT
A black backlit is available on LCD screen.
STANDBY BUTTON
Press ‘STANDBY’ button, its allow you to view the TIME & DATE on LCD screen with backlit for few second. After a
while, the backlit will goes off.
? Press one of the buttons, except ‘STANDBY’ button, the display backlit will on for reading the Time & Date.
? NOTE: Press ‘STANDBY’ button again, the unit will be turn ON.
? Turn off the unit - Long press the ‘STANDBY’ to turn of the unit.
? NOTE: Press ‘STANDBY’ button again, the unit will be turn ON.
RECHARGABLE BATTERIES (NOT INCLUDED)
The battery pack is optional accessory.
SYSTEM RESET
To return the radio to its factory settings, all the stations, presets, clock and alarm settings will be cleared.
You may either reset the settings during DAB or FM operation.
? Long press ‘MENU’ and cycle through the menuj to SYSTEM RESET
? Press ‘SELECT’ button to preform the SYSTEM RESET.
DAB – It will preform Quick Scan again.
BBC
System Reset
System Reset...
Scan Services
Quick Scan
???_ _ _ _ _ _
10
C
28%
MENU
 Loading...