

Page 1
INSTRUCTIONS FOR
INSTALLATION AND USE
SCAN
DSA 3 & DSA 4
This manual is accompanied by a
pamphlet with General Instructions
for Installation.
Edition 09.05 - GB
MONTERINGSVEJLEDNING
med brugs- og fyringsanvisning
Indhold:
Generelle råd og anvisninger . . . . . . . . . .2-3
Reklamationsret
Type- og miljøgodkendelse
Udpakning
Tilbehør til din pejs
Montering af kakler og fedtsten
Kvalitetskontrol
Anmeldelsespligt
Skorstenstjek
Skorstensløsninger
Bærende underlag
Brændbar eller ikke brændbar væg
Gulvplade
Varmefordeling
Justerskrue
Typeskilt
Produktionsnr.
Servicepakke
M
onte
ringsvejledning. . . . . . . . . . . . . . . . .4-7
Tilslutning til eksisterende/muret skorsten
Tilslutning topafgang til stålskorsten
Forbrændingsluft udefra
Brugs- og fyringsanvisning . . . . . . . . . . .8-10
Vedligeholdelse af pejseovnen
Håndtering af brændsel
Optænding og fyring
Fejlsøgning . . . . . . . . . . . . . . . . . . . . . . . . 11
SC
AN
3
B
R
U
G
S
A
N
V
I
S
N
I
NG
T
i
l
d
e
n
n
e
B
r
u
g
s
a
n
v
i
s
n
i
n
g
h
ø
r
e
r
o
g
s
å
e
n
g
e
n
e
r
e
l
M
o
n
t
e
r
i
n
g
s
v
e
j
l
e
d
n
i
n
g
.
U
d
g
a
v
e
0
3
.
0
3
-
D
K
M
O
N
T
E
R
I
N
GSV
E
J
L
E
D
N
I
N
G
m
e
d
bru
g
s
-
o
g
fy
rin
g
san
v
is
ni
n
g
I
nd
h
o
ld:
G
e
n
e
r
e
l
l
e
r
å
d
o
g
a
n
v
i
s
n
i
n
g
e
r
.
.
.
.
.
.
.
.
.
.
2
-
3
R
ek
l
a
m
a
t
i
o
n
s
r
e
t
T
y
p
e
-
o
g
m
i
l
j
ø
g
o
d
k
e
n
d
e
l
s
e
U
d
p
a
k
n
i
n
g
T
i
l
b
e
h
ø
r
t
i
l
d
i
n
p
e
j
s
M
o
n
t
e
r
i
n
g
a
f
k
a
k
l
e
r
o
g
f
e
d
t
s
t
e
n
K
v
a
l
i
t
e
ts
k
o
n
t
r
o
l
A
n
m
e
l
d
e
l
s
e
s
p
l
i
g
t
S
k
o
r
s
t
e
n
s
t
j
e
k
S
ko
r
s
t
e
n
s
l
ø
s
n
i
n
g
e
r
B
æ
r
e
n
d
e
u
n
d
e
r
l
a
g
Br
æ
n
d
b
a
r
e
l
l
e
r
i
k
k
e
b
r
æ
n
d
b
a
r
v
æ
g
G
u
l
v
p
l
a
d
e
V
a
r
m
e
f
o
r
d
e
l
i
n
g
S
e
l
v
l
u
k
k
e
n
d
e
l
å
g
e
J
u
s
t
e
r
s
k
r
u
e
T
y
p
e
s
k
i
l
t
P
r
o
d
u
k
t
i
o
n
s
n
r
.
S
e
r
v
i
c
e
p
a
k
k
e
M
o
n
t
e
r
i
n
g
s
v
e
j
l
e
d
n
i
n
g
.
.
.
.
.
.
.
.
.
.
.
.
.
.
.
.
.
4
-
7
T
i
l
s
l
u
t
n
i
n
g
t
i
l
e
k
s
i
s
t
e
r
e
n
d
e
/
m
u
r
e
t
s
k
o
r
s
t
e
n
T
i
l
s
l
u
t
n
i
n
g
t
o
p
a
f
g
a
n
g
t
i
l
s
t
å
l
s
k
o
r
s
t
e
n
F
o
r
b
r
æ
n
d
i
n
g
s
l
u
f
t
u
d
e
f
r
a
B
r
u
g
s
-
o
g
f
y
r
i
n
g
s
a
n
v
i
s
n
i
n
g
.
.
.
.
.
.
.
.
.
.
.
8
-
1
0
V
e
d
l
i
g
e
h
o
l
d
e
l
s
e
a
f
p
e
j
s
e
o
v
n
e
n
H
å
n
d
t
e
r
i
n
g
a
f
b
r
æ
n
d
s
e
l
O
p
t
æ
n
d
i
n
g
o
g
f
y
r
i
n
g
F
e
j
l
s
ø
g
n
i
ng
.
.
.
.
.
.
.
.
.
.
.
.
.
.
.
.
.
.
.
.
.
.
.
.
1
1
T
i
l
d
e
n
n
e
m
o
n
t
e
r
i
n
g
s
v
e
j
l
e
d
n
i
n
g
h
ø
r
e
r
o
g
s
å
e
n
s
e
p
a
r
a
t
b
r
u
g
s
a
n
v
i
s
n
i
n
g
f
o
r
d
e
n
e
n
k
e
l
t
e
p
e
j
s
.
U
dg
a
v
e
0
2
/
0
3
-
D
K
Til d
e
n
n
e
m
o
n
te
r
i
n
g
s
v
e
jl
e
d
n
in
g h
ø
re
r
o
g
s
å
e
n
s
e
p
a
ra
t
b
ru
g
s
a
n
v
i
s
n
in
g fo
r
d
e
n
e
n
k
e
l
te p
e
j
s
.
Udgave 02/03 - DK
Approved according to DIN 18895 C1
Page 2
- Remove the damper in the existing fireplace/chimney.
Clean the fireplace thoroughly of any soot residues.
- Fasten the connection piece on a flexible tube in a suitable length (if you use a smoke pipe instead of a flexible
tube, a special connection piece is available).
- Fasten the flexible tube/smoke pipe in the chimney and
seal around it.
- Place the loose convection mantle of the insert on the
bottom of the fireplace (in the centre). The bottom must
be level. Adjust the convection mantle with the four
adjustment bolts and fasten it to the bottom of the fireplace.
- Push the insert into the mantle and adjust according to
sketch B.
- Take out the ceramic smoke deflector plates (see next
page).
- Pull down the connection piece and place it in the flue
outlet of the insert. Fasten it with the fittings and remount
the ceramic smoke deflectors.
- Mount the trim (see sketch A).
- If necessary, the insert can be adjusted on the sides and
on the bottom. See sketches B and C.
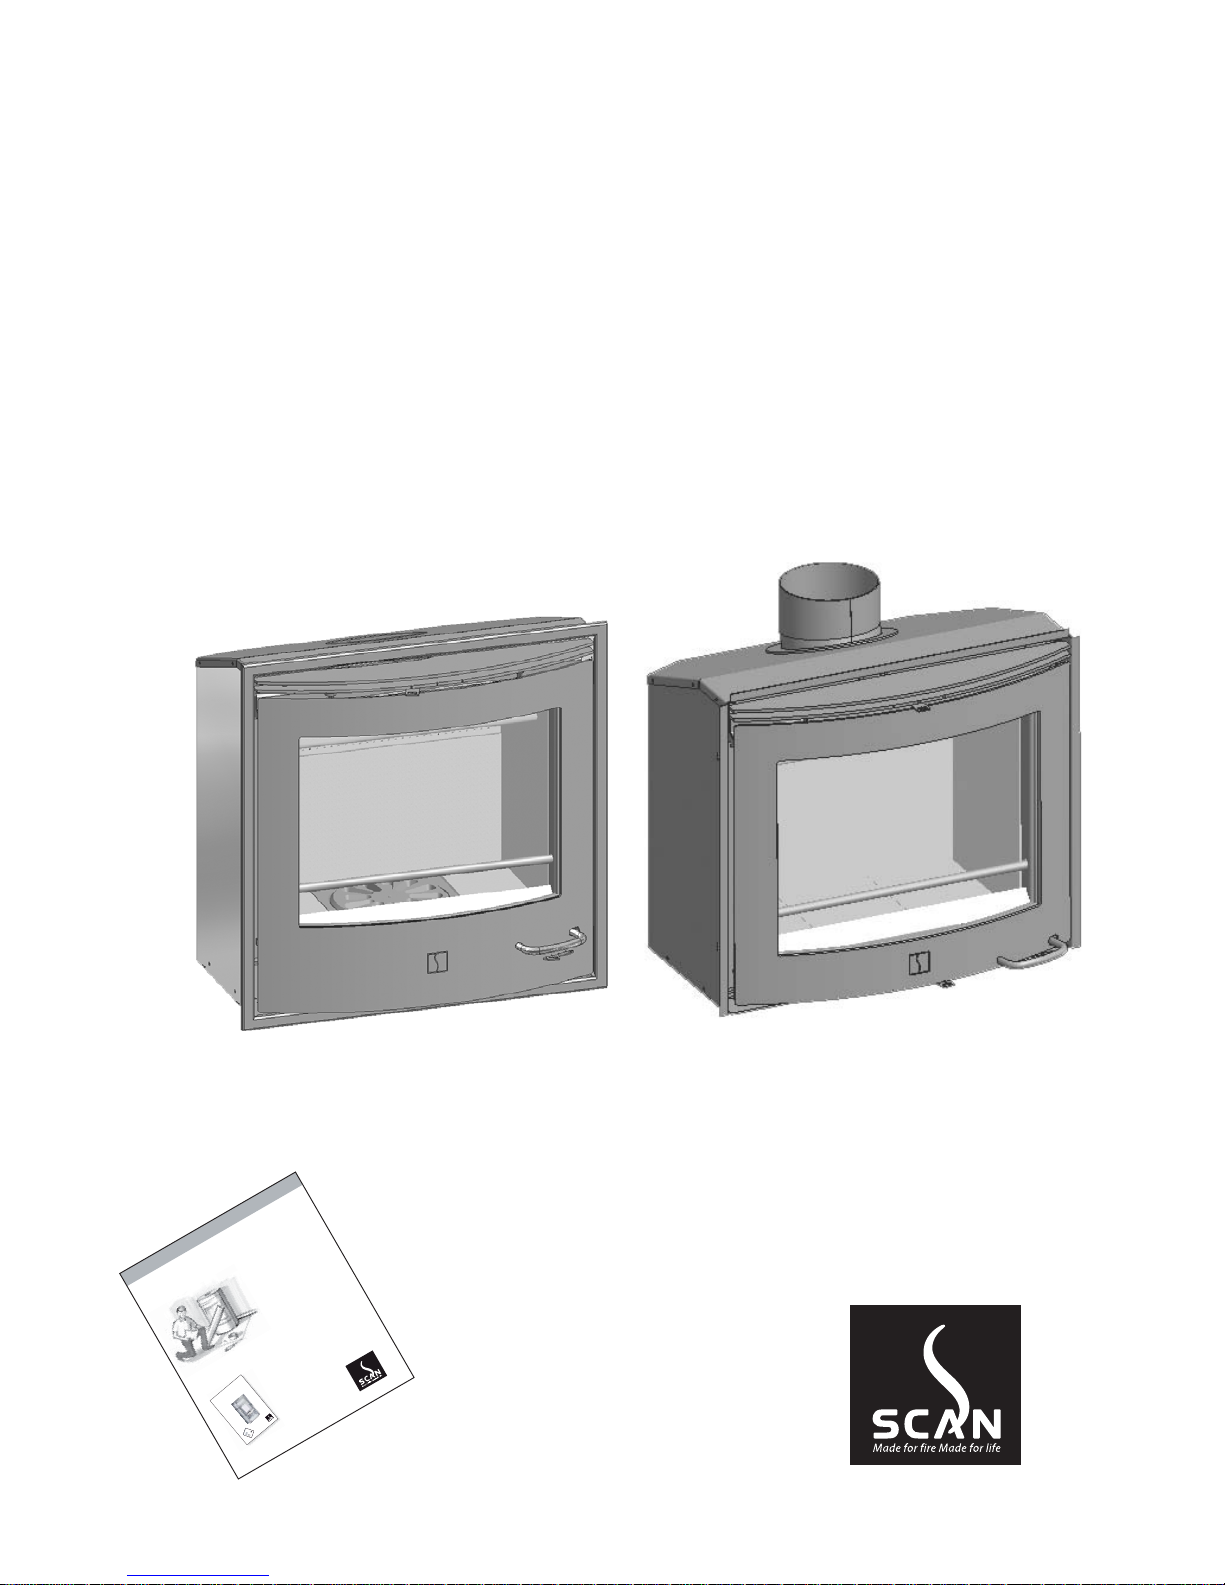
SCAN DSA 3 & 4
You have chosen a product from one of Europe's leading
manufacturers of wood-burning stoves. We are convinced
that your insert will be to your full satisfaction and give you
many hours of pleasure if you follow the advice and instructions of this manual.
Please read this manual as well as the General Instructions
for Installation before beginning the installation.
Congratulations on your new SCAN insert!
Mounting of the insert in an open
fireplace
Before beginning the mounting, it is important that you check
the density of your chimney. The area of the chimney must
be min. 175 cm2, which corresponds to a diameter of approx.
150 mm.
Follow the pictures point per point (start on top of column
2) when mounting your insert. If you have any questions or
uncertainties, your authorised dealer will be able to assist
you with the mounting.
A
B
C
Krog Iversen & Co. A/S abdicate responsibility for the
installation
Page 3

SCAN DSA 3 & 4
2
1 Ashtray. When you open door, you have access to
the ashtray, which is placed below the combustion
chamber (SCAN DSA 3). Attention! Be careful when
you empty ashes from the stove. There may be
embers left for up to 24 hours after the stove was last
used.
2 Handle for shaking grate. SCAN DSA 3 is equipped
with a shaking grate. When you activate the grate
handle, the ashes from the combustion chamber are
emptied into the ashtray.
3 Regulation for primary air. Push the button side-
ways. Left position is closed and right position is
open. The primary air is used when lighting and
refuelling the stove. It should always be closed during
continuous firing.
4 Regulation for combustion air. Push the button
sideways. Left position is closed and right position is
open. The air is used for the combustion and regulates the output of the stove.
5 Handle. Pull the handle to open.
SCAN DSA 3
Combustion air
Ceramic smoke deflectors
Ashtray
SCAN DSA 4
Ceramic smoke deflectors
Lift up the lower ceramic smoke deflector, pull out the
pins in the lateral combustion chamber plates, and
remove the deflector. The upper deflector is removed
in the same way.
Clean combustion
The SCAN DSA insert uses the "CB technique"
(Clean-Burn) to ensure an optimally clean combustion. The extra combustion air is preheated and led
into the combustion chamber close to the ceramic
smoke deflector.
Closed
Open
4
1
3
4
4
5
The ashtray, shaking grate, and primary air should always
be closed during continuous firing.
Wood / briquettes Fuel kg/h (beechwood
max. 20% humidity)
SCAN DSA 3/4
2,1 kg
Combustion air %
60
Primary air %
0
Adjustment of the air
Page 4

Warranty conditions
All SCAN wood-burning stoves and inserts are made of first-class material and
are subject to a strict quality control before they leave the factory. However, if
an error should occur, we back all SCAN wood-burning stoves and inserts with
an extensive, five-year limited warranty.
See also the General Instructions for Installation delivered with your insert
for more details.
Technical info
Rated output: 6 kW
Min./max.: 5 - 8 kW
Weight SCAN DSA 3: 85 kg
Weight SCAN DSA 4: 77 kg
Connection piece, ext. diameter: 149 mm (flexible tube)
Connection piece, int./ext. diameter: 155/159 mm (flue pipe)
Krog Iversen & Co. A/S - DK-5492 Vissenbjerg
SCAN DSA 4
606
460
391
Ø
SCAN DSA 3
SCAN DSA 3 & 4 in an
existing fireplace
If you plan to insert a SCAN DSA 3 or 4 into
an existing open fireplace, it is important
that you keep a distance of 3-5 mm around
the masonry. This will prevent cracks in the
bricks, as metal expands when heated.
Production number
Write the production number of
your insert here so that you have
it at hand in case you need to
contact us.
SCAN DSA 3 & 4
Attention! You should mount gratings allowing the air to circulate. We recommend
min. 350 cm2 air input and min. 750 cm2 air
output. Please make sure that the distances
to inflammable materials are in accordance
with your local requirements.
460 (DSA 3-2)
414 (DSA 3-5)
460 (DSA 4-2)
414 (DSA 4-5)
Stove
model
SCAN
DSA
Connecting
adaptor
mm
1
Density of
flue gas
flow
g/s
2
Flue gas
tempera-
ture
o
C
3
Minimum
draft
Pa
4
Density of
flue gas
flow
g/s
5
Flue gas
temperature
o
C
6
Minimum
draft
Pa
7
0,8
Minimum
draft
Pa
3 & 4
150 - - - 6 350 15 12
With closed doorsWith open doors
Data for calculation of the chimney
Column 2 and 5 show the flue gas temperature in the connecting adaptor
Column 3 and 6 show the lowest/minimum draft in Pa by rated value
Column 7 shows the lowest/minimum draft in Pa by 0.8 x rated value
 Loading...