

Savant Systems CLIW200 User Manual

SMART THERMOSTAT
QUICK START GUIDE
CLI-W200
009-1593-00
1
What’s in the Box
(1) Wi-Fi Thermostat (CLI-W200x)
(1) Installation Kit
(2) Drywall Anchors (xxx-xxxx-xx)
(2) #8 x / inch Pan Head Screws (xxx-xxxx-xx)
(1) Sheet of Wire Labels (080-0096-xx)
(1) Quick Start Guide (this document)
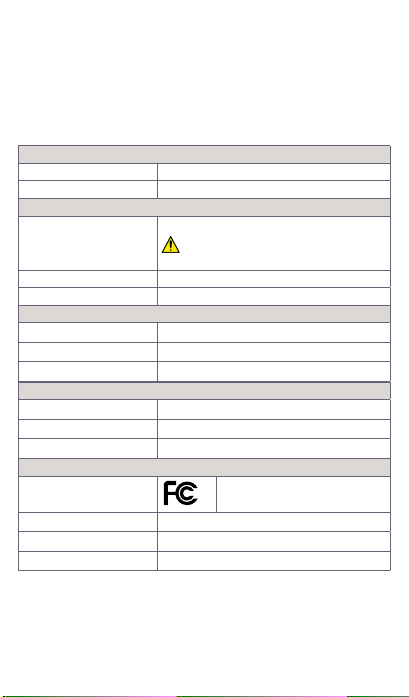
Specifications
Environmental
Temperature 32 to 104 F (0 TO 40 C)
Humidity 10% to 90% (non-condensing)
Standards
Wireless Wi-Fi (802.11 b/g/n 2.4 GHz)
IMPORTANT! 802.11r fast roaming
Security 70 mA typical, 250 mA maximum
Max Power 6 watts
Power
Input 24V AC
Current Draw 70 mA typical, 250 mA maximum
Max Power 6 watts
Cable Requirements
Power #18 AWG
HVA C #18 AWG Thermostat Wire (solid)
Remote Sensors #24 AWG - 500 feet (152 m) max
Regulatory
Safety and
Emissions
Contains FCC ID: ASU-CLIW200
Contains IC: 10052A-CLIW200
RoHs Compliant
Optional Sensors
– SST-TEMP1 Remote Temperature (Flush Mount)
– SST-OTEMP1 Remote Temperature (Outdoor)
– CLI-THFM1 Temperature and Humidity (Flush Mount)
– CLI-PLEN1R/C Plenum Sensor
– CLI-SLAB1 Slab Sensor
is not supported.
FCC Part 15
2009-1593-00
Welcome
This document describes how to:
1. Remove the old thermostat.
2. Mount your new CLI-W200 thermostat.
3. Wire your new CLI-W200 thermostat.
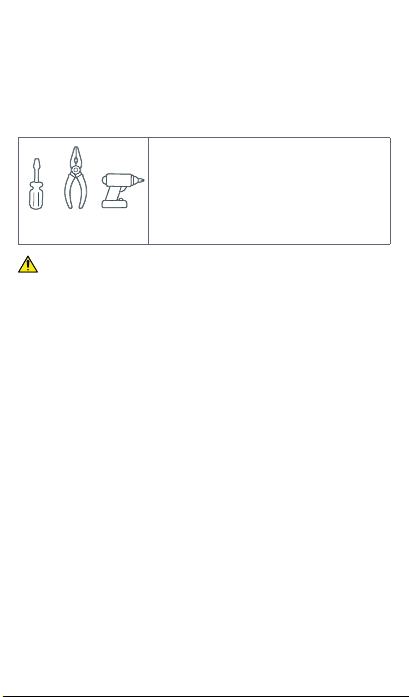
Getting Started
The following is needed for a trouble free installation:
CAUTION! When replacing an older thermostat that
contains Mercury in a sealed tube, do not discard into trash.
Refer to the thermostat-recycle.org website for information
on how to properly dispose.
– Pencil
– #2 Phillips screwdriver
– Small slotted screwdriver
– Drill with / inch drill bit
– Wire stripper
– Needle-nose pliers
– Hammer (if wall anchors are used)
Location and Mounting Overview
For new installations or when relocating the thermostat,
follow the guidelines below:
– Locate thermostat on an inside wall.
– Do not locate where air circulation is poor such as in a
corner or behind a door.
– Do not locate near windows or doors to reduce the expo-
sure to drafts.
– Install away from any heating conditions such as direct
sunlight, near a radiator register or vent, or near a fireplace.
– To adhere to ADA requirements, install thermostat 48 - 54
inches (1.22 - 1.37 meters) above the floor.
– Height requirements can be adjusted upward to 60 inches
(1.5 meters) if ADA requirements are not mandatory.
– The thermostat does not need to be level to operate cor-
rectly. Leveling the thermostat is for aesthetics only.
– Thermostat can be oriented in either a portrait or land-
scape layout.
009-1593-00
3
Remove Old Thermostat
1. Switch OFF power to the heating and cooling system at
either the breaker panel or the switch that controls your
HVAC system.
2. Open the old thermostat so the wiring is accessible. Take
a photo of the existing thermostat and wiring. The photo
should reveal wire colors and terminal designations.
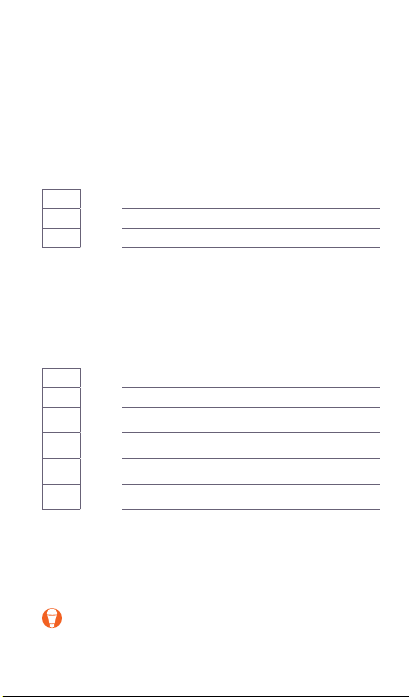
3. Using the chart below, add a check and record the wire
color for each power wire. Not all terminals may be
populated.
Terminal Color of Wire
R
C
RC
4. Remove each of the wires recorded above and attach a
label that matches the terminal designation from the old
thermostat. Wires should be labeled according to the
terminal designation and NOT the wire color.
5. Again, using the chart below, add a check and record the
wire color for each signal wire.
Terminal Color of Wire
O
G
Y2
Y1
W2
W1
NOTE: Additional information on the various terminal des-
ignations as well as useful wiring diagrams are available
in the CLI-W200 Thermostat Deployment Guide located in the pages of the Savant Customer Community.
6. Using a screwdriver, remove the wires from each terminal.
TIP! To prevent the wires from falling back into wall,
wrap wires around a pencil or similar.
7. Remove the old thermostat from the wall.
4009-1593-00
 Loading...